The "Golden Spiral" is a geometry term that designates a spiral with a grow rate equal to the Golden Ratio which is a number defining perfect proportions that was used by all great masters of the Renaisance. But enough background story, let's begin....
I will start with an image of a snail shell, or is it a nautilus shell? Whatever...
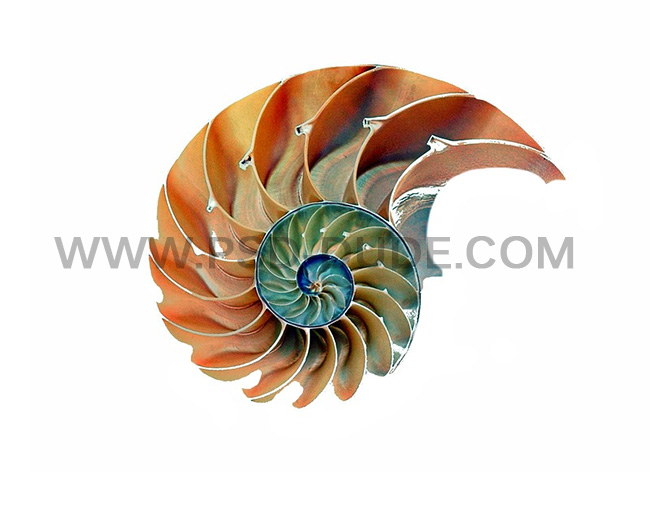
Duplicate the Shell 1 layer and name it Shell 2 layer.
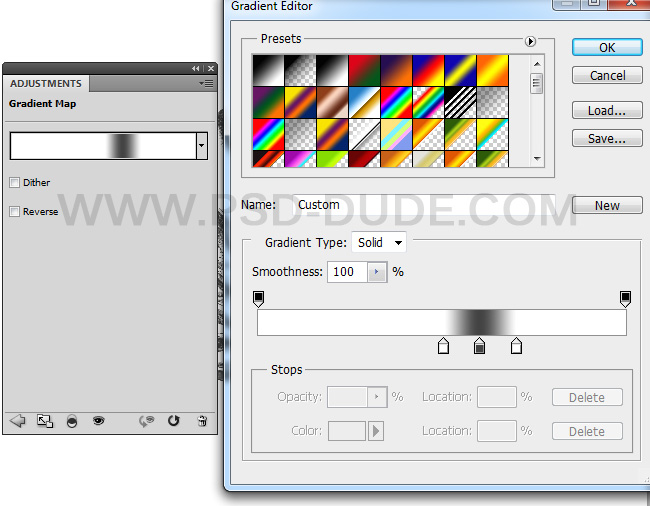
Add a Gradient Map to the Shell 1 layer. The colors for the gradient are: #ffffff location 51%, #4a4a4a location 60% and #ffffff location 70%
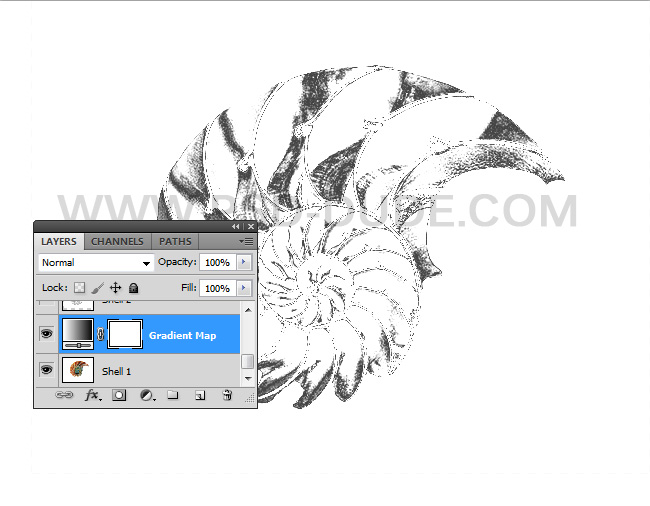
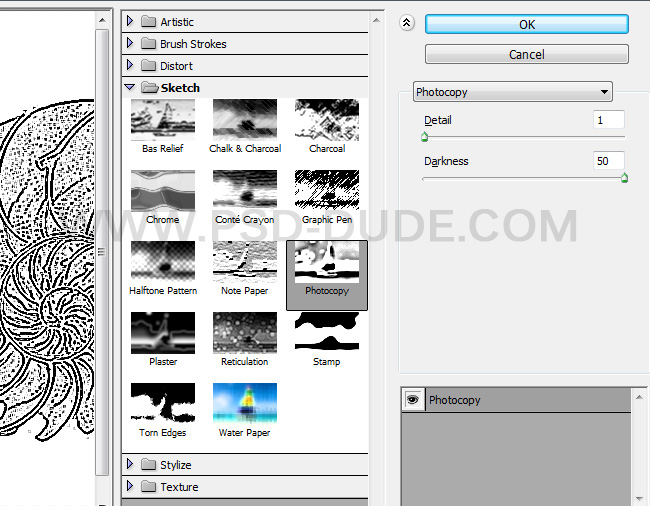
Set the Foreground Color to black and the Background Color to white. Go to the Shell 2 layer and apply the Filter > Sketch > Photocopy filter.
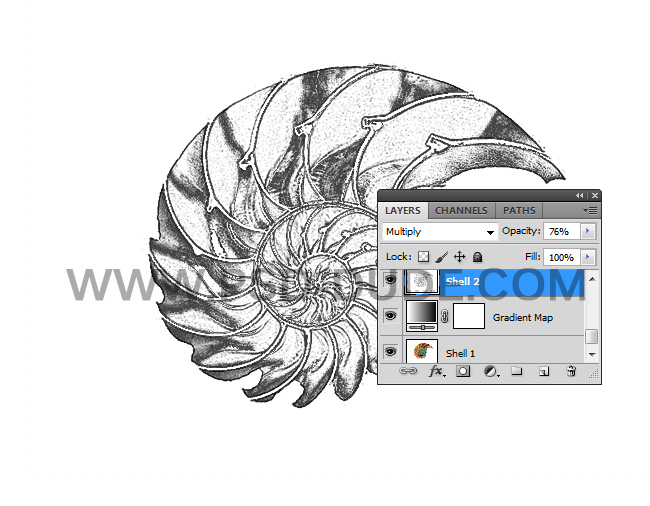
Set the blend mode of Shell 2 layer to Multiply, opacity 76% .
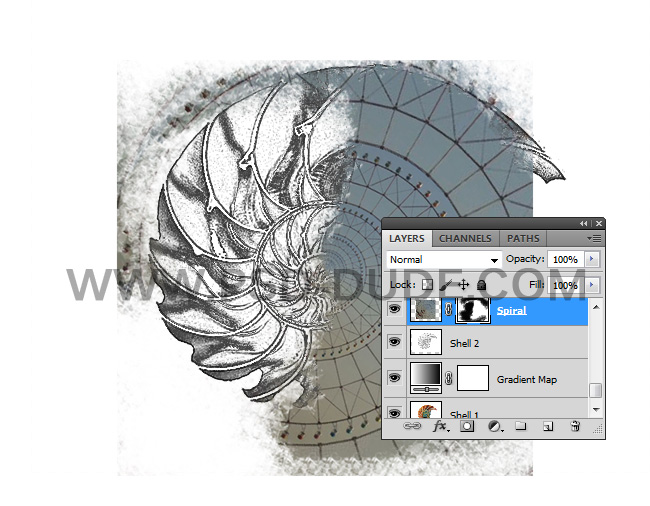
Add this spiral image in a new layer. The spiral image looks like a drawing grid, a tool used by many painters to get the perfect proportions. When drawing, I often add a grid to my reference photos using an online grid maker.
But, let's get back to the tutorial.
Add a Layer Mask and use the Brush Tool and color black to mask part of the image. Use a Grunge Brush for this part.
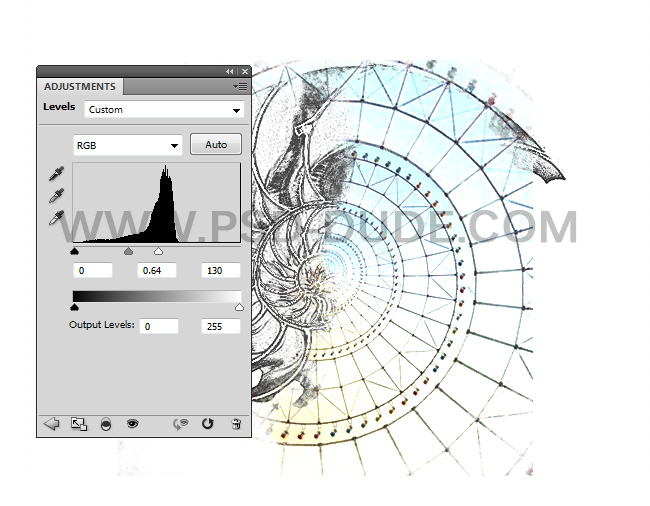
Add a Levels adjustment just for the Spiral layer. Right click and choose Create Clipping Mask.
Add this beautiful Grunge Old paper Texture in a new layer. Set the blend mode to Multiply.
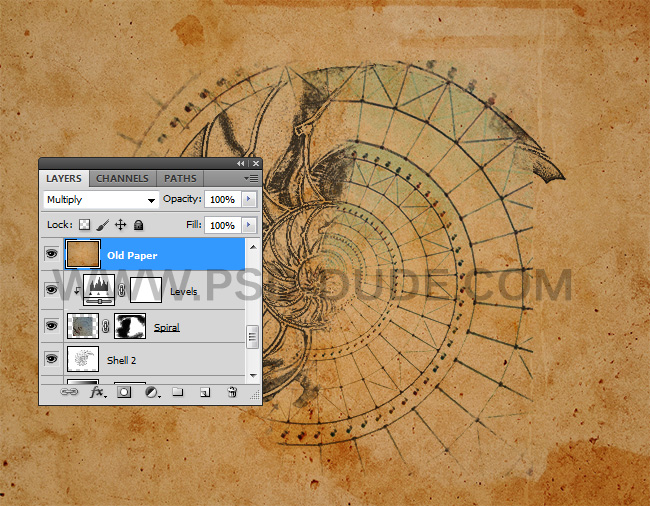
In a new layer add this Old Manuscript Texture and set the blend mode to Multiply. Also add a Levels adjustment using a Clipping Mask.
Like in the previous step add a Layer Mask and use the Grunge Brushes to mask some areas.
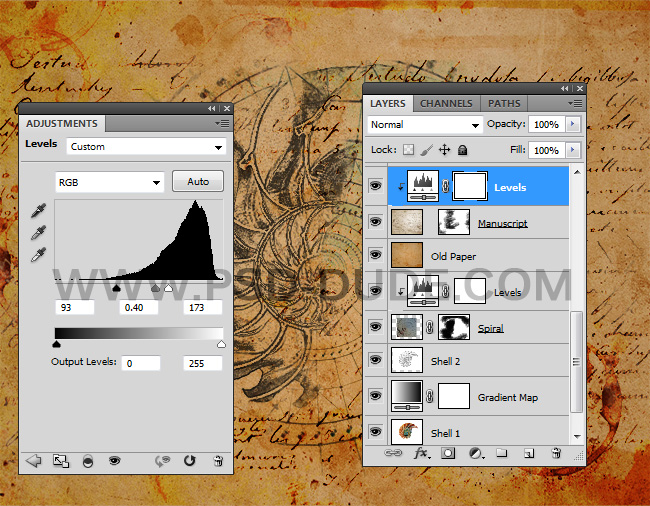
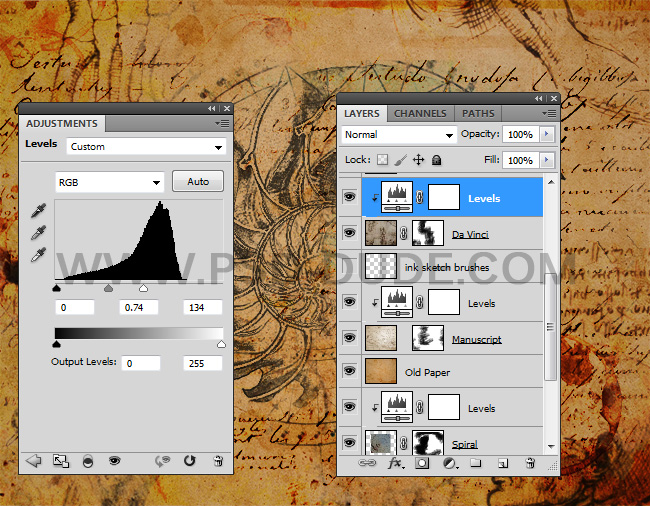
In a new layer add this Da Vinci Old Texture and set the blend mode to Multiply. Also add a Levels adjustment using a Clipping Mask.
Like in the previous step add a Layer Mask and use the Grunge Brushes to mask some areas.
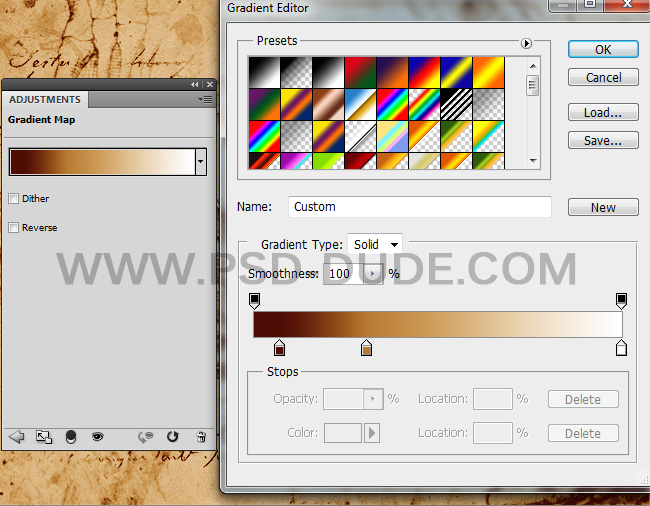
To blend all the image together add a Gradient Map. The colors for the gradient are: #560800 location 7%, #be8438 location 30% and #ffffff location 100% .
If you want you can add a Grunge Border PNG and set the blend mode to Soft Light.
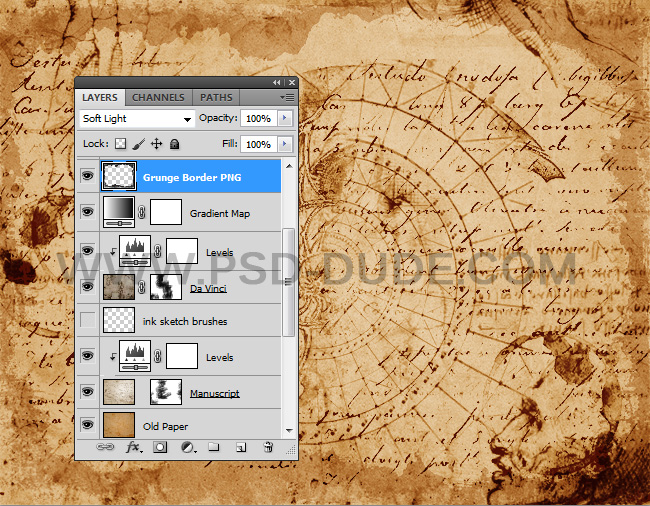
You can also add some sketch lines if you want.
Well doing some research we find out that Leonardo made his notes using latin (probably using google translator as he was italian so he had no other way to speak a dead language). So we can do the same... unfortunately google doesn't support latin any more (booooo!) but there are several other translators for latin out there.
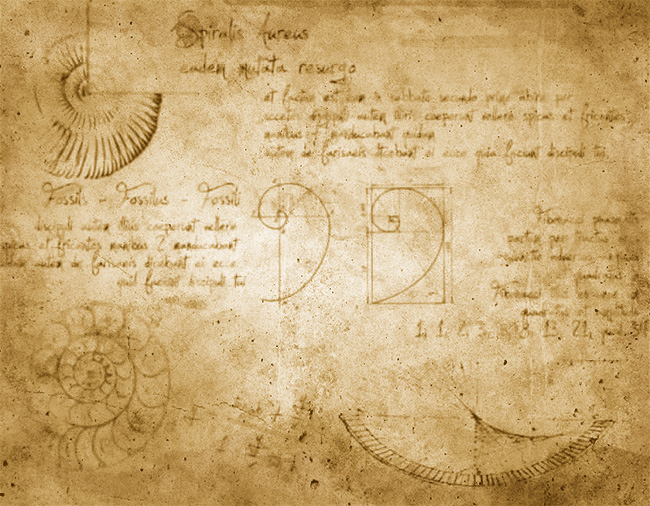
To make it sort of realistic I used a font that looks like hand writing (you can do a search on the internet, download it and install it). To make it even more realistic you can use some quotes from the master's writings and also some words about the "golden spiral" - "spiralis aureus" in latin, and a description of Fibonacci numbers - remember the "golden ratio" or the perfect proportion mentioned earlier, well it has something to do with Fibonacci numbers. Alternatively, take a look at this spiral text Photoshop template if you want to add some spiral writings to this design.
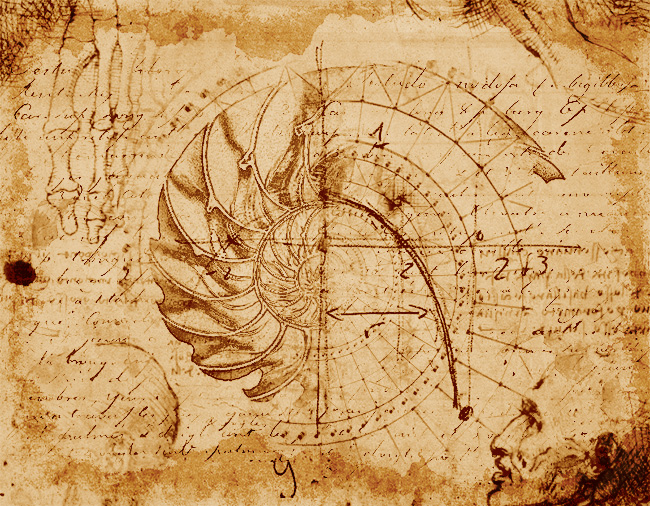
So here is the final result for the da vinci sketch effect Photoshop tutorial. You can create unlimited results.

Da Vinci Sketch Photoshop Action


2 comment(s) for "Lost Page Leonardo Da Vinci Codex The Golden Spiral"
i hope you can help me reply
reply