The Famous Vampire Count Dracula
Count Dracula is the most famous vampire. Count Dracula, a fictional character in the Dracula novel by Bram Stoker, was inspired by one of the best-known figures of Romanian history, Vlad Dracula, nicknamed Vlad Tepes born in 1431.
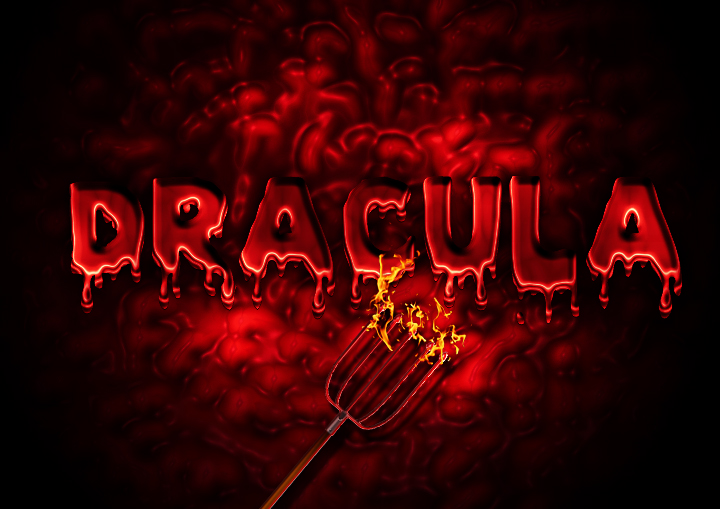
Create a Bloody Horror Background in Photoshop
Create a new PSD file, size 720x510px just to give you an idea about the proportions. If you make a larger canvas size you will have to proportionally adjust the layer styles and other sizes used in this tutorial.
Create a new Gradient adjustment layer. The colors for the gradient are #b50b23 and #000000. Set the Style Radial and the Angle to -17.35 .

In a new layer add this abstract blood texture and call it Blood background. Set the blend mode to Multiply.
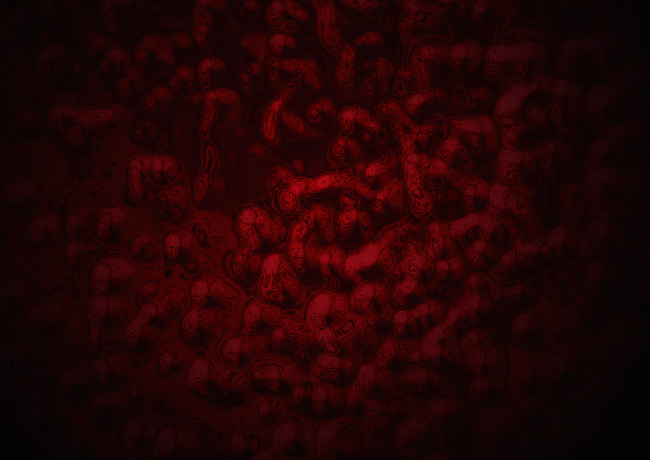
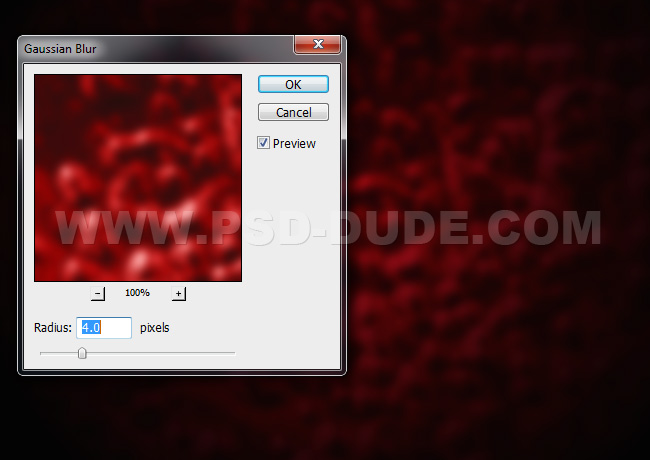
Go to Filter > Blur > Gaussian Blur.
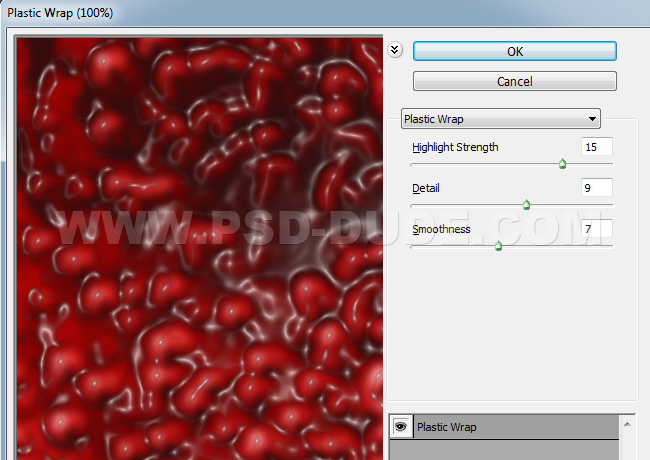
Go to Filter > Artistic > Plastic Wrap.
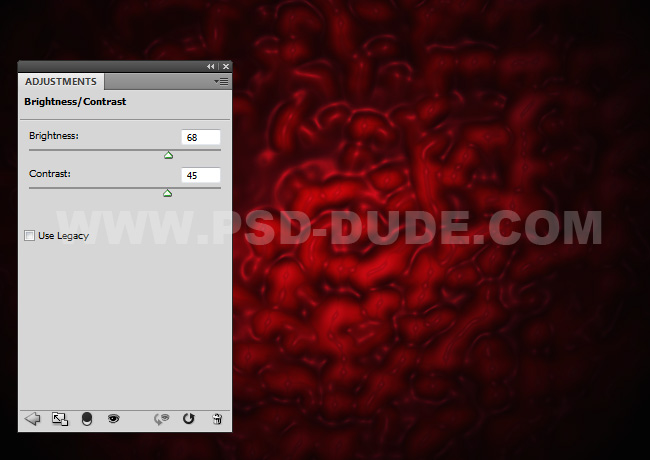
Add a Brightness and Contrast adjustment layer.
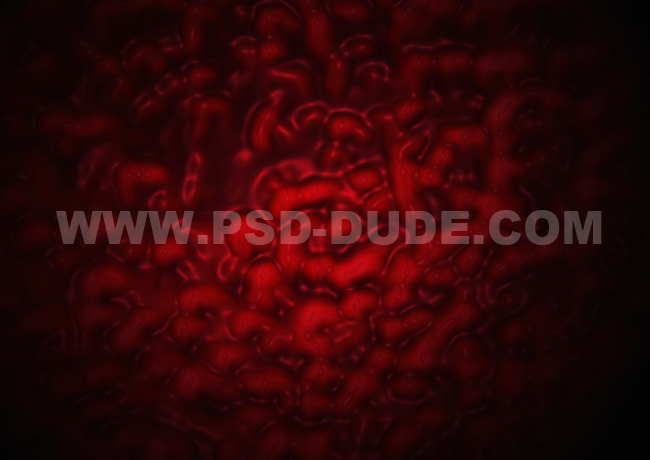
The horror bloody background should now look something like this.
How to Create a Dripping Blood Effect in Photoshop
Now I will show you how to create a dripping blood effect in Photoshop using any font type or shape. So add a text using the font that you like. In this tutorial you can learn how to create rounded corner in Photoshop.
I used the font type Arial and used the rounded corners technique.

Add this dripping blood image in a new layer.
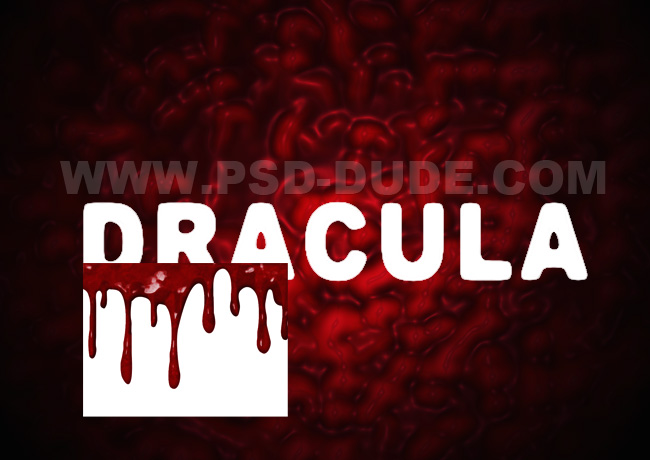
Remove the white background using the Magic Wand Tool.
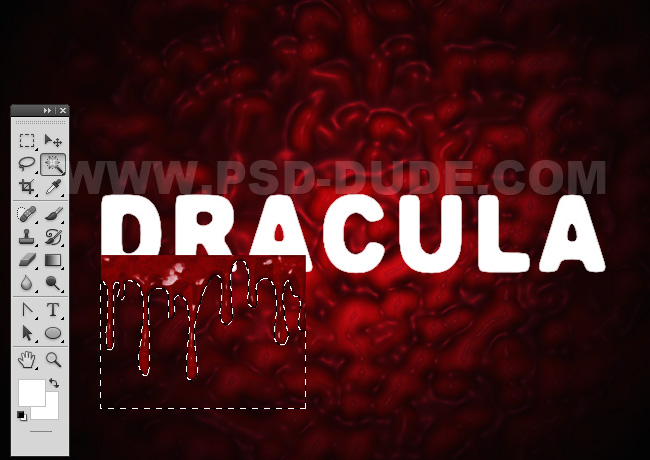
Add a Color Overlay using the same color that you used for the text.
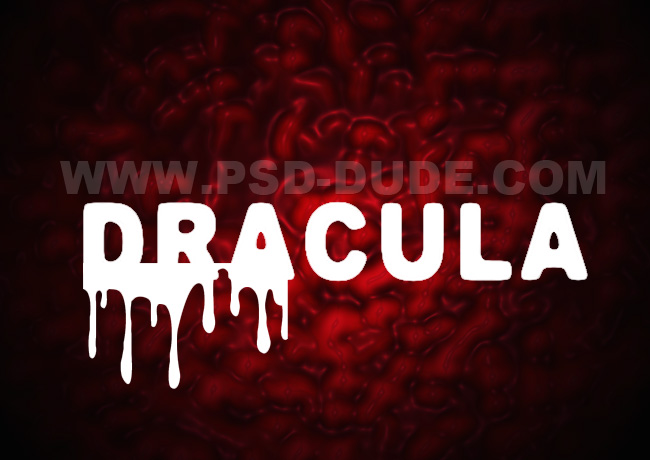
Press Control-J to multiply this layer as many times as you need. Use the Eraser Tool to create the dripping effect for each letter.
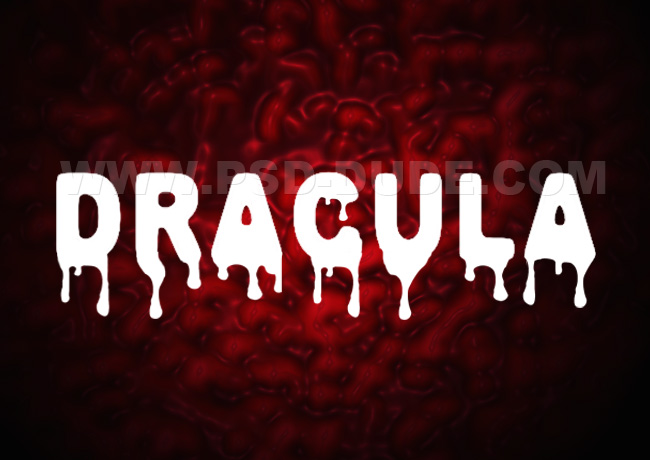
Dripping Font Type
If you want a quick solution you can use this dripping font type ; you will have to download the file and install font in Photoshop using this instruction.
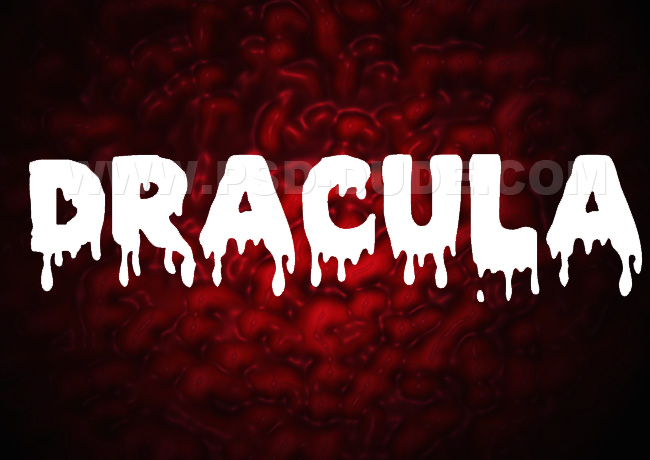
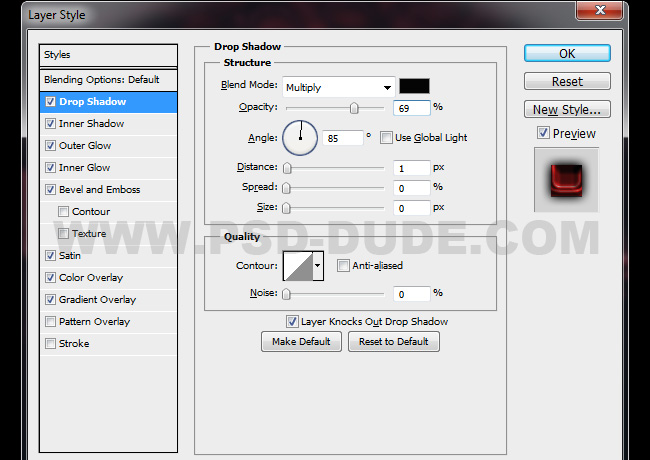
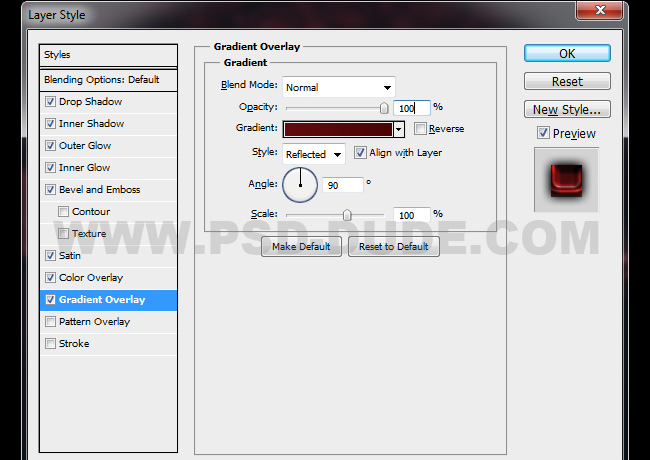
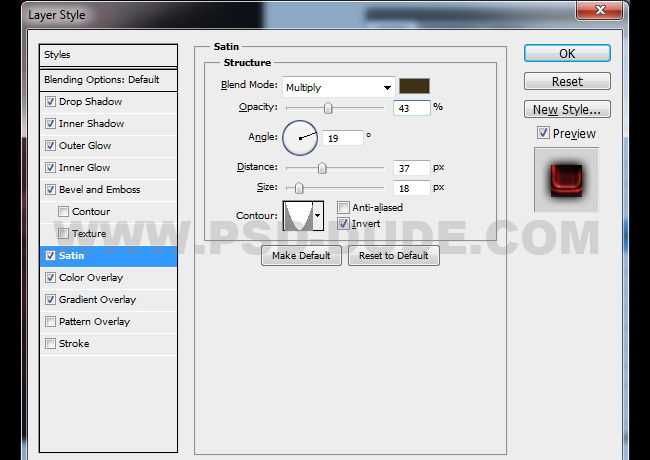
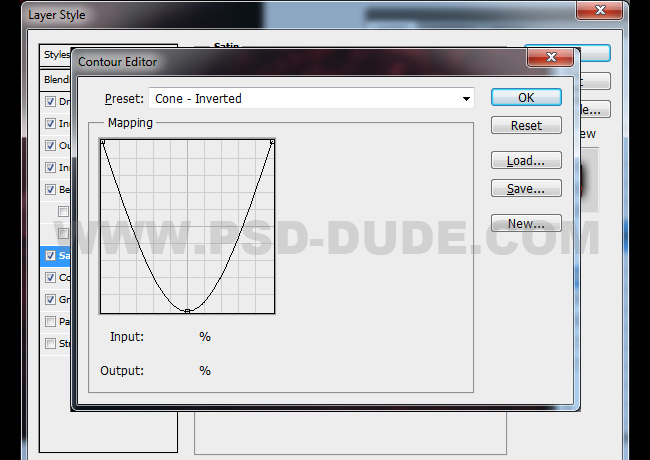
So add this layer style to the Dripping Blood Text layer: Drop Shadow, Inner Shadow with Contour, Outer Glow, Inner Glow (color #705050) with Contour, Bevel and Emboss with Contour, Color Overlay (color #c61918), Gradient Overlay (colors #5f0b0b and #4b0404) and Satin with Contour
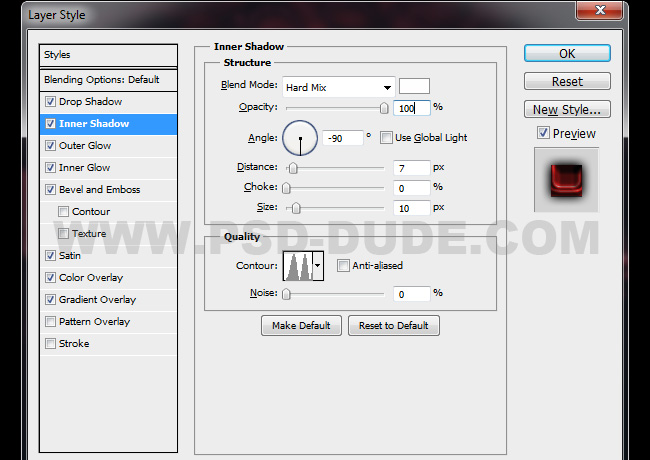
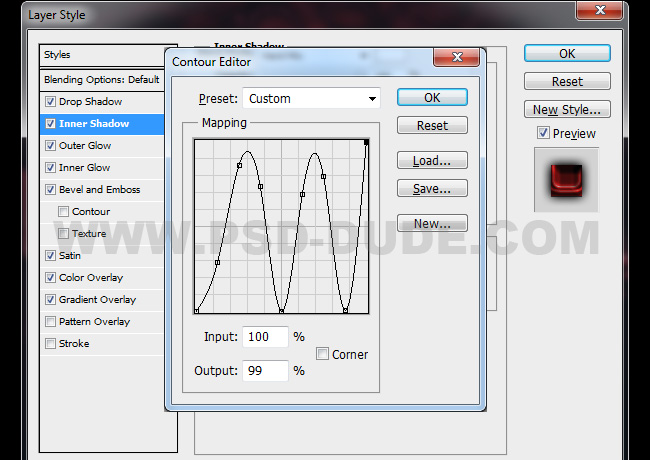
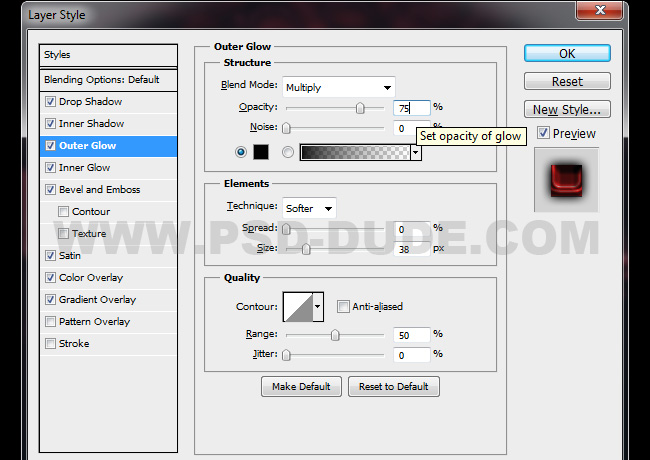
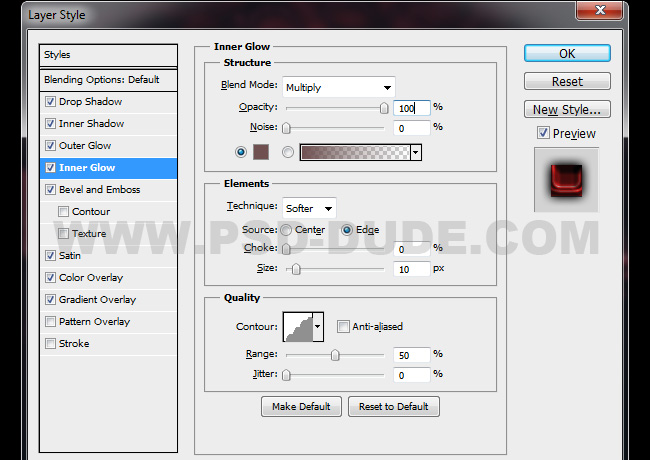
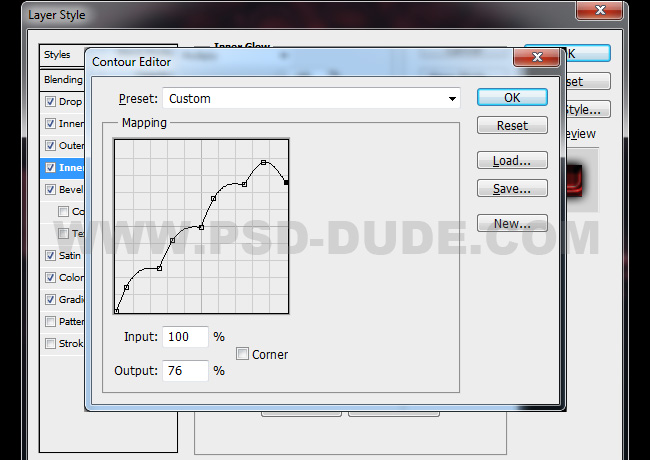
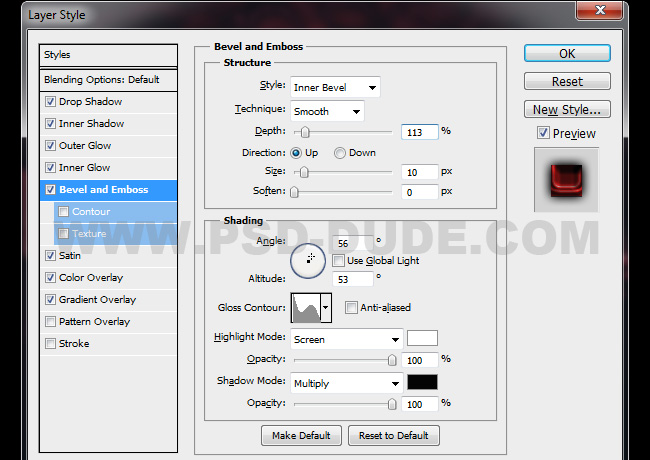
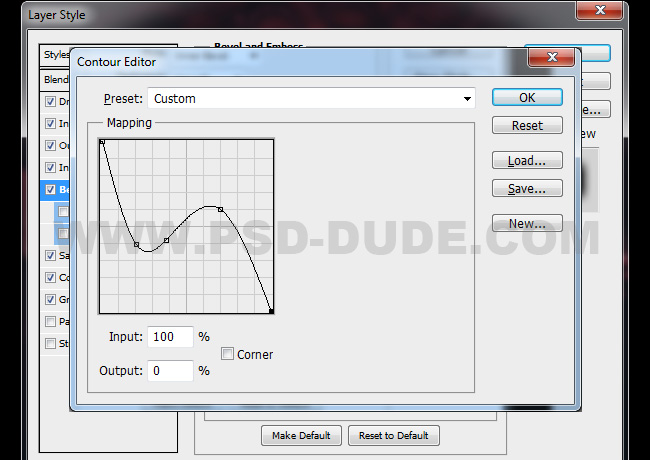
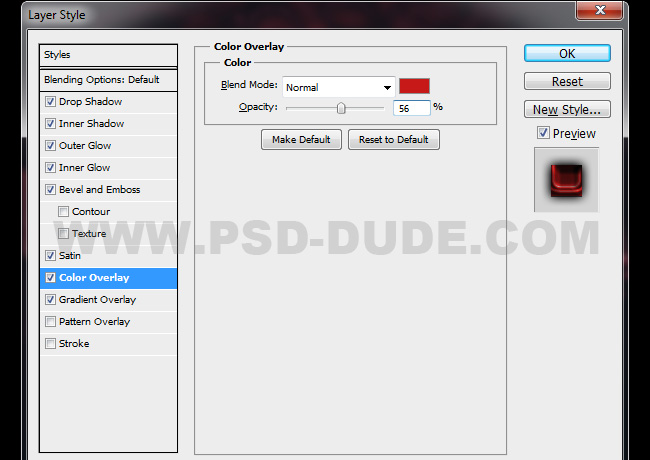
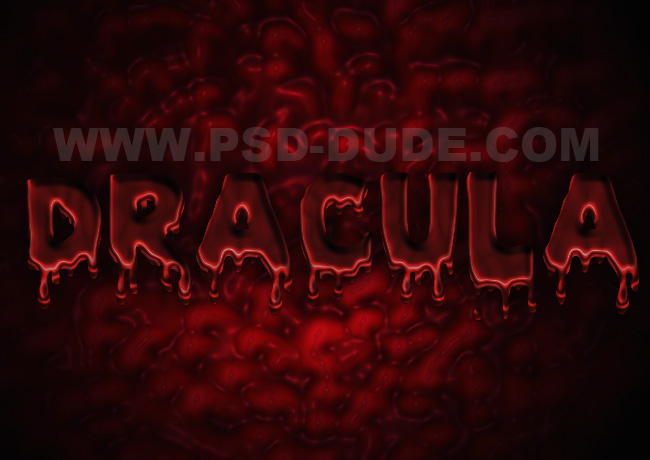
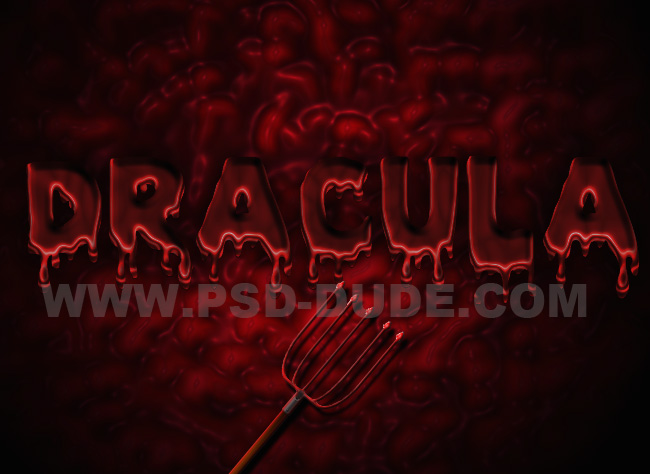
The dripping blood text effect should now look like this.
Add the Pitchfork PNG
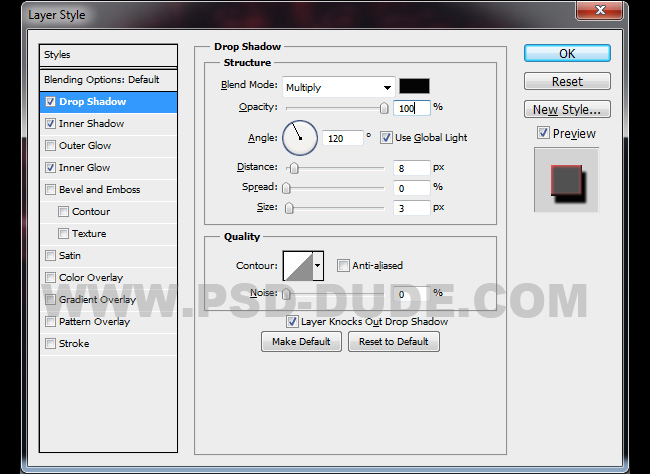
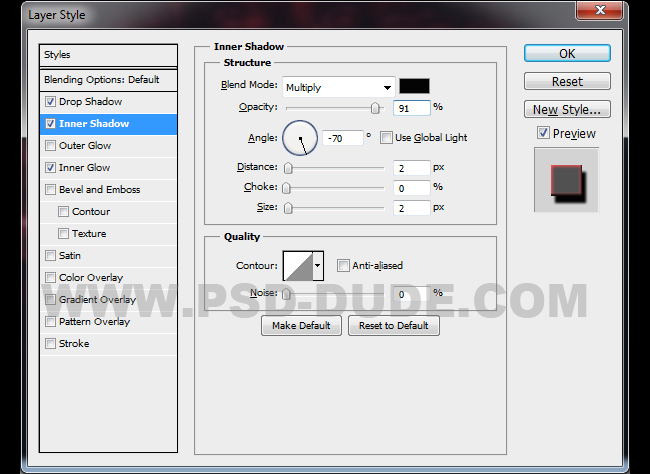
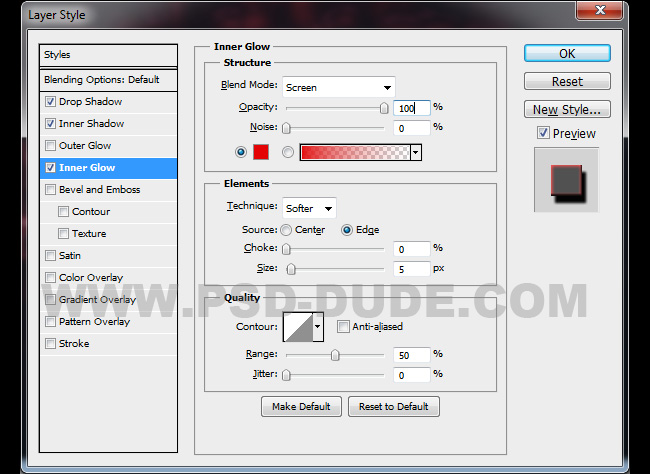
In a new layer add this pitchfork PNG image. Add this layer style to the Pitchfork layer: Drop Shadow, Inner Shadow and Inner Glow (color #e30304).
Add Light Effects
Create a new layer and call it Light. Use the Brush Tool, a soft round brush and color white, to paint over some areas.
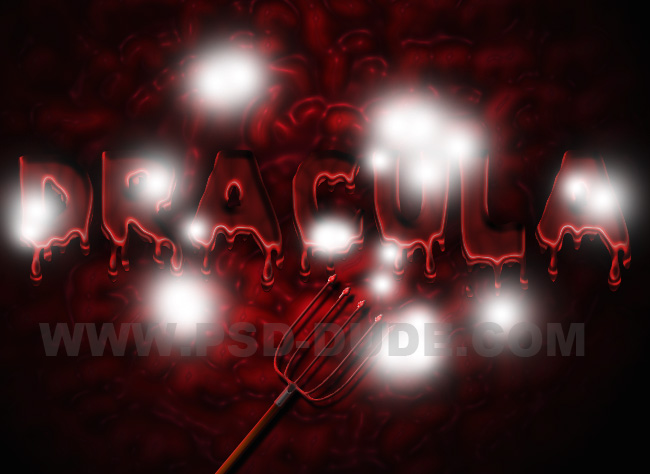
Set the blend mode of the Light layer to Overlay.
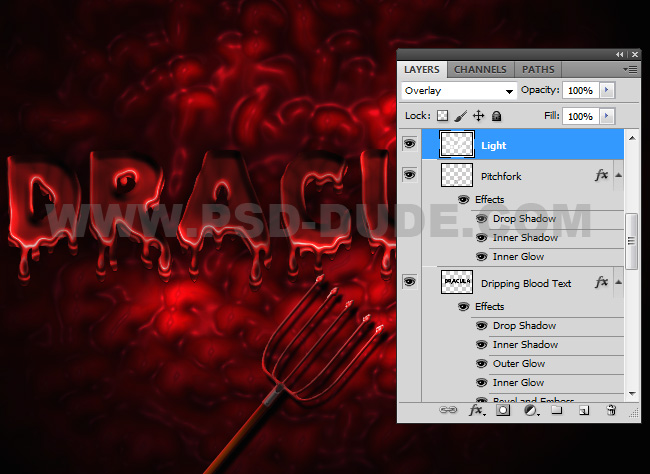
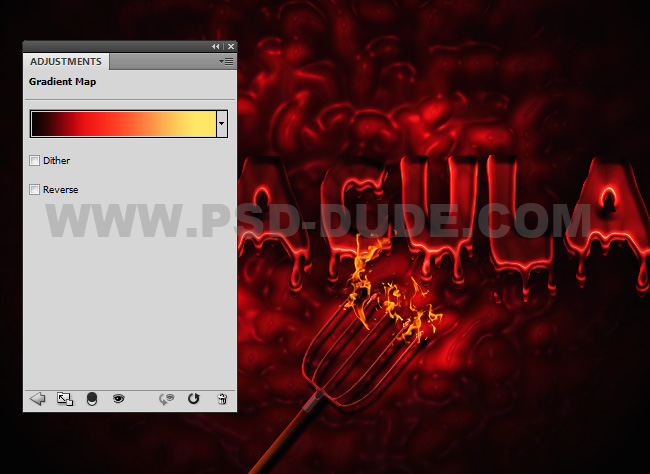
Add a Gradient Map adjustment layer and set the blend mode to Normal, opacity 65%. The colors for the gradient are: #000000 (location 0%), #ec1212 (location 29%) and #ffe96f (location 88%).
Add Fire Effects in Photoshop
To add fire effects I will use this Fire effect PNG image. Simply download, resize and place the flames over the pitchfork. You can use the Eraser Tool to delete the flames that are not necessary.
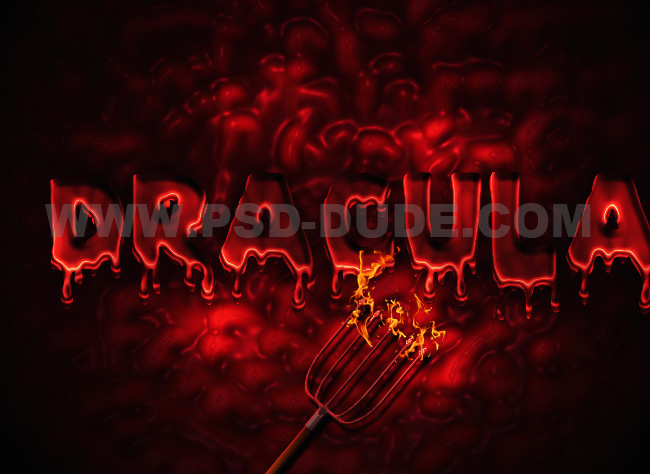
Congratulations, You Made It!
So here is the final result for the vampire dripping blood text effect made in Photoshop. If you want you can add a Brightness and Contrast adjustment layer to increase the brightness and the contrast.

If you enjoyed this tutorial, make sure you check out these amazing premium Photoshop addons for Halloween:
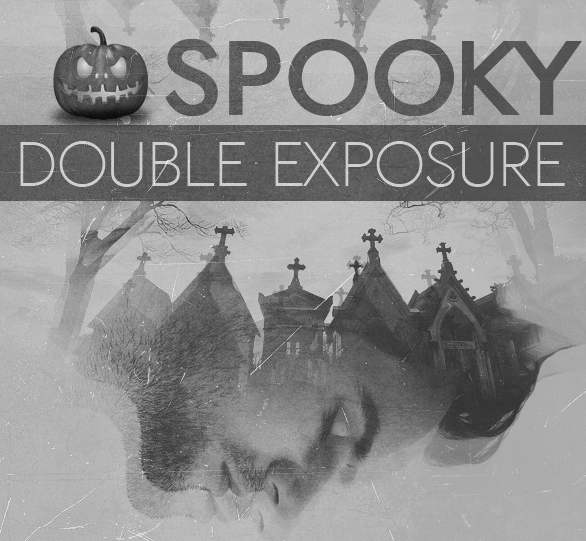
Spooky Double Exposure Photoshop Action
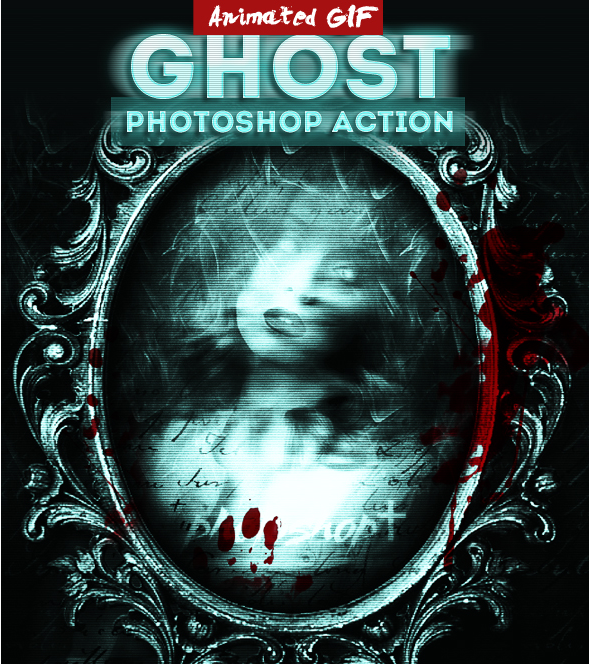
Halloween Ghost Animated Photoshop Action
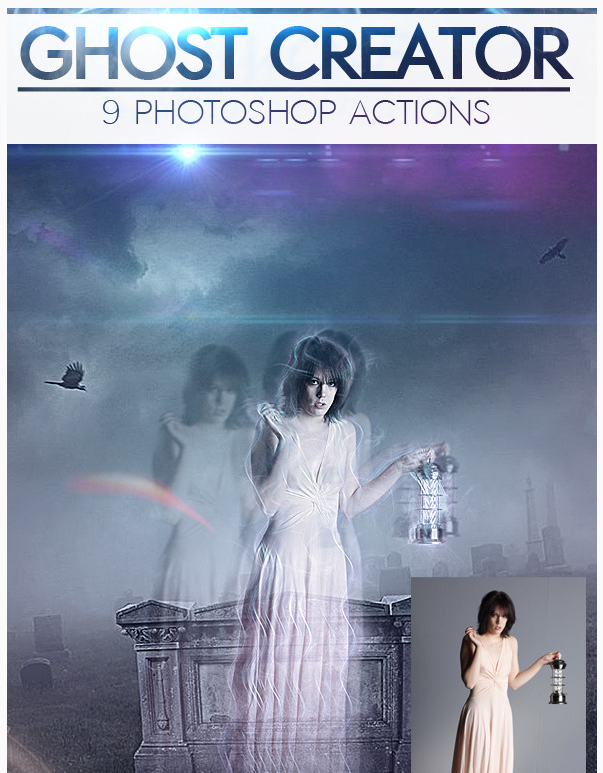
Ghost Creepy Photo Effects Photoshop Actions

No comment(s) for "Vampire Blood Text Effect in Photoshop"