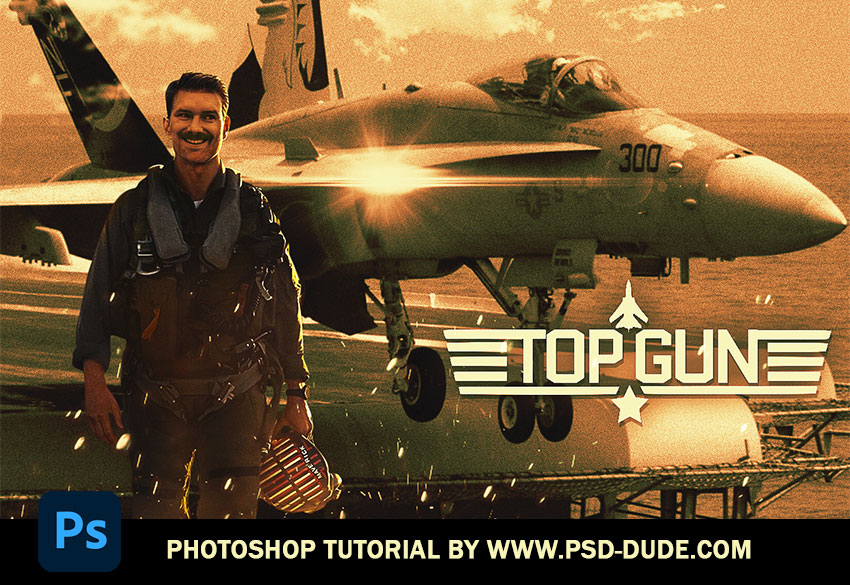
In this tutorial I will show you how to make a poster for one of my favorite movies Top Gun.
Add the Fighter Aircraft Background Image
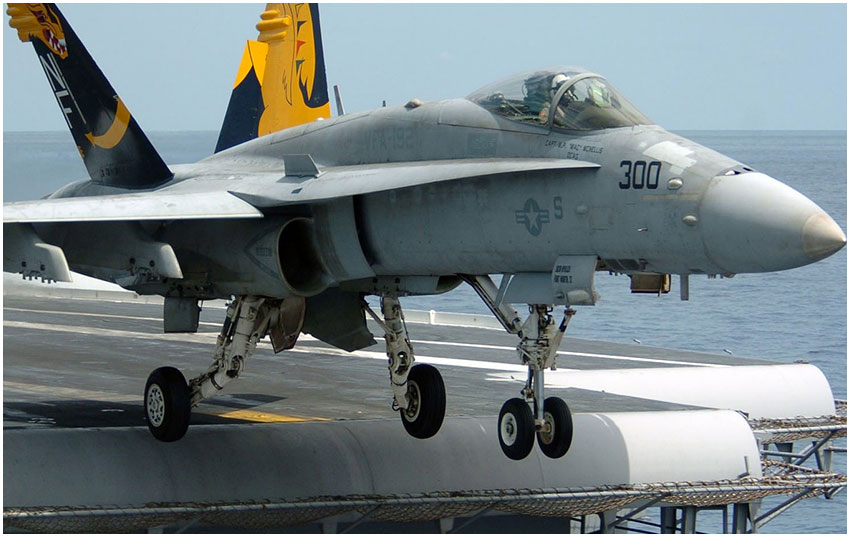
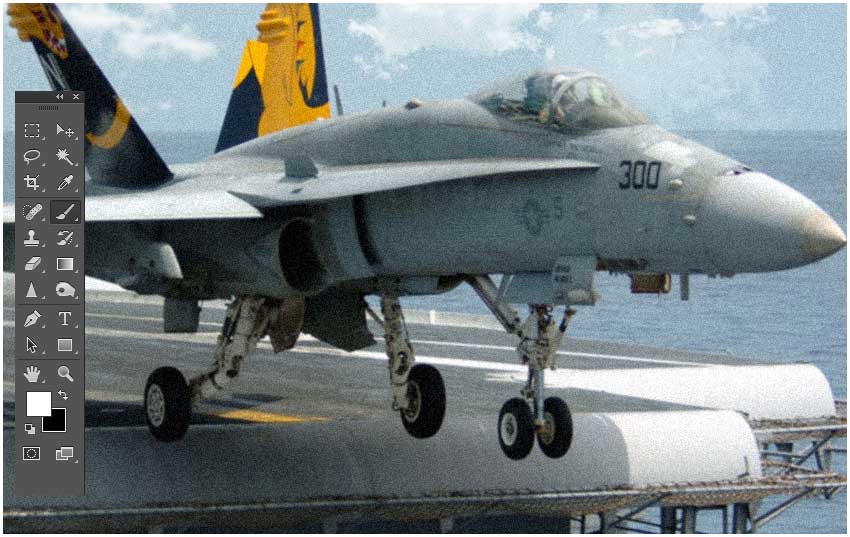
For the background I will use an image of a military aircraft that is taking off from aircraft carrier.
Add Gaussian Blur in Photoshop
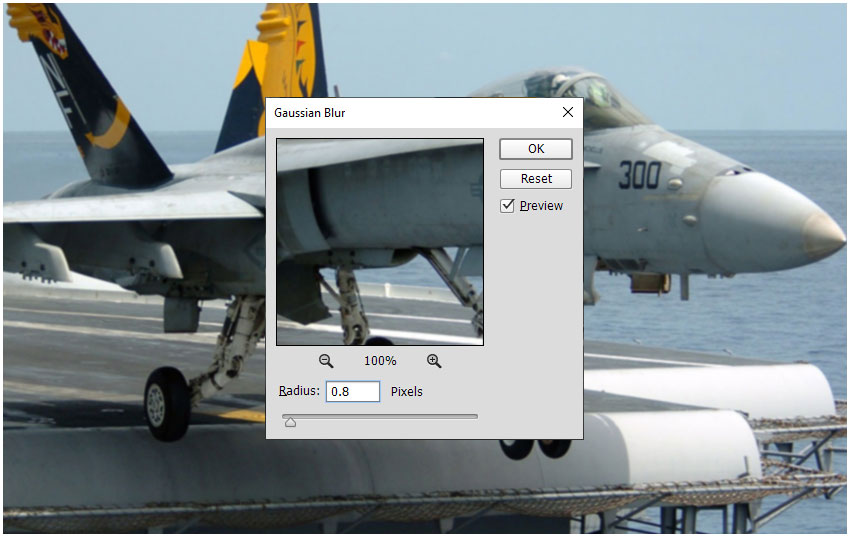
To make the photo a little bit more unclear and blurry, go to Filter > Blur > Gaussian Blur.
Add Noise in Photoshop
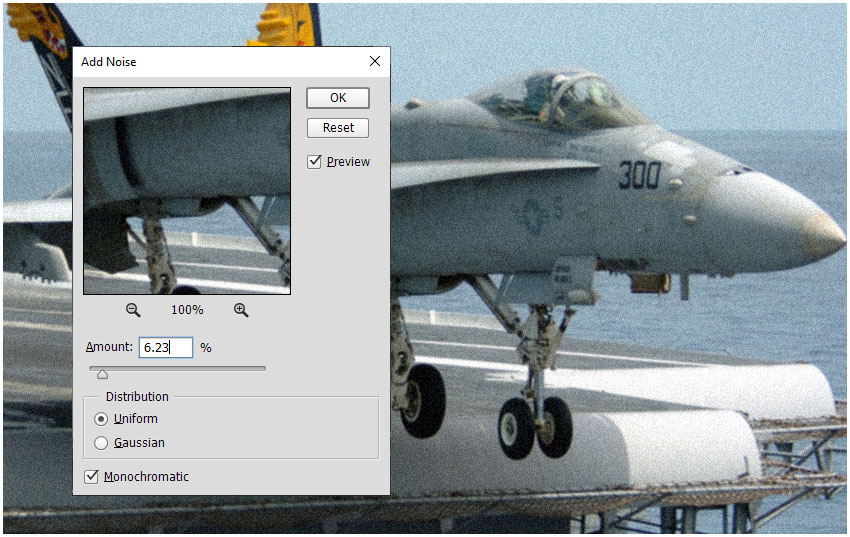
To make the photo more noisy and grungy, go to Filter > Noise > Add Noise.
Add Clouds in Photoshop
In this picture the sky is clear without any clouds. If you want to add clouds, use a cloud brush from this free Photoshop brushes pack. Another alternative is to use a cloud PNG image. For the cloud brush use the color white.
Add Photoshop Lens Flare Effect
Let's use this lens flare overlay image to create a cinematic effect. Set the blending mode to Screen to make the black background transparent.
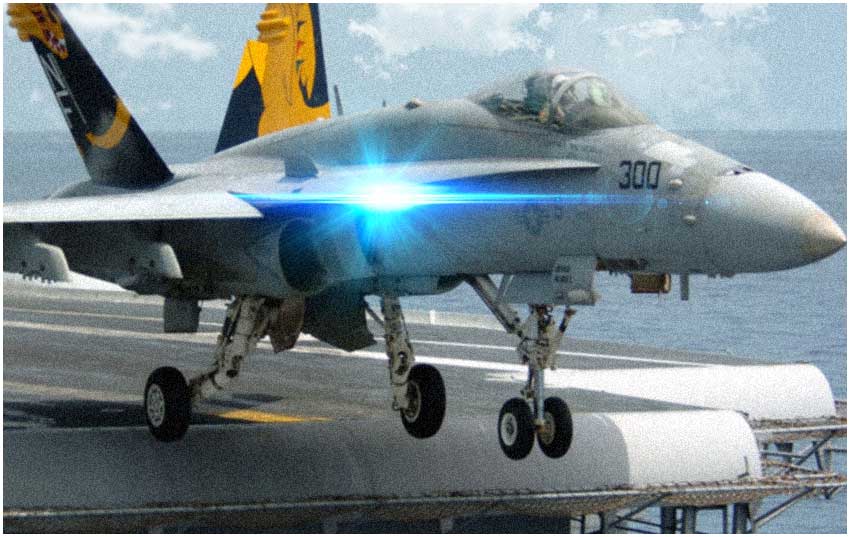
Other free resources that you can use to create a lens flare effect: lens flare textures and lens flare brushes for Photoshop and other graphic design tools.
Add the Top Gun Logo
Use this free Top Gun Logo Generator to create a custom Top Gun logo with your custom text and colors. Create a Top Gun Maverick logo png or use your own name or other text instead.
So, in the MockoFun tool go to Layers and click on the eye icon to hide the two stars layers.
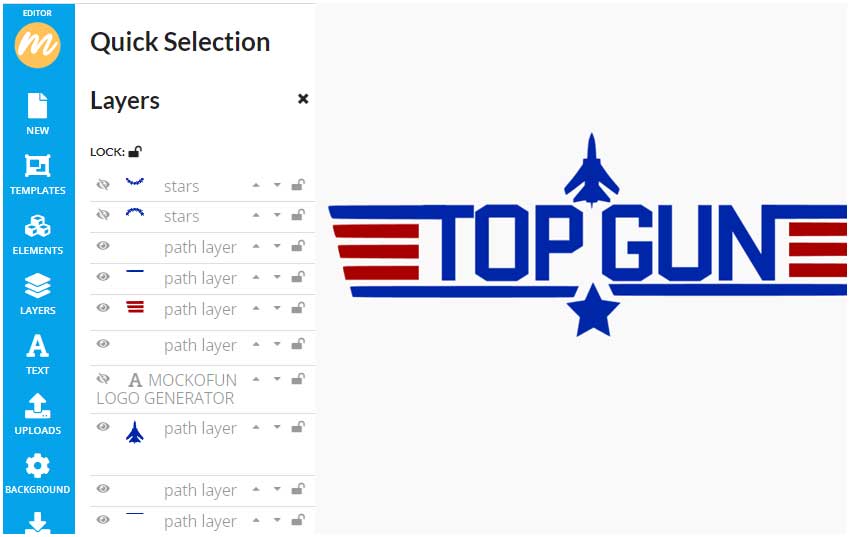
Click on the blue lines on the bottom and drag the middle handlers to resize the lines. Move the star shape to make room for another text. Click on the "TOP GUN" text layer and click on the Duplicate button from the top menu to make a copy. Edit the text and change the Text Size to 42 and the Spacing > Letter Spacing to -50.
To make it look more to the original logo, I also duplicated some of the lines and added near the star shape. You can Skew the lines by dragging the middle handler point.
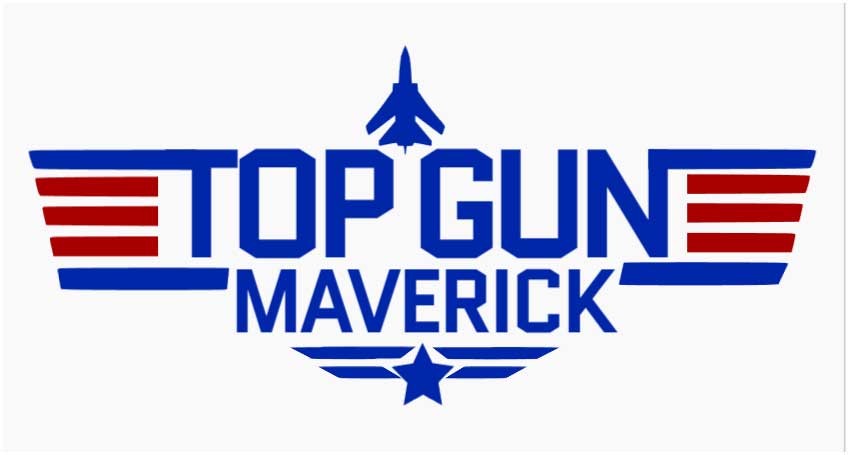
You can also change the color of each element but I will do that in Photoshop. Another thing that you have to do before downloading is to trim image size. Click on the Crop Image button and use the mouse on the canvas to draw the area that you want to crop. .
To get the Top Gun Maverick Logo PNG image go to Download menu on the left and choose PNG file from the drop-down list.
If you want to create a movie poster with title and a billing block, you can use this Movie Poster Credits Template that is available online.
Add the Top Gun Logo in Photoshop
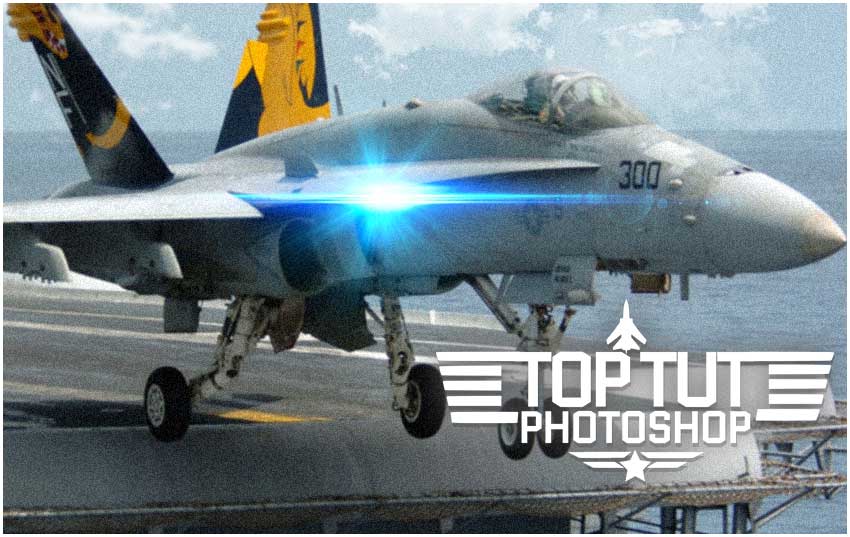
Now, you can open the custom Top Gun Logo in Photoshop. Resize it and add these layer styles: Color Overlay (Color #ffffff), Outer Glow (Color #5b5a5a and Size 40) and Drop Shadow (Color #000000, Opacity 25%, Distance 4px).
Add a Gradient Map in Photoshop
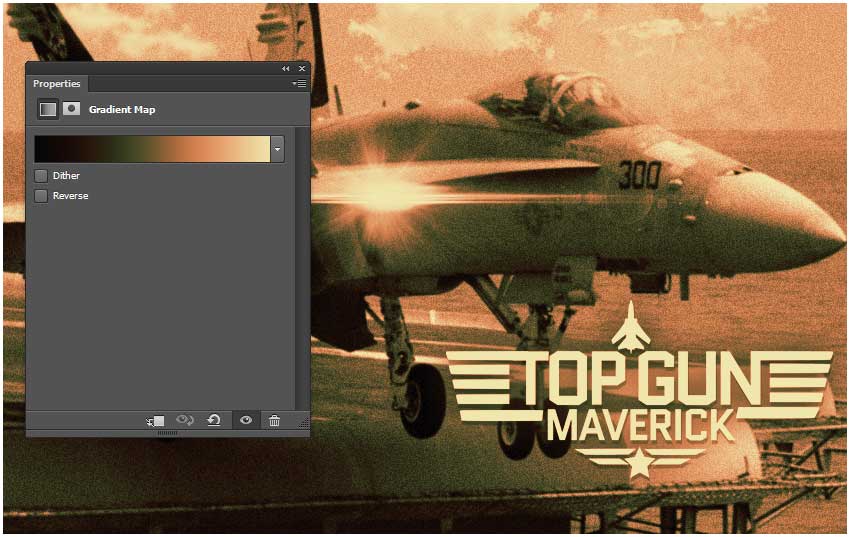
To blend all the elements together I will use a Gradient Map adjustment layer with blend mode Darker Color. The colors for the Gradient Map are: #070606 (location 0), #23140b (location 21), #434524 (location 41), #d28151 (location 67), #f0e6ad (location 100).
Add the Maverick Character
For this Photoshop tutorial we'll use the image of LT Pete "Maverick" Mitchell from one of the official movie posters. The image is for personal use only and it can not be used commercialy. Use the Pen Tool Selection Photoshop method to remove the background.
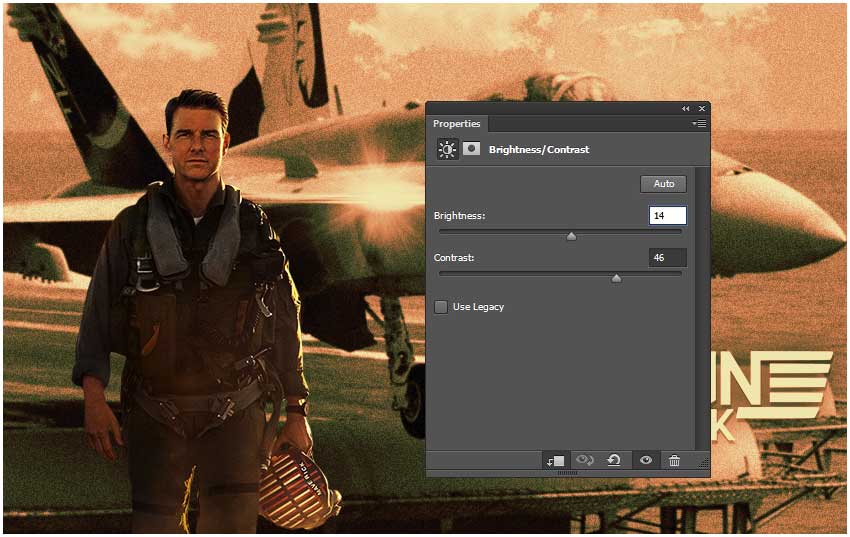
Add a Brightness and Contrast adjustment layer only for this character. Righ click and choose Create Clipping Mask.
Swap Faces in Photoshop
You can put yourself in famous movie posters free with this simple technique. To swap faces in Photoshop add a Layer Mask to the original image. Use the Brush Tool, a soft round brush and color black to paint over the face to make a hole. Place the new face below the original face (make a selection to keep only the face not the entire image).
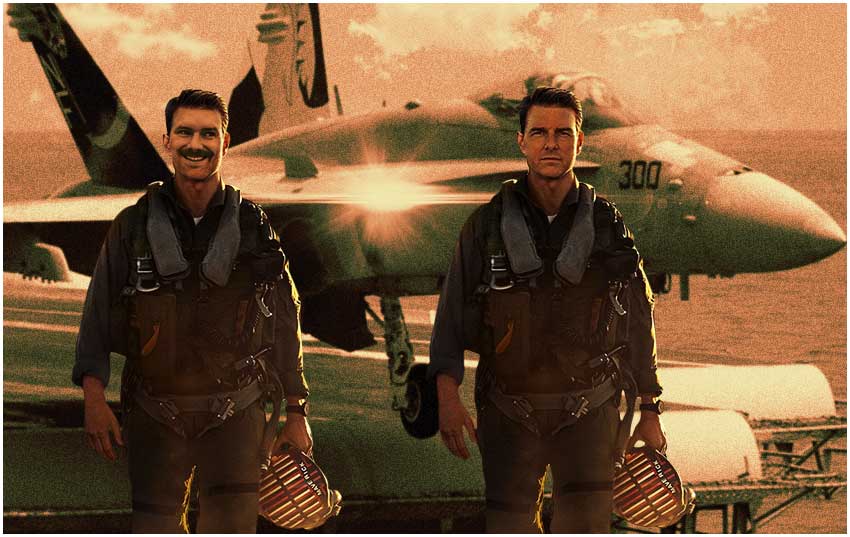
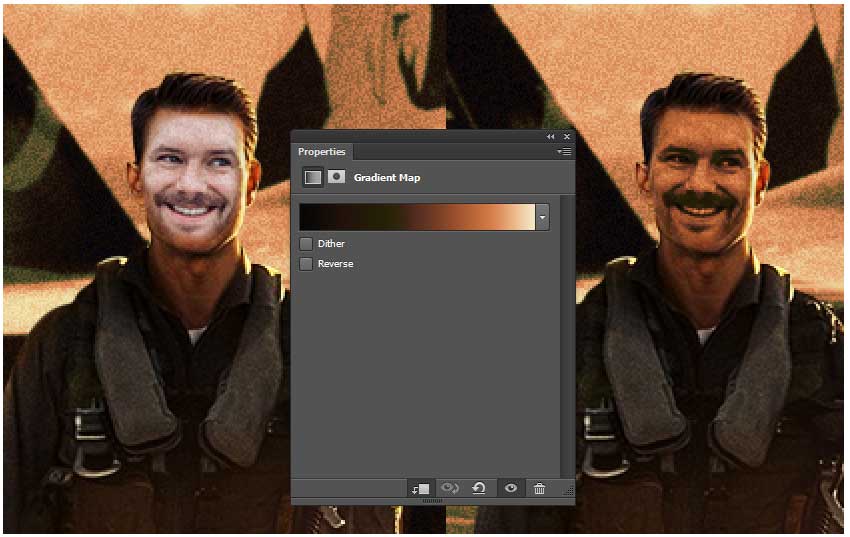
To blend the two images let's use a Gradient Map for the New Face layer only (right click and select Create Clipping Mask). Set the blend mode of the Gradient Map adjustment to Darker Color. The colors for the Gradient Map are: #070606 (location 0), #23140b (location 21), #242106 (location 35), #572e20 (location 49), #d17b46 (location 79), #f5f0d1 (location 100). IMPORTANT: Because not all the images are the same you might have to use other colors, add other adjustments like contrast, brightness, etc.
Add the Fire Sparks Effect
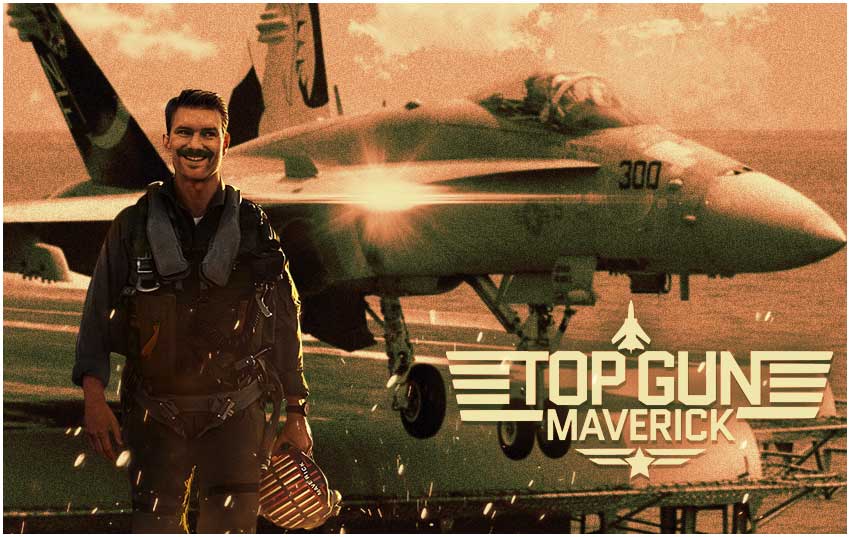
Place this free Fire Sparks PNG image in a new layer. Set the blending mode to Screen.

For a more realistic result add a Gradient Map adjustment layer with blend mode Darker Color. The colors for the Gradient Map are: #070606 (location 0), #23140b (location 21), #434524 (location 41), #d28151 (location 67), #f0e6ad (location 100). It is the same gradient map used in step 14.
Add Color Lookup in Photoshop to Create a Cinematic Effect
The Photoshop Color LookUp is a color table which contains instructions for Photoshop to take the original colors in your picture and remap them to specific colors to create a completely different look that can be subtle or very dramatic.
Click the Adjustment Layer icon in the Layers panel, choose Color Lookup and use the 3DLUT File DropBlues.3DL.
Add Photo Adjustments & Photo Effects
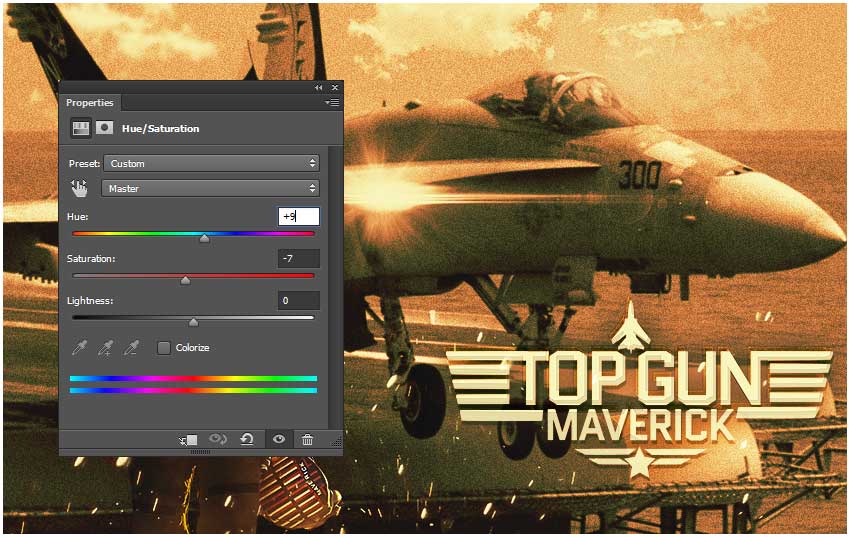
Press SHIFT+CTRL+ALT+E to make a copy of all the layers merged. To complete de cinematic effect, use the High Pass Photoshop filter. You can use the Sharpen Filter also. I also added a Hue/Saturation adjustment layer with Overlay blend mode. On the Layer Mask of this adjustment layer I have applied Image > Apply Image two times.
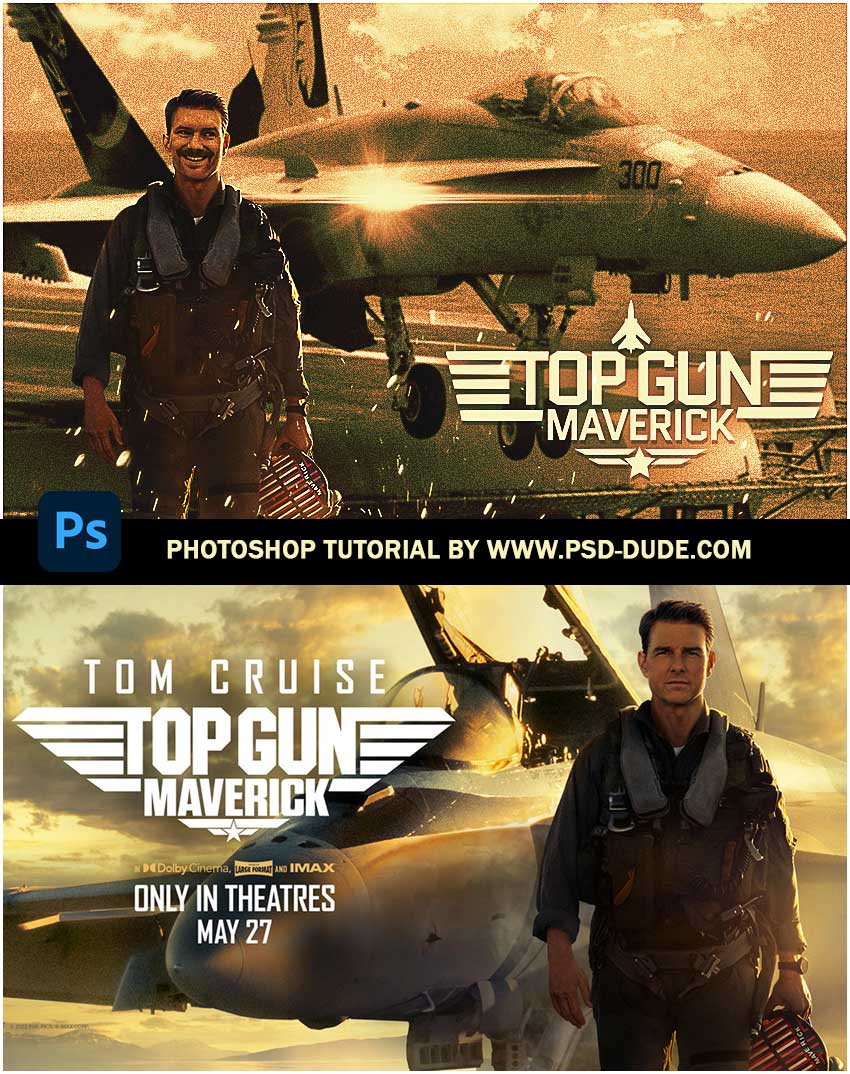
Custom Top Gun Maverick Poster Final Result
So, the personalized Top Gun Maverick poster is ready to be displayed on your room wall, on your social media channels, etc. I hope you wnjoyed this Photoshop tutorial and decide to give it a try.
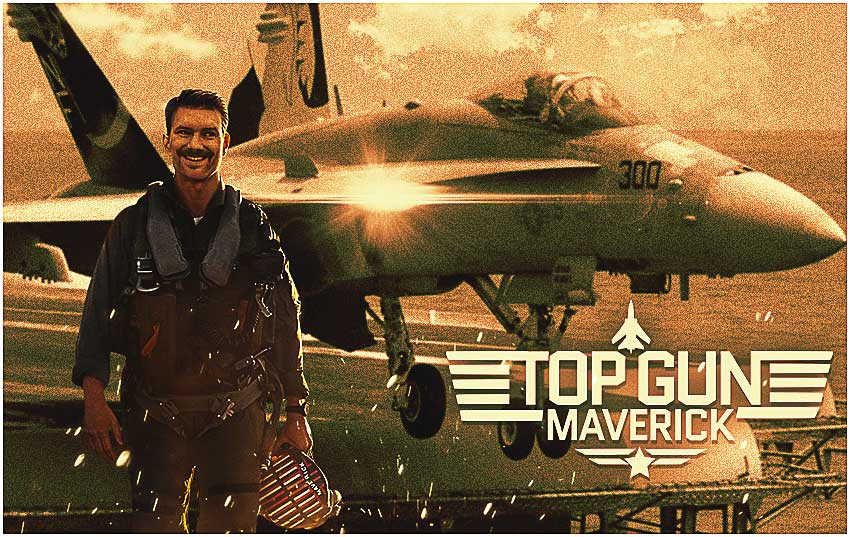
Top Gun: Maverick Poster 2022
The trend of making recreated movie posters is quite popular these days and this recreated Top Gun poster is one good example that you should try.



No comment(s) for "Top Gun Maverick Poster"