What is a mosaic in art?
A mosaic is a picture made by arranging together small pieces of terracotta, ceramics, marble, stone, tile, glass, etc.
Photoshop Mosaic Effect
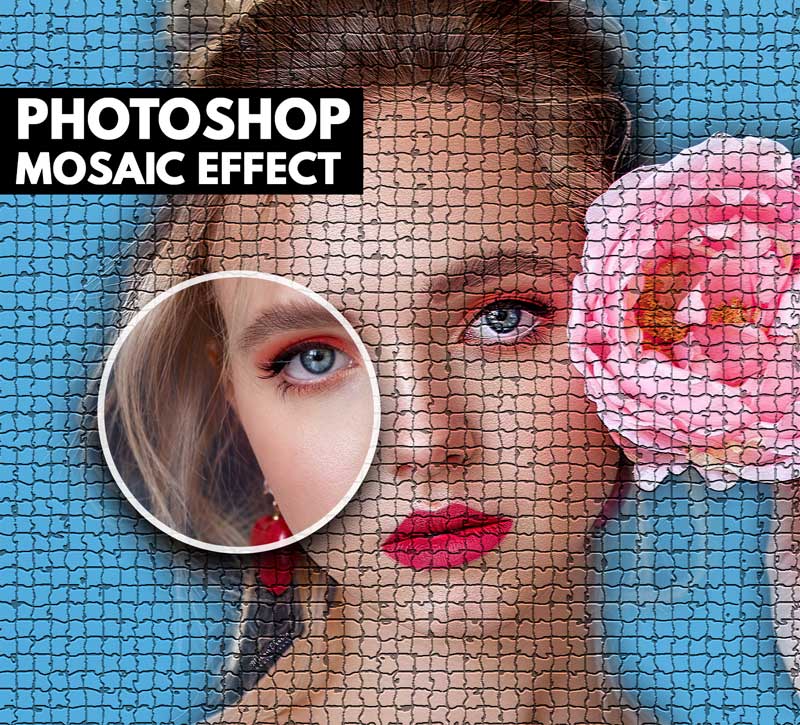
Do you need a mosaic creator? In this Photoshop mosaic tutorial you will learn how to create a mosaic photo effect. I will show some smart filters that can help you achieve this effect in just a few easy steps. Stay with me till the end and I will also present you a really awesome mosaic Photoshop action.
Mosaic Effect Method 1
The first step is to open your image in Photoshop. You can use JPG, PNG or other type of images.
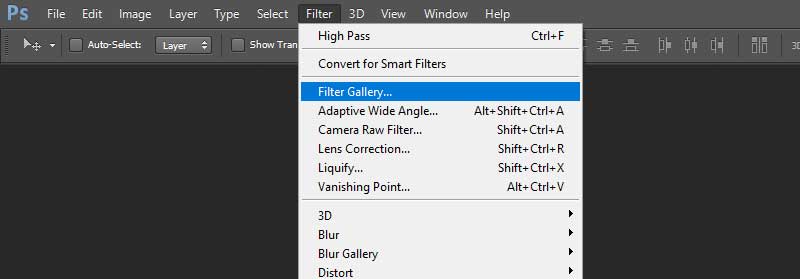
Go to the Photoshop Filter Gallery (Filter menu > Filter Gallery).
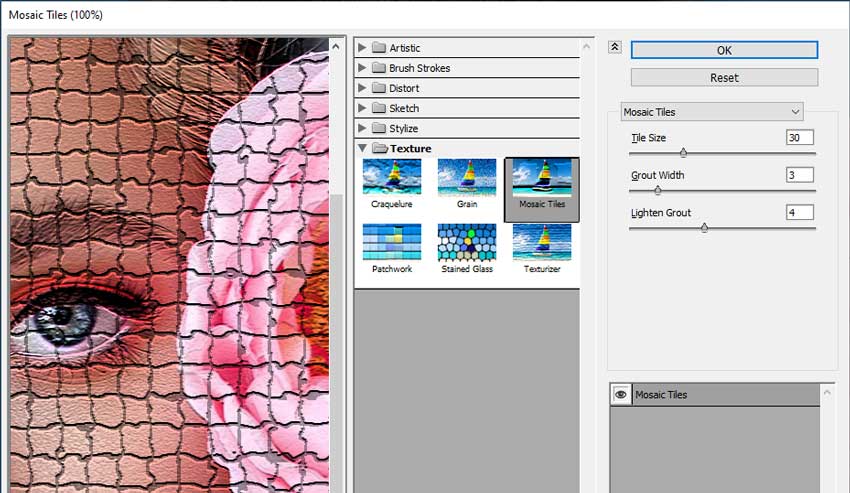
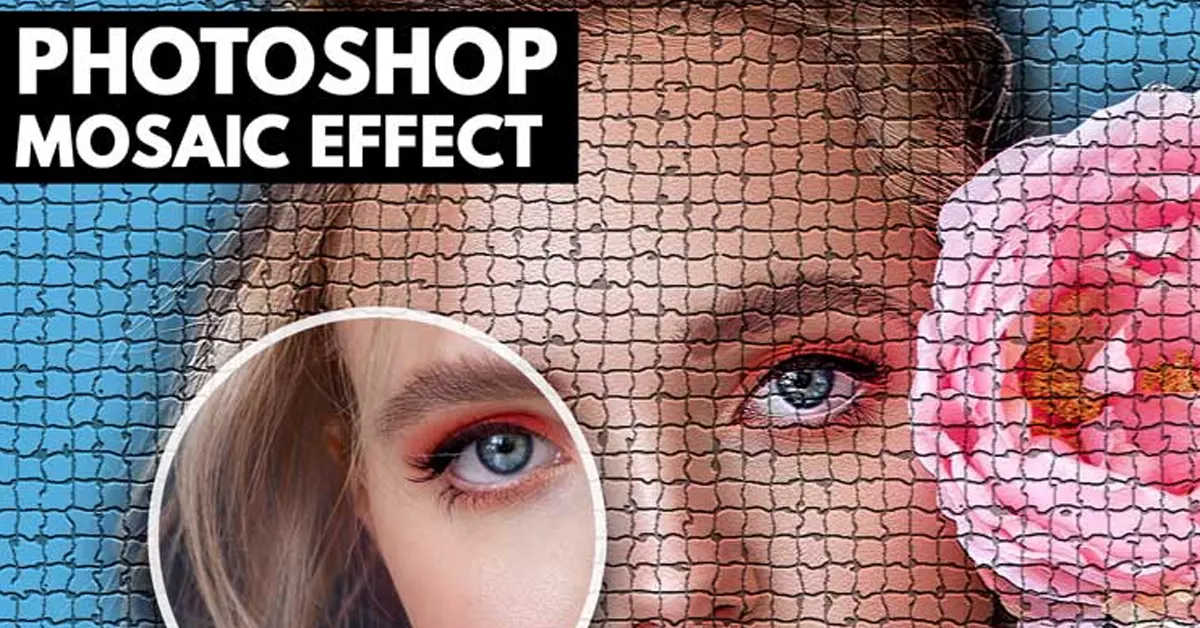
In the Filter Gallery you can see that there are a lot of filters. We are interested in Texture filters. To create this effect we’ll use the Photoshop mosaic tiles filter. The Mosaic Tiles filter draws the image as if it were made up of small chips or tiles and adds grout between the tiles. Make the settings that look best on your photo. You can choose the Tile Size, the Grout Width and the Lighten Grout settings.
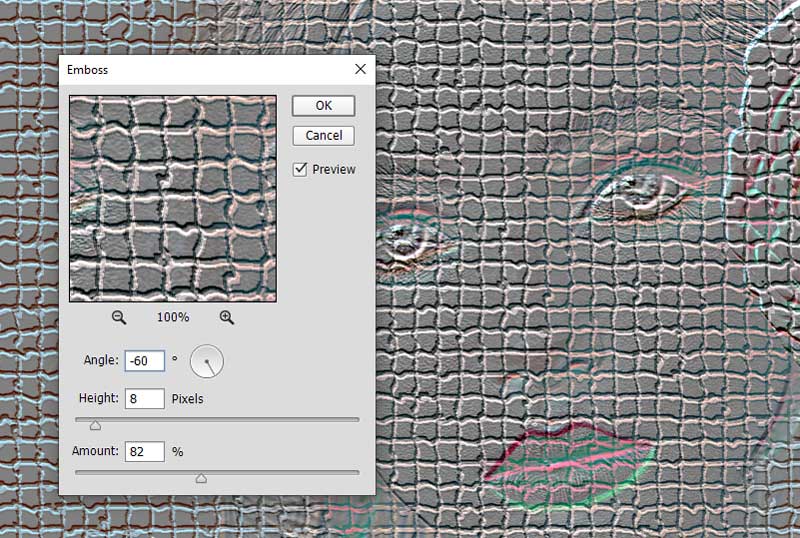
Let’s create an emboss effect to make the mosaic even more realistic. First, duplicate the Mosaic Tiles layer. Then, go to Filter > Stylize > Emboss and set the Angle, Height and Amount of the emboss effect. Set the blending mode of the Emboss layer to Overlay.

Mosaic Effect Method 2
The first two steps are identical with the ones made in the method 1.
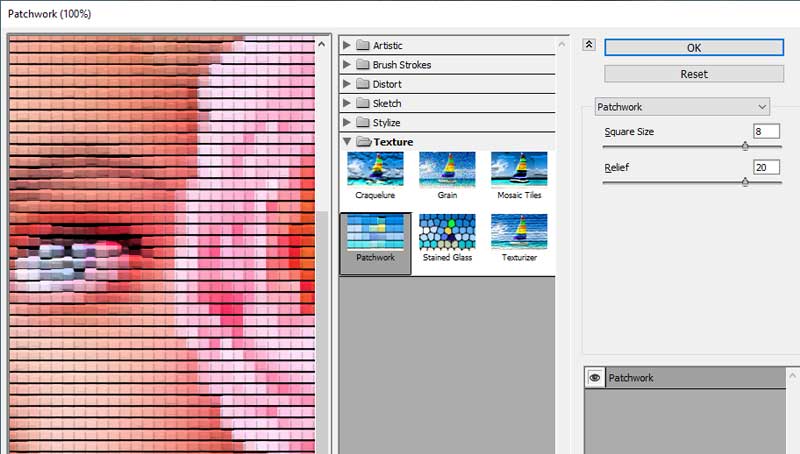
From the Filter Gallery let’s use the Photoshop Patchwork filter and see how it looks. The Patchwork filter breaks up an image into squares filled with the predominant color in different areas of the image. The filter randomly reduces or increases the tile depth to replicate the highlights and shadows. Make the settings that look best on your photo. You can choose the Square Size and the Relief.
Like in the previous step we’ll add the emboss effect. First, duplicate the Patchwork layer. Then, go to Filter > Stylize > Emboss and set the Angle, Height and Amount of the emboss effect. Set the blending mode of the Emboss layer to Overlay.
Mosaic Effect Method 3
The first two steps are identical with the ones made in the method 1 & 2.
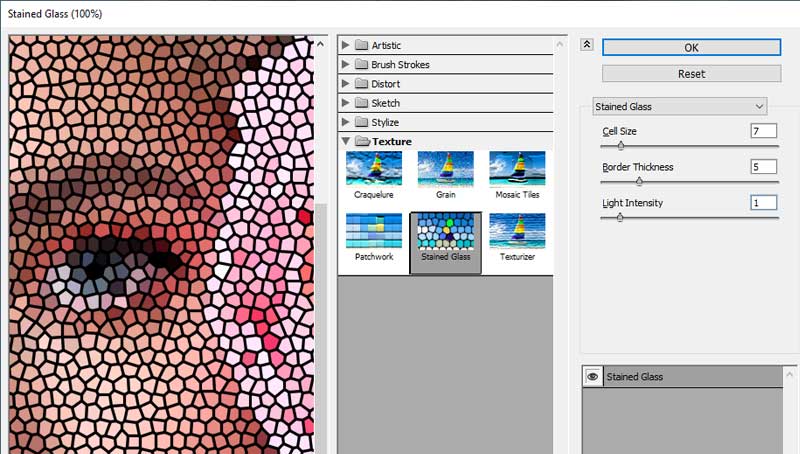
Now we pick the Photoshop Stained Glass filter which is another mosaic filter Photoshop plugin available for free. The Stained Glass filter repaints an image as single-colored adjacent cells outlined in the foreground color. Again, make the settings that look best on your photo. You can choose the Cell Size, the Border Thickness and the Light Intensity.
Like in the previous methods the emboss filter is also a must to achieve the 3D look. First, duplicate the Stained Glass layer. Then, go to Filter > Stylize > Emboss and set the Angle, Height and Amount of the emboss effect. Set the blending mode of the Emboss layer to Overlay.
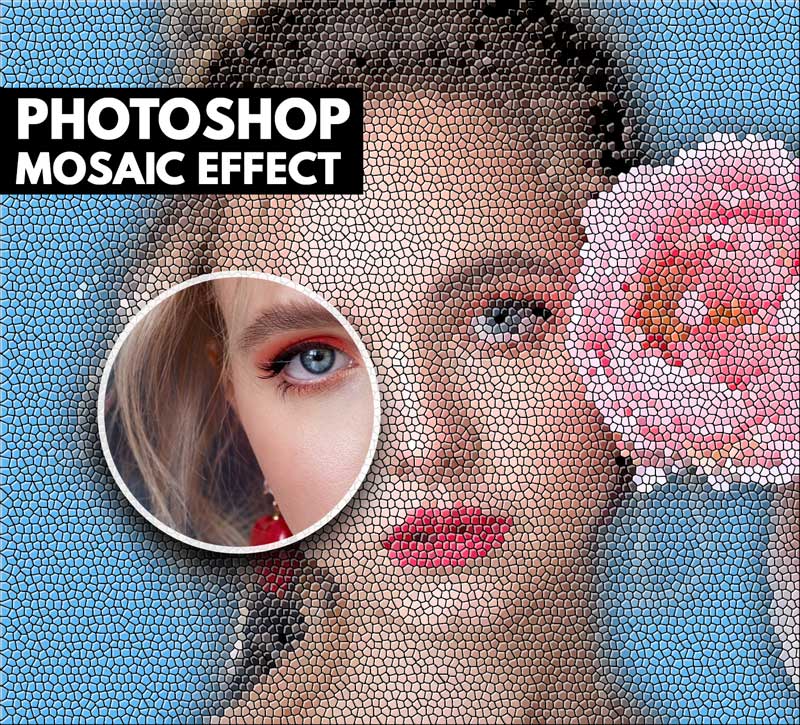
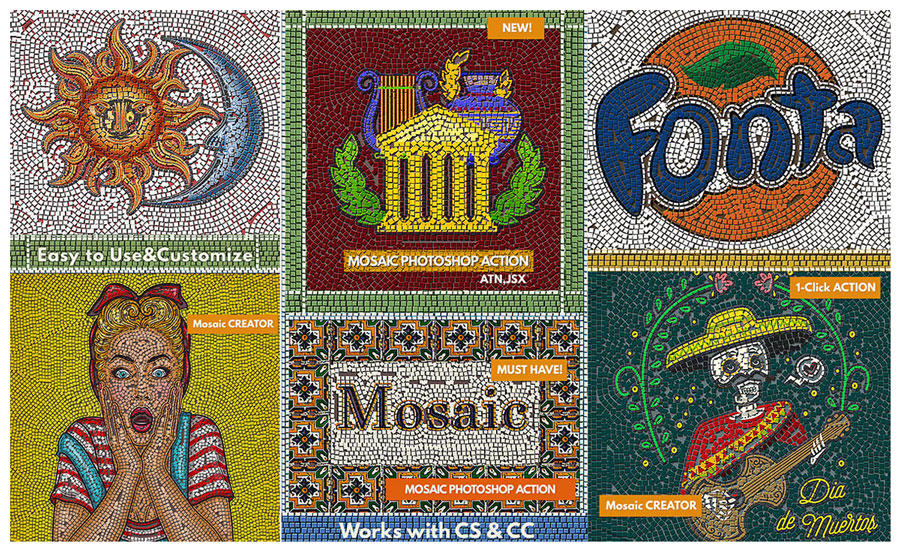
If you want to make a Photoshop mosaic portrait that is more realistic and cool looking you can use our Photoshop action.
Mosaic Photoshop Action [DOWNLOAD]
Try the Photoshop mosaic action and you will obtain the best results using our unique photo mosaic maker. Download the ZIP and extract the files. You have to load the ATN and ABR files in Photoshop.
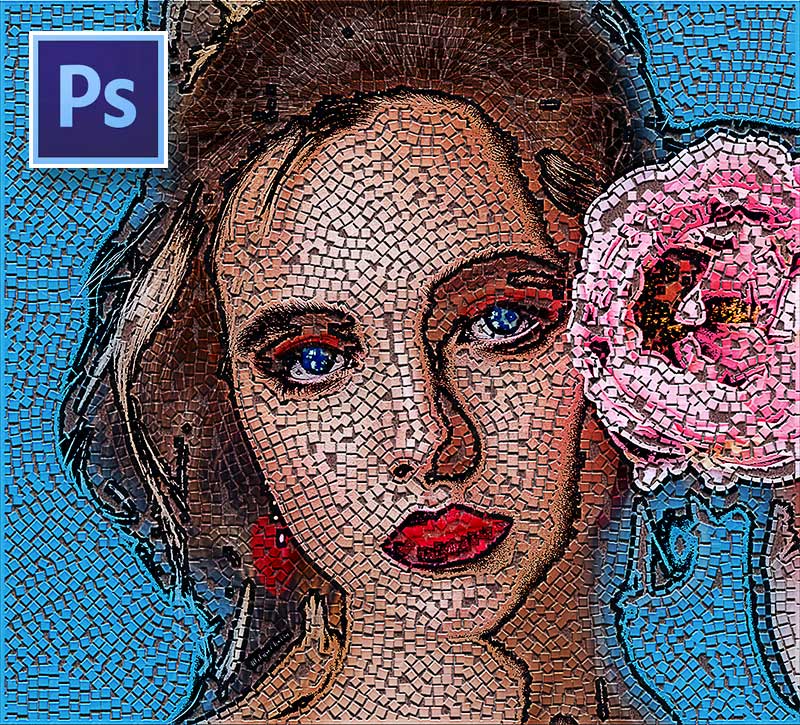
The photo mosaic Photoshop action can be used on rasterized images, rasterized text, etc. In the preview images you have some examples of what our mosaic maker Photoshop action can do. A Photoshop mosaic filter in not able to give you such a realistic effect.
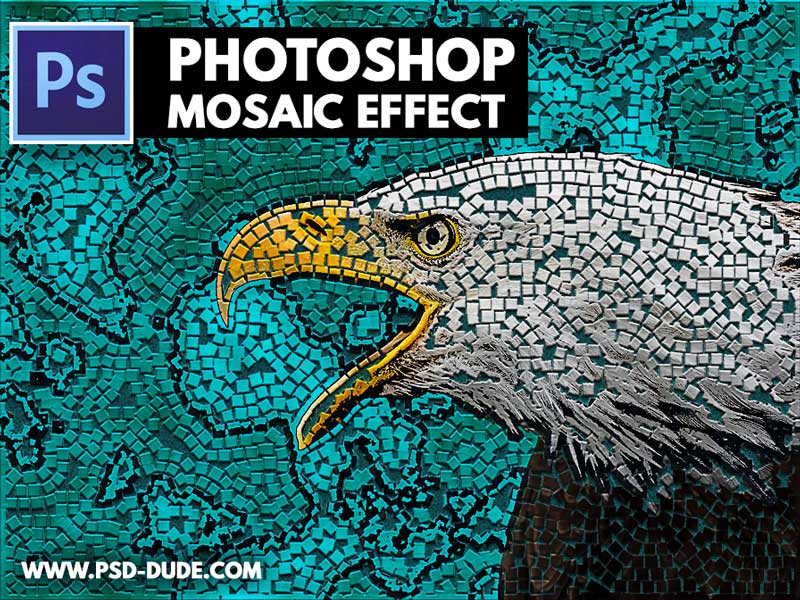
Now you know how to make a tile mosaic picture. To convert picture to mosaic tiles is quite easy if you know what to do. Photoshop can help you turn picture into mosaic using filters or actions. The mosaic effect Photoshop filters that come with the software are great but the action is even better.



No comment(s) for "Mosaic Photoshop"