
How to Create a Diamonds Pattern in Photoshop
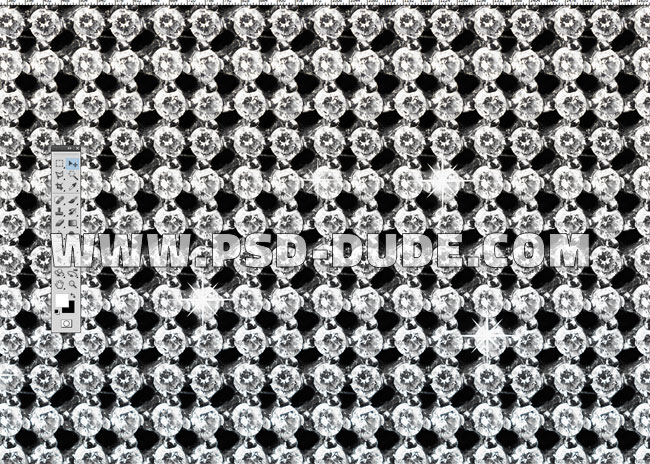
Download this Sparkle White Diamonds Texture and open it in Photoshop. Make sure you download the high size version as the preview image is not seamless.
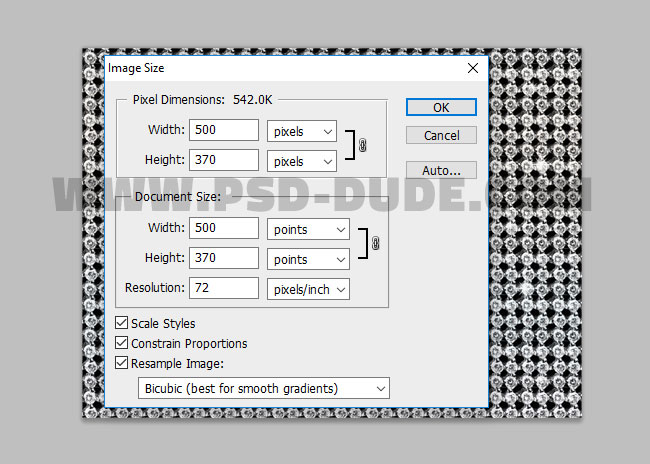
Go to Image > Images Size and resize the image like shown in the preview. You can make a bigger size pattern if you want.
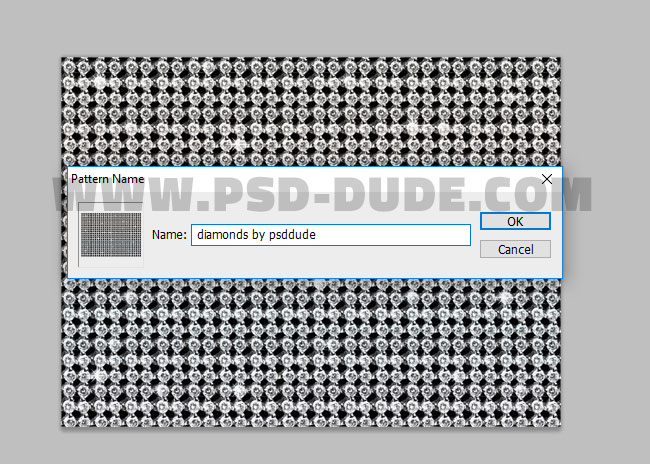
Go to Edit > Define Pattern and input the Pattern Name that you want.
Create a Diamonds Background in Photoshop
Create a new PSD file, size around 1100x650 px just to give you an idea about the proportions that I used. These are really important to know if you need to scale layer styles.
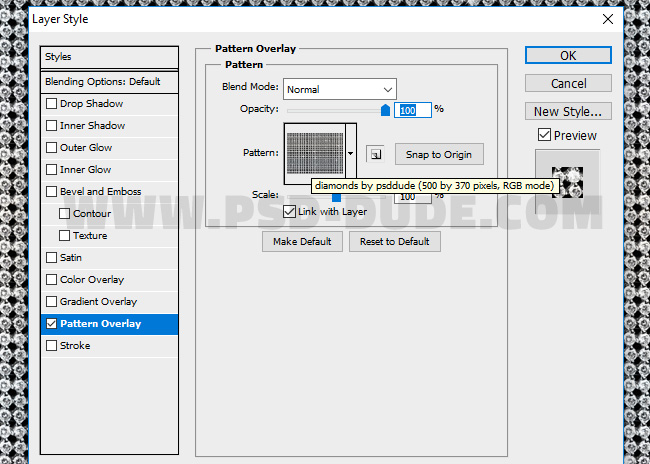
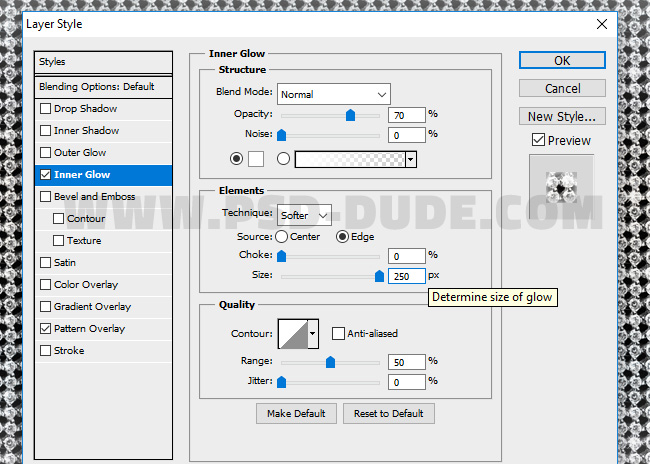
Create a new layer called Diamonds Background and fill it with any color you like. Add this layer style to the Diamonds Background layer using the diamonds pattern that we created in the first step.
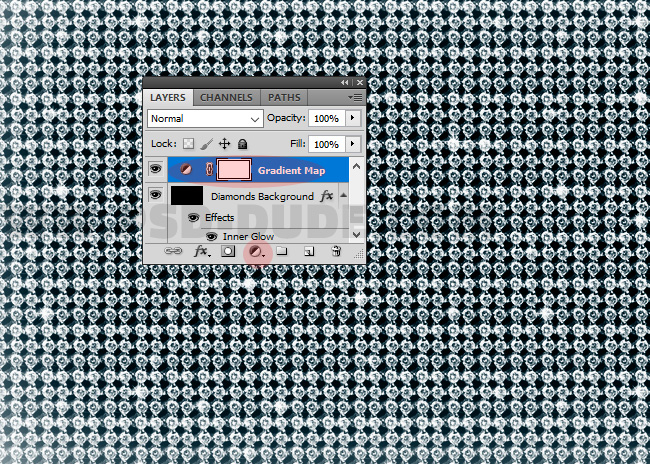
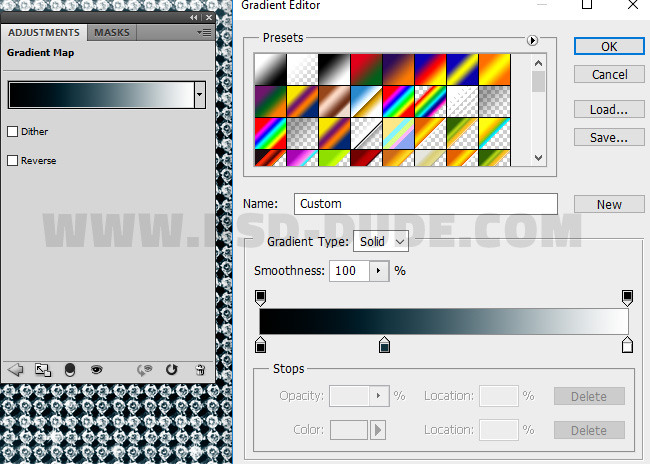
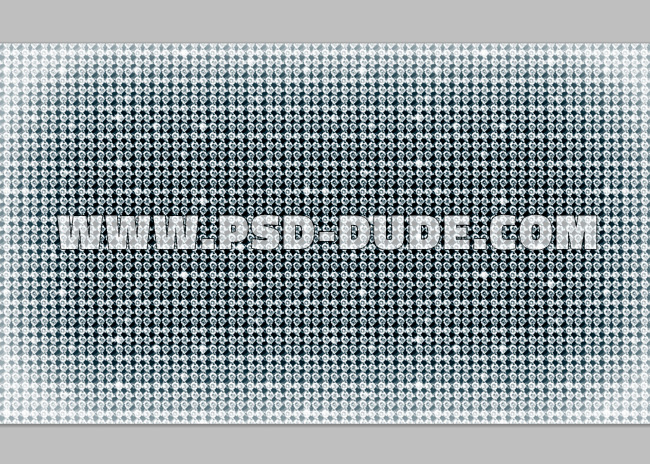
Add a Gradient Map above the Diamonds Background layer to change the color of the diamonds. The colors are: #000000 (location 0%), #12323e (location 34%) and #ffffff (location 100%).
How to Create a Gold Style Text in Photoshop
Create a new text layer. For the text I used Bd Cartoon Shout font type but you can use any font you want. See how to install font in Photoshop in case you don't have this font. Name this layer Gold Text 1.
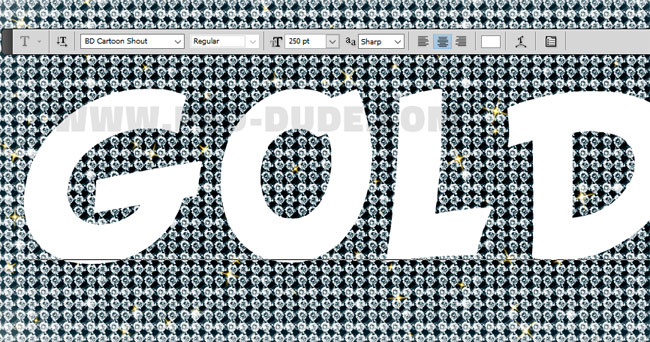
Duplicate the text layer and call it Gold Text 2.
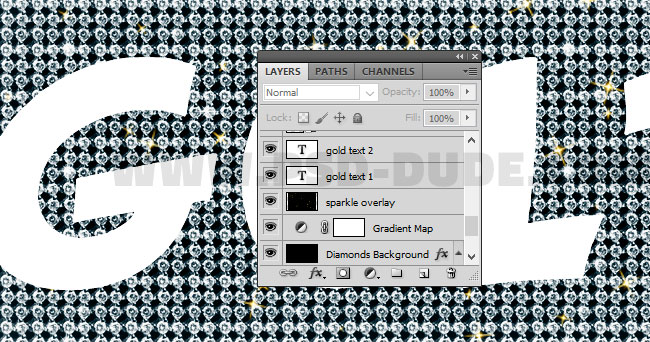
Add Inner Shadow and Inner Glow layer style to the Gold Text 1 .
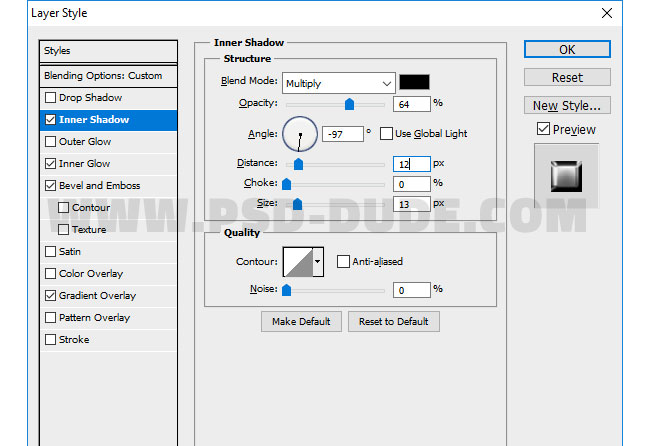
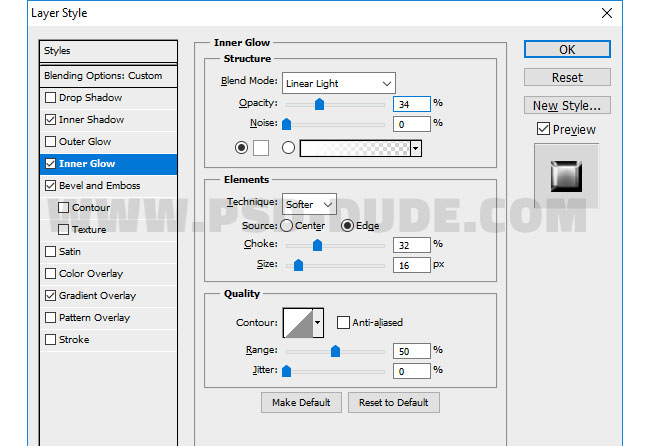
Also add a Bevel and Emboss effect with a customized Gloss Contour.
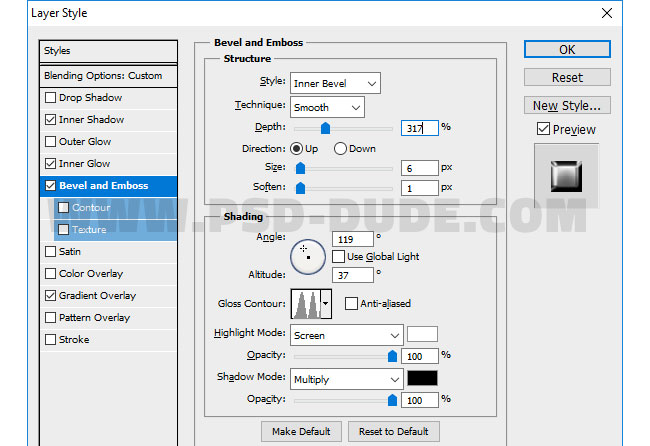
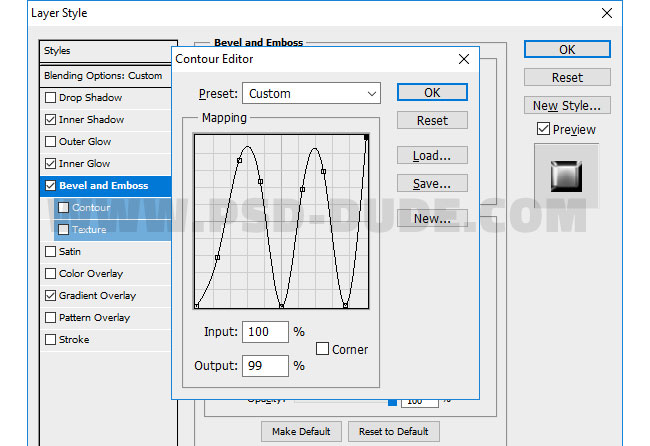
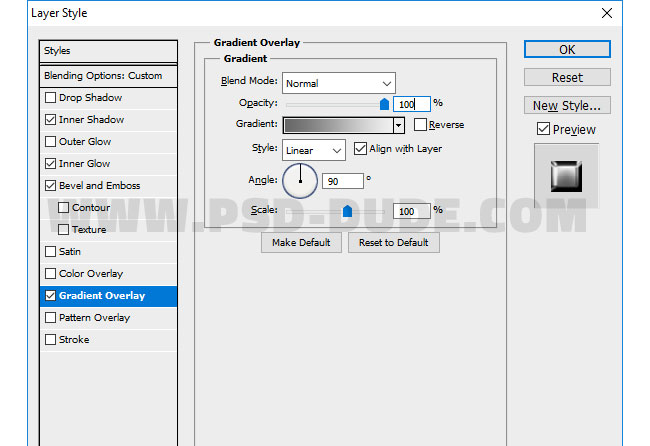
For the Gradient Overlay add the gradient colors : #696969 and #f0f0f0 .
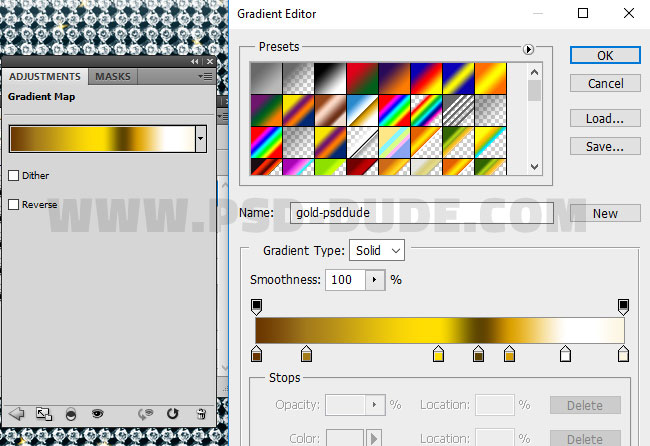
Right click and convert the Gold Text 1 to a smart object. Add a Gradient Map to this smart object only. Right click on the Gradient Map and choose Create Clipping Mask.
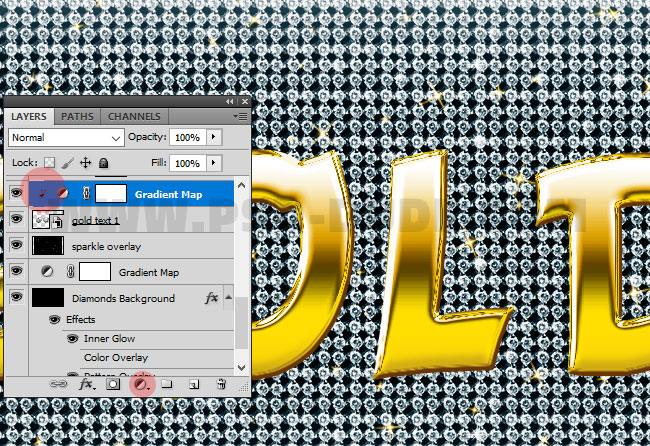
To obtain a gold color effect, the gradient must have these colors: #693600(location 0%), #a47b1a(location 14%), #ffde00(location 50%), #5d4401(location 61%), #d99f00(location 69%), #ffffff(location 84%) and #fcf5e1(location 100%)
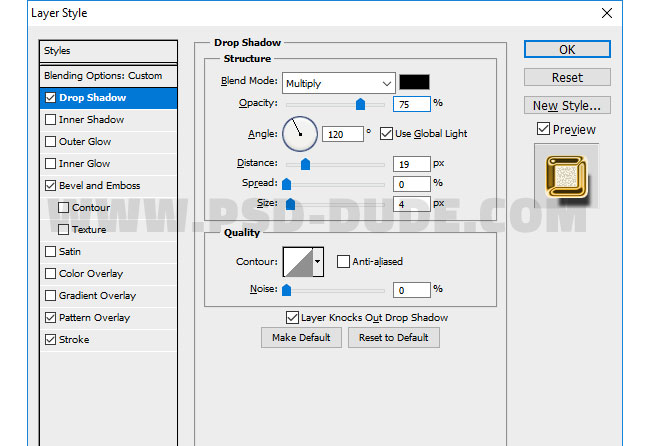
Now let's add layer style to the Gold Text 2. First set the Fill to 0% opacity level.
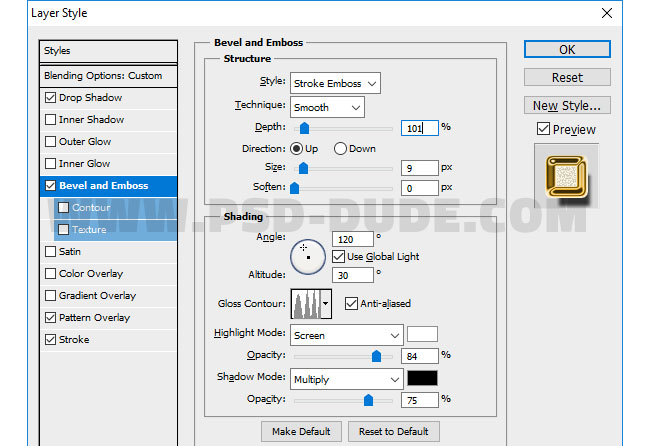
Also add a Bevel and Emboss effect with a customized Gloss Contour.
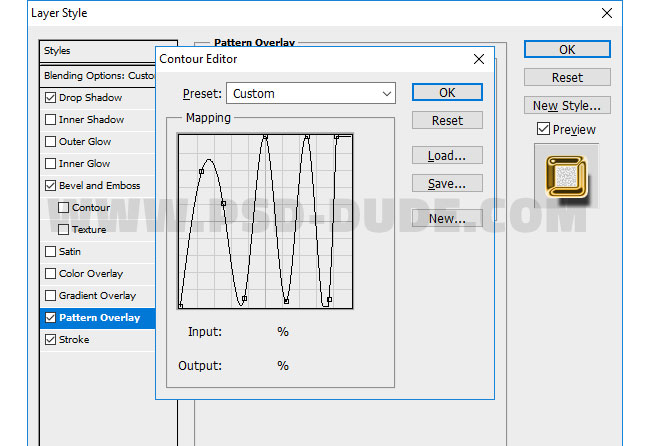
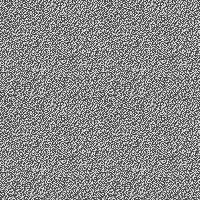
For the Pattern Overlay use this seamless noise texture. Simply copy the image in a new PSD file, go to Edit > Define Pattern.
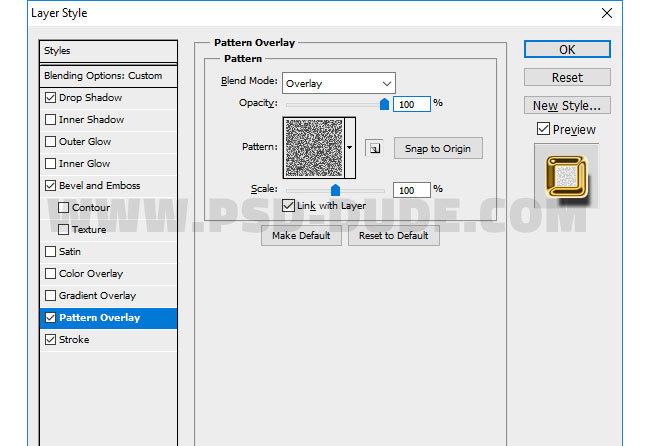
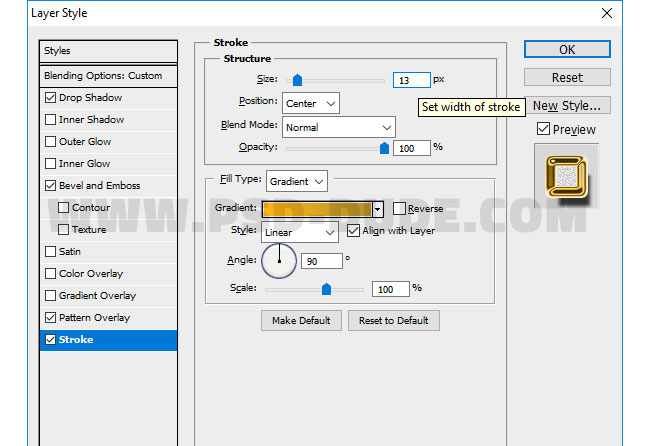
For the Stroke layer style use these colors: #ffb414 (location 0%) and #b6922c (location 100%).
Add Sparkle and Optical Flare Effect in Photoshop
Add in a new layer, behind the Gold Text layers, this sparkle overlay and set the blend mode to Screen. You can also use this animated sparkle GIF overlay if you like.

In a new layer add this lens flare and set the blend mode to Screen.

If you want another effect to make the text look like a chain you can use this gold chain necklace and remove the background.

For the final touches you can add a sharpen effect using the High Pass Filter technique. This technique goes wel with this bling-bling golden text effect.

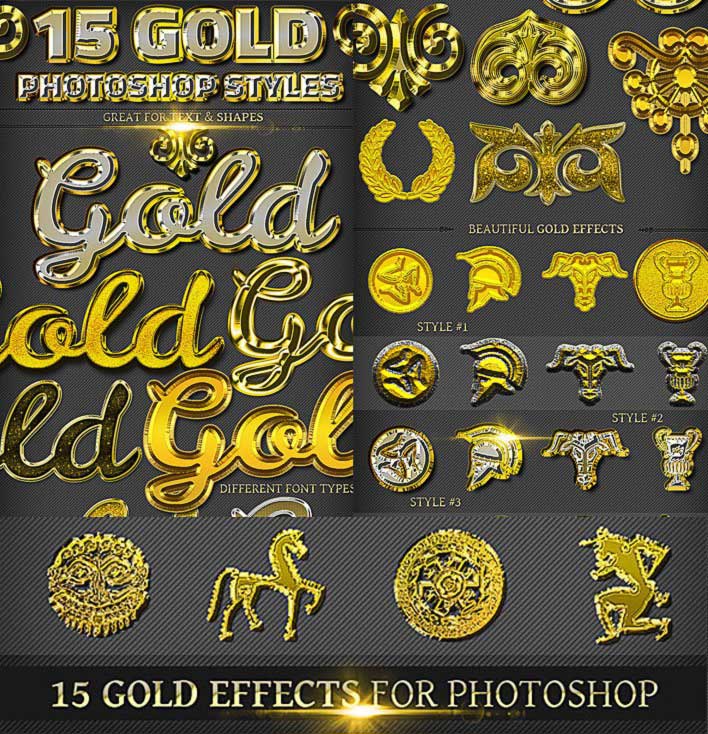
For creating gold and diamonds effects in Photoshop using text and shape layers, you can try one of these Gold Style Photoshop actions.
15 Gold Effect Photoshop Styles
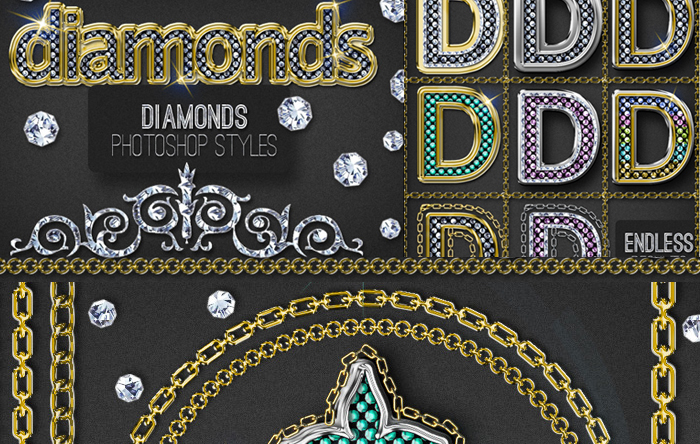
Bling-Bling Diamonds and Gold Photoshop Style Creator
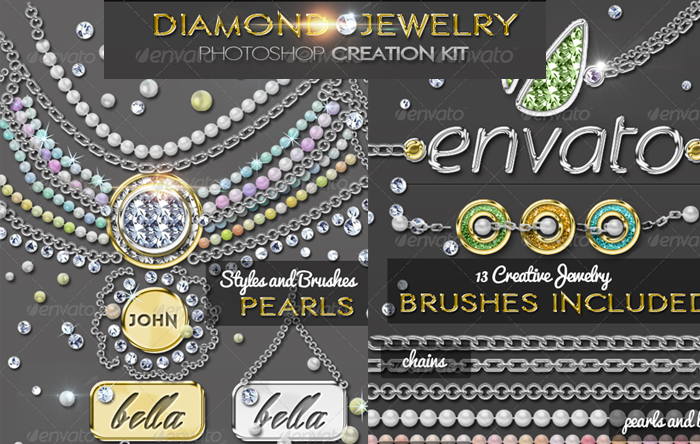
Gold Diamonds and Pearls Jewelry Photoshop Creator
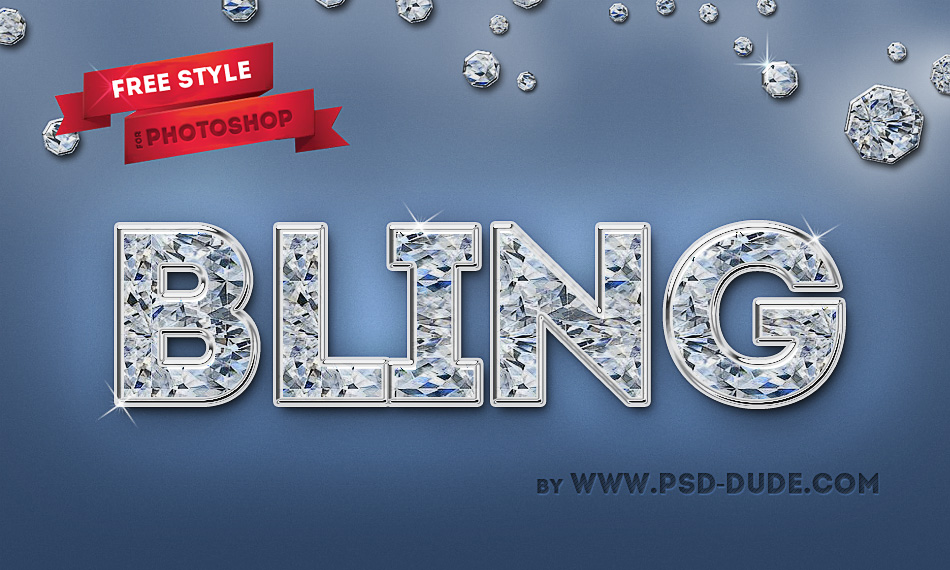
Diamond Text Photoshop Effect

No comment(s) for "Photoshop Gold Style Shiny Text Tutorial"