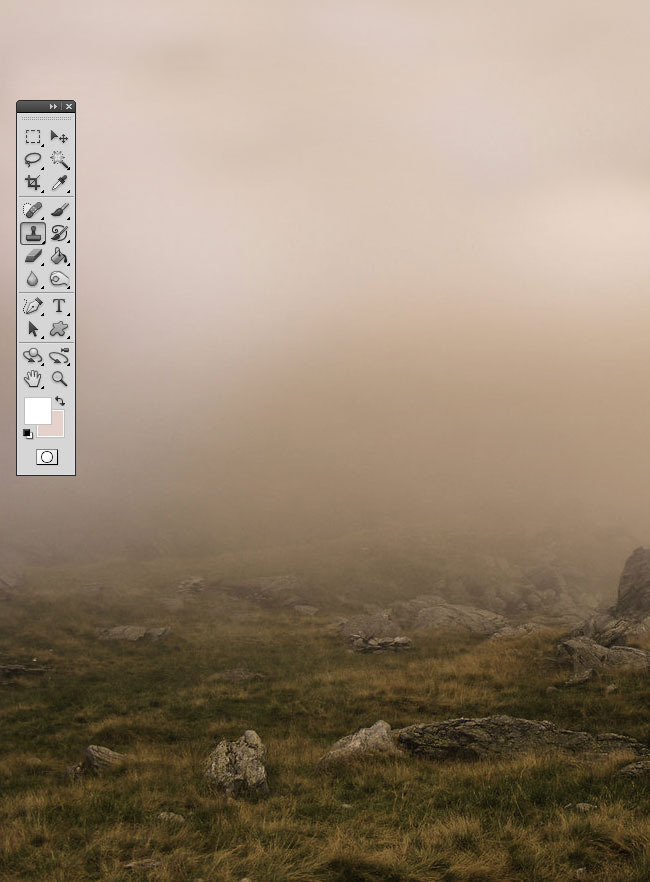
We'll use se this premade background as the first layer of our photo manipulation. Place the image like shown in the preview. You might have to use the Clone Stamp Tool to add height to the sky area.
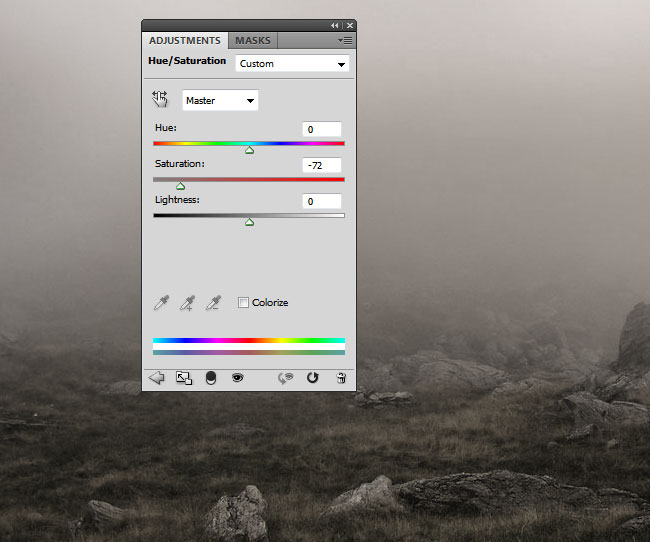
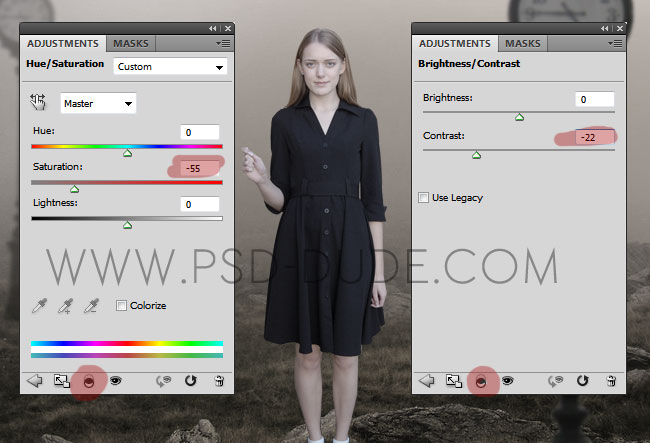
We have to desaturate the image a little bit so use an Hue/Saturation adjustment layer with these settings:
Add this beautiful street clock PNG stock image into your PSD file. Convert this layer into a smart object. Call this layer Street Clock 1. Make a copy and call it Street Clock 2.
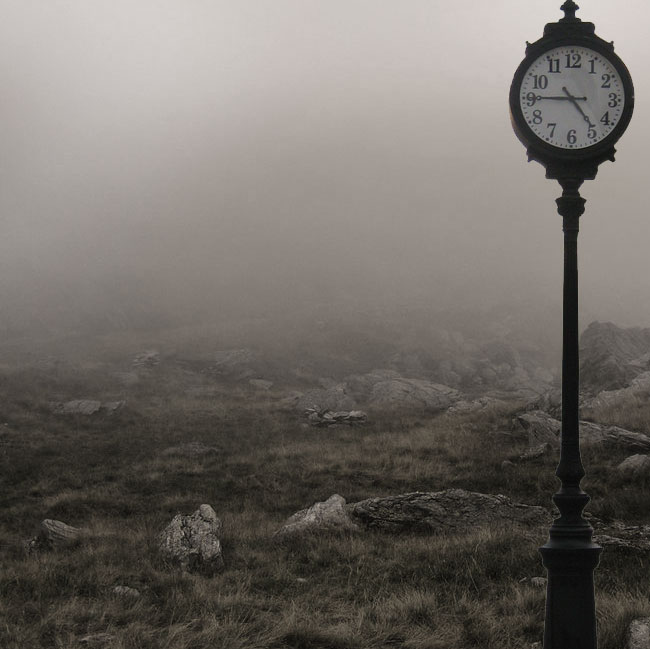
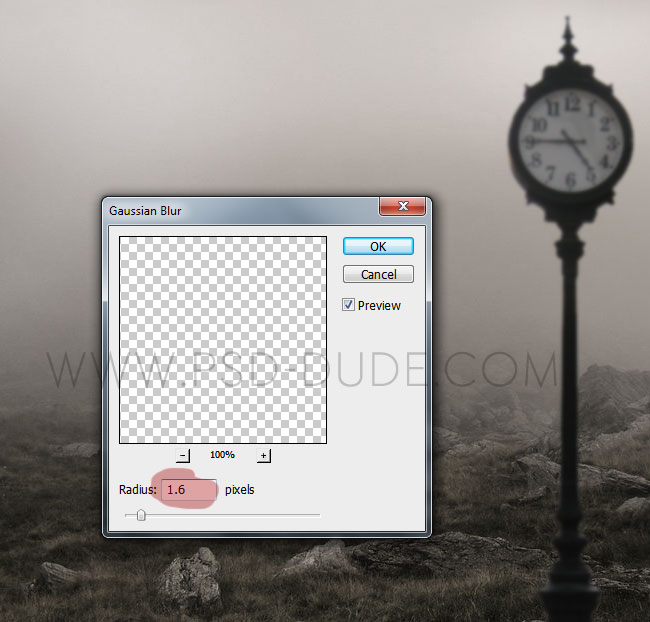
Place the Street Clock 1 layer on the right side of the image. Add a Gaussian Blur smart filter to give it a blurry effect. You can also use Motion Blur if you want.
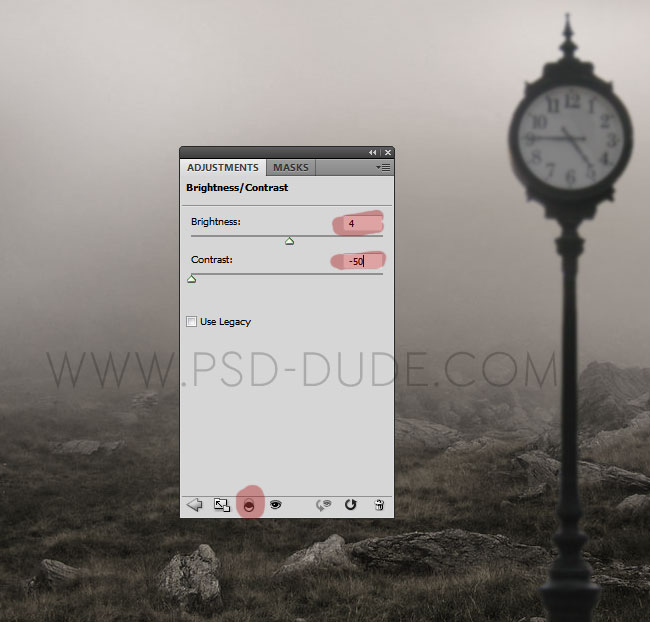
To adjust the luminosity I have added a Brightness/Contrast adjustment layer only for the Street Clock 1 smart object.
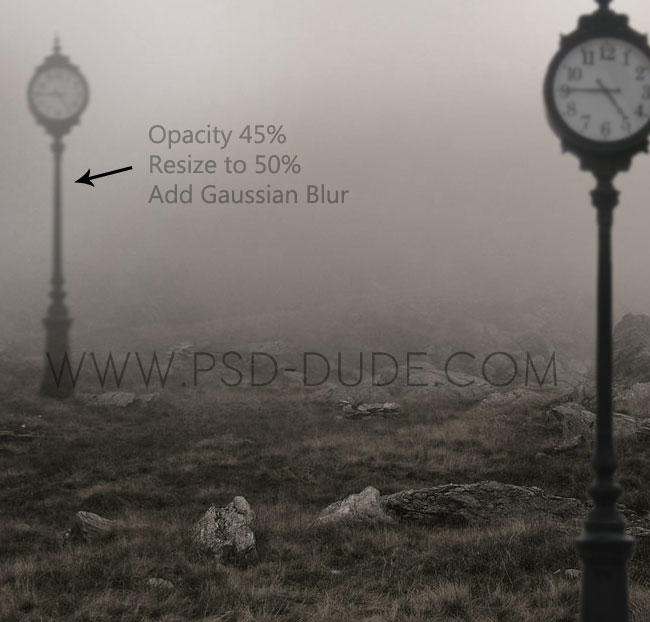
Place the second smart object, Street Clock 2, on the left side. Resize it to around 50%. Reduce the opacity of the layer to 45% and also add the Gaussian Blur filter. You should obtain a similar result.
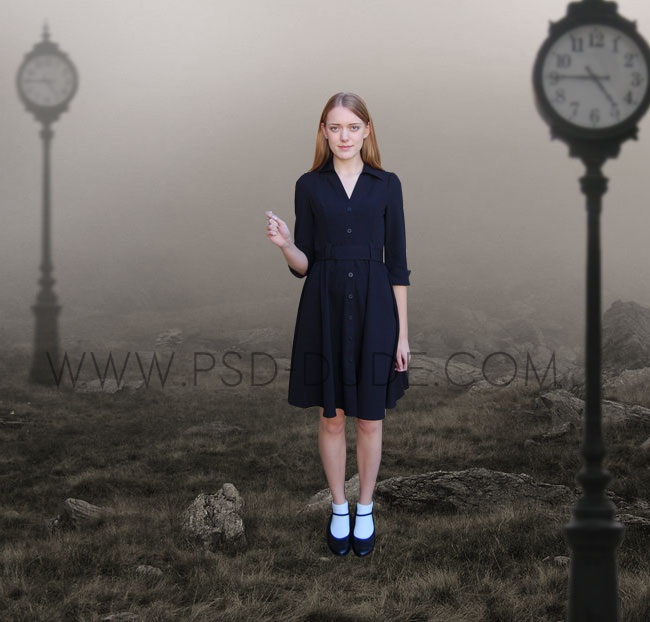
Take the girl stock image and use one of these Selection Tools to remove the background. Resize the girl image and place it in the center.
Add two adjustment layer just for the Girl Layer to correct the saturation, luminosity, contrast, etc.
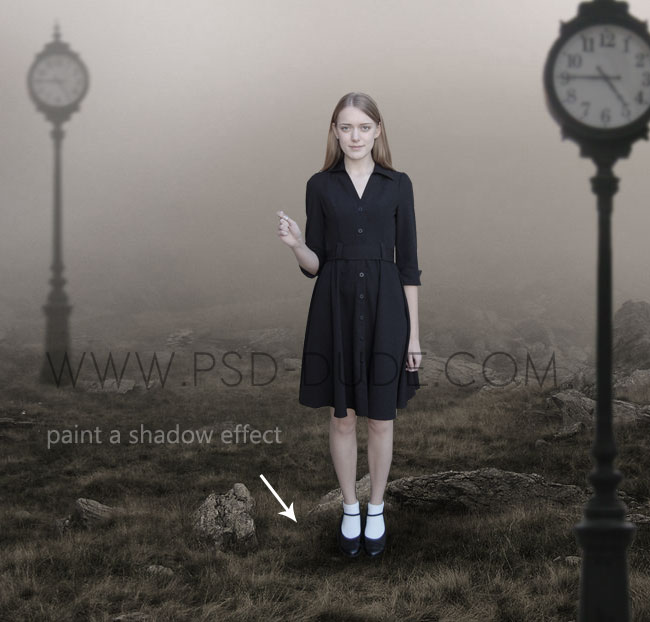
Use the Brush Tool to paint a shadow effect for the girl using a soft round brush. The idea is of course to blend well all the images, to make the manipulation looks as realistic as possible.
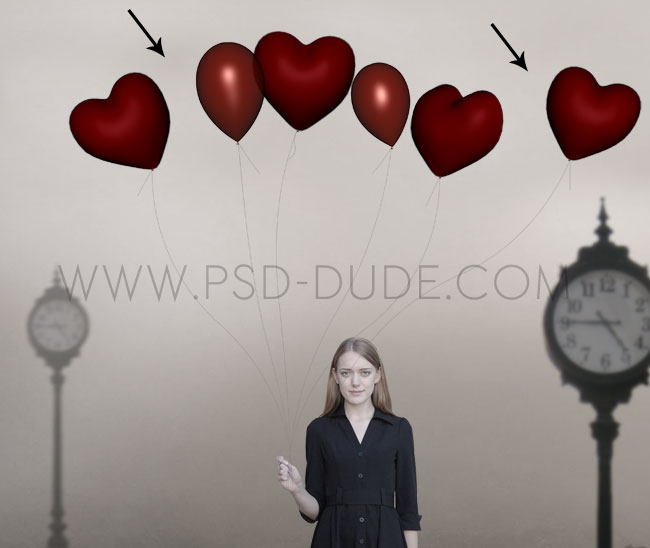
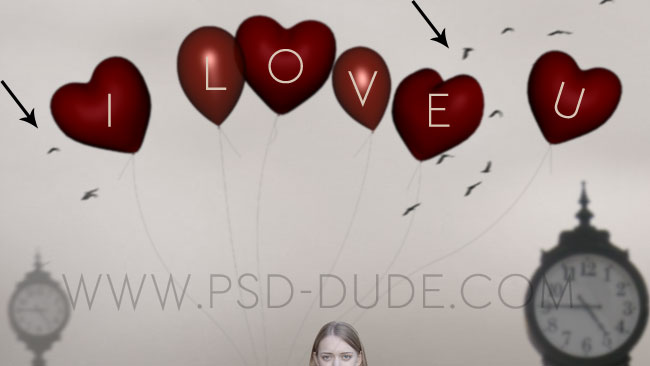
Use these two stock images: red heart balloon 1 and red heart balloon 2. Place the heart baloons in the irl's hand. You need to Flip Horizontally the second ballon image like shown in the preview. You can add a Gaussian Blur and/or Motion Blur effect to the balloons to simulate movement.
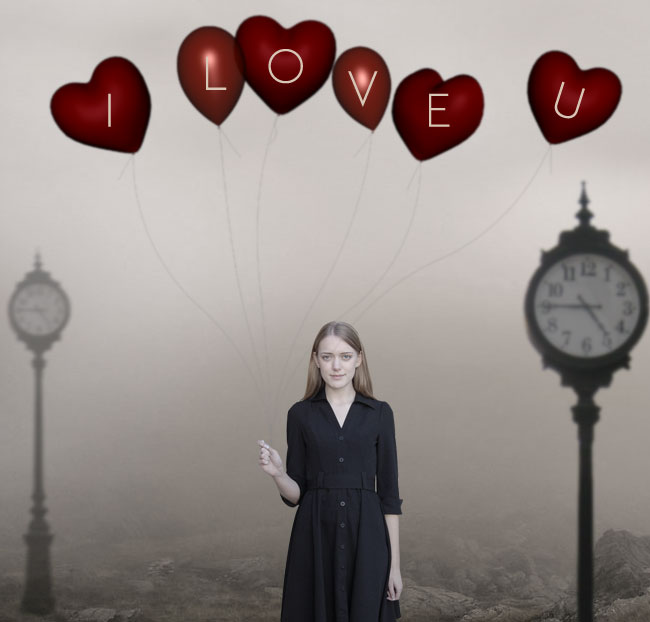
I will now add a letter to each balloon spelling "I love u". I will use the Ethon Font type for my text, but you can use any font you like. Learn how to install font in Photoshop if you want to use a new font type.
I have also added this birds stock image . Black birds silhouettes always enhance drama in a photo manipulation so I tend to used them a lot.
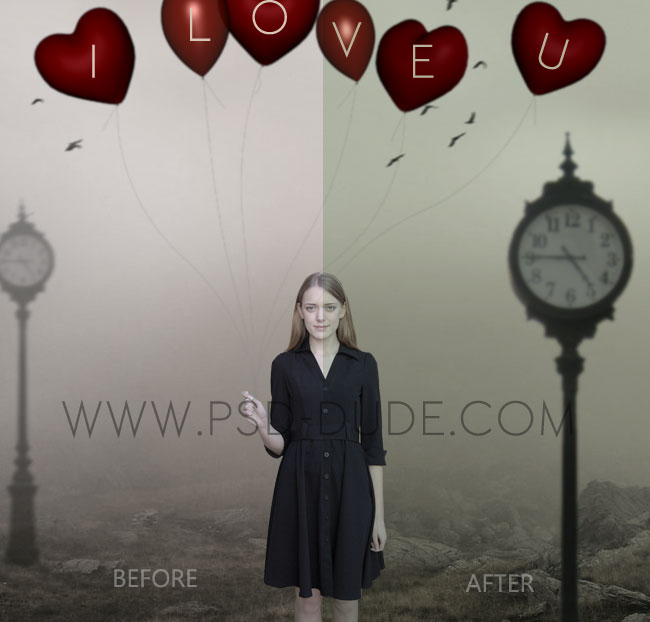
I decided to change the color tones of the image so I added a new layer above all the others. Fill the layer with color #dae5d6 and set the blend mode to Multiply. It is like using a Photo Filter.
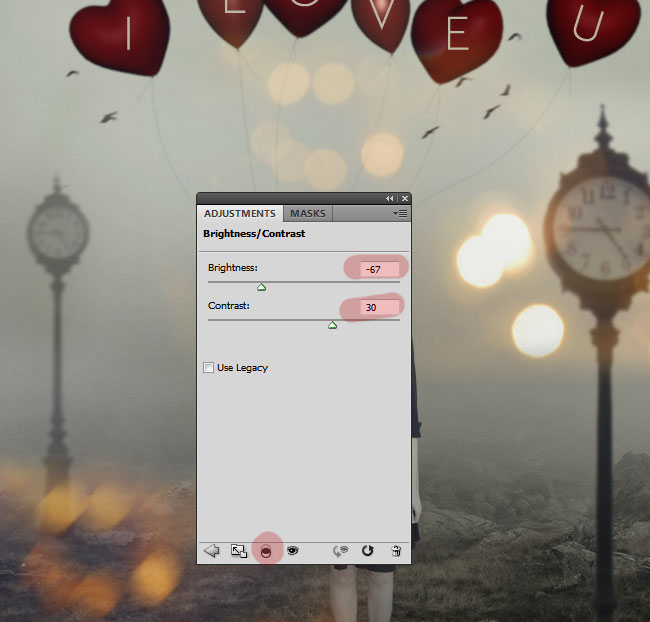
Because the image is looking too flat and boring I decide to add some light effects, for example some playfull Bokeh textures . I will use this colorful bokeh texture but you can pick another one. Set the blend mode to Screen, opacity 80% and also add a Brightness/Contrast adjustment just for the texture. You can add the texture more than one in different areas of the image.
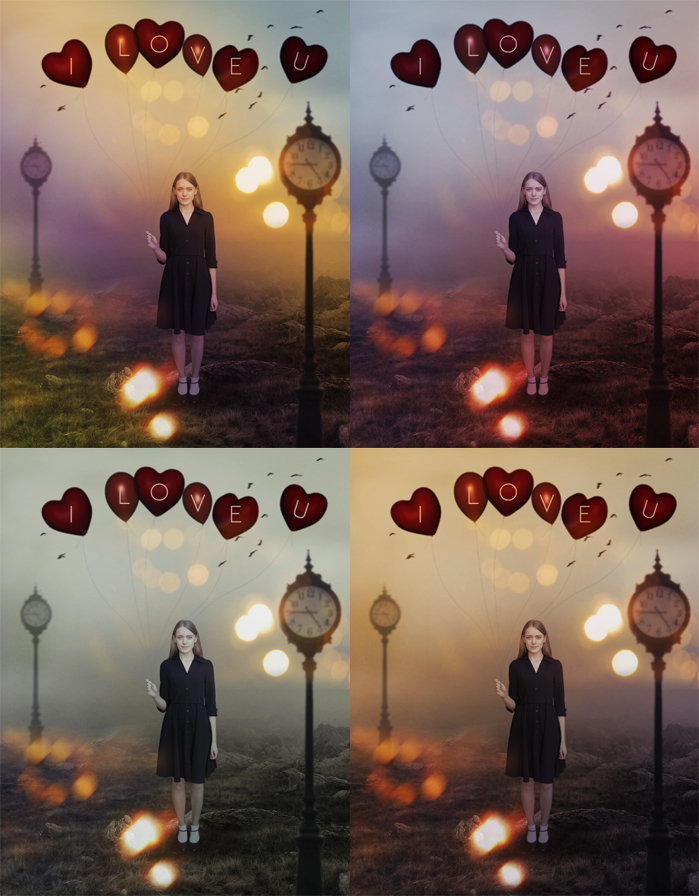
For the final touches tou can add a Brightness/Contrast adjustment for all the layers and lower the brightness and increase the contrast. If you want to change the color tones of the image you can use a Gradient Map; here are some color variations that you can use.
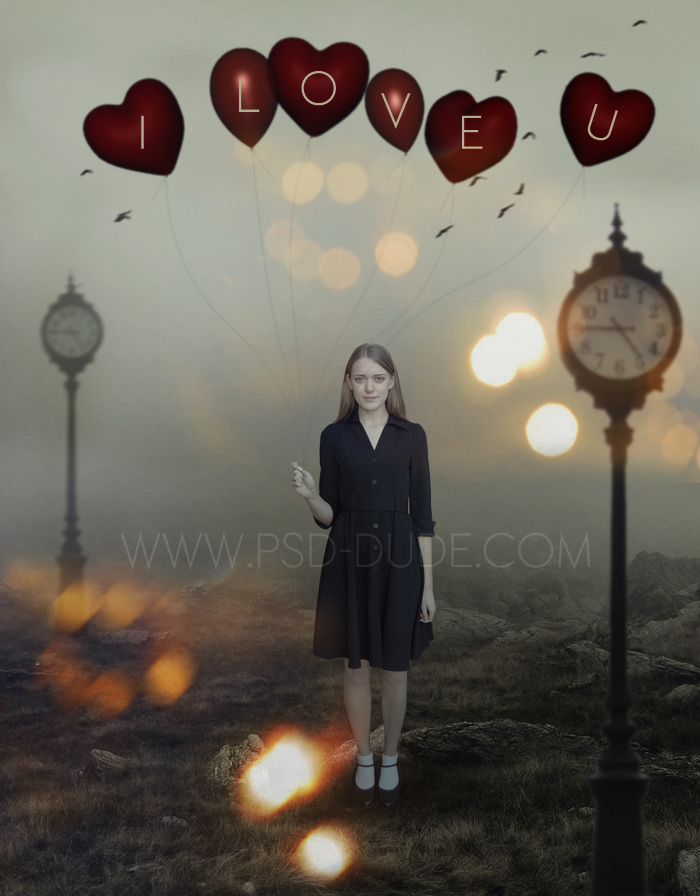
So here is the final result for the Valentine's Day Love Declaration made in Photoshop simple and easy. As an idea you can replace the girl's face with your own face and make a nice surprise to your boyfriend.


5 comment(s) for "Make a Love Declaration in Photoshop"
Very creative Saint Valentine Photoshop manipulation!
I love all the little details that you added like the rose, red heart, etc. reply
http://cartes-mireilled.eklablog.com/declaration-pour-saint-valentin-a106379536