Coffee Stain Text Effect Photoshop Tutorial
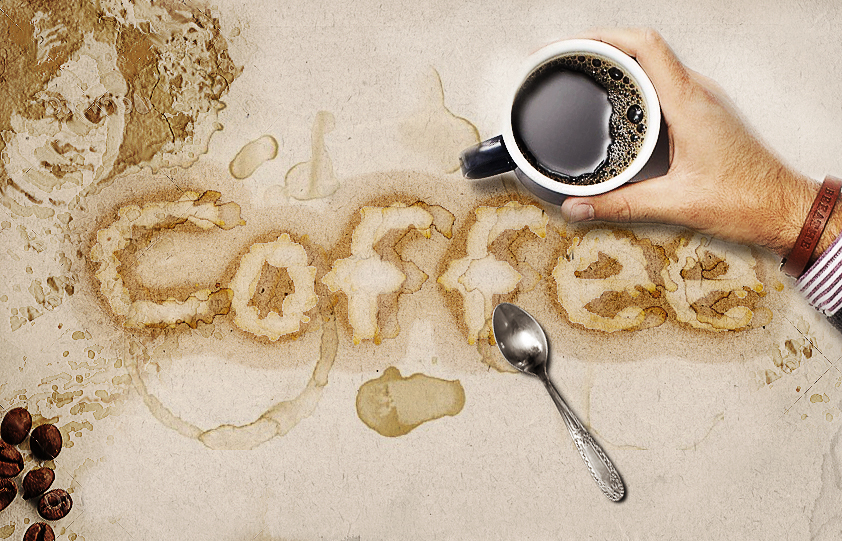
In this tutorial you will learn how to make a coffee stain text in Photoshop using realistic coffee stain brushes.
Tutorial Assets
The following assets were used during the production of this tutorial.
- Coffee Stain Brushes
- Stain Photoshop Brushes
- Dripy Watercolor Font
- Old Paper Textures
- Stain Photoshop Action Creator (Optional)
Create Stain Texture Background
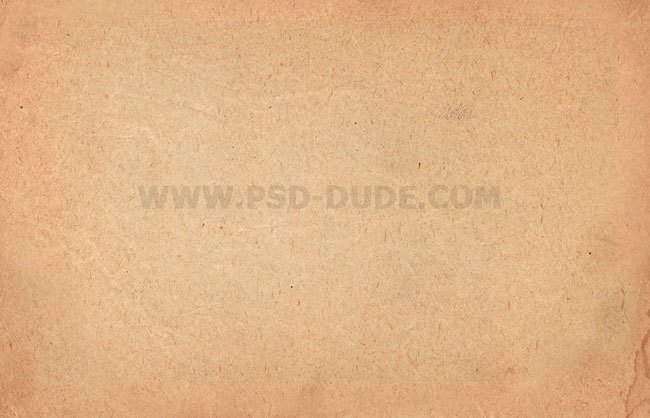
In a new PSD file add this old paper background and call the layer Old Paper Texture. Press CTRL+T to transform the image and set the rotation to 90.
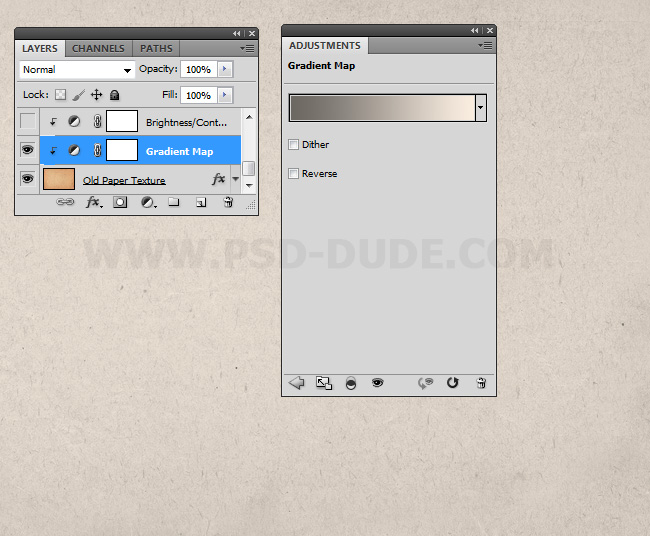
Add a Gradient Map adjustment layer with Normal blend mode. For the colors use #6c6863 and #f9eddf. Using a Gradient Map adjustment you can easily change the color tone of the paper texture.
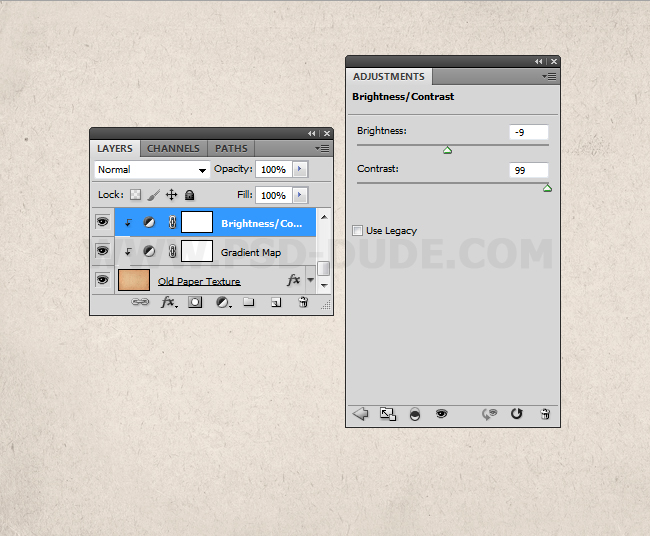
Add a Brightness/Contrast adjustment layer with Normal blend mode. Decrease the Brightness and increase the Contrast.
Stain Font Type
In a new layer add a text using the Dripy Watercolor Font. As you can see this is a distorted font. A similar effect you can obtain using the Ripple or the Wave filters. Call this layer Coffee Stain Text 1.
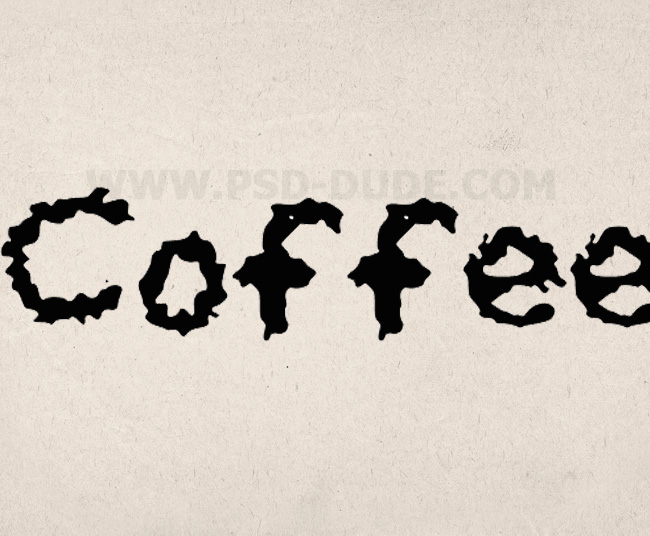
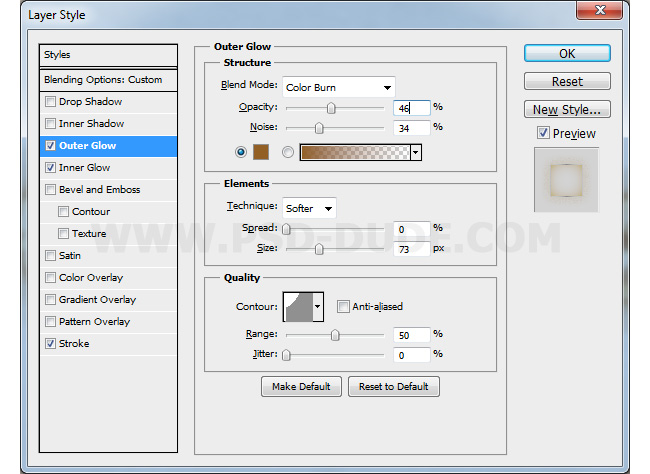
Add this layer style to the Coffee Stain Text 2. First reduce the Fill to 0% and than add Outer Glow (color #39302c), Inner Glow (color #814603) and Stroke (colors #030303, #898989, #030303, #898989).
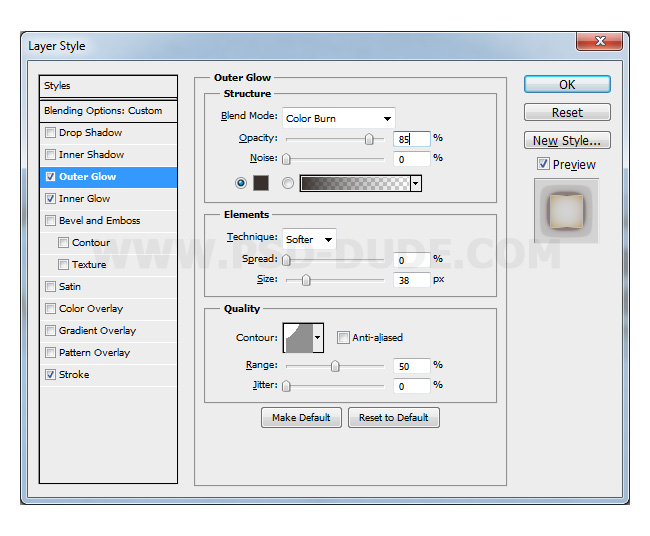
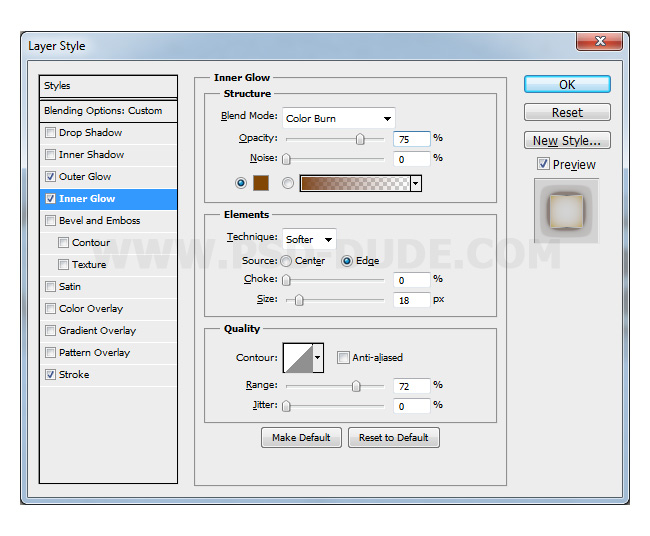
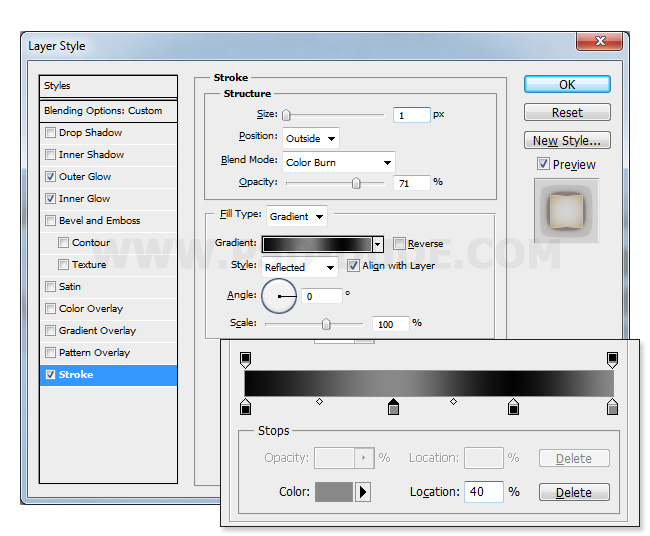
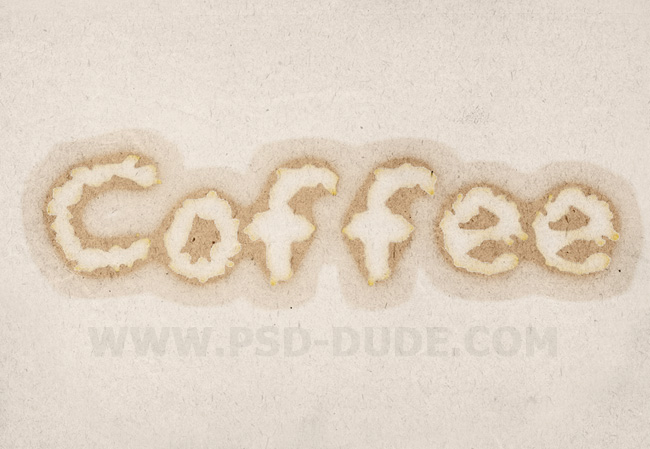
Duplicate the Coffee Stain Text 1 and call it Coffee Stain Text 2. Move the text layer 20 pixels to the left, only on the horizontal scale.
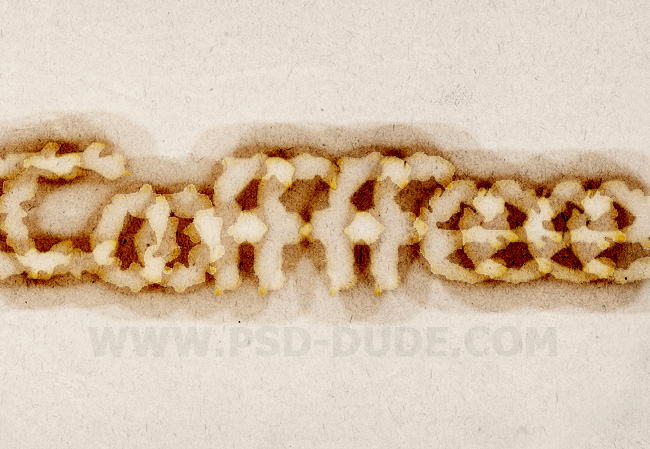
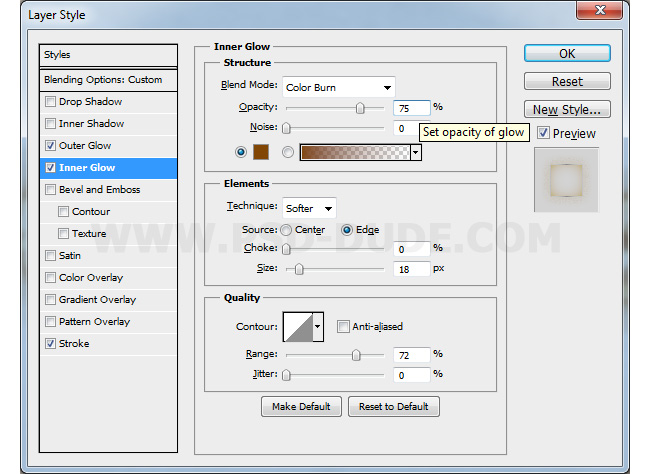
Now let's change the layer style of the new text layer a little bit. Mainy we have the same layer style but with different settings. First change the Opacity of the layer to 75% and than change the other elements. Set the Outer Glow (color #925f24), Inner Glow (color #814603) and Stroke (colors #030303, #898989, #030303, #898989)

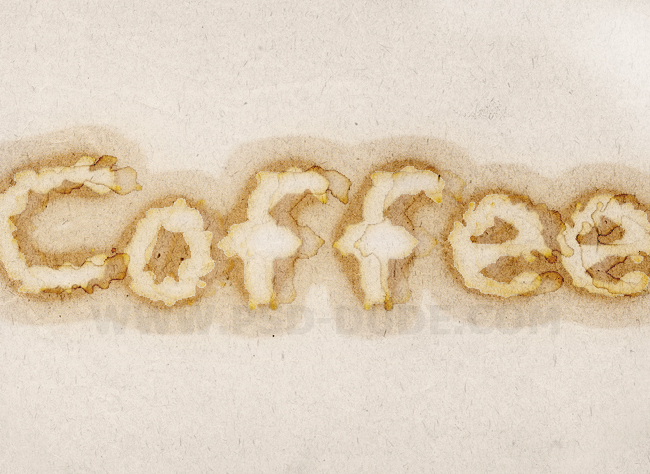
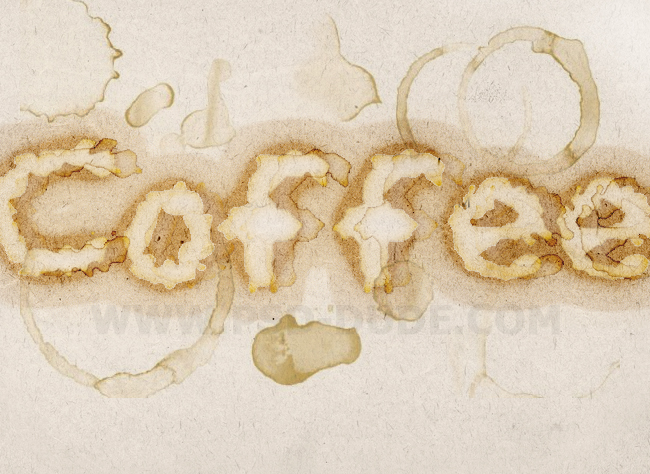
Create a new layer and use the Coffee Stain Photoshop Brushes to add stains on the paper. Use different color tones like #ab780b and #ab6810 to create realistic stains.
Here you can download even more Stain and Splatter Photoshop Brushes if you want to check them out.
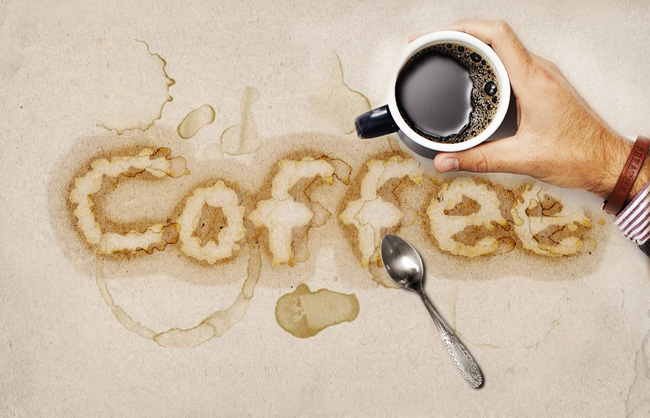
If you want you can add other elements like a coffee cut, coffee beans, a silver tablespoon, a chocolate tablet, a croissant, etc. For example you can use this coffee cup and tablespoon PNG cutout image or other images that you like. Don't forget to make Color Balance and Brightness/Contrast adjustments for the images that you add to create a realistic blending.
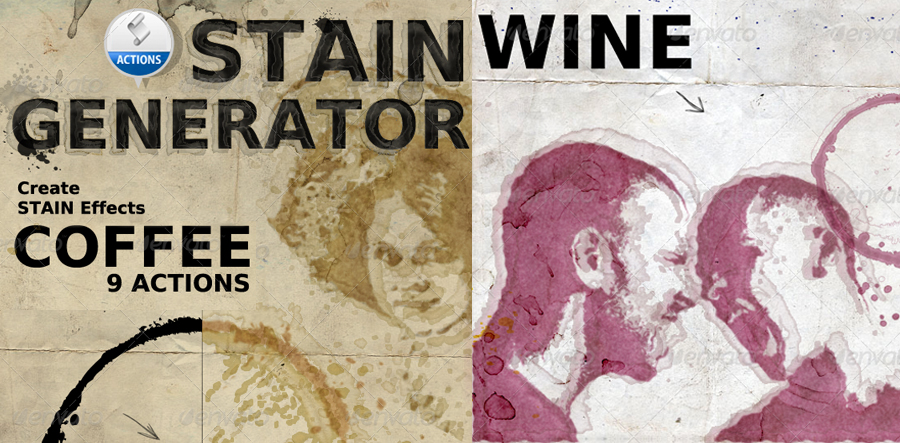
Optional, you can create stains from images in Photoshop using this set of Stain Photoshop Actions that you can find on GR. You can create all kind of stains like wine stain, coffee stain, blood stain, water stain, etc.
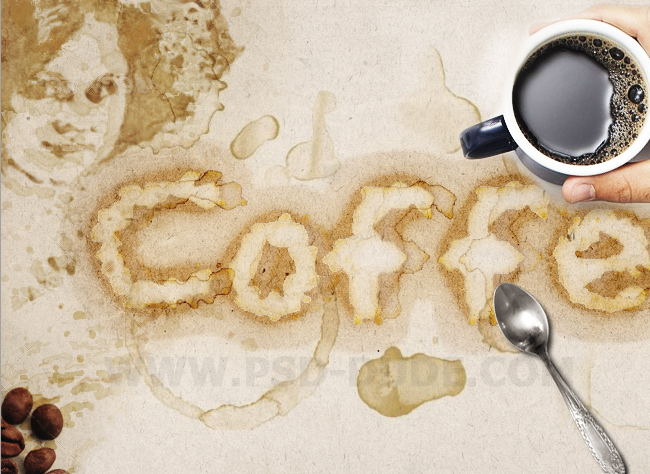
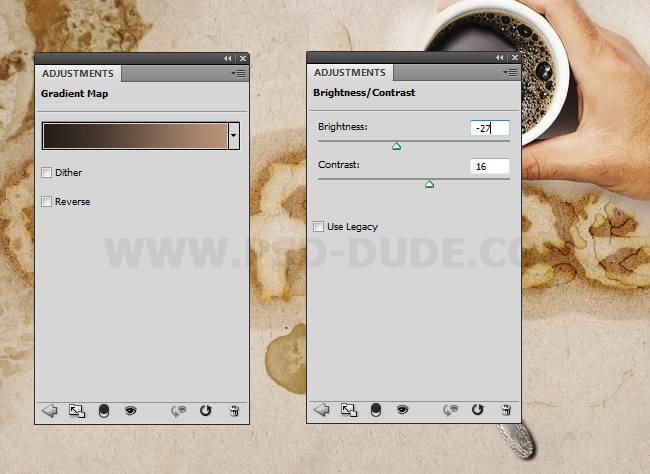
For the final touches I added a Gradient Map (Soft Light blend mode, Opacity 50%, color tones #291e17 and #c19c81) and a Brightness/Contrast adjustments. Also you can sharpen the image using the High Pass Filter. Learn how to Sharpen Photos With High Pass Filter in Photoshop from these quick tutorials for beginners.
Coffee Typography Photoshop Tutorial

Stains Photoshop Generator

2 comment(s) for "How to Make a Coffee Stain Text in Photoshop"
http://design.tutsplus.com/tutorials/how-to-create-a-grunge-style-illustration-with-stains--psd-2634