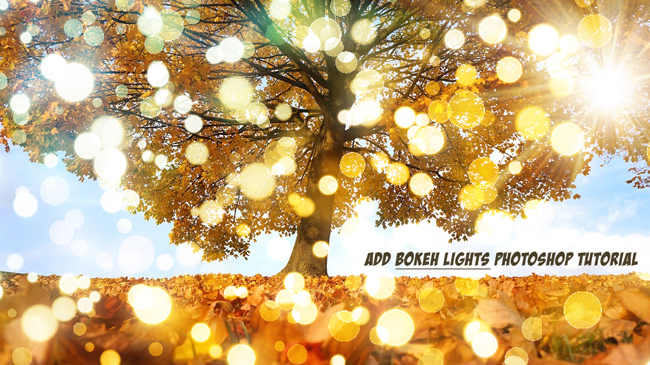
Learn how to make a Bokeh effect in Photoshop for your photos in just a few simple steps. All you have to do is to use a bokeh texture.
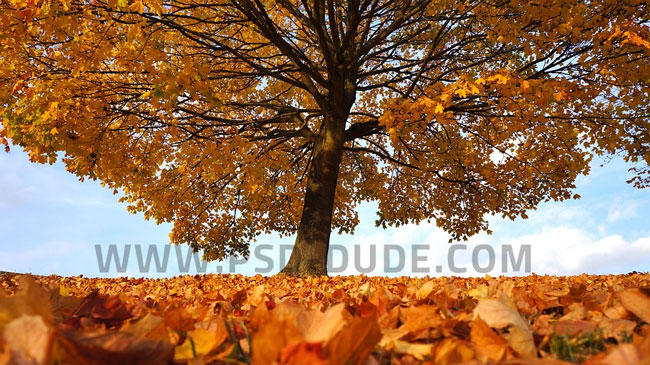
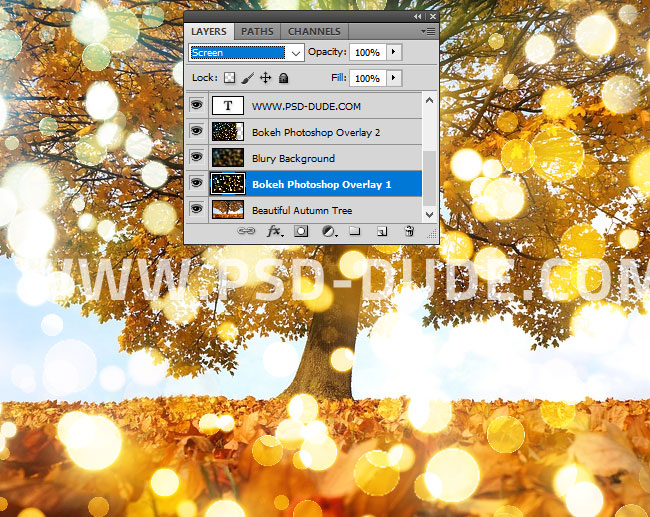
Open a new PSD file and add your photo in a new layer. For this tutorial I will use this Beautiful Autumn Tree stock image.
Download and add this bokeh background in a new layer and call it Bokeh Photoshop Overlay 1.

Add Bokeh Effect to Photo in Photoshop
Duplicate the Bokeh Photoshop Overlay 1 and call it Blurry Background. Duplicate the Blurry Background layer and call it Bokeh Photoshop Overlay 2.
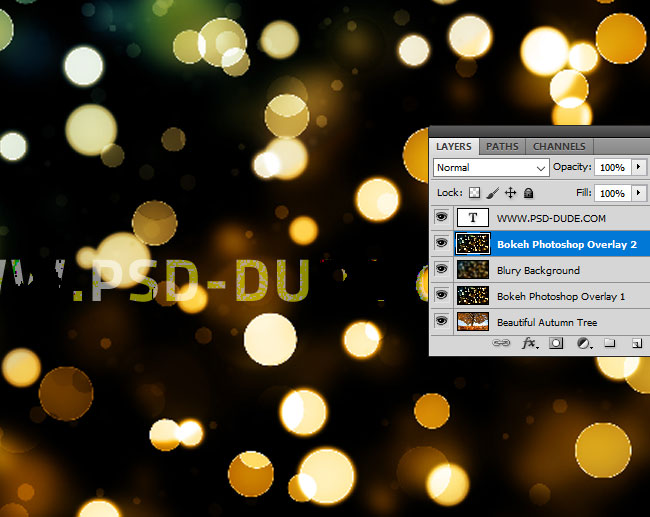
Press Control-T to resize the Bokeh Photoshop Overlay 2 layer to around 50% depending on your image. Set the blend mode of the Bokeh Photoshop Overlay 2 layer to Screen.

Go to the Blurry Background layer and use the Filter > Blur > Gaussian Blur filter.
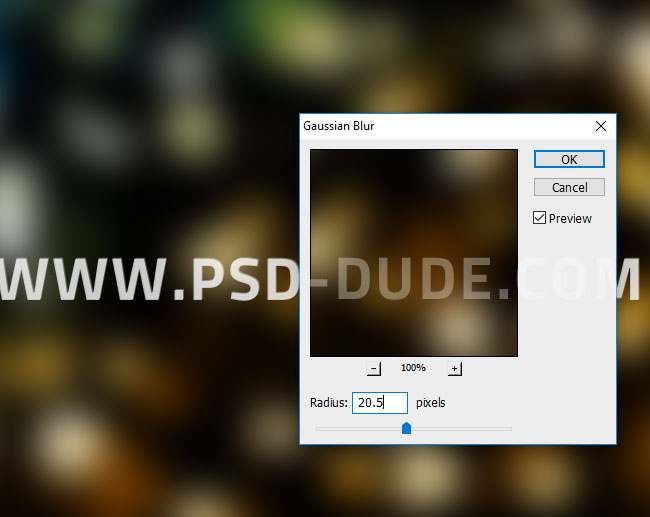
Set the blend mode of the Blurry Background layer to Screen.
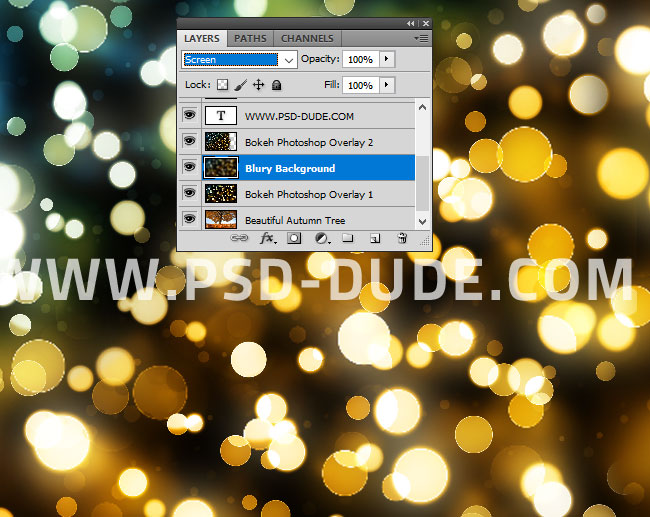
Set the blend mode of the Bokeh Photoshop Overlay 1 layer to Screen.
Download More Bokeh Textures for Free
Here are some of the most beautiful bokeh textures that are available for free. You can try different bokeh colors and shapes.
Add Sunlight Effect in Photoshop
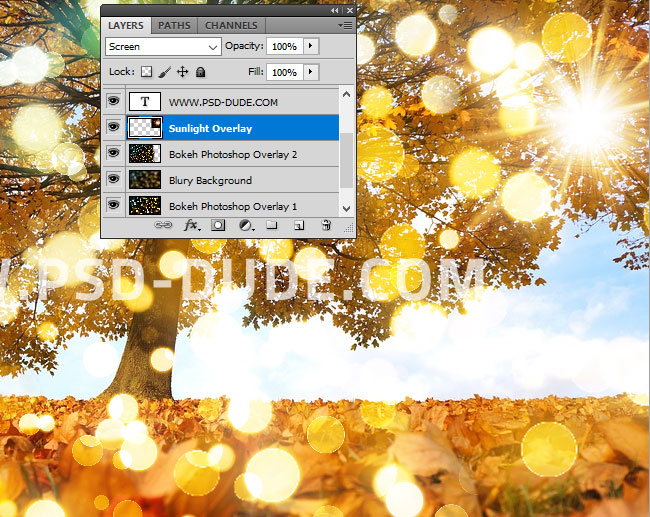
To make the image more shiny and add more light you can use this Sunlight Overlay texture. Simply add the image in a new layer and set the blend mode to Screen. You can place the sun image whereever you want it to be.
Animated Sunlight Photoshop Premium Action

Congratulations, You Made It!
Here is the final result for the bokeh effect Photoshop tutorial that I hope you all enjoyed practicing. This is a simple Photoshop tutorail for beginners and a good Photoshop exercise for newbies.

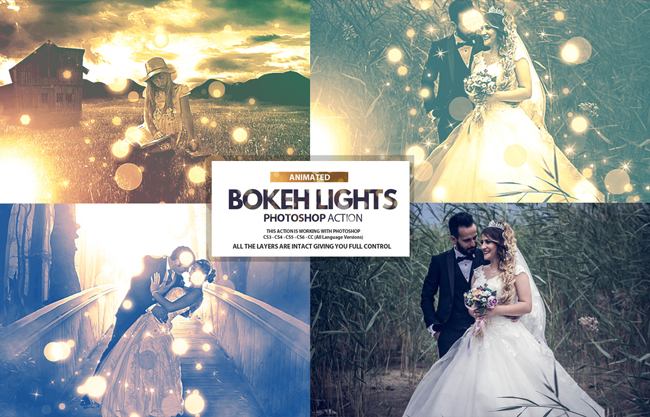
You can also check out these premium Photoshop actions for creating cool Bokeh effects right now!
Download Bokeh Photoshop Action

Download Animated Bokeh Lights Photoshop Action

No comment(s) for "How to Add Bokeh Effect in Photoshop"