How to Create animal fur texture and skin in Photoshop from Scratch
Open a new PSD file size 1000x600px or you can make it any size you want. Create a new layer called Fur Pattern and fill it with color white.

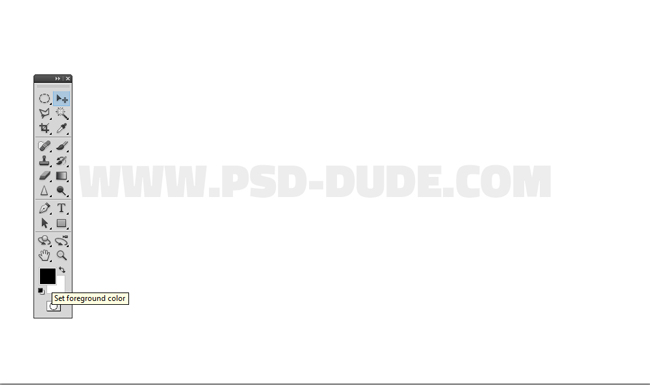
Set the Foreground color black and the Background color white.
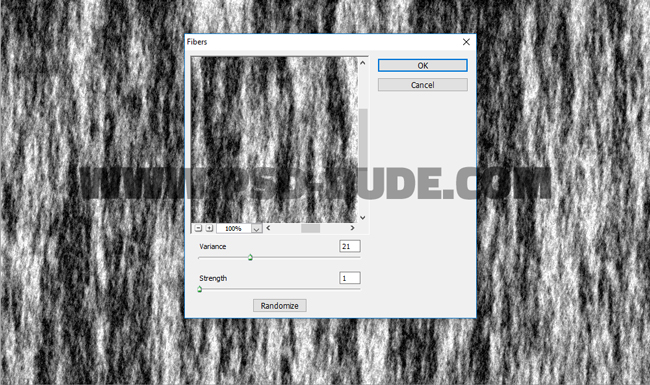
Go to Filter > Render > Fibers and make these settings.
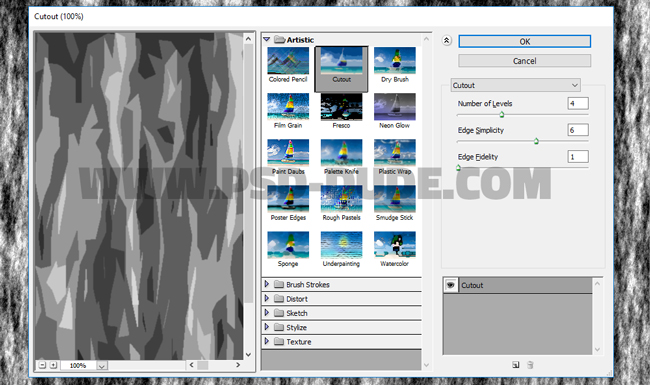
Go to Filter > Artistic > Cutout and set the number of levels, edge simplicity, etc.
Press Control-T to resize the layer to around 300% .
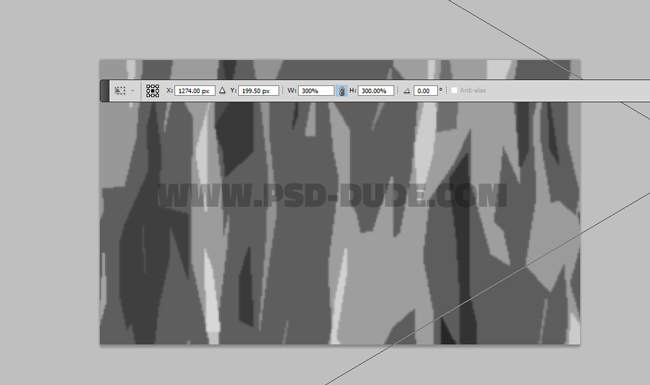
How to Smooth Edges in Photoshop
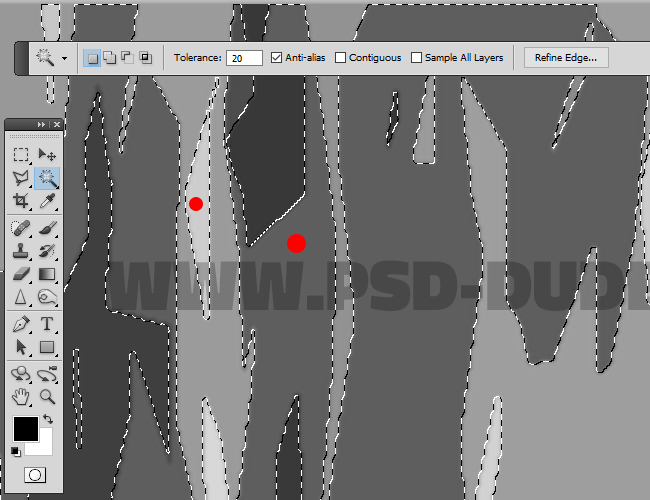
Pick the Magic Wand Tool and make sure the Contiguous is not checked. Keep the Shift key pressed and click on the dark gray and white color areas(the color marked with the red dots) to make a selection.
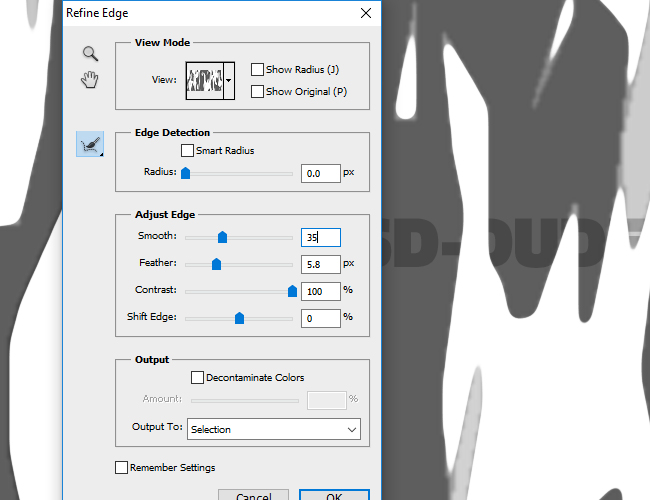
Go to Select > Refine Edge and make these settings to smooth edges in Photoshop.
Press Shift-F5 to fill the selection with color black. Press Control-J to make a Layer via Copy and call the new layer Fur Stripes.
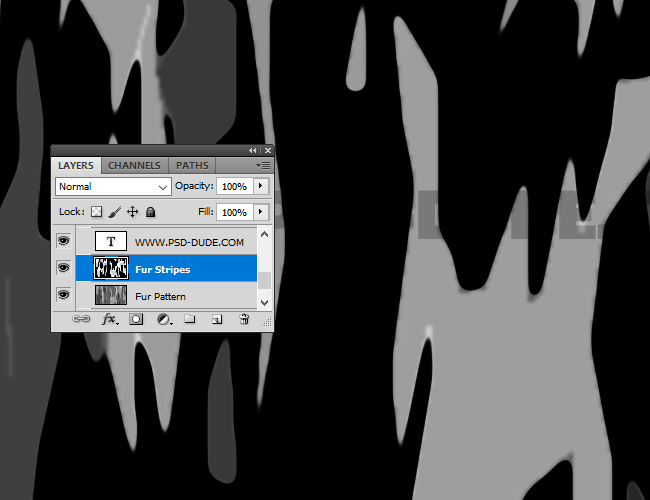
Press Control-T to scale the Fur Stripes on the vertical scale.
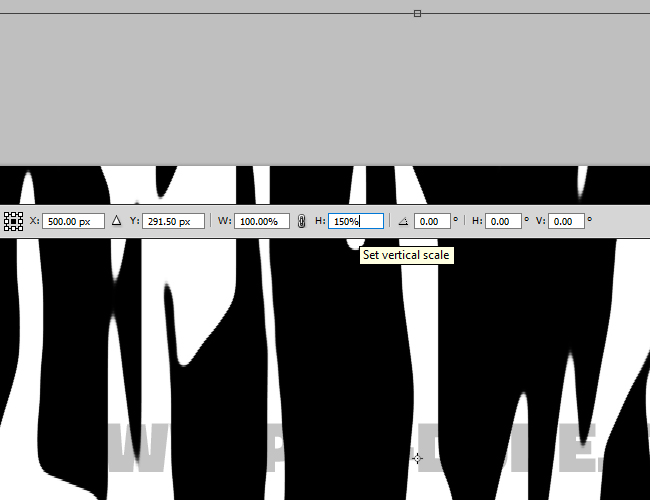
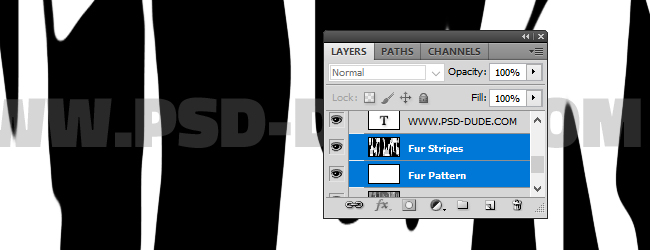
Fill the Fur Pattern texture with color white. Select the Fur Pattern layer and Fur Stripes layer and press Control-E to merge layers.
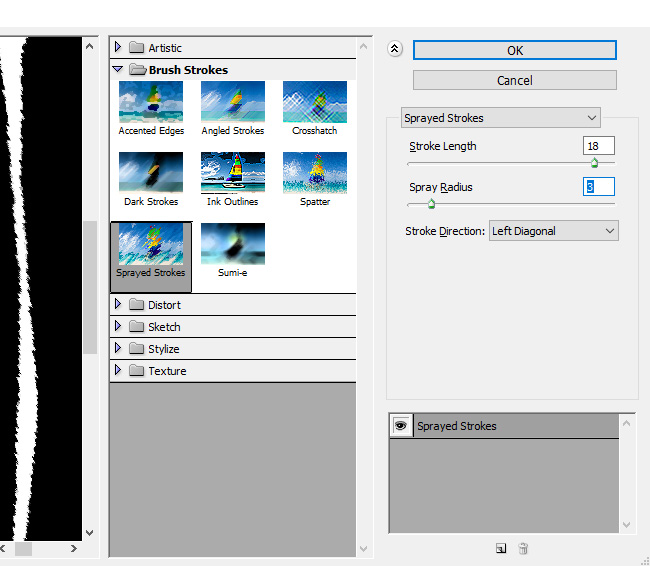
Go to Filter > Brush Strokes > Sprayed Strokes and set the Stroke Length and the Spray Radius.
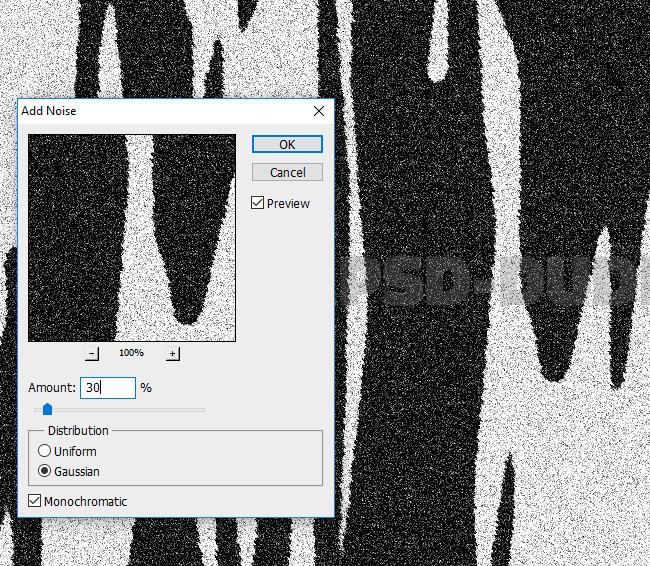
Go to Filter > Noise > Add Noise and set the Amount to 30% , Gaussian.
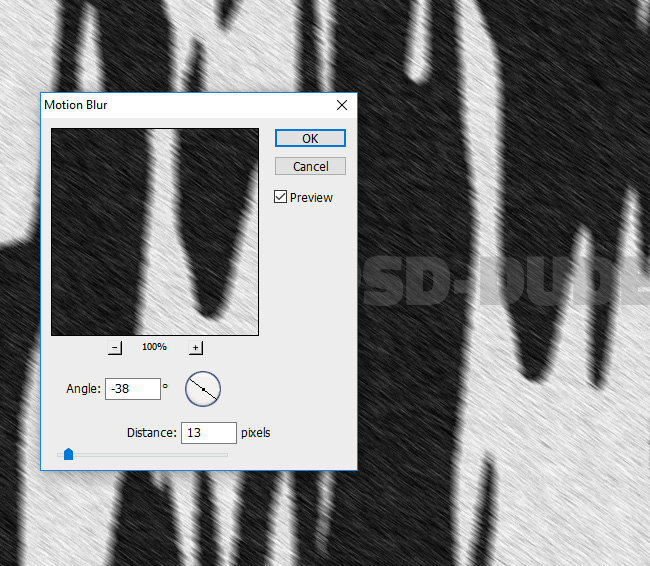
Go to Filter > Blur > Motion Blur and set the Amount and set the Angle and Distance.
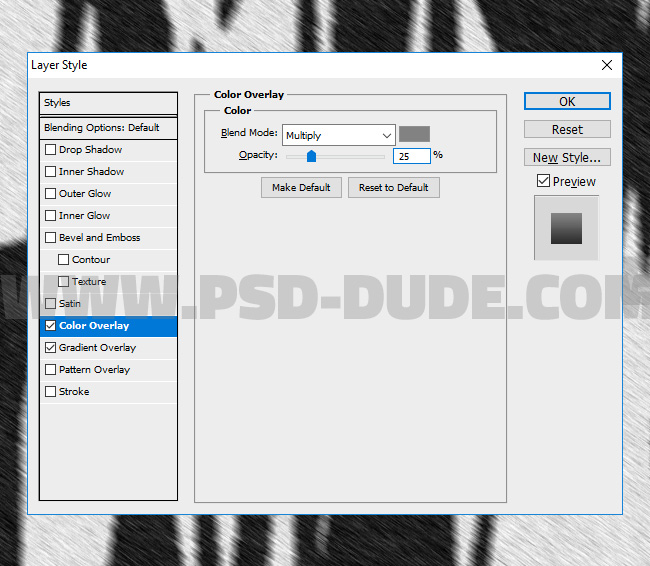
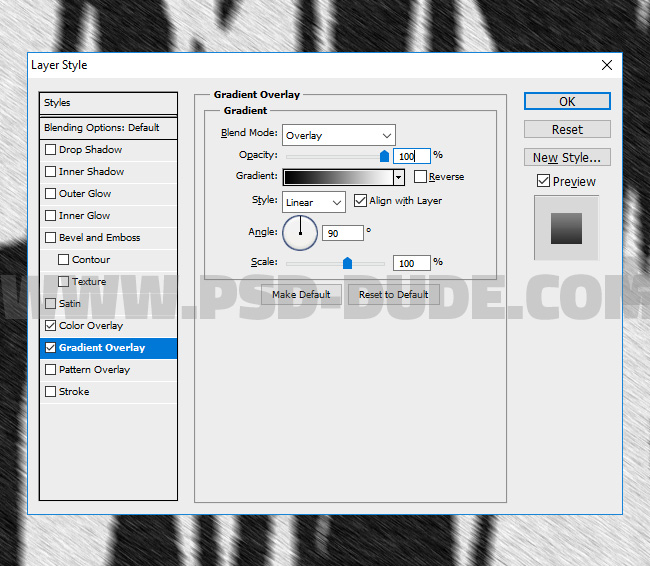
Add Color Overlay(color #828282) and Gradient Overlay(colors #000000 and #ffffff) to this layer.
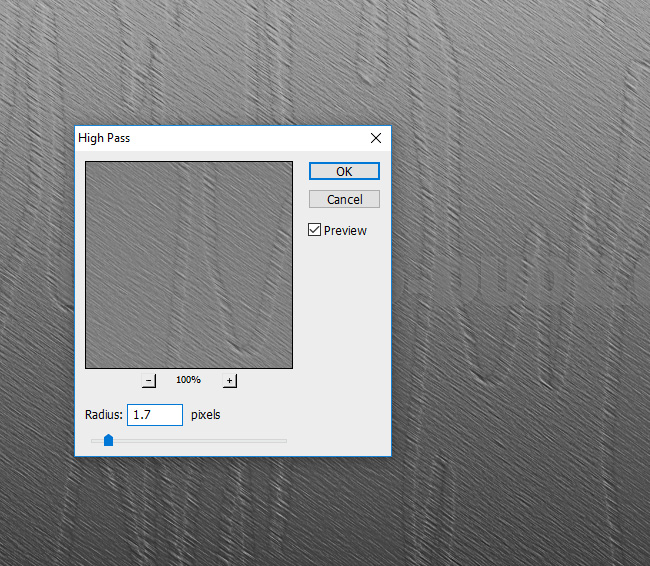
Press Shift-Contol-Alt-E to make a copy of all the visible layers merged. Go to Filter > Other > High Pass.
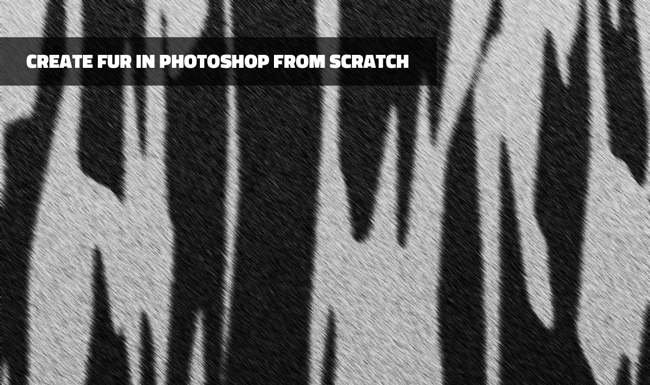
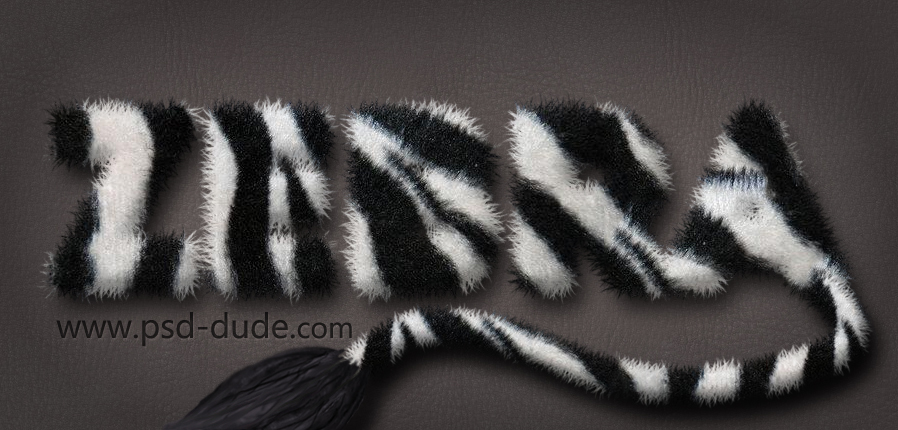
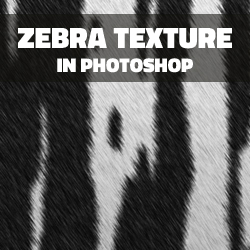
Set the blend mode of the High Pass layer to Overlay, 60% opacity level. So that is the final result of the how to create a animal fur texture in Photoshop from scratch tutorial.

Read also How to Create A Fur Text Style In Photoshop
1 comment(s) for "Create a Zebra Fur Texture in Photoshop from Scratch"
thank you for this fur texture tutorial, it's great!