


Create the Wood Background

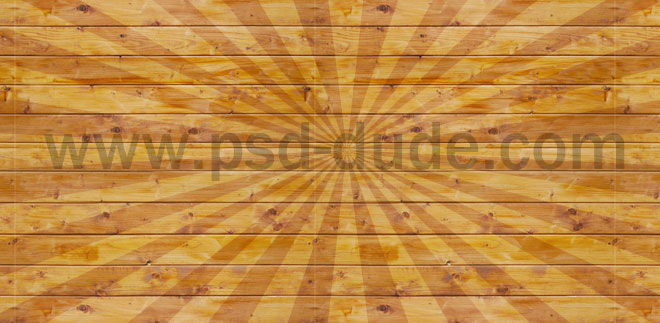
For this photo manipulation I will start with a simple Wood Background image. I will use this beautiful rustic wood texture. Being a seamless texture you can make a Photoshop pattern out of it and use it for big size images.
Use the sunburst brushes in a new layer and pick the color white for the brush. Set the layer's blend mode Overlay 25% opacity level. If you want a vector shape you can try one of these sunburst vector shapes that come in Photoshop CSH file format.
Add the Happy Easter Text
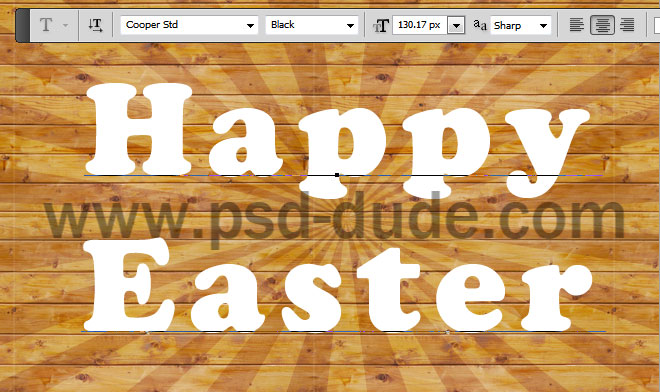
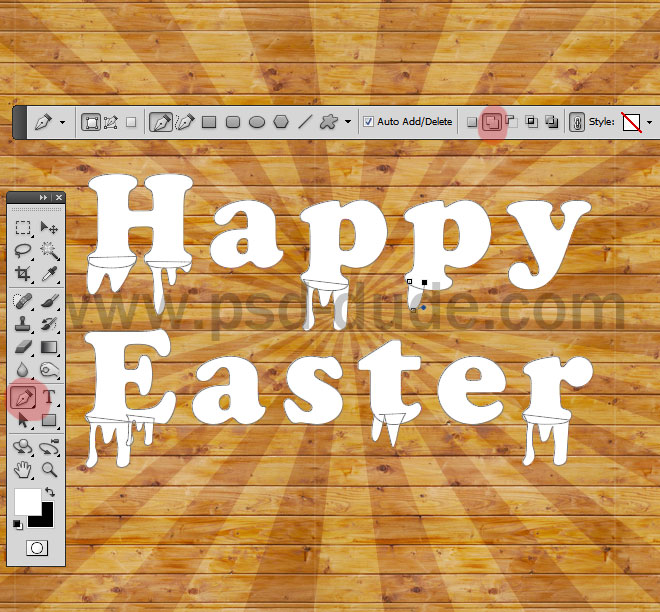
Write a simple festive "Happy Easter" text using a rounded font. We want to add a fried egg effect to this text, so we need a rounded font.
Convert text to shape to make the text shape editable. Use the Pen Tool and add some drips like shown in the image. You can use the Drip Photoshop Shapes or you can use this Drips Background image.
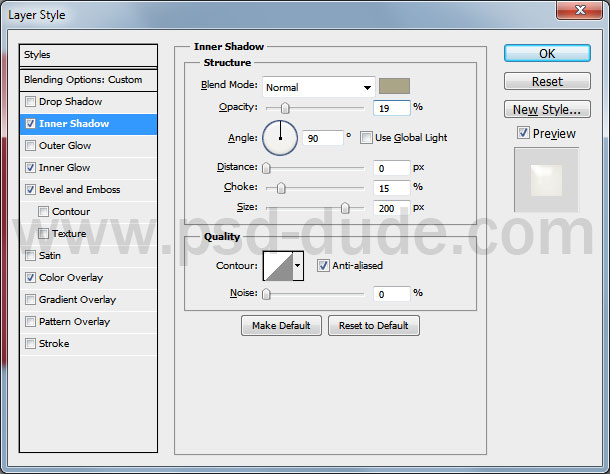
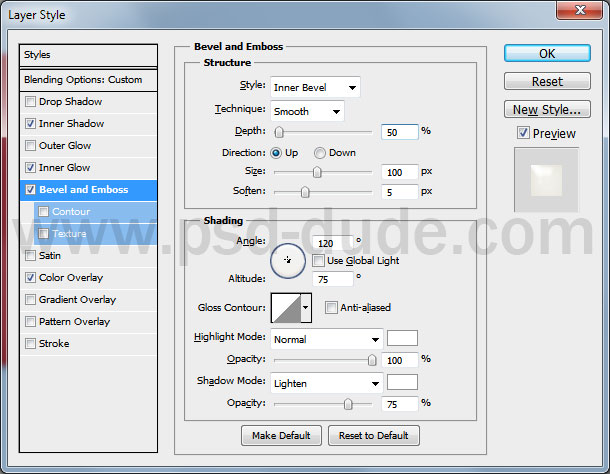
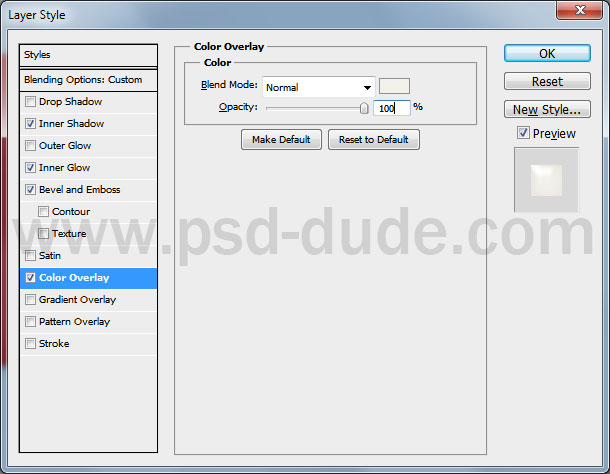
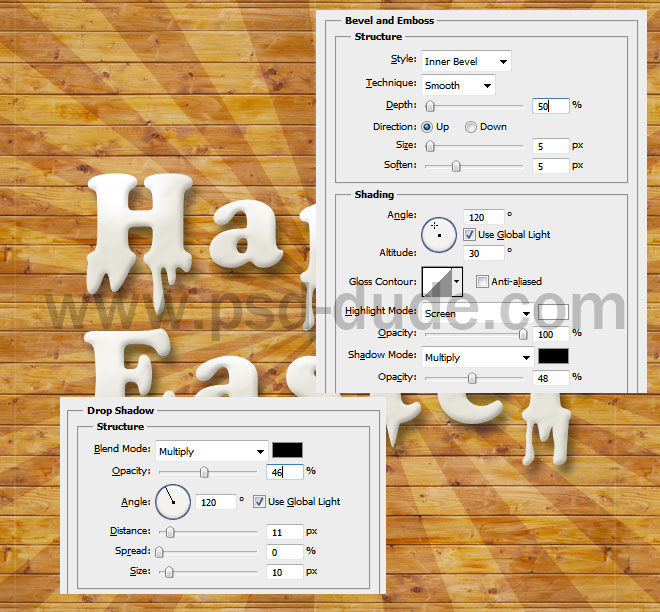
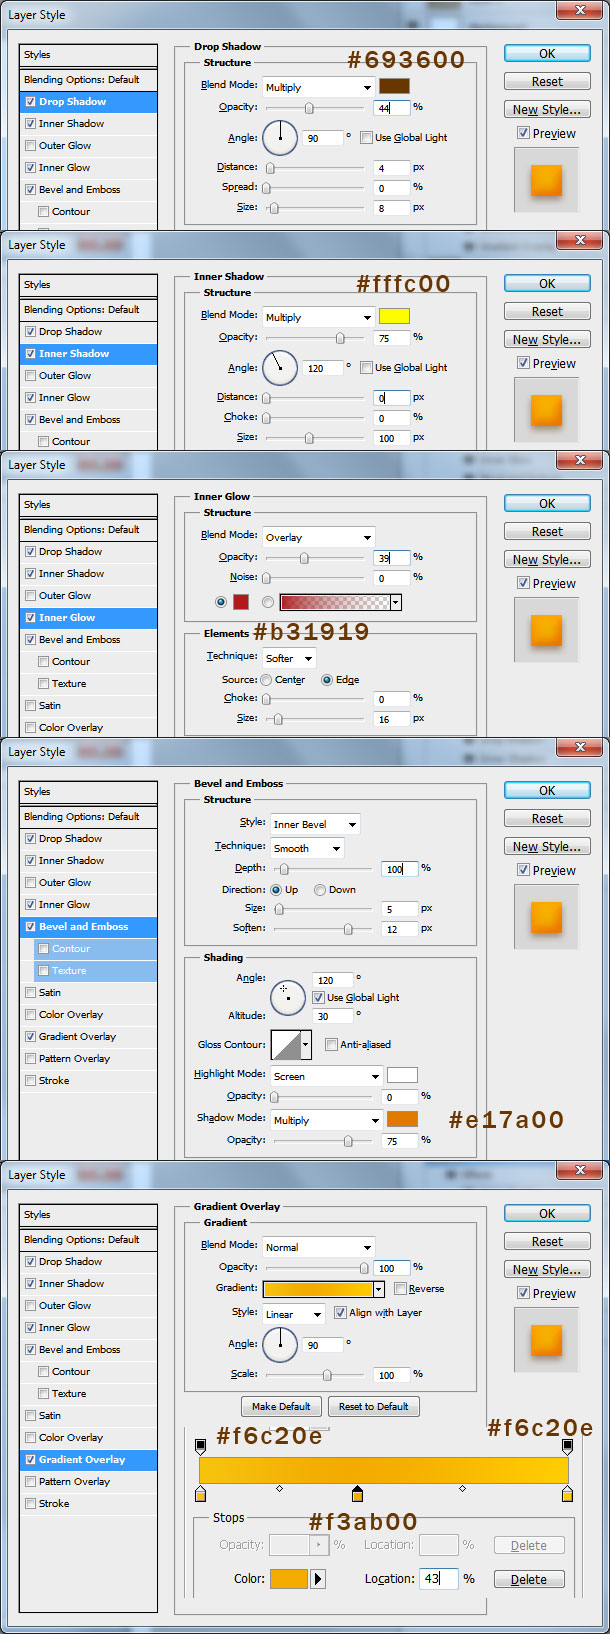
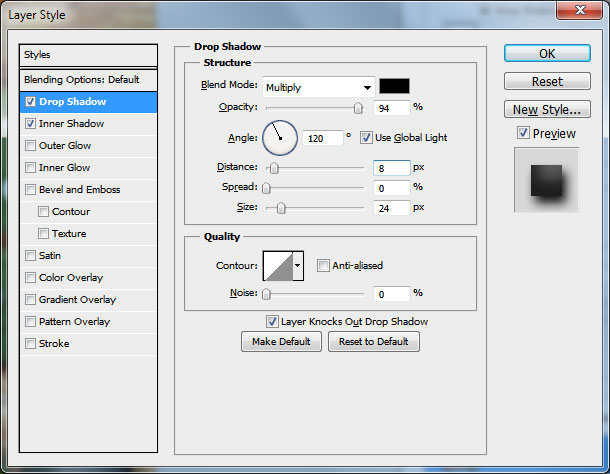
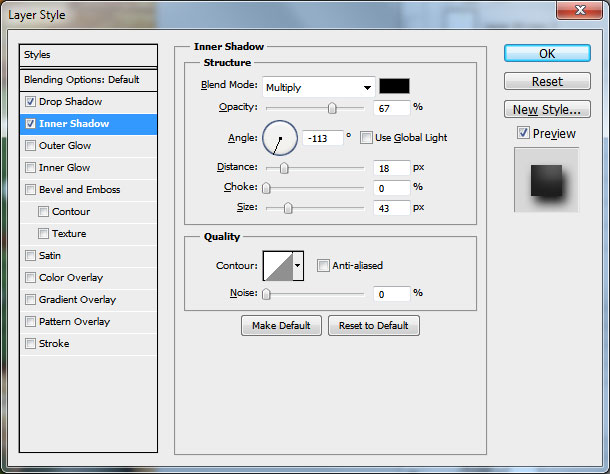
Open the layer style window of the Text Shape Layer and add the following layer styles.
color #aba587
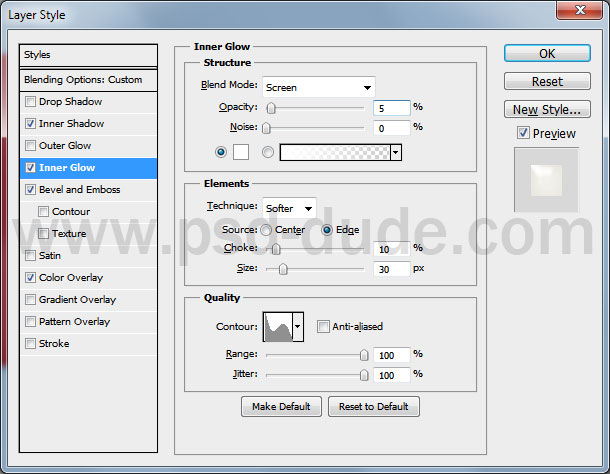
color #f2f1ea
Add the Embossed Text Grass Effect
Convert this layer to Smart Object. Add new layer styles to this smart object.
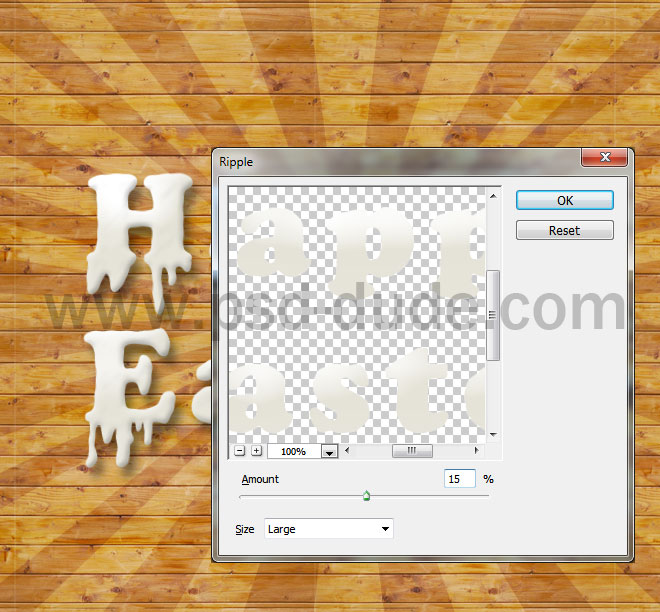
Add a smart filter to this smart object; go to Filter>Distort and choose Ripple.
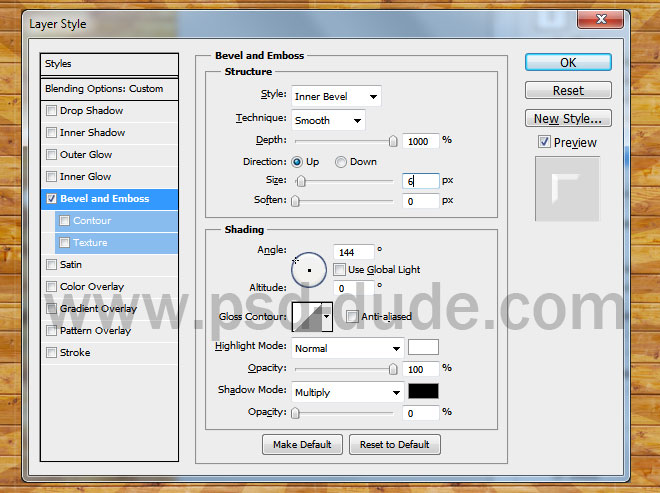
Duplicate this layer, reduce the Fill to 0%; add a Bevel and Emboss.
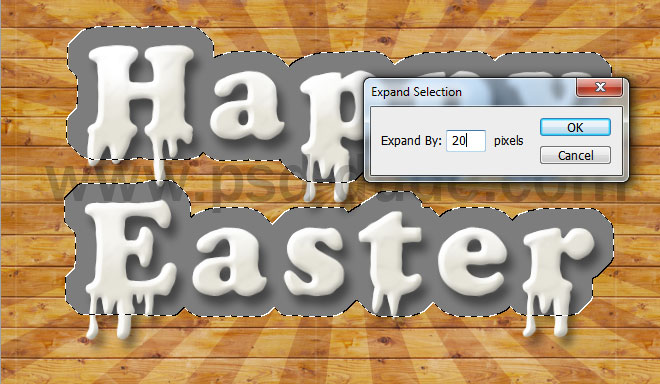
Select the initial text layer and expand the selection with 20 pixels (Select>Modify>Expand). Call this layer Grass Shape.
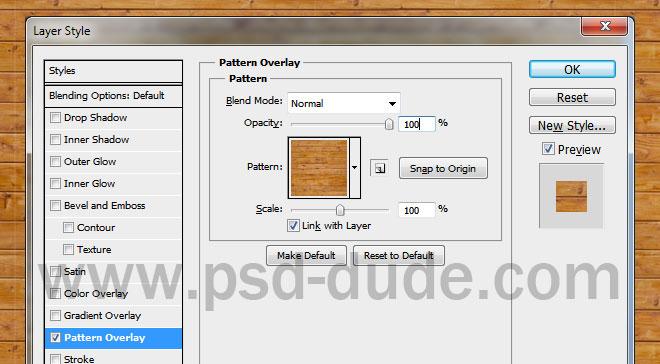
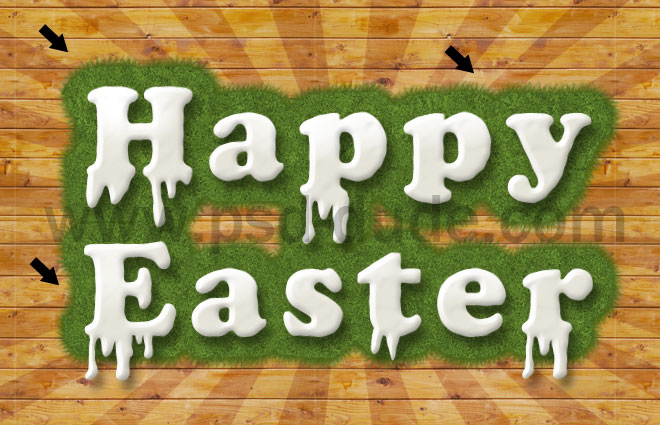
Use a grass seamless texture and add it as Pattern Overlay for the Grass Shape layer.

In a new layer use a grass brush to trace the edge of the grass shape layer.
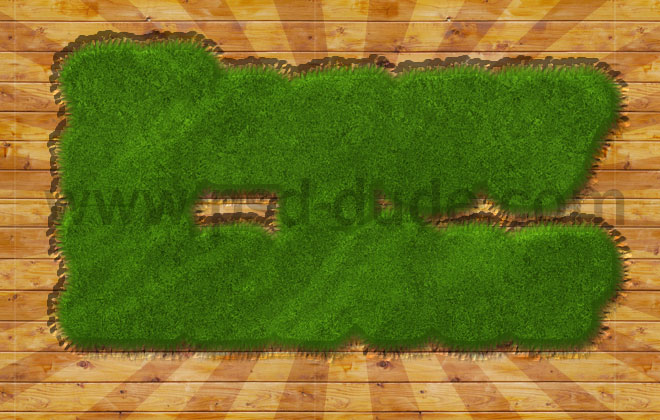
Conver the 2 grass layers into a smart object and add the following layer styles to the new smart object
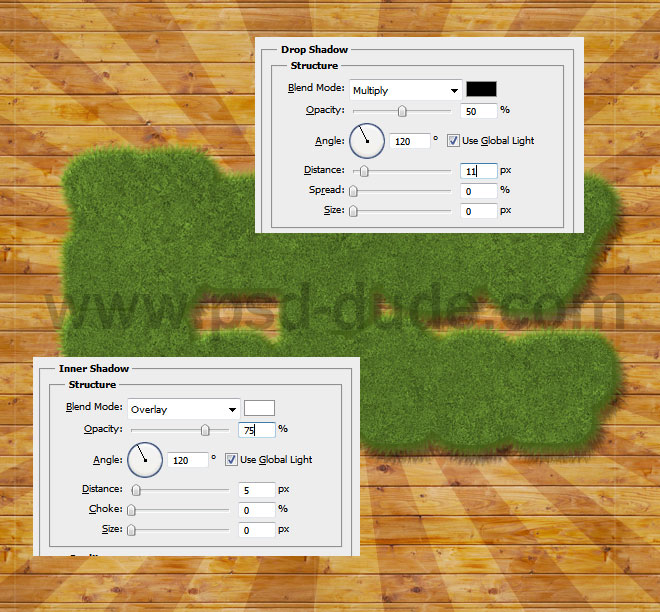
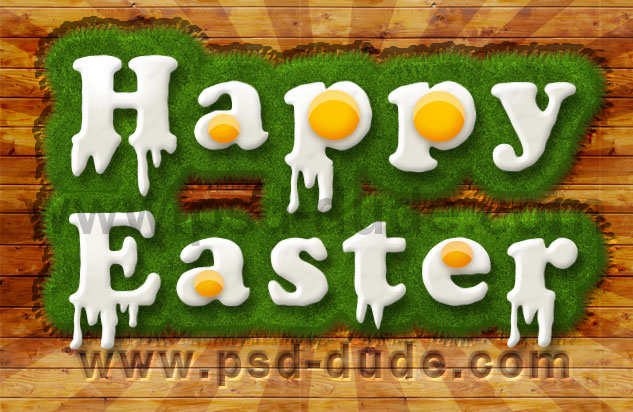
You can also use a new layer and the Dodge and Burn Tools to obtain a more vibrant color. Also I have created a new layer with a shape identical to the grass area; place it below the Grass Smart Object. Use one of these amazing letterpress style to create a carved wood effect.
Now I will create the egg yolk effect; Use the Ellipse Tool to create circles like in the image in a new layer.

Add the following layer styles to the Yolk Layer.
Duplicate the Yolk Layer and use the Ellipse Tool again to create a crescent moon like shape.
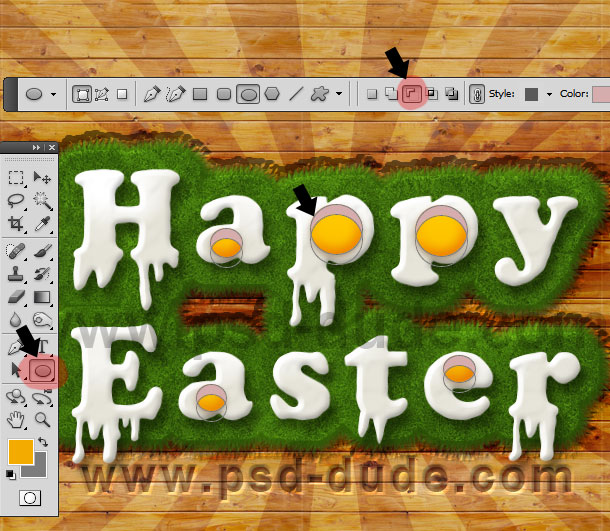
Use color white for the crescent moon shapes and reduce the opacity to 45% and you will obtain a fried egg text effect.
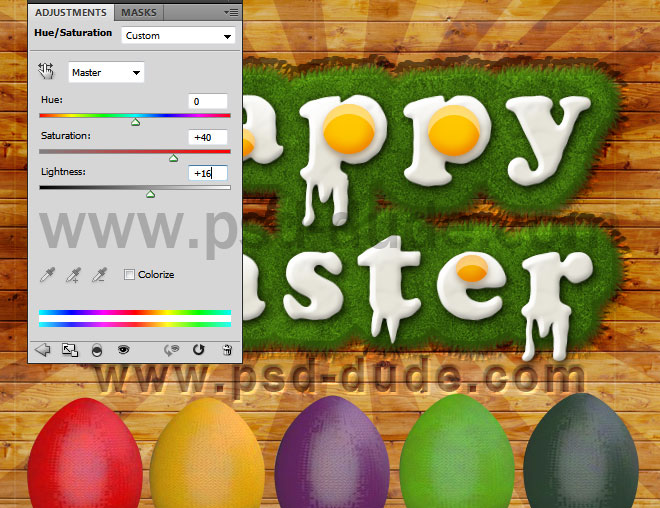
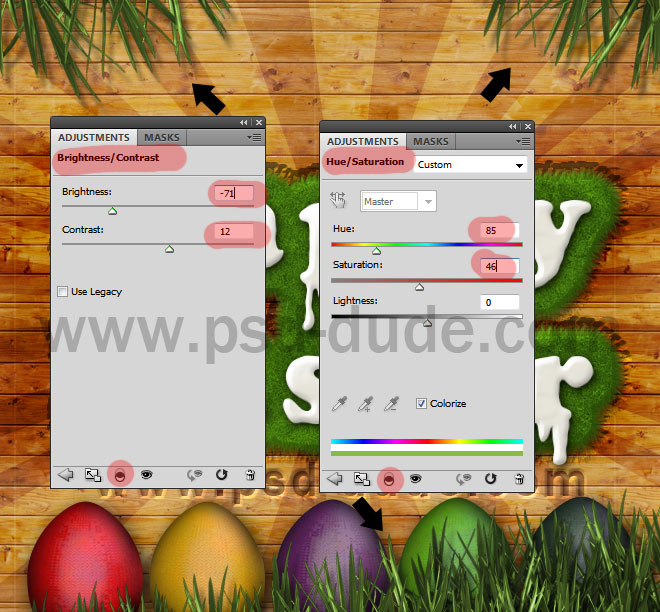
I will now add some colorful elements like painted eggs, flowers, leafs and grass. Start with this Painted Eggs PNG image and place it like shown in the image. Use a Hue/Saturation adjustment layer to change the color tones.
Use a Drop Shadow and a Inner Shadow layer styles for the Painted Eggs.
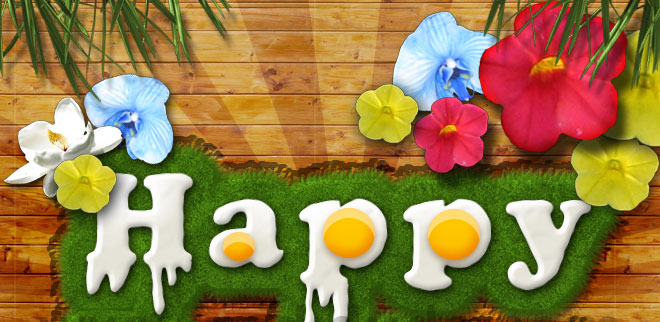
(Tutorial Update) For the floral border you can use this beautiful Flower and Leaves Frame PNG image.
Copy the grass and flowers PNG stock image and add the grass like shown. You have to adjust the color of the grass to make it green. Duplicate the Grass Layer multiple times, make them different sizes and place them one over the other to look good. Also add a Drop Shadow effect for each Grass Layer.
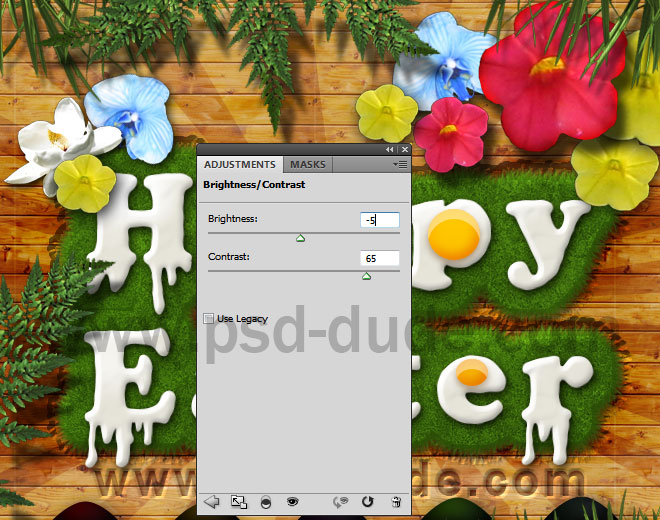
Use also the flowers from the previous stock image and arrange them as you wish. Don't forget to add shadow effect and also to make small adjustments on the color, brightness, etc.
I used also these farn leafs; increase contrast and add shadow effect.
Finish the Easter Poster
For the final touches you can add a vignette, you can create a new layer above all the other layers(blend mode Overlay) and simply paint with white to highlight and with black to darken the color. So here is the final result for this colorful Easter poster.

10 comment(s) for "Design an Easter Poster in Photoshop"
Would love to know what you would charge for some custom themed cover pics for each month and special days of the year.
LOVE your easy to follow tutorials and everything else on your site.
Thanks. reply
Thank you very much for your kind words, I am glad you like my blog! I am sorry to say that for the moment we are not available for any design projects mainly because the lack of spare time.
reply
My realization: