


How to Create a Wedding Invitation with Textturizer and Photoshop
In this tutorial you are going to learn how to create a editable wedding invitation template using Textturizer and Photoshop.
Design and Edit the Header of The Wedding Invitation with Textturizer
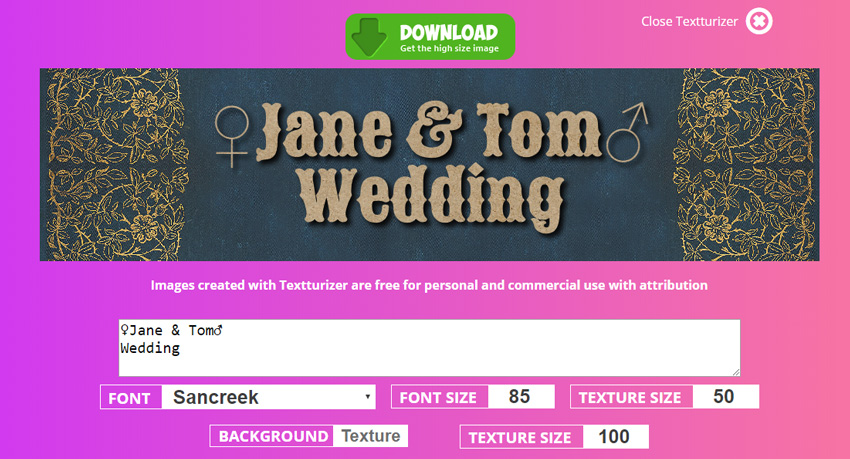
Open Textturizer, the online text generator and edit the text of the Wedding Template design.
You can change the text, font type, font size. You can also edit the textures used for text and background.
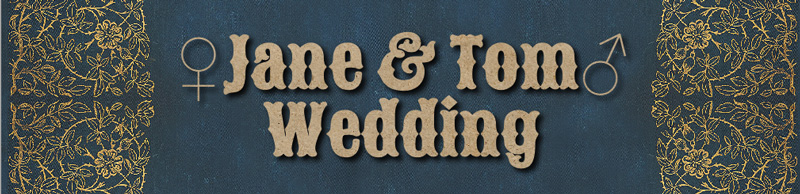
The symbols for male and female are from CoolSymbol a site with symbols and emoticon text that you can use in your design.
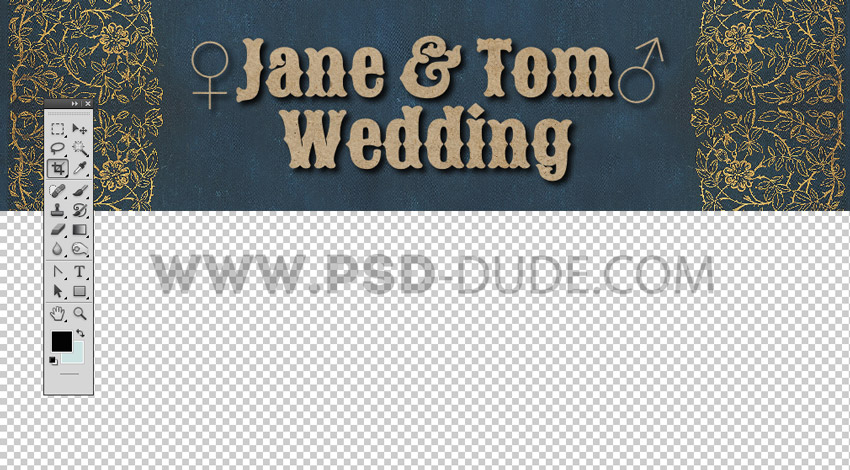
Press the Download button to get the image. Open the Photoshop and add the image in a new PSD file.
Use the Crop Tool to increase the height of the PSD canvas.
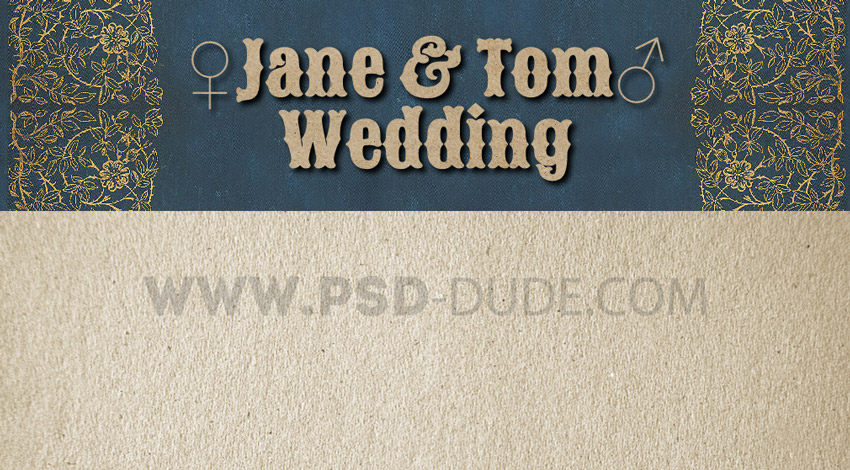
Add this High-Res Paper Texture in a new layer. Make sure you place the layer below the wedding invitation card.
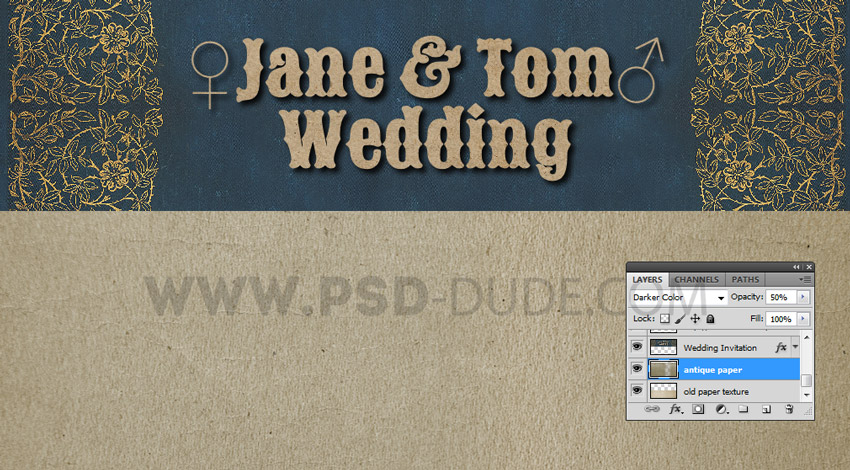
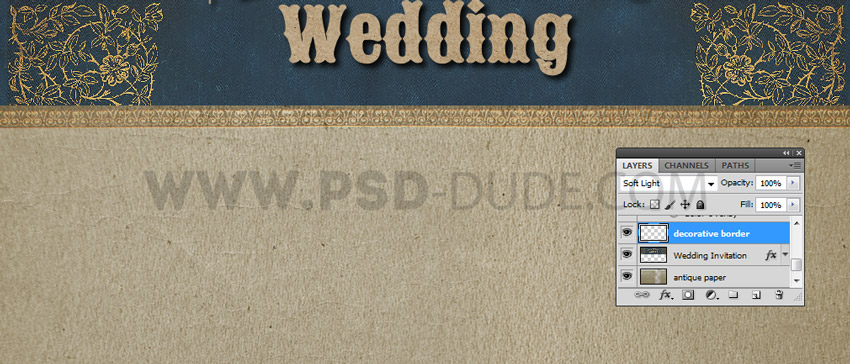
In a new layer add this Antique Cracked Paper Texture and set the blend mode to Darker Color, opacity 50%. You can also use any of the paper texture images from our huge collection.
Iused this Leather Book Cover to add a decorative border. Use the Rectangular Marquee Tool to select and cut the golden border. Set the layer style to Soft Light.
Add a text layer using a handwritten font type. I used Vijaya a free font that you can find online.

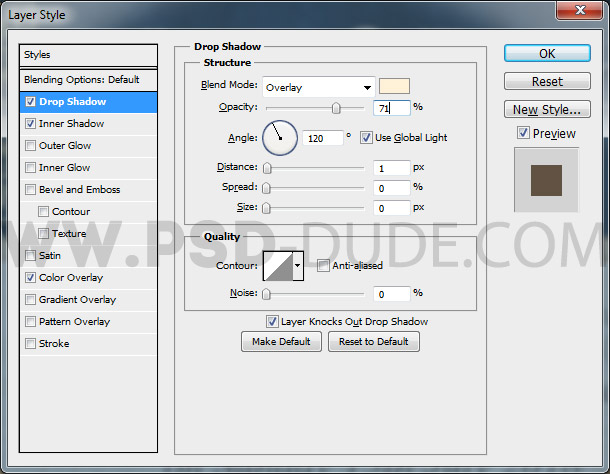
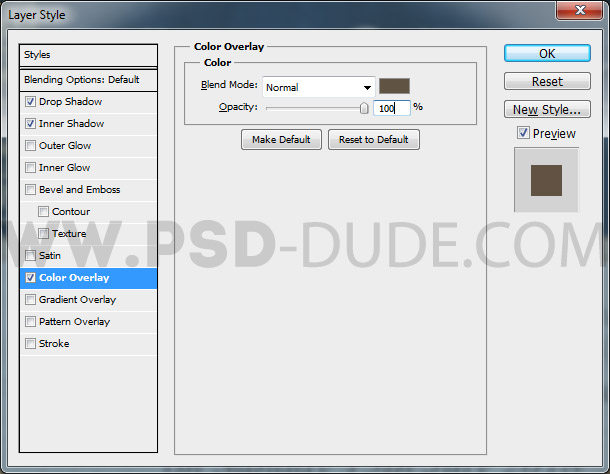
Add a pressletter style to the text layer: Drop Shadow (color #fff1d8), Inner Shadow (color #040404) and Color Overlay (color #605342) .

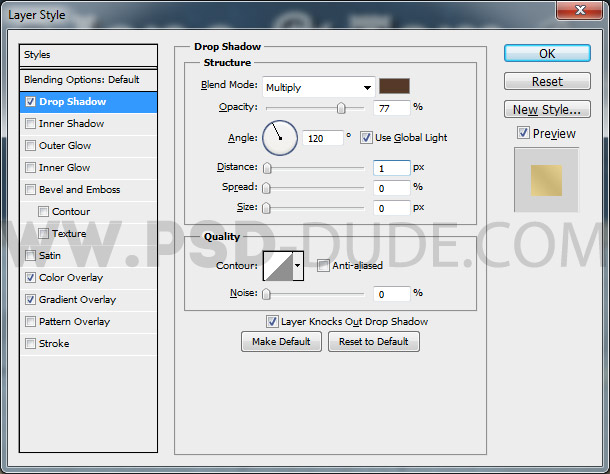
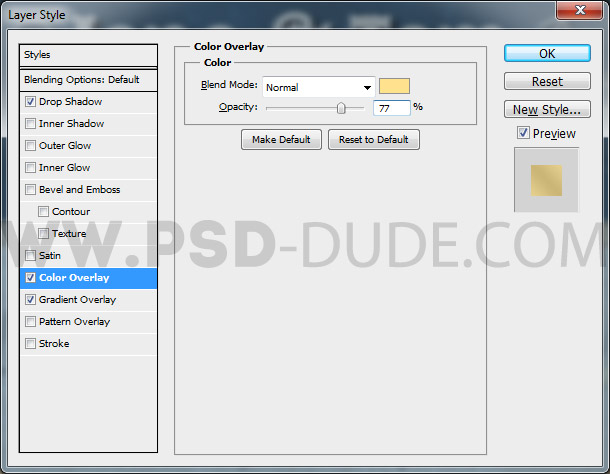
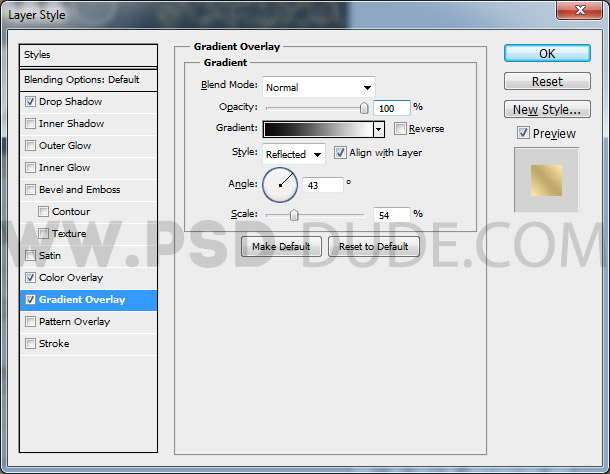
Duplicate the Text layer and add a golden style to some of the words. To create the gold style use these effects: Drop Shadow (color #553927), Color Overlay (color #ffe28d) and Gradient Overlay (color #000000 and #ffffff).
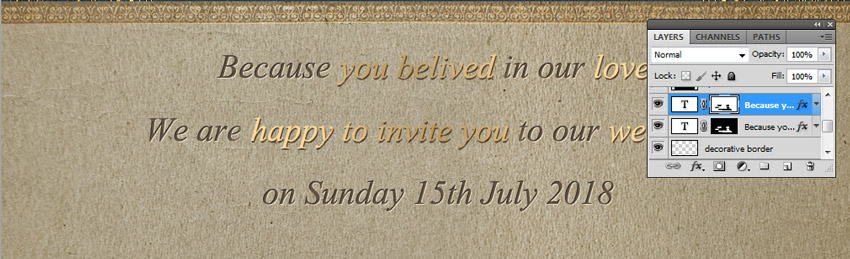
Add a layer mask for each text layer and use black color to hide words. That way you have some words with letter-press style and the other works with reflective gold style.
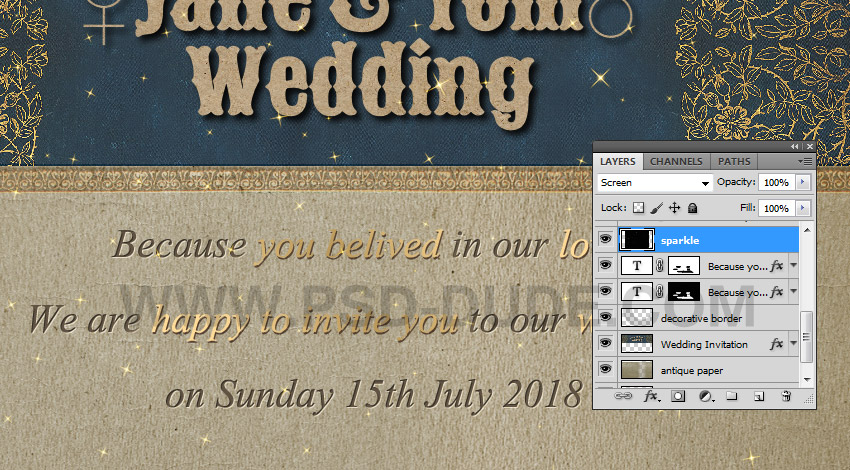
For the final touches you can add a sparkles effects:
Set the blend mode of the texture overlays to Screen.
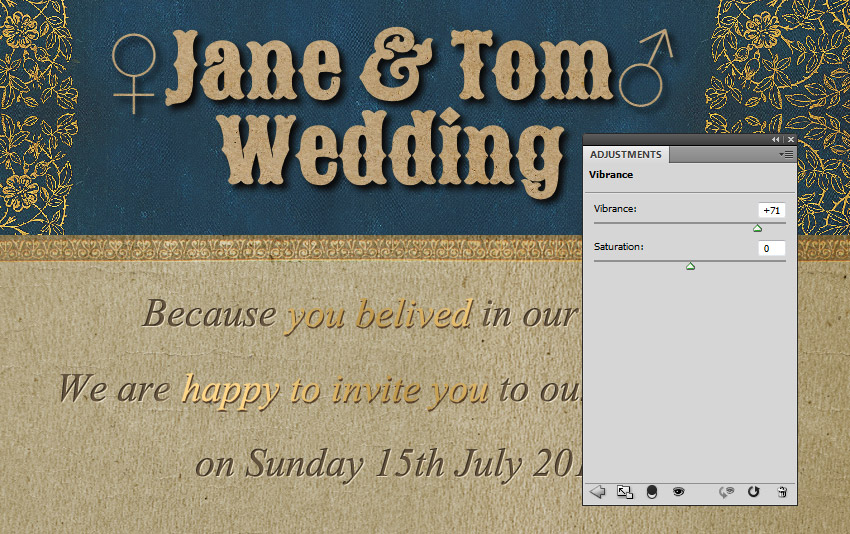
Add a Vibrance adjustment.
To make the image more sharp use the High Pass filter technique.
Use the Burn Tool inside the High Pass layer to darken the edges of the paper.
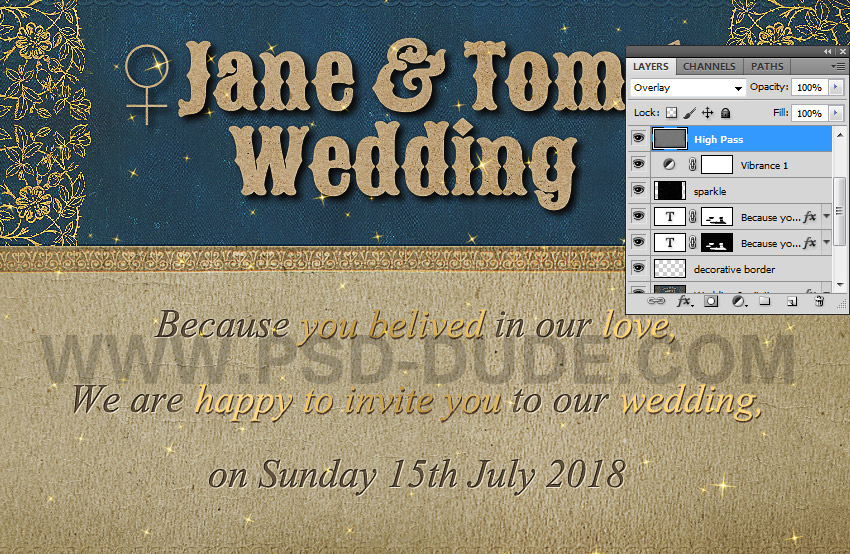
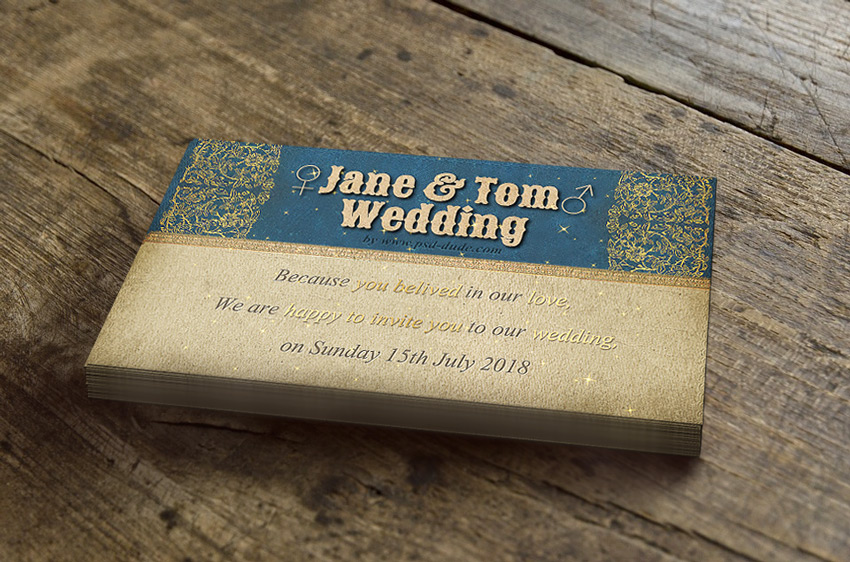
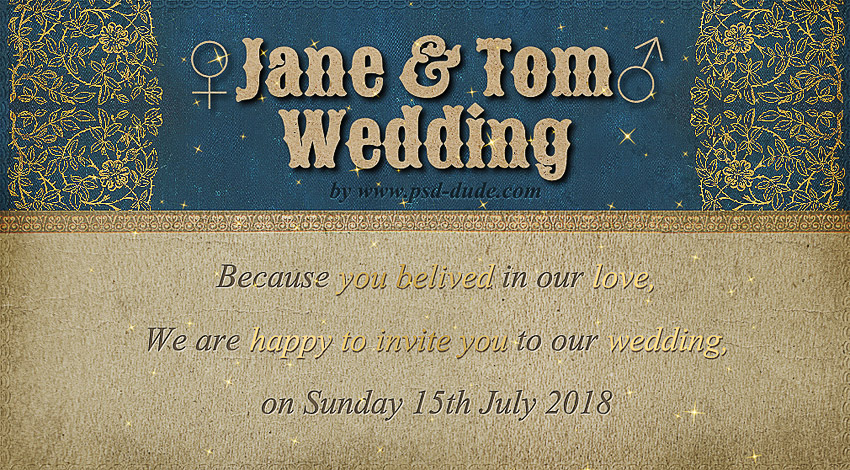
This is the final result for the wedding invitation template made with Textturizer and Photoshop using textures and text effects. To make an indian wedding invitation you can add more rich gold details and decorative borders.

1 comment(s) for "Design a Wedding Invitation with Photoshop and Textturizer"