Open an Image in Photoshop
First let's create a new PSD file, 72 dpi, RGB color mode and max size of around 1500px. Open an image in Photoshop. For this tutorial I will use this Girl in Red Dress stock image, but you can use any image you like. Call this layer Original Image. If you have a background layer please delete it; the image layer has to be the only layer in your PSD file.

Photoshop Dispersion Effect Action Free Download
To create the dispersion effect in Photoshop we will use a easy dispersion action. So download this Photoshop Dispersion Effect Action for free. Right clik on the "dispersion-action-by-psddude.zip" and choose Extract Files. Inside you will find 2 files that you have to load in Photoshop.
- Photoshop Action File "DISPERSION-by-PSDDUDE.atn". To load the action in Photoshop go to Window > Actions and choose Load Actions.
- Photoshop Patterns File "scatter.pat". To load the patterns in Photoshop go to Edit > Preset Manager, choose Preset Type > Patterns and click Load.
- Photoshop Brushes File "dispersion-brushes-psddude.abr". To load the brushes in Photoshop go to Edit > Preset Manager, choose Preset Type > Brushes and click Load.
How to Use Dispersion Photoshop Action
Before playing the action make sure again that your PSD file is 72 dpi, RGB color mode and that you have a single layer like shown in the preview.

Also set the Brush Tool to Normal blend mode and Opacity and Flow set to 100%.

Choose one of the two dispersion actions and click Play.

The action stops for you to paint over the area that you want to desintegrate. Use the Brush Tool to paint over some areas like shown in the preview.


When you are done with the painting press the Play button again. Make sure you are in the "paint over the area" layer before resuming playing.

When the action ends you have a new Group called "disintegration by psddude", that contains multiple layers.

Pick the Move Tool. Keep the CTRL key pressed and click on the screen to select a layer that you want to move. Make sure you have Layer selected from the Move Tool bar. This way you can select the layers that you want to move, rotate, resize, etc. You can also duplicate some of the layers and move, rotate, resize, etc.

Also another thing that you can do is to duplicate the group. Right click on the group and choose Duplicate Group.

Keep the CTRL key pressed and click E key to Merge Group. You can move, rotate, resize the merged group to obtain the result that you like.


Dispersion Photoshop Brushes
Inside the ZIP file you will also find an ABR file that contains the dispersion Photoshop brushes used in this tutorial. You can use the bonus disintegration brushes to improve the result. Use the Brush Tool or the Clone Stamp Tool with Sample All Layers.
Add Sun Light in Photoshop
Create a new layer and call it Sun Light. Open this sun flare texture in this layer and set the blend mode to Screen.

You can also try some premium Photoshop actions for creating rays of light, sunlight and other day light effects for your photos.
Photoshop Special Effects
In this step we will improve the photo look by using some Photoshop photo enhancement techniques like color adjustment, sharpen the image, photo color correction, etc.
Go to Layer > New Adjustment Layer > Selective Color and make these settings to change the color tones.


Keep the SHIFT CTRL ALT keys pressed and click E key to create a new layer that contains the Merged Visible Layers. Call this layer Sharpen Effect. Go to Filter > Other > Custom and make these settings. Set the opacity of this layer to 60%.

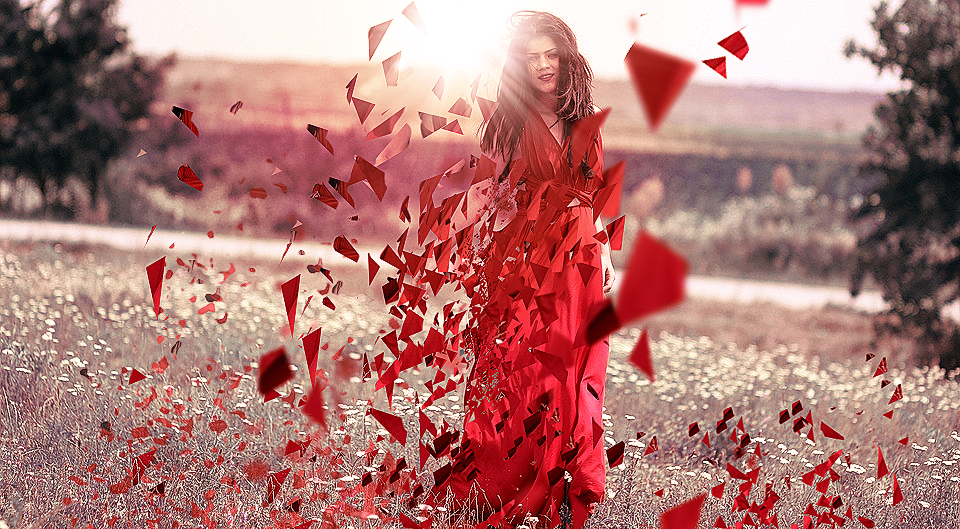
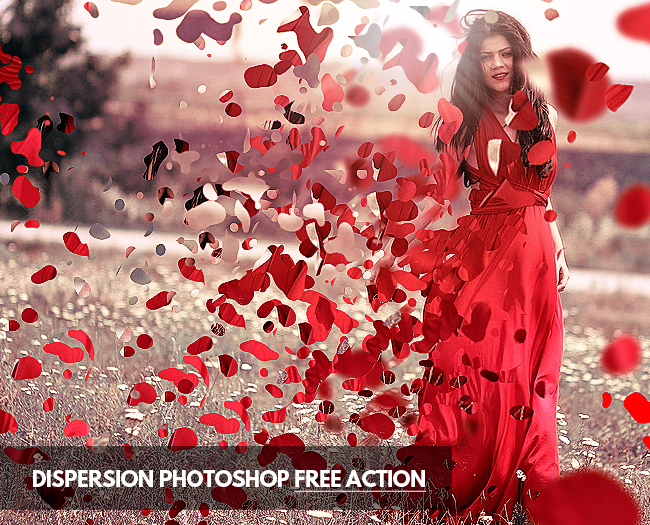
So here is the result for the how to create a dispersion effect in Photoshop tutorial.


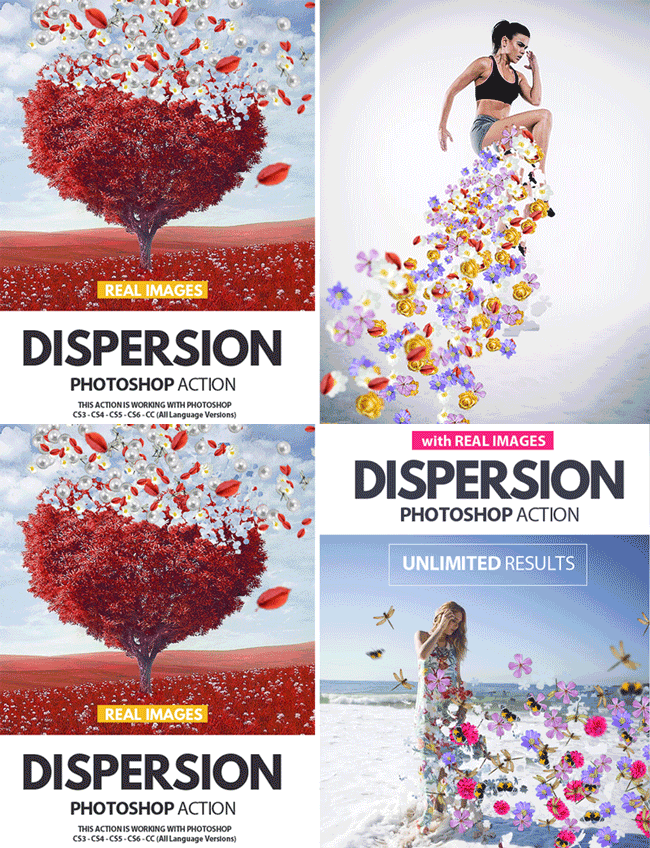
Dispersion with Real Images Photoshop Action


4 comment(s) for "Create Dispersion Disintegration Effect in Photoshop"
The result is great but I can't show you because uploading to your site doesn't work.
reply
I get message "the object "brush hard round" is not curently available".
Than i select that brush , and stil again i get the same message.
Can you please help me, what to doo?
I use PS CS3 reply