Reflection is a complex term from physics that we encounter in our daily life everywhere. The reflection of light is either specular (mirror-like) or diffuse (retaining the energy, but losing the image) depending on the nature of the interface. A mirror provides the most common model for specular light reflection, and typically consists of a glass sheet with a metallic coating where the reflection actually occurs. Specular/regular reflection also occurs at the surface of transparent media, such as water or glass. But it is also visible on every smooth/glossy surfaces like polished wood, shiny reflective metal and so on. You can read more about reflection on wikipedia.
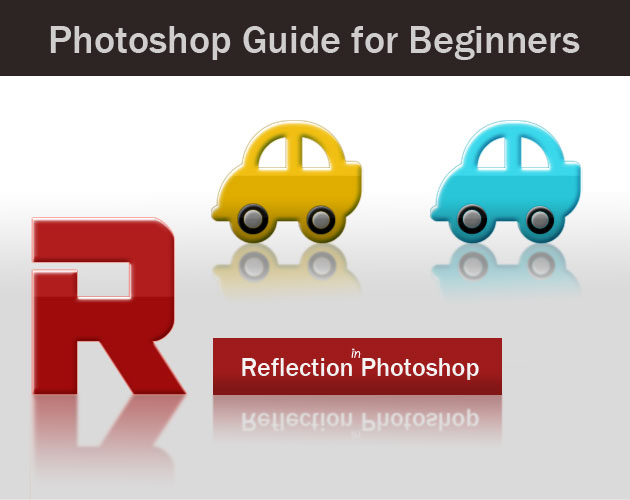
In this tutorial I will show you how to create a reflection in Photoshop in just a few simple steps. Remember that you need a glossy surface texture to obtain a realistic reflection. The difference between a shadow and a reflection is that the reflection is a copy of the real object in terms of shape and color/texture/etc.
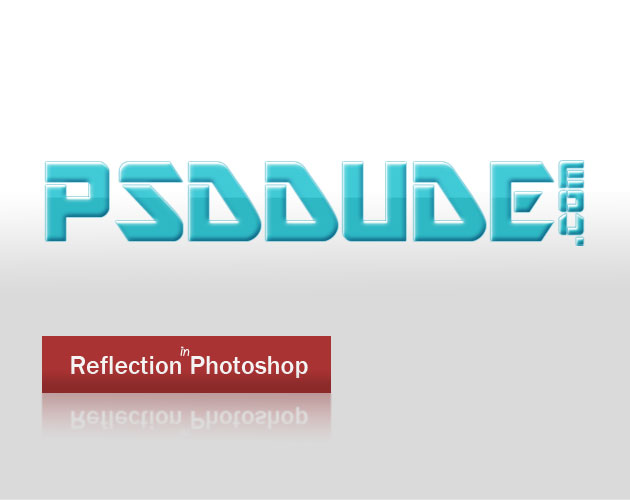
Let's asume we have a text layer with layer styles/color/bevel effect and so on. The font used is AR DESTINE that comes included in the CS5 default fonts. If you don't have it you can install it using this tutorial on how to install font.
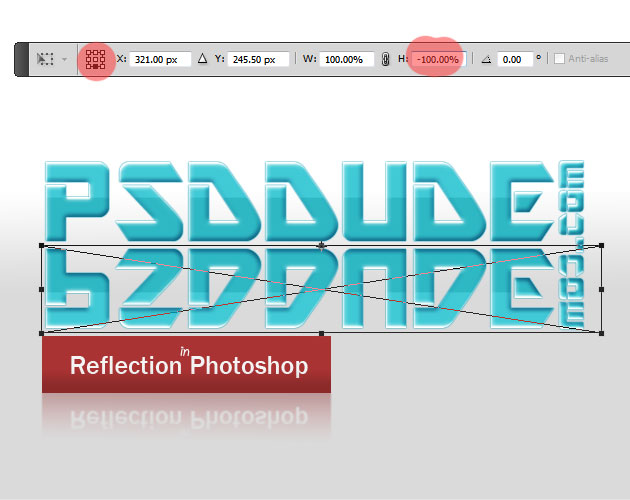
To make sure you obtain a result without errors, I suggest you to duplicate the text layer(s) and rasterize/merge or covert in smart object. Call this new layer or smart object Reflection Layer. Press CTRL+T to scale the shadow. Set the Refrence Point Location like in the image and set the Vertical Scale to -100% ; you obtain a Flip Vertical effect like shown in the image.
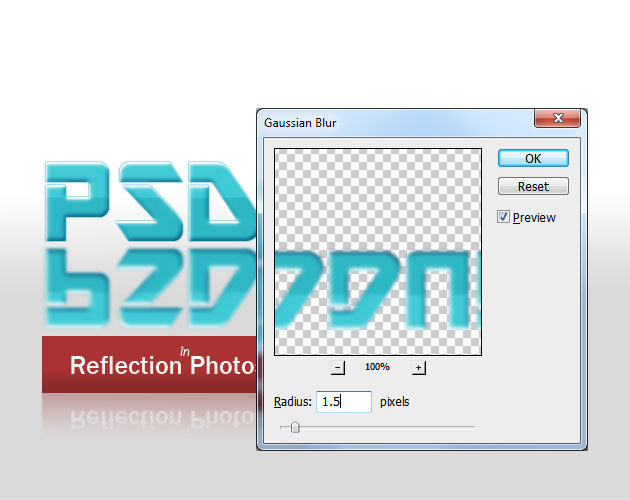
Now go to Filter>Blur and choose Gaussian Blur and set the radius around 1.5px.
Add a layer mask to the Reflection Layer; if you don't know how to do that you should check this layer mask guide for beginners.
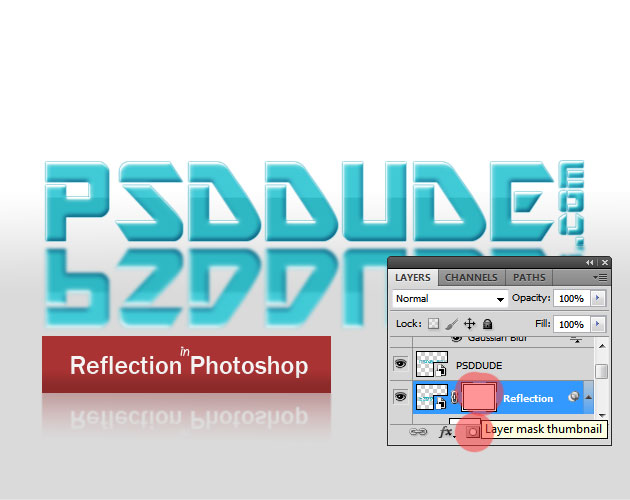
Pick the Gradient Tool, use a linear gradient with black 100% to white 100% gradient color/opacity levels. Click the Layer Mask Thumbnail just to make sure you are in the right layer and use the Gradient Tool to obtain a similar result.
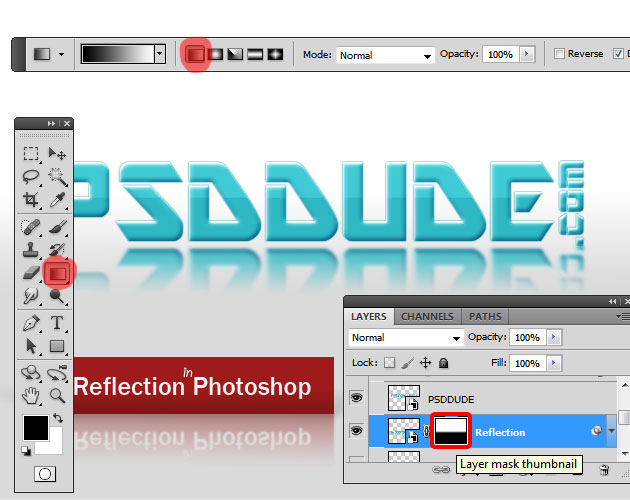
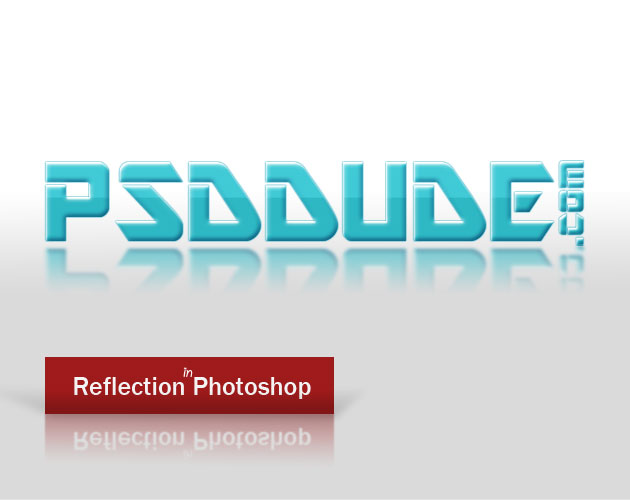
You can reduce the opacity of the Reflection Layer to match with your background. I am setting it around 65%.
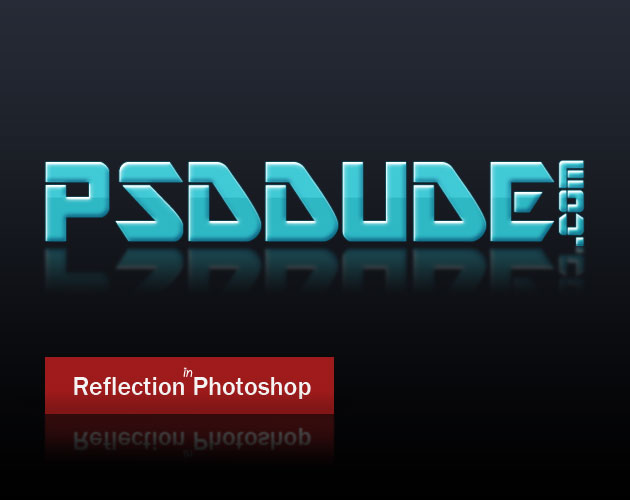
If you change the background color and use black background for example the reflection effect will look just as good as you can see in the preview image.
You can use this quick guide for beginners on how to create reflection in Photoshop, to add a reflection not only for text layers but also for shapes, rasterized layers, photos and so on.


1 comment(s) for "Create a Reflection in Photoshop"