


In this tutorial you will learn how to create a page curl effect in Photoshop using just a few simple yet effective tehniques. Start with a simple rectangle shape, it can be also a square. The important thing is that the shape has to be rasterized. Call this layer Page Layer.

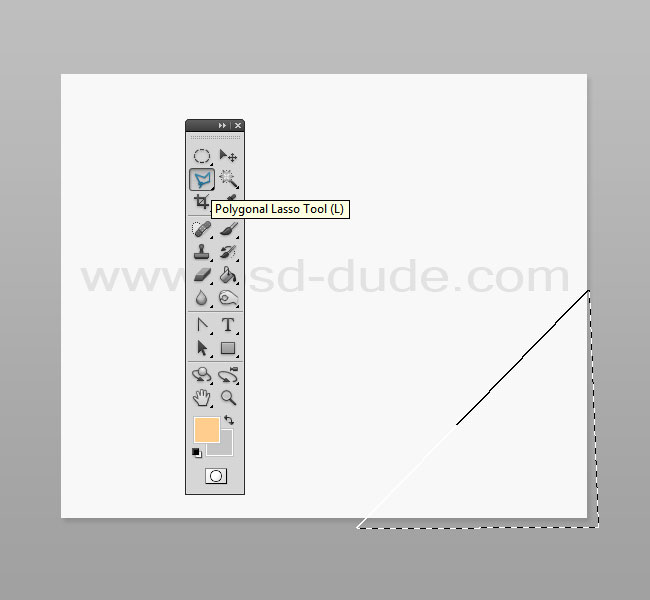
Use the Pollygonal Lasso Tool to make a selection of the right bottom corner of the page like shown in the image.
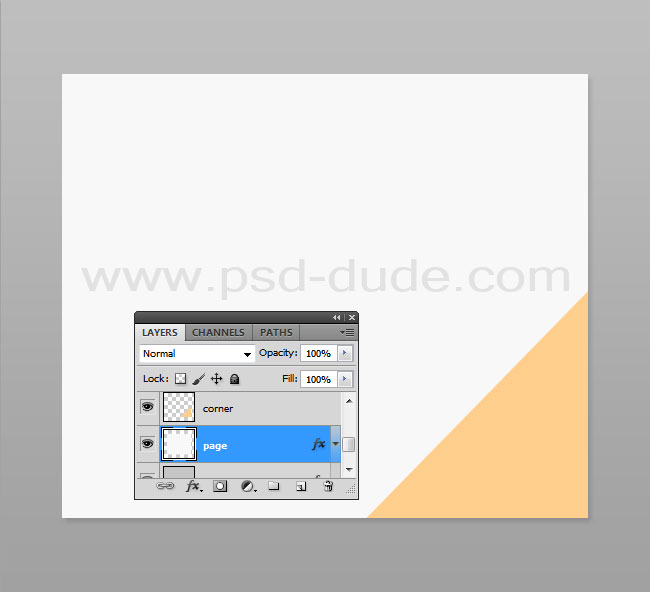
Press CTRL+J to make a new layer from this selection. Call this layer Corner Layer. Fill the layer with any color you want just to see it better.
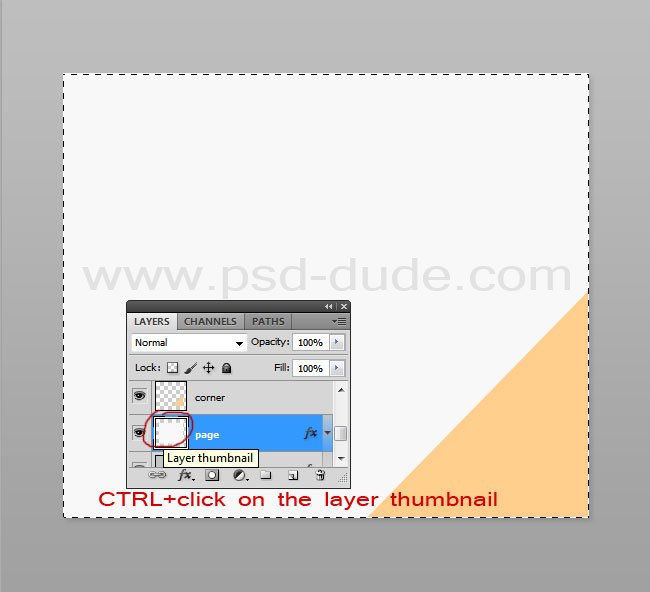
Return to the Page Layer and keep the CTRL key pressed and click on the layer thumbnail to make a selection.
With the selection still active return to the Corner Layer. Go to Edit>Transform and choose Warp to distort the corner and to create the page curl effect.
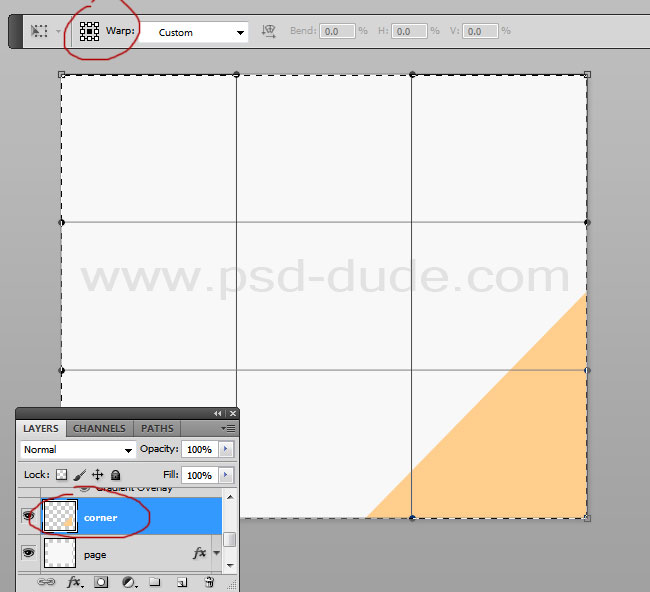
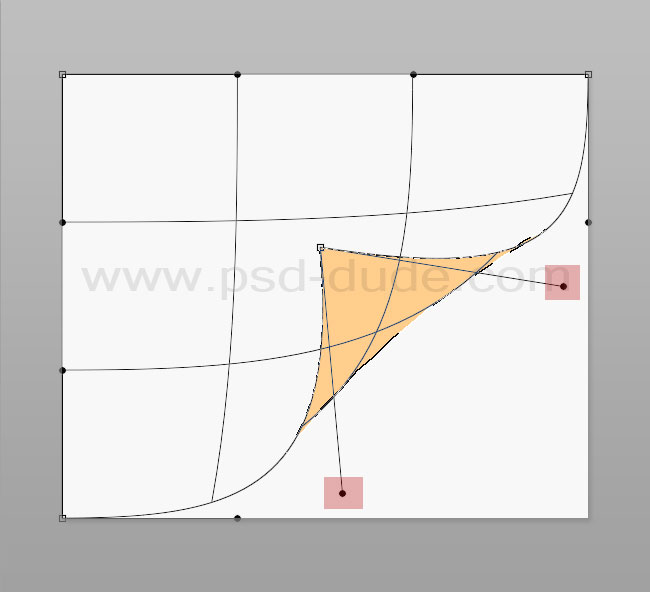
To make a custom warp, drag the control points, a line, or an area within the mesh to change the shape of the bounding box and mesh. To help you with the warping process Photoshop adds 12 grid points around your image. To start the warping drag this point in this direction.
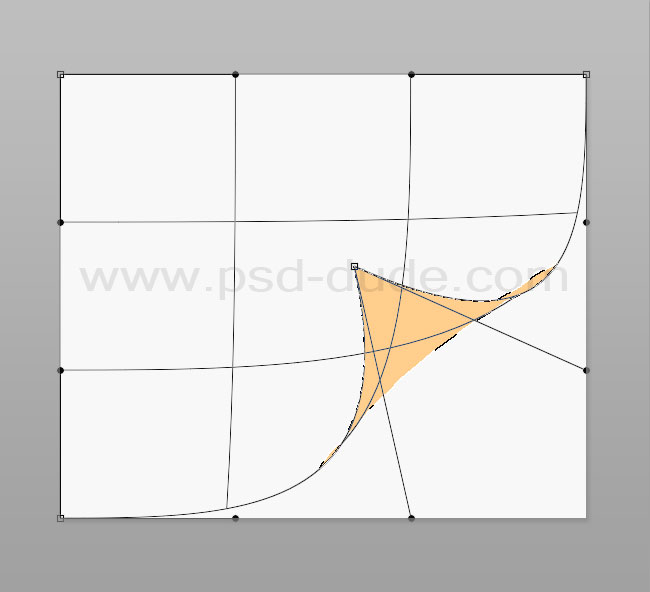
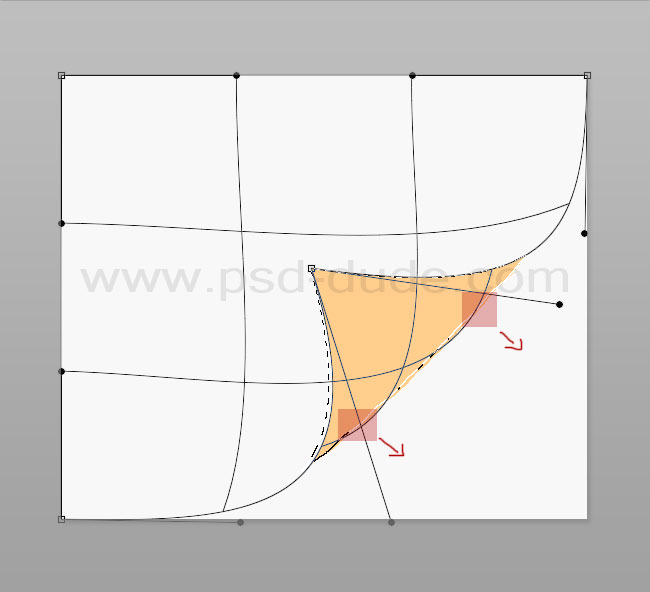
Now move this control lines like shown in the image.
Now drag these areas to create a rounded shape.
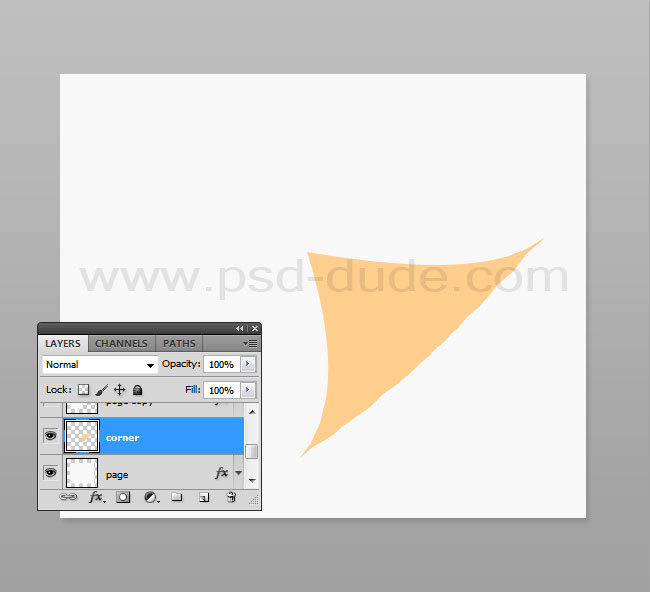
The result of the Photoshop wraping should now look like this:
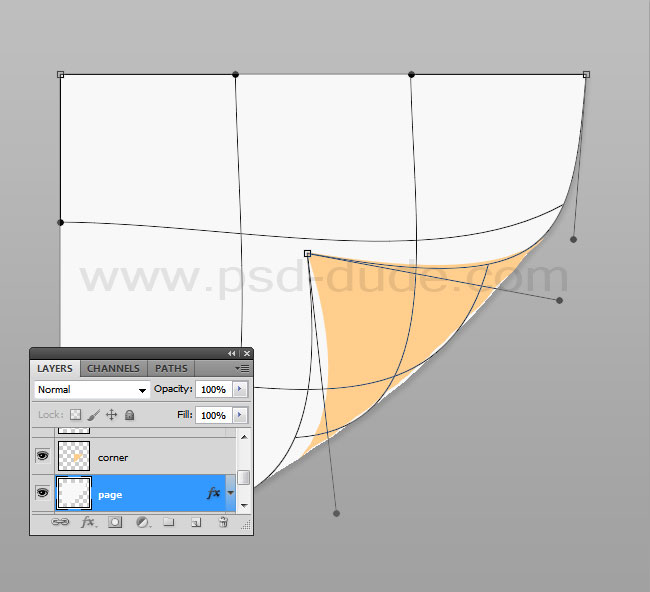
Go to the Page layer and reapeat the warp distortion again. Make sure the edges of the two paper pieces matches to make the curl page effect realistic.
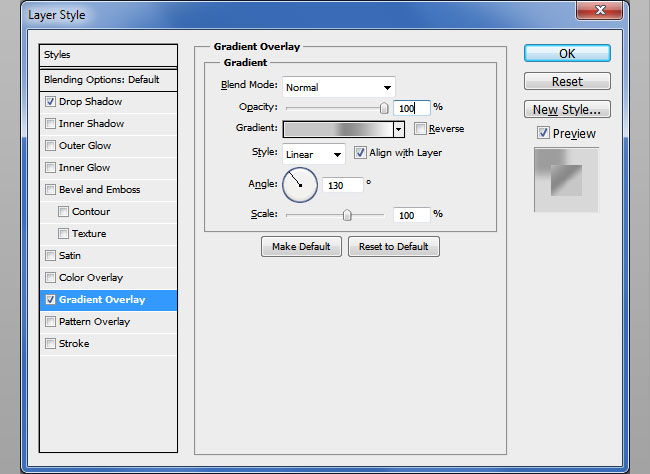
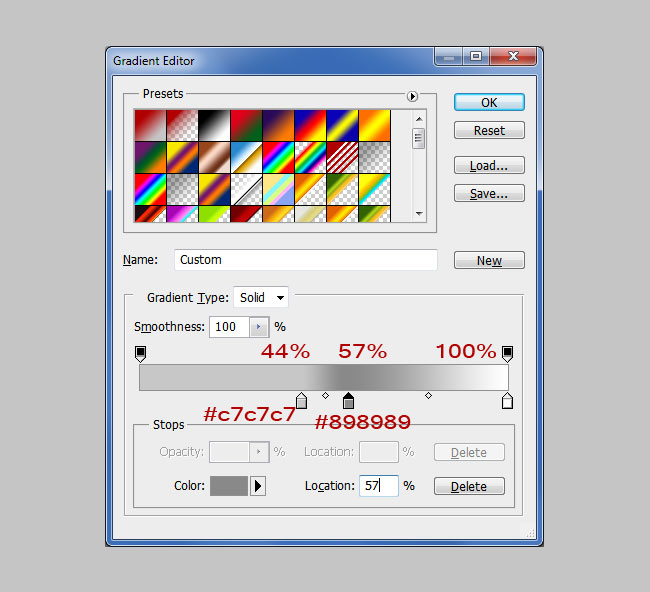
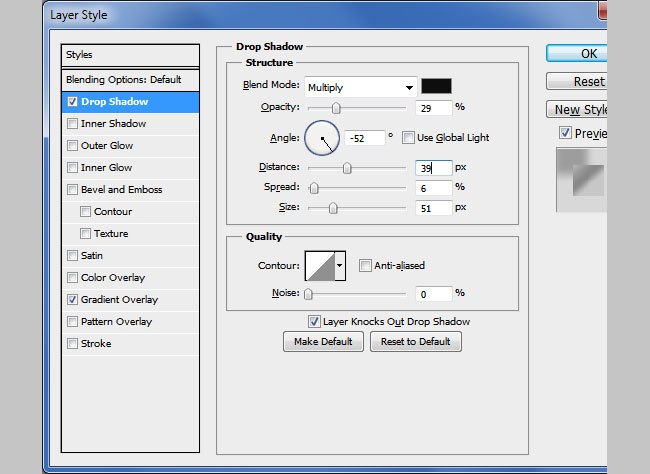
Time to add some layer styles to both layers. Let's start with the Corner Layer and add a Gradient Overlay and a Drop Shadow effects to create the 3D curled effect.
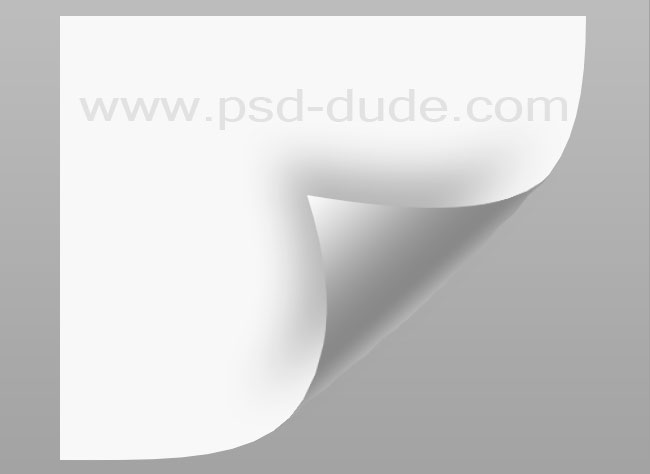
The peeled corner effect should now look like this:
Go to the Page Layer and add a Gradient Overlay to create some light and shading on the piece of paper.
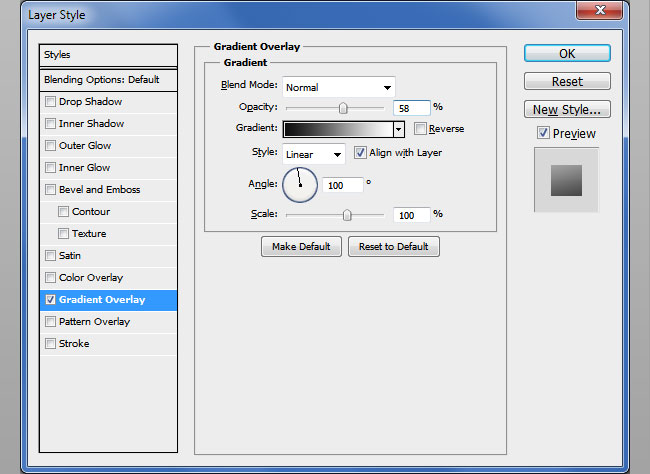
You can modify the light and shading layer styles(Gradient Overlay, Drop Shadow) according to your paper color, background color, paper curl corner, etc. To make it look even more real you can add a soft shadow effect. Duplicate and merge the two layers. Call this layer Shadow Layer and add a Drop Shadow layer style. Move this layer to the back.
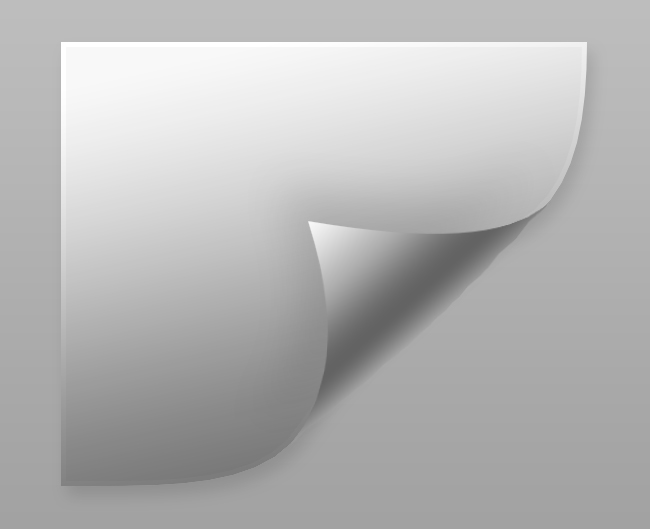
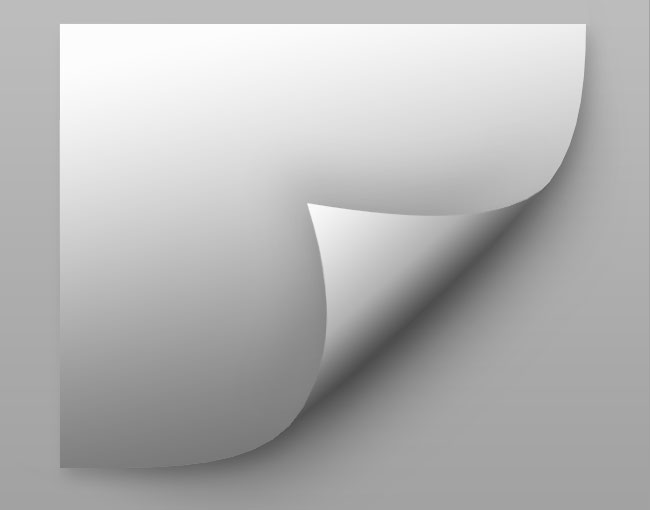
So here is the result for the realistic curl page effect made from scratch in Photoshop. So creating a curled corner in Photoshop is quite easy, all you have to know are some tips and tricks. Here is the final result for the turn page effect, page curl or folded paper corner whatever you want to call it.

2 comment(s) for "Create a Page Curl Photoshop Tutorial"
Thank you so much for your tutorial guide! reply