
Tutorial Assets
For this tutorial you will nedd these stock images, textures and other resources.
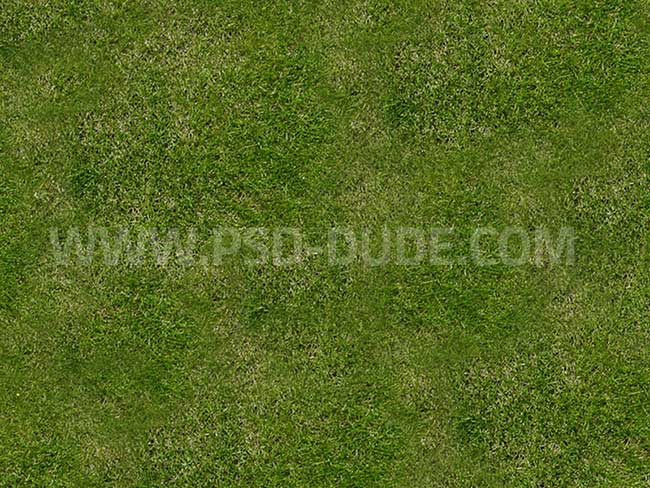
- Seamless Grass Texture
- Grass Ground Cross Section PNG stock image
- Seamless Frozen Snow Texture (winter version)
- Falling Snow Overlay (winter version)
- Seamless Ground Texture (autumn version)
- Falling Leavs PNG (autumn version)
Because I am not using this image for print, I created a new small size PSD file of 650px. I try to use small size images(under 200kb) to diminish my carbon footprint. If you use larger size files, you might have to adjust the settings used, the layer styles, etc.
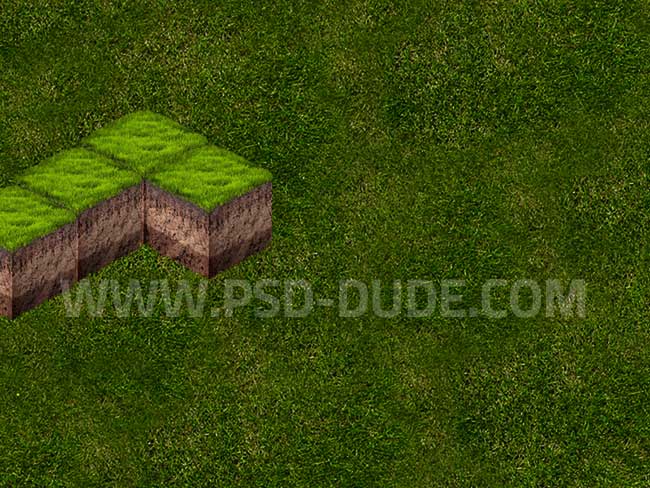
Create a new layer, add this Seamless Grass Texture and call the layer Grass Background. You can resize the grass image, rotate it, etc depending on your canvas size and the look that you want to obtain.
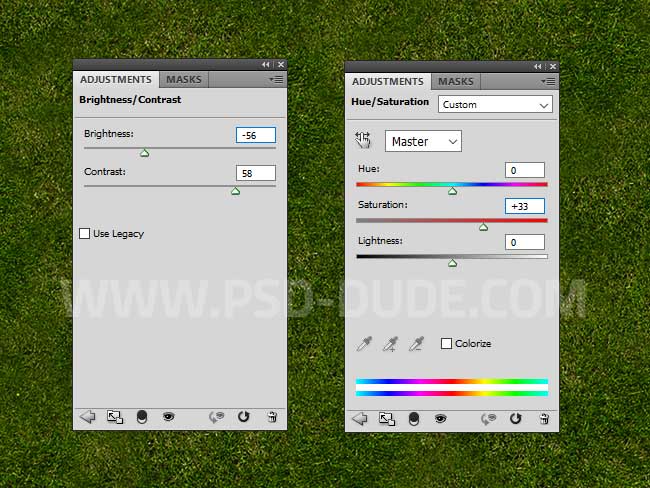
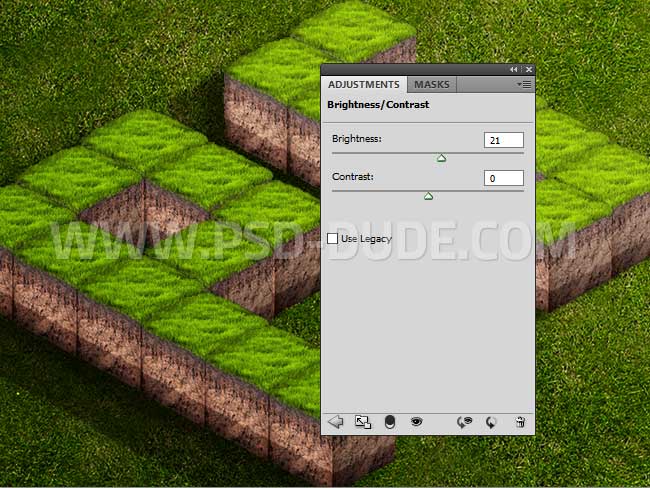
Add a Brghtness/Contrast and a Hue/Saturation adjustments to darken the image and to make the colors more vibrant.
Create a new layer called Isometric Cube and add one of these Soil Cross Section PNG images. You can also use the water cross section cube; just make sure to choose only an isometric image.
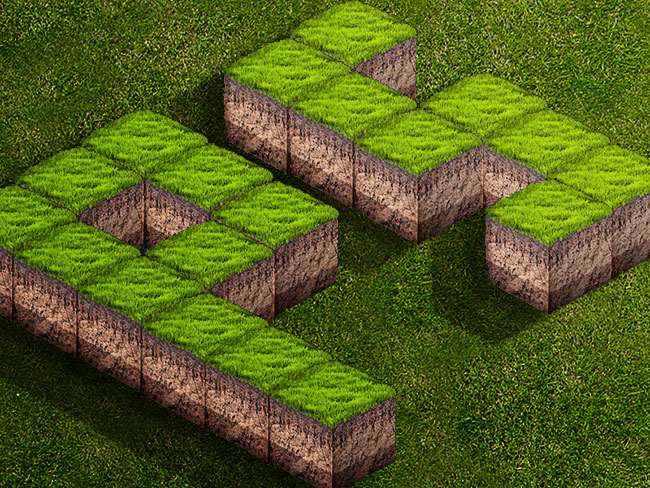
For my tutorial I used this Grass Cross Section PNG stock image. Press Control-J to duplicate the grass cubes and put them next to each other in a right order.
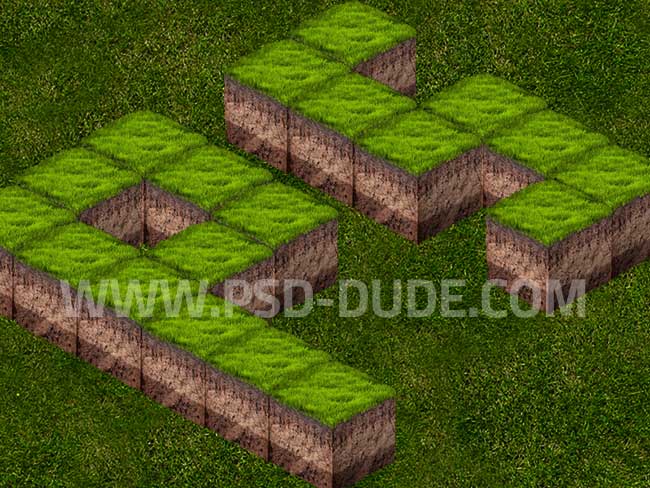
Type the letters "PS" from Photoshop like shown in the preview image.
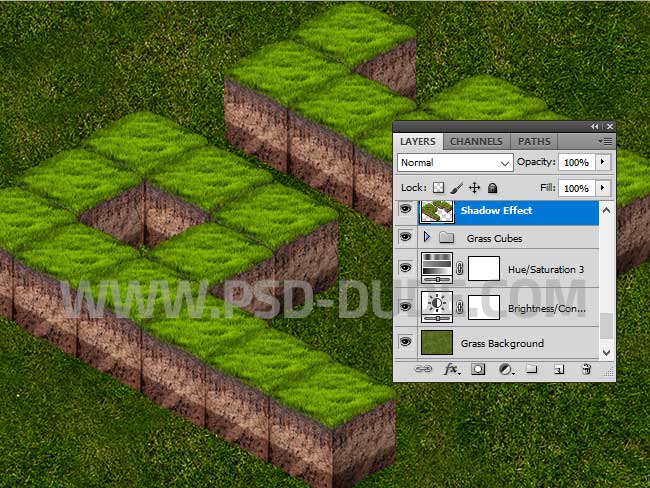
Select all the cube layers and go to Layer > New > Group from Layers. Right click on the Grass Cube Group and choose Duplicate Group. Right click on the duplicated group and choose Merge Group. Call the new layer Shadow Effect.
Press Control-J and duplicate the Shadow Effect layer two times.
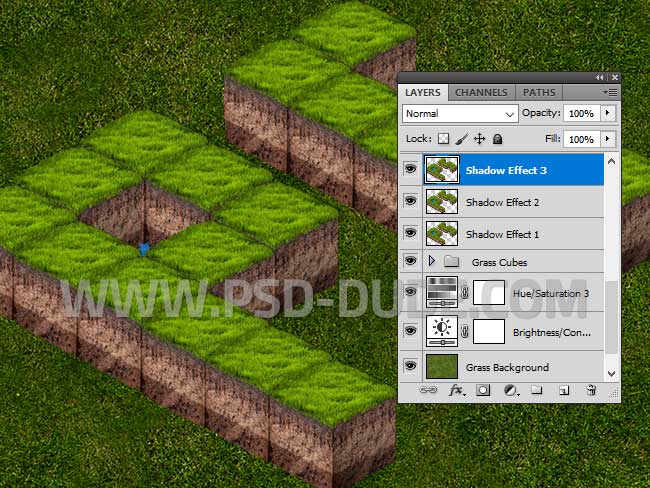
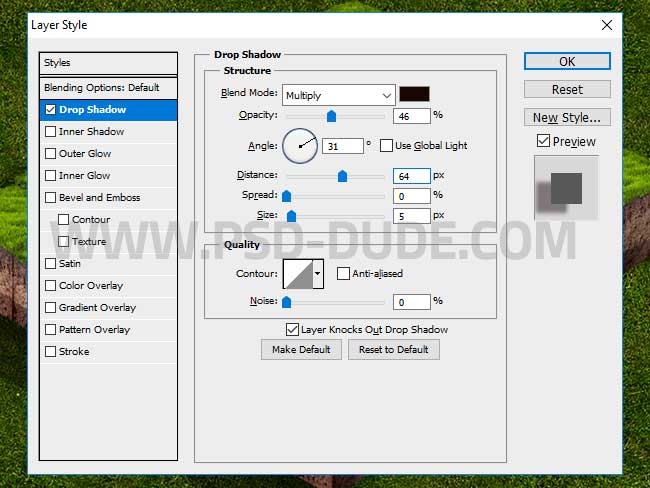
Add a Drop Shadow layer style to the Shadow Effect 1 layer.
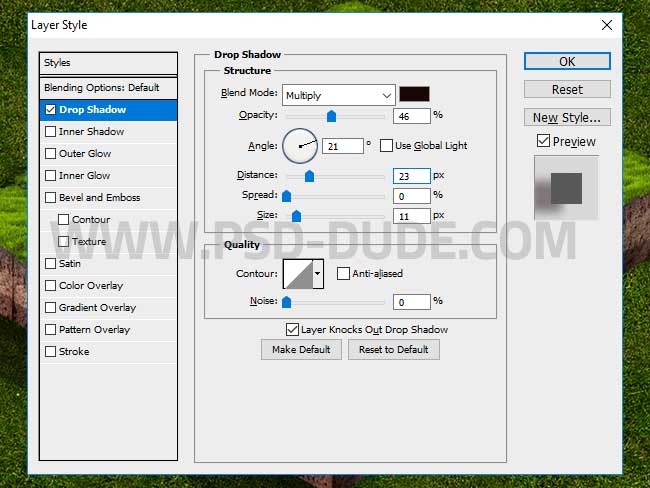
Add a Drop Shadow layer style to the Shadow Effect 2 layer.
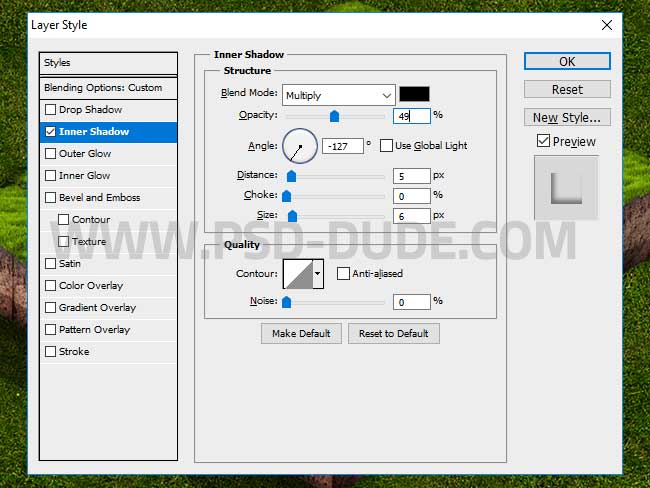
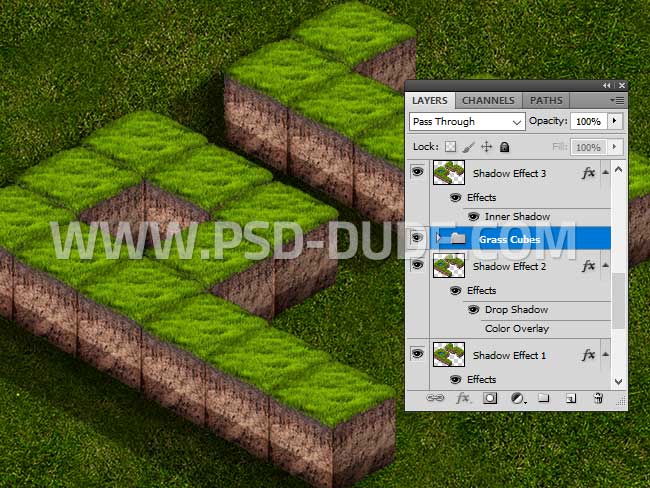
Set the Fill of the Shadow Effect 3 layer to 0%. Als add a Inner Shadow layer style to the Shadow Effect 3 layer.
Move the Grass cubes group under the Shadow Effect 3 layer.
Create a new layer called Light Effect. Fill the layer with color white. Set the Fill to 0% and add a black and white Gradient Overlay.

Also add a Brightness/Contrast adjustment layer to increase the contrast and the luminosity of the image.
For the final touches I use the High Pass filter to sharen the result. See how you can do this effect from these Sharpen Images in Photoshop tutorials for beginners. Trust me it is worth it to learn this technique.
Congratulations, You Made It!
So here is the final result for the 3D isometric grass text effect made in Photoshop using cross section soil PNG images.
Winter Snow Text Effect in Photoshop
Just for fun I decided to show you how to turn this spring/summer text effect to autumn season and winter scene with jus a few quick adjustments.
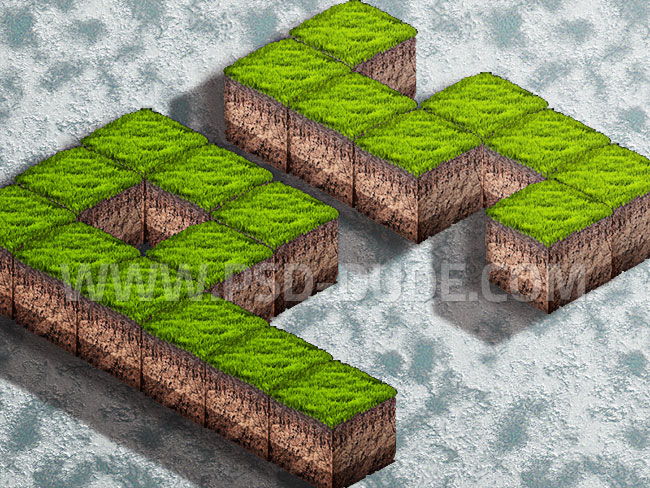
To create a winter scene inspired by the Games of Thrones, simply replace the Grass Background layer with this frozen snow texture .
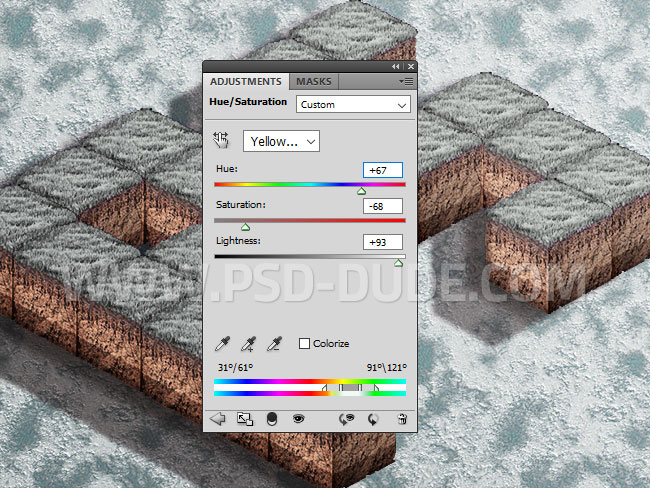
To change the green color tone of the grass text, add a Hue/Saturation adjustment and choose Greens from the drop-down list.
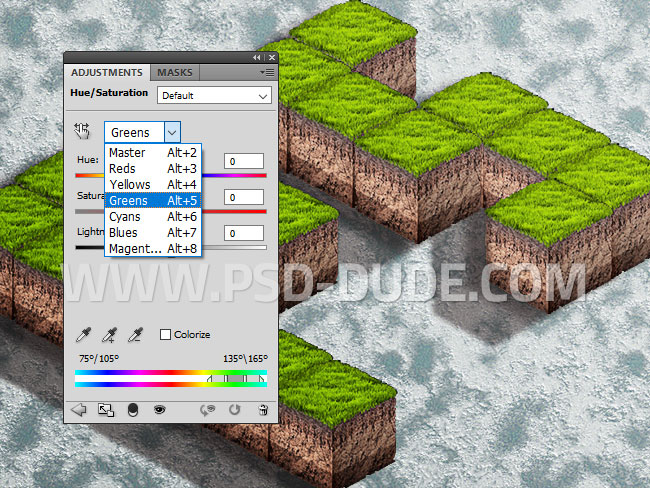
Click on the Eyedropper Tool and click on a green color surface. Set the Hue, Saturation and Lightness to change the green tones into winter colors.
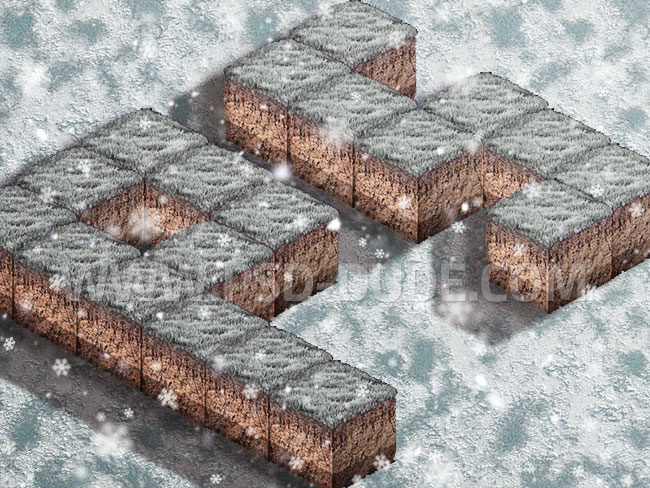
To create the falling snow effect add these falling snow overlay 1 and falling snow overlay 2 both with blend mode SCreen.
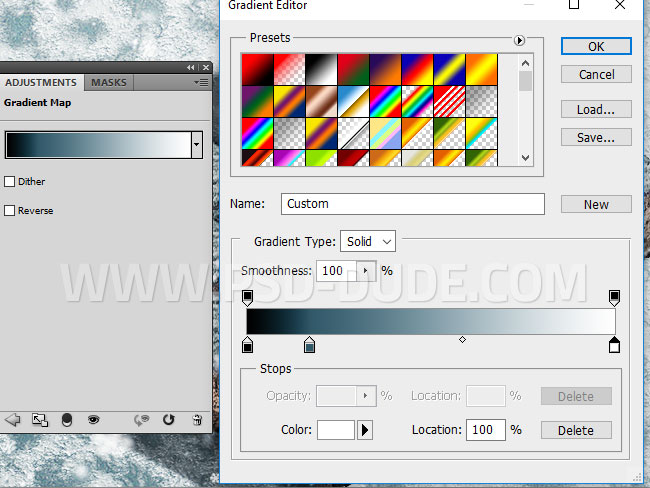
For the final touches I added a Gradient Map with Overlay blend mode and 54% opacity level. The colors for the gradient are: #000000 (location 0%), #315868 (location 17%) and #ffffff (location 100%).
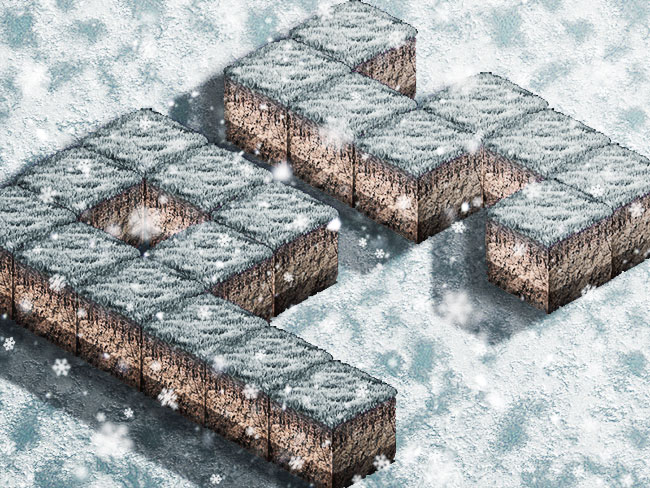
So here is the winter snow text effect made in Photoshop using adjustments.
Autumn Fall Text Effect in Photoshop
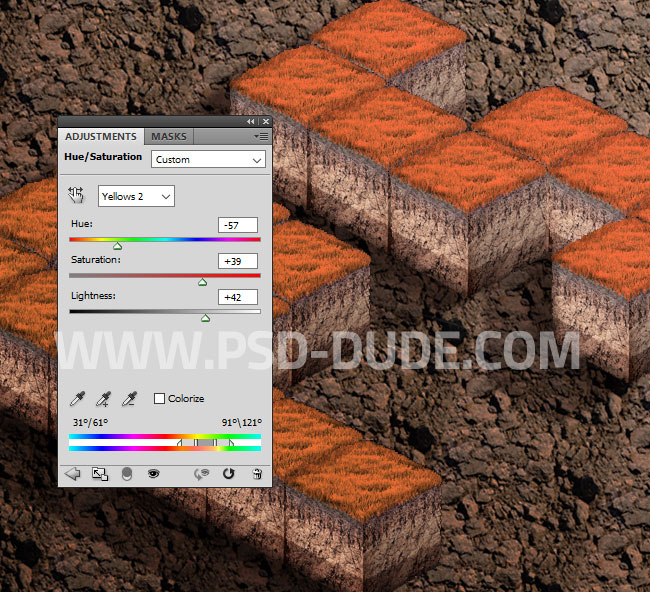
To create a autumn season, simply replace the Grass Background layer with this seamless ground texture and use an adjustment layer to change its color, brightness, etc.

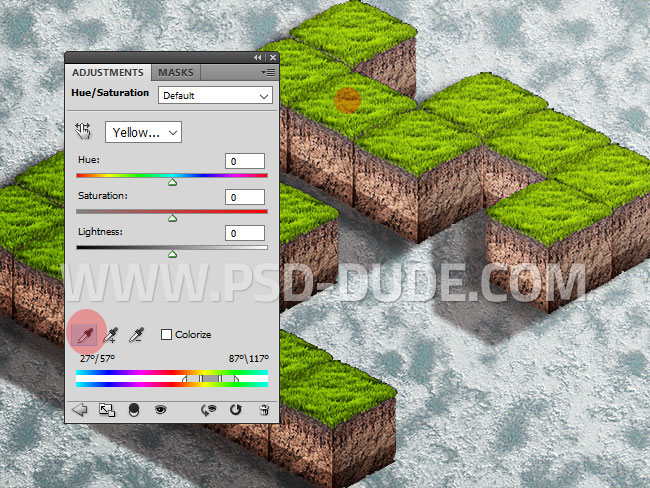
To change the green color tone of the grass text, add a Hue/Saturation adjustment and choose Greens from the drop-down list. Click on the Eyedropper Tool and click on a green color surface. Set the Hue, Saturation and Lightness to change the green tones into autumn colors.
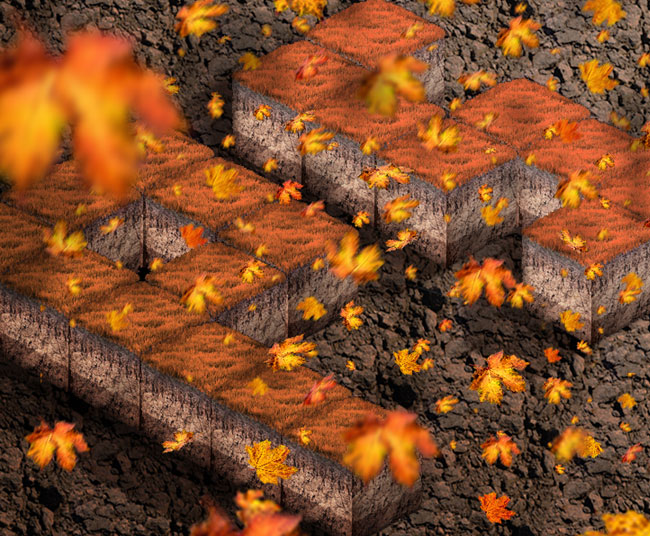
To create the falling leaves effect add these falling leaves 1 and/or falling leaves 2 PNG images.
2 comment(s) for "Create a 3D Grass Text Effect in Photoshop"