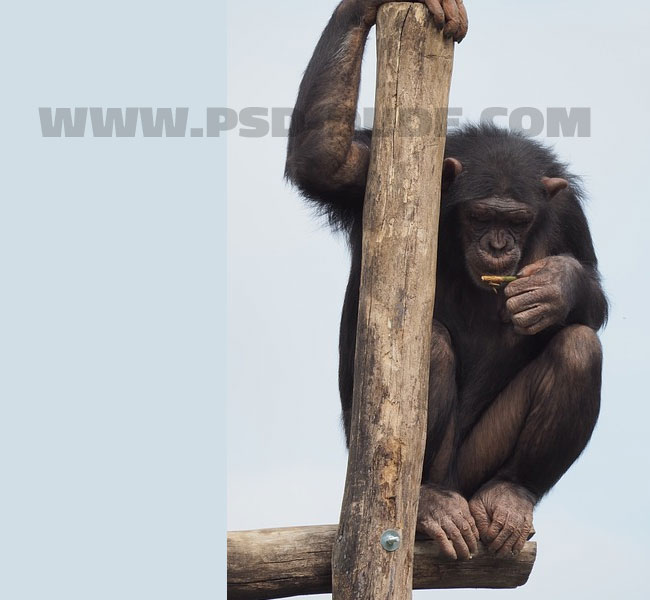
Create a new PSD file of 1200x700px ; you can make the canvas any size you want but these are the proportions that I used. Create a new layer, fill it with color #d1dee6 and call it Background. Add this monkey stock image in a new layer and call it Monkey.
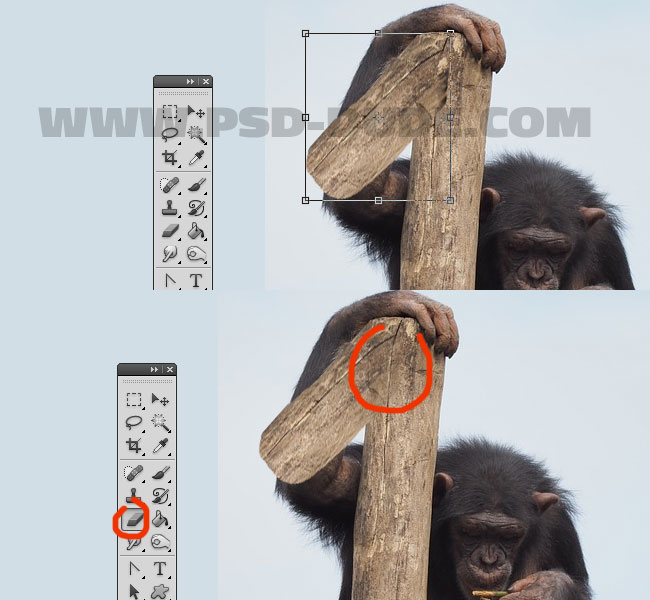
Use the Lasso Tool or any other Photoshop Selection Tools to select part of the wood.
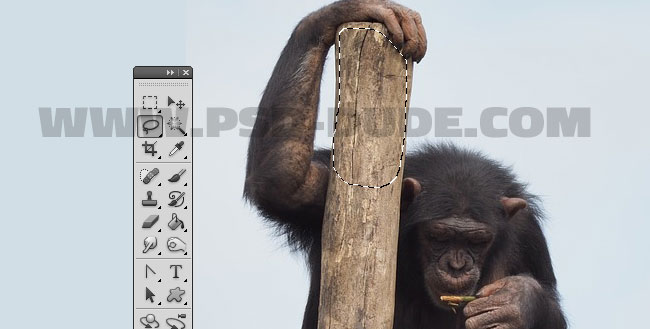
Press CTRL+J to make a copy. Rotate and move the copy layer to create the number "1". Use the Eraser Tool to make the transition seamless.
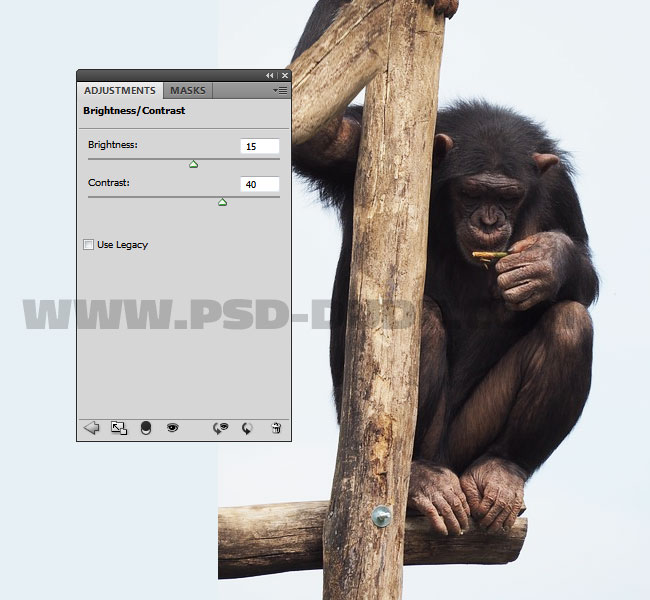
Create a new Brightness/Contrast adjustment layer (Image>Adjustments menu).
Create a new layer and fill it with color #95d1d8 then set the blend mode to Darken.
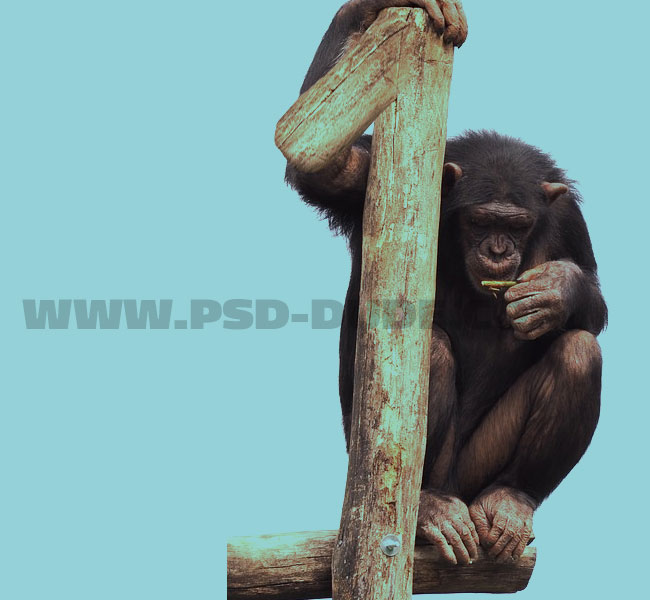
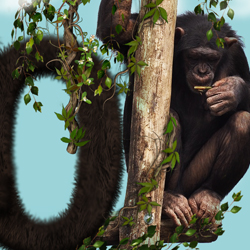
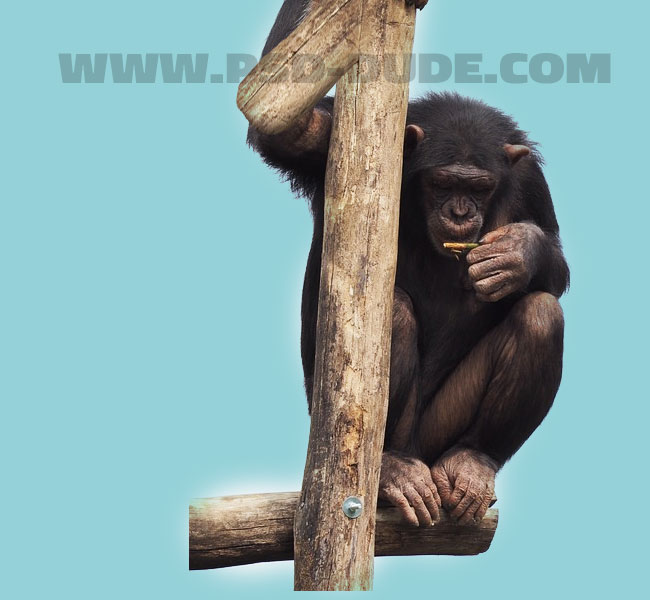
Use the Eraser Tool and a soft round brush to paint over the monkey area like shown in the preview.
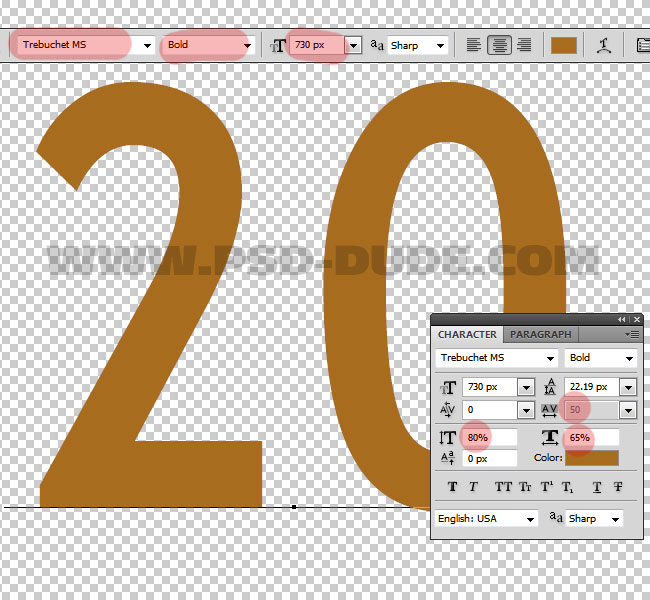
Now open a new PSD file and add a "20" using these font type settings:
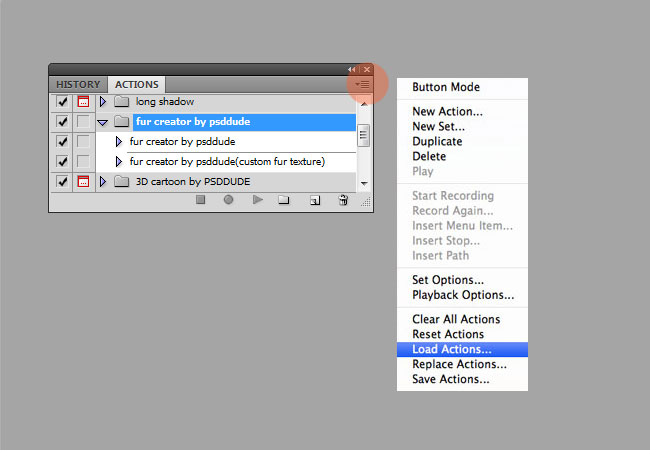
First you have to download the fur action from our blog. It is a free Photoshop action for all our registered users. Open the ZIP file and inside you will find an ABR file, a PAT file and an ATN file. Go to Edit > Preset Manager and load the brush file and the pattern file in Photoshop, otherwise the action will not work properly. Go to Window > Actions and choose Load Actions; these steps are made only one time, when you first download the action pack.
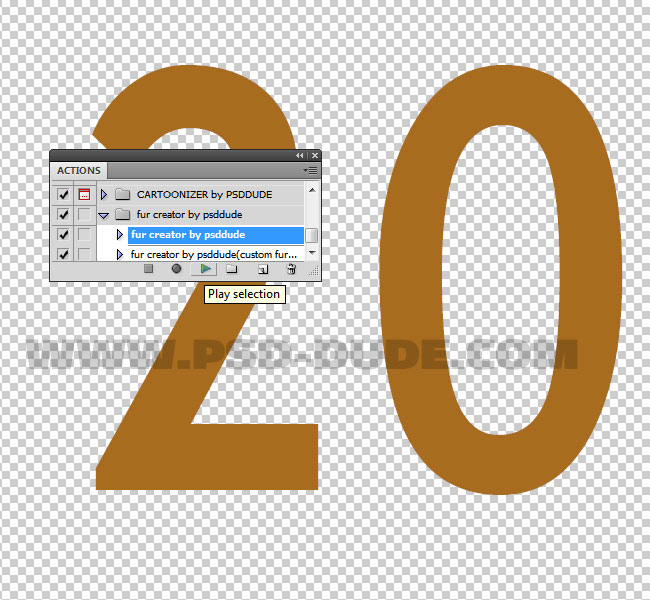
Play the "fur creator by psddude" action for the text layer.
The result looks something like this:
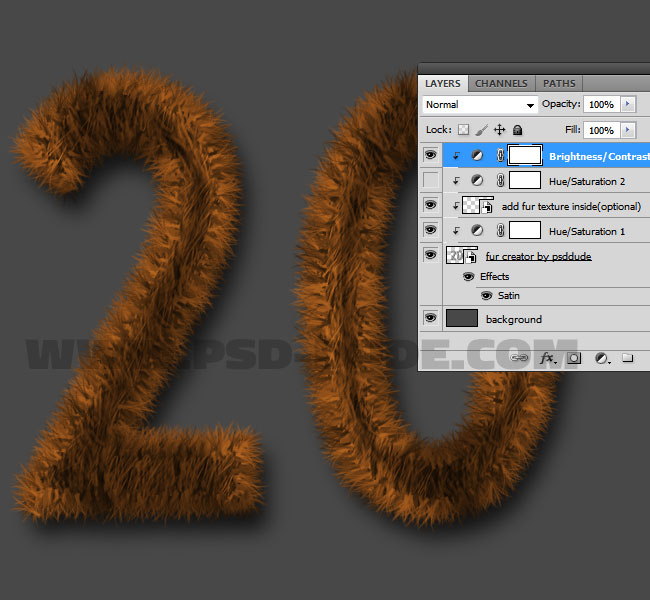
Hide the background layer. Open the "fur creator by psddude" smart object(double click on its thumbnail). Inside simply hide the Drop Shadow layer style of the "fur layer 2 by psddude" layer. Save and close to see the result.
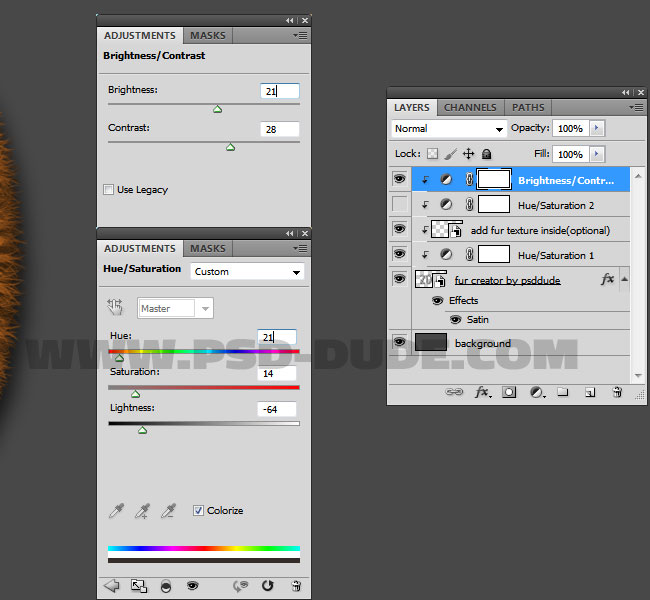
Modify the Hue/Saturation 1 and the Brightness/Contrast adjustments with these settings.
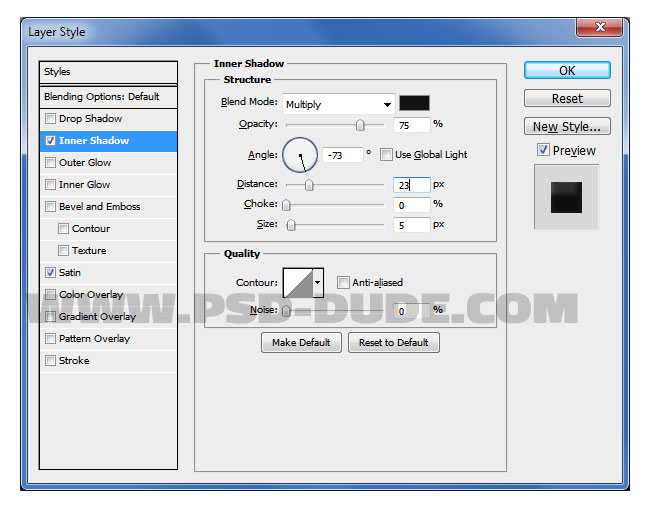
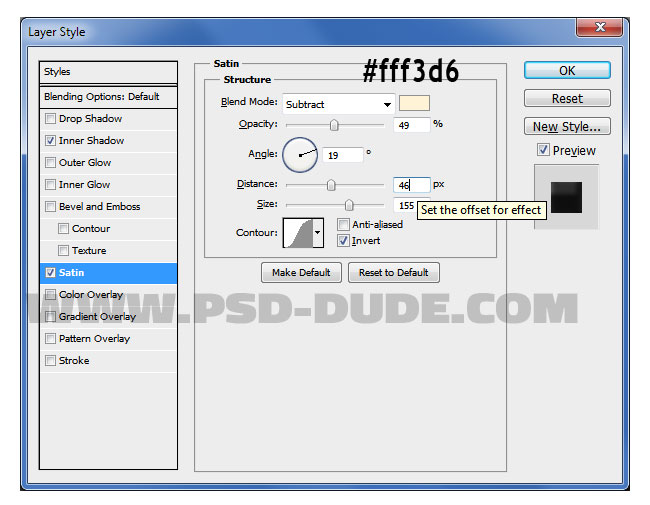
Also change the layer styles of the "fur creator by psddude" layer.
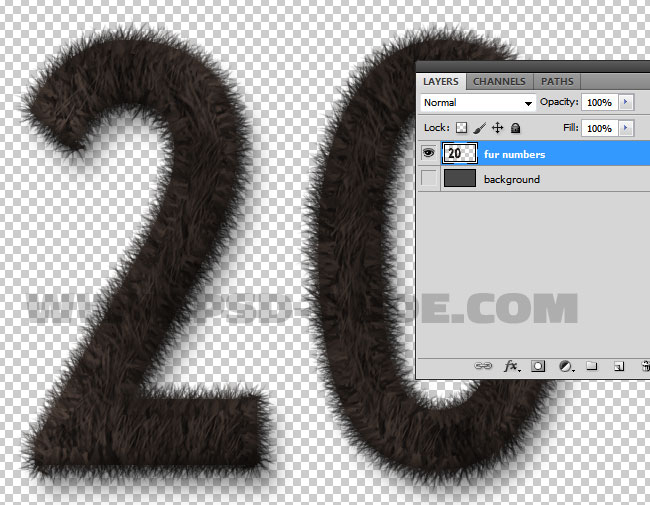
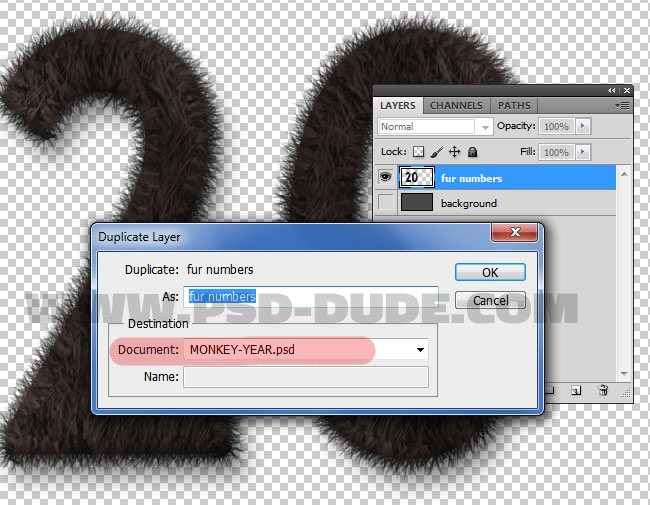
Select all the layers except the background layer and press CTRL+E to merge them into one single layer. Call this layer "fur numbers".
Right click on the "fur numbers" layer and choose Duplicate Layer. From the Document dropdown list you have to choose the initial PSD file, the one with the monkey.
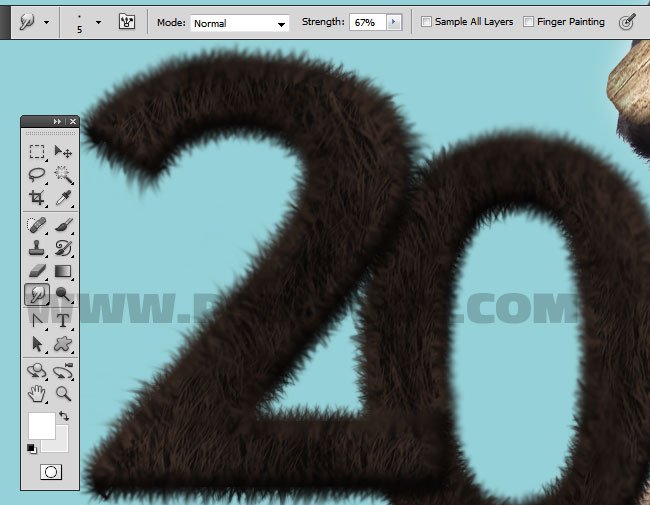
Place the "2" and "0" in separate layers. Use the Smudge Tool and the Blur Tool to paint over the edge of the letters to make the fur more realistic.
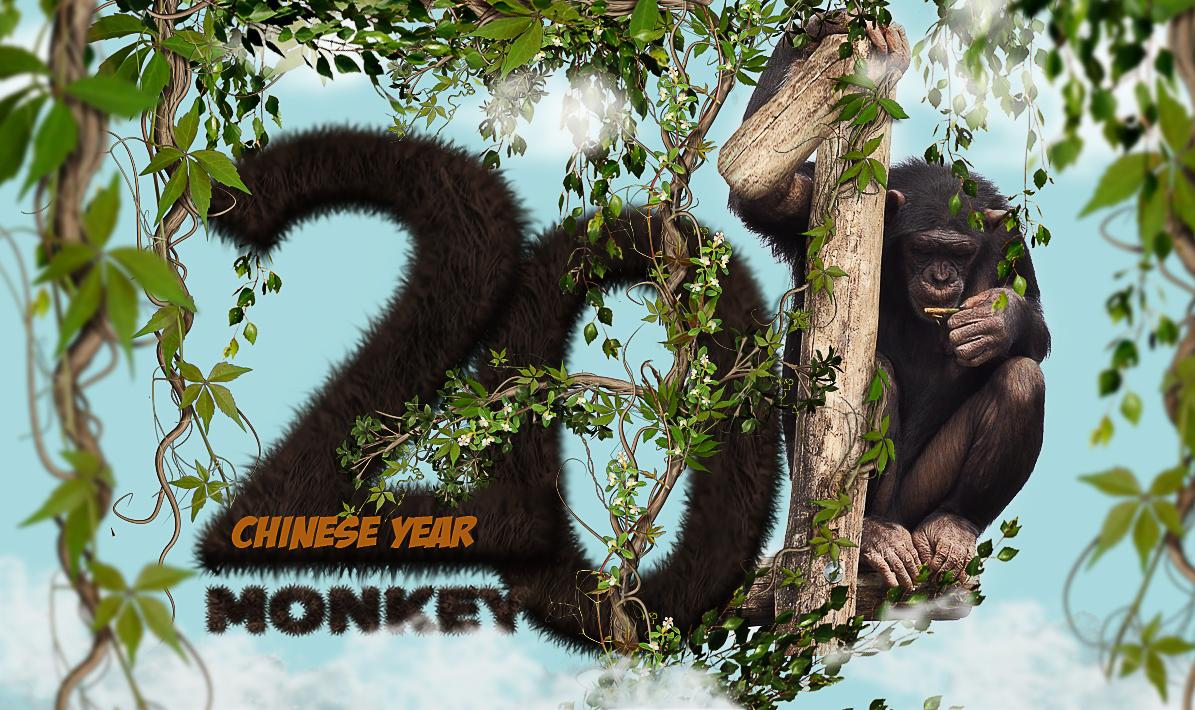
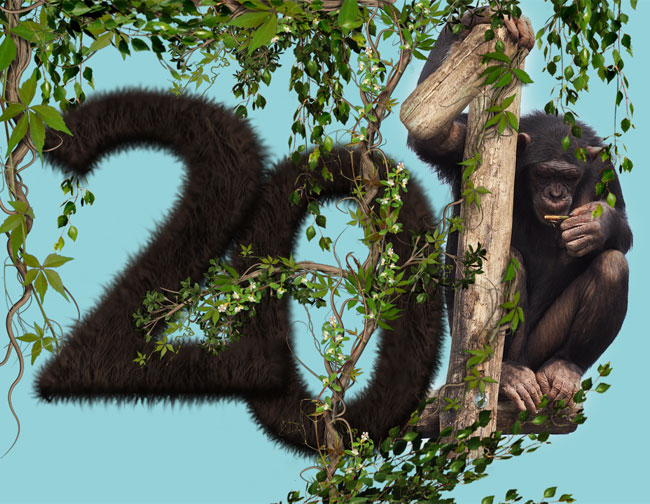
To create a jungle effect use this stock images: Branches and leaves PNG and leaves PNG in different layers. Use any levaes and branches you like, to create a frame like shown in the preview.
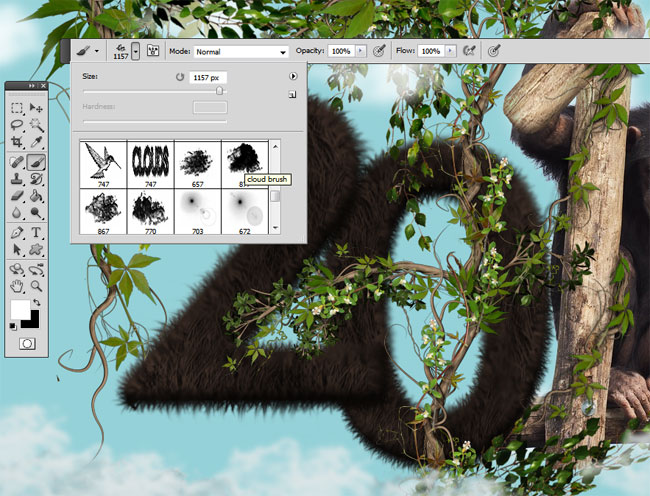
Create a new layer and use these clouds brushes to add some floating clouds. Use multiple layers to add the puffy clouds and different tones of white and light gray colors. I suggest you to use realistic clouds brushes.
If you want to obtain a sharpen effect you can use the High Pass Photoshop filter
No comment(s) for "Chinese Monkey Year Text Effect in Photoshop"