
Tutorial Assets
For this tutorial you will need these stock images, textures and other resources.
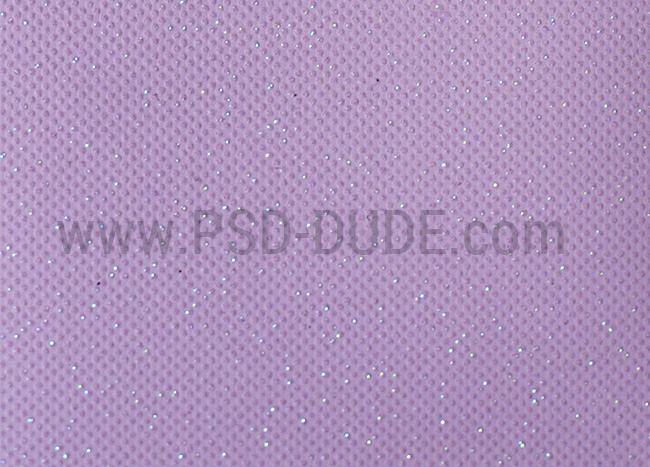
- Embossed Paper Texture
- Rose Petals PNG
- Heart-Shaped Roses Bouquet PNG image
- Dripping Blood Drops PNG
- Torn Paper Frame PNG
- Old Paper Textures
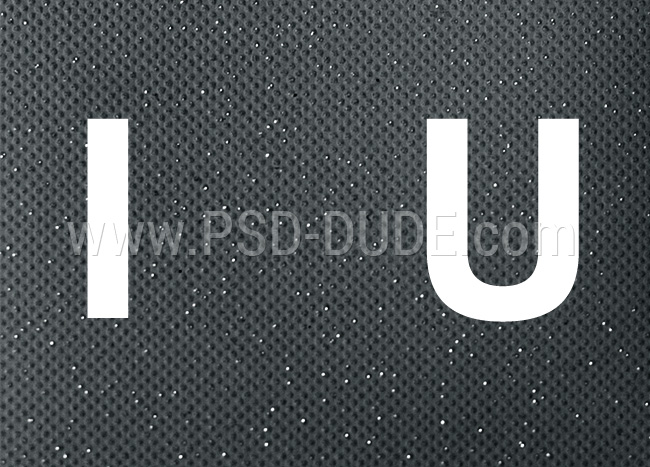
Add this Embossed Paper Texture in a new layer and call it Embossed Paper Background.
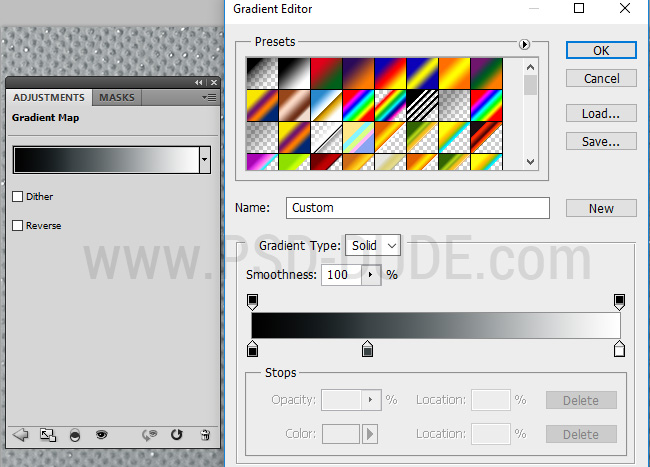
Add a Gradient Map adjustment to change the color of the paper cardstock. I used these colors for the gradient: #000000 (location 0%), #3a4345 (location 31%) and #ffffff (location 100%).
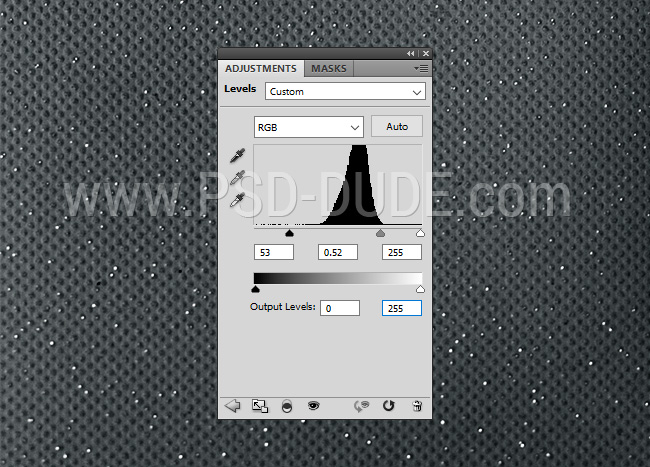
Add a Levels adjustment to darken the paper background.
Write the letters "I" and "U" using a simple font that you like.
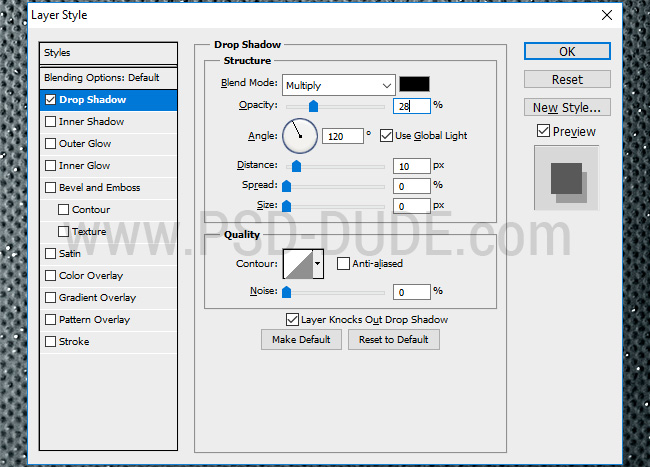
Use these Rose Petals PNG to create the "I" and "U" letters. Put each petal in a separate layer. Add a soft Drop Shadow layer style for each Petal Layer. You will have to use a lot of layers to create the shape of the letters. You have to rotate, resize and move the petals to create a nice pattern. Press Control-J to duplicate a layer.
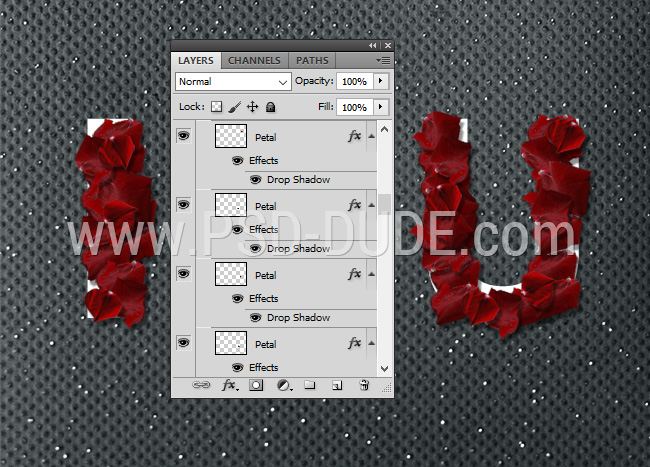
Hide the Text Layer after this step.
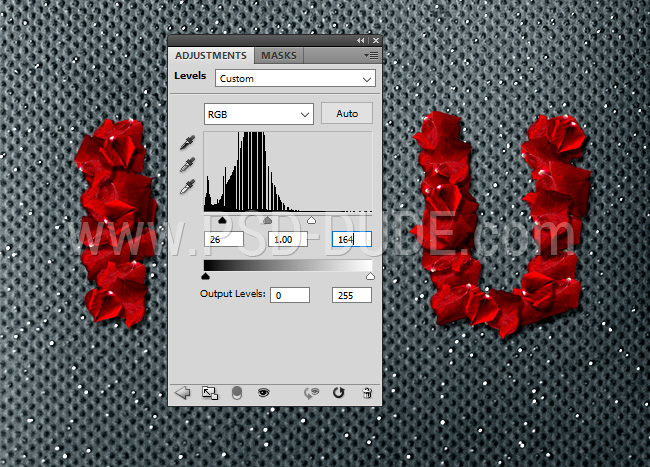
Add a Levels adjustment to increase the contrast.
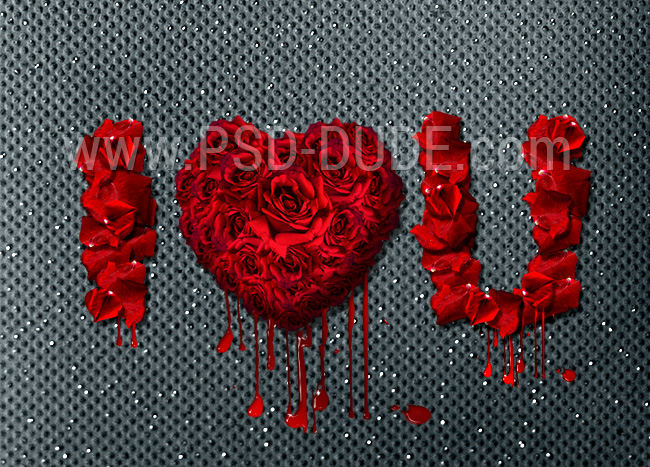
Add the Heart-Shaped Roses Bouquet PNG image.
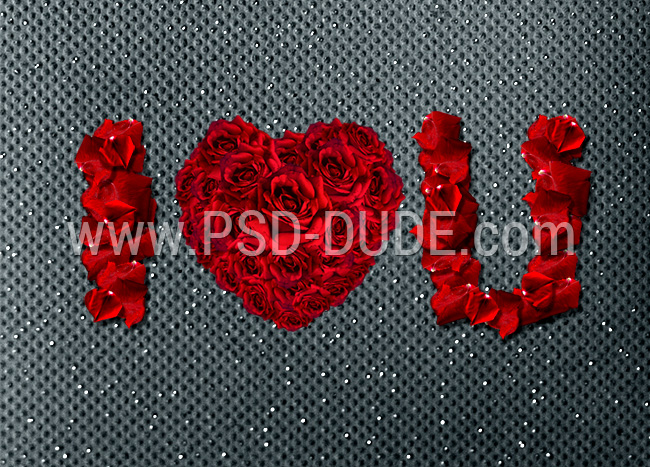
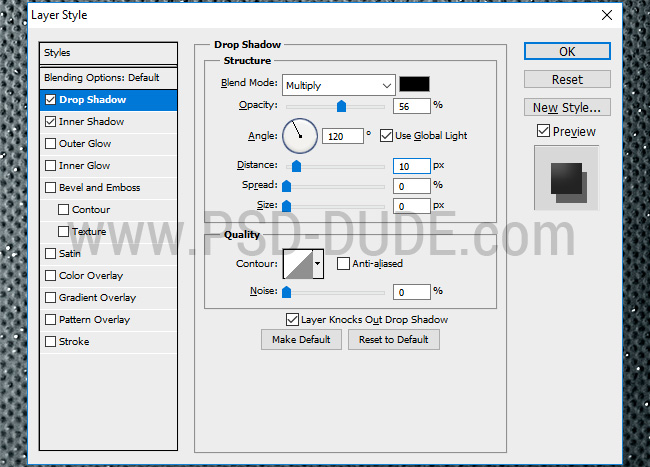
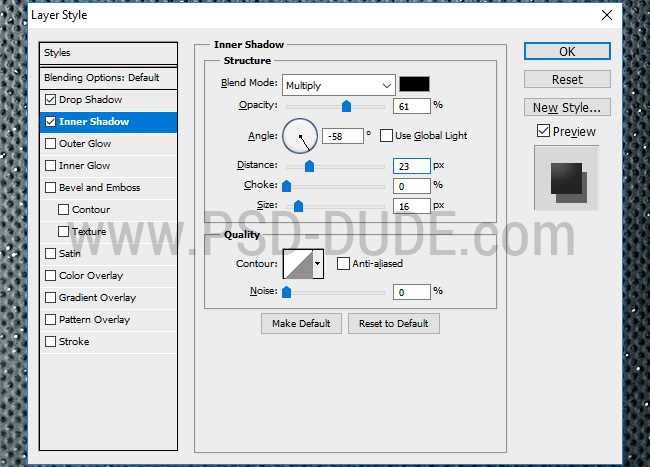
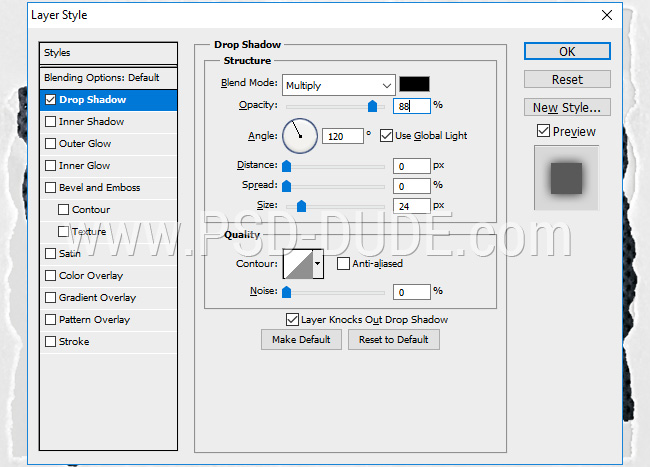
To make the heart look more realistic and to add it depth, add a Drop Shadow and an Inner Shadow.
To create blood drips use this Dripping Blood Drops PNG image.
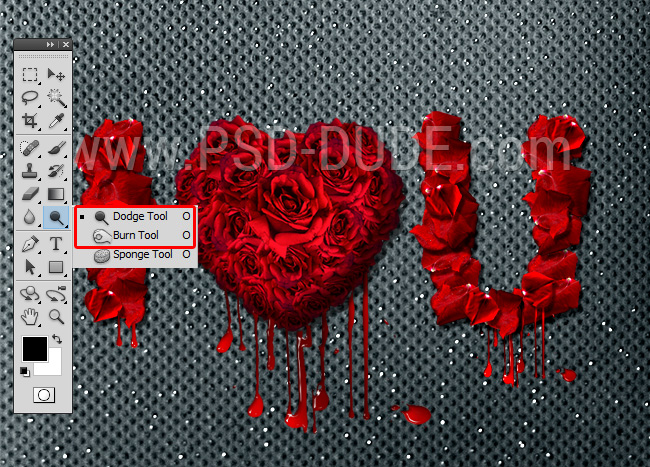
Use the Dodge Tool and the Burn Tool to darken and lighten some parts of the blood drips.
Add a Drop Shadow effect for the Blood Drips layers.
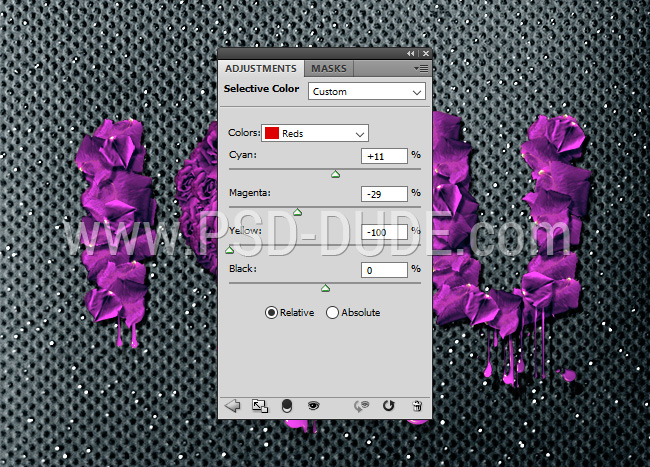
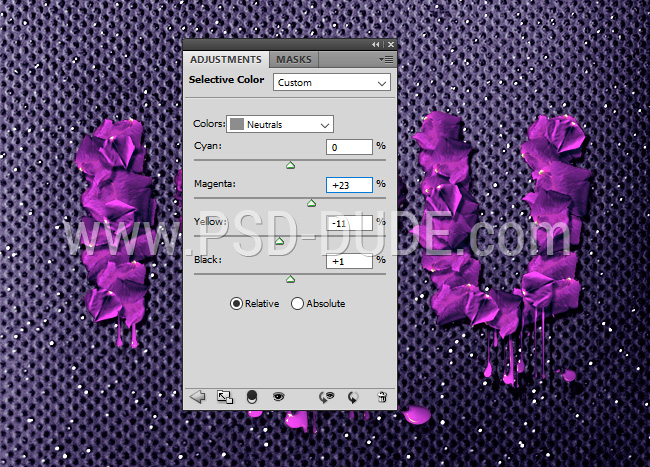
Add a Selective Color adjustment layer and change the Reds and the Neutrals tones.
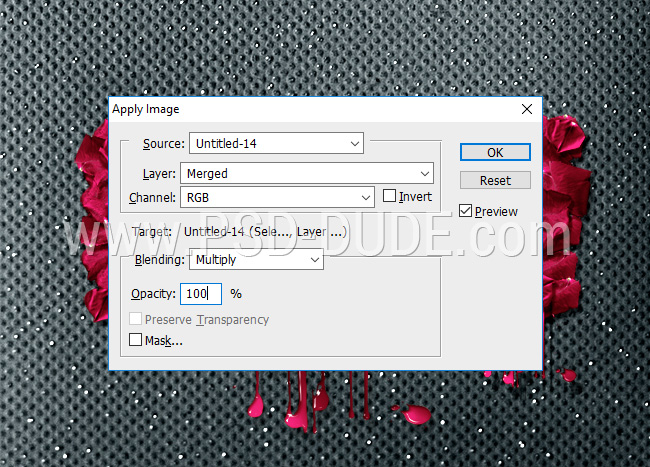
Click on the Layer Mask Thumbnail of the Selective Color adjustment layer. Go to Image > Apply Image.
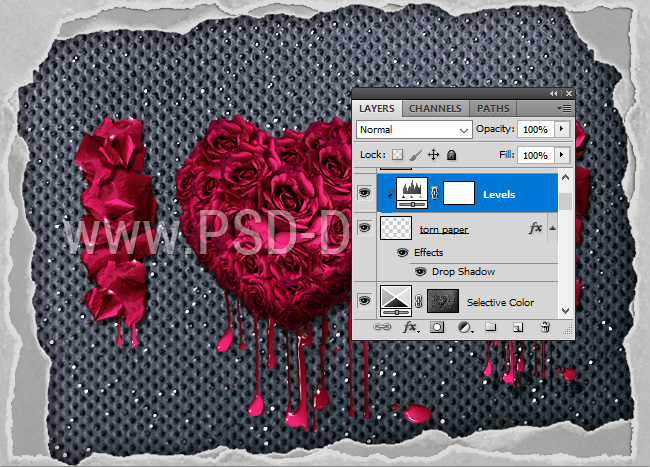
Add the Torn Paper Frame PNG image and place it like shown in the preview.
Add a Drop Shadow layer style.
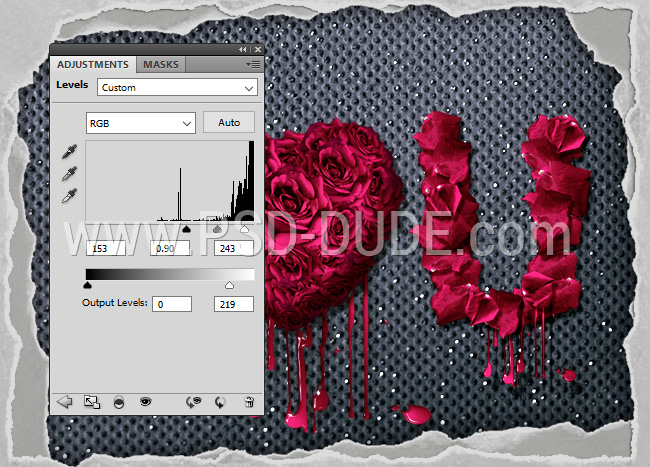
Add a Levels adjusment just for the Torn Paper Frame layer. Right click and choose Create Clipping mask.
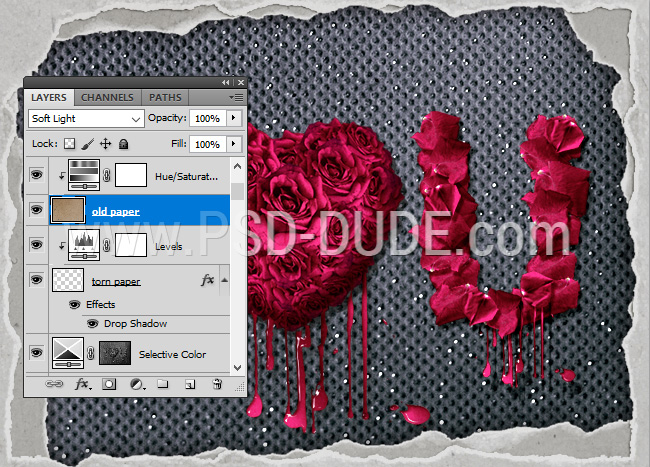
Add a Old Paper Texture and set the blend mode to Soft Light. You can use the Hue/Saturation adjustment layer to desaturate the paper texture. You can also use any other grunge texture but you might have to use another blend mode.
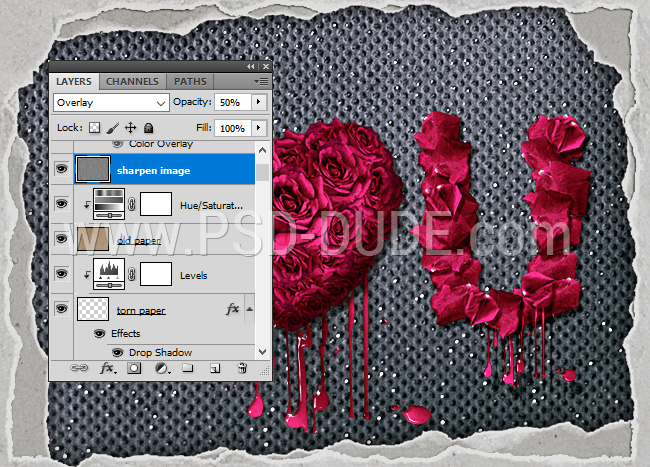
The last step that I suggest you make is to use the High Pass Filter to Sharpen Images in Photoshop; the result will look great.
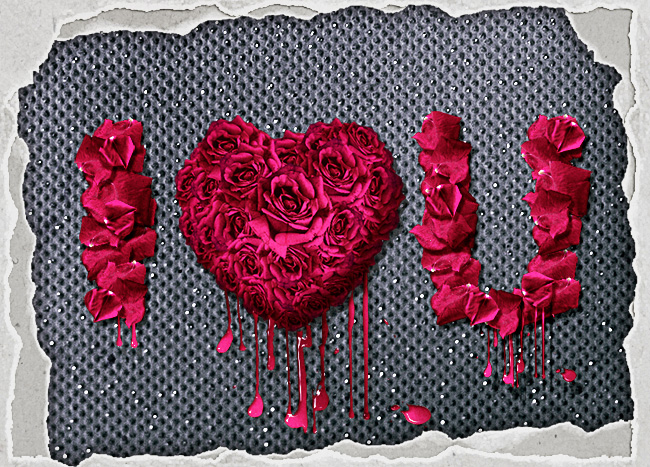
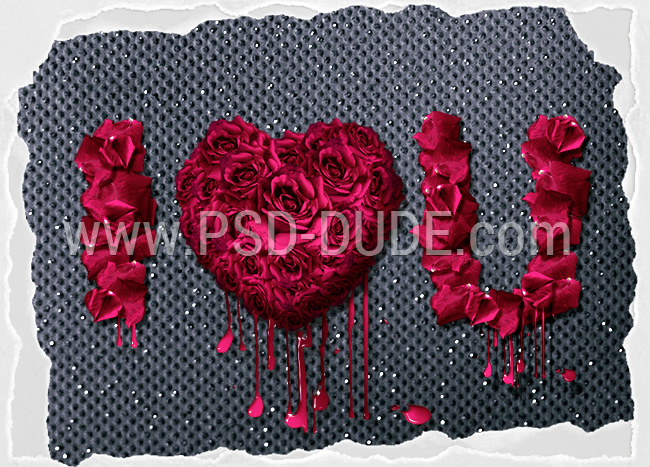
So this is the final result for the rose petals text effect made in Photoshop. You can create your own alphabet letters made with red petals. I hope you like this Valentine's Day tutorial!
4 comment(s) for "Rose Petals Floral Text Effect Photoshop Tutorial"