
Tutorial Assets
For this tutorial you will need these stock images, textures and other resources.
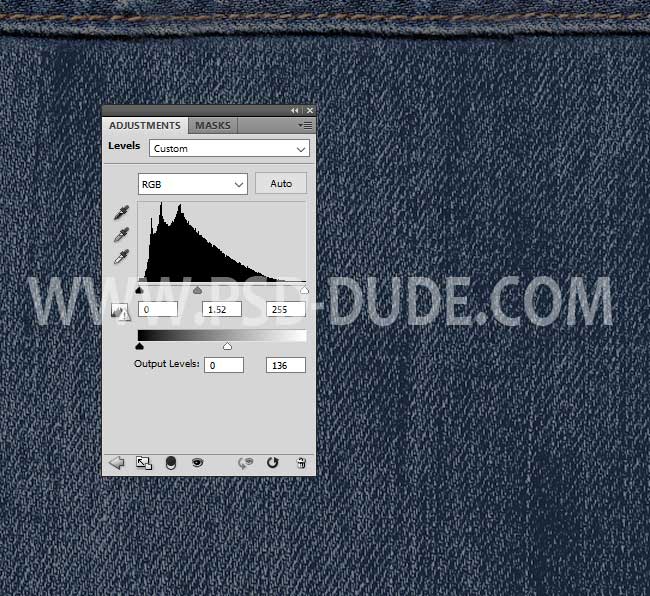
Add the Stitched Jeans Texture in a new layer.

Try different background textures from this list of embroidery texture images.
Now, let's go on with the tutorial. Add a Levels adjustment layer to darken the jeans texture.
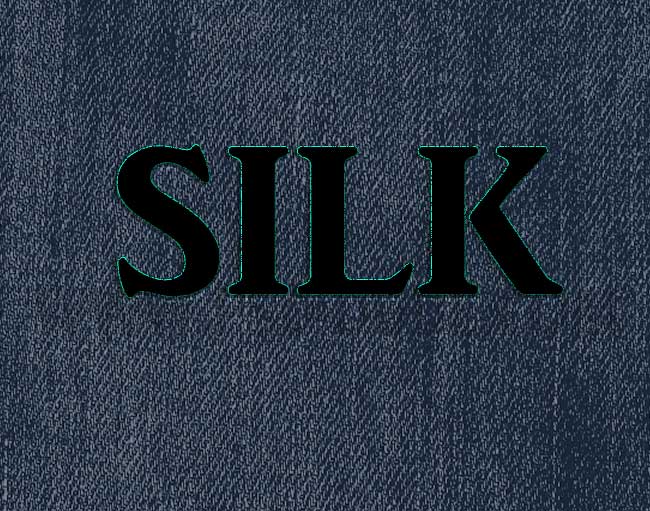
Add a text layer. You can use a shape instead of the text layer. Or you can add a raster layer with both text and shapes.
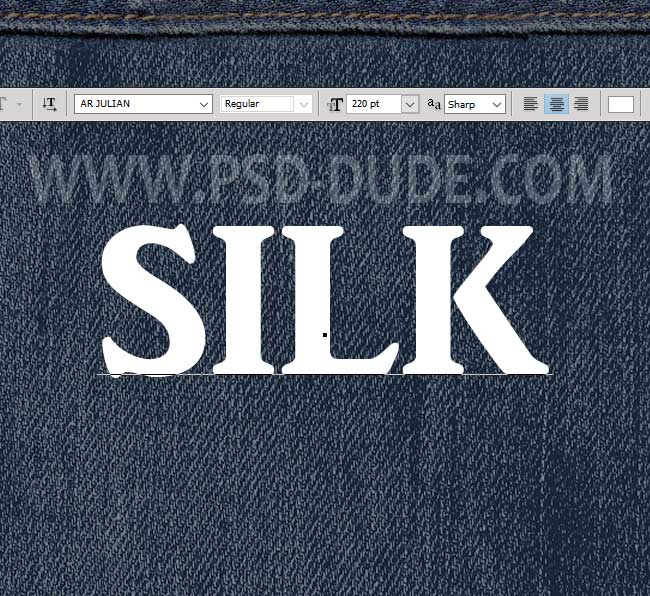
If you choose to use text, this effect is highly recommended for crafting a unique name design or personalized monogram to resemble real stitched typography.
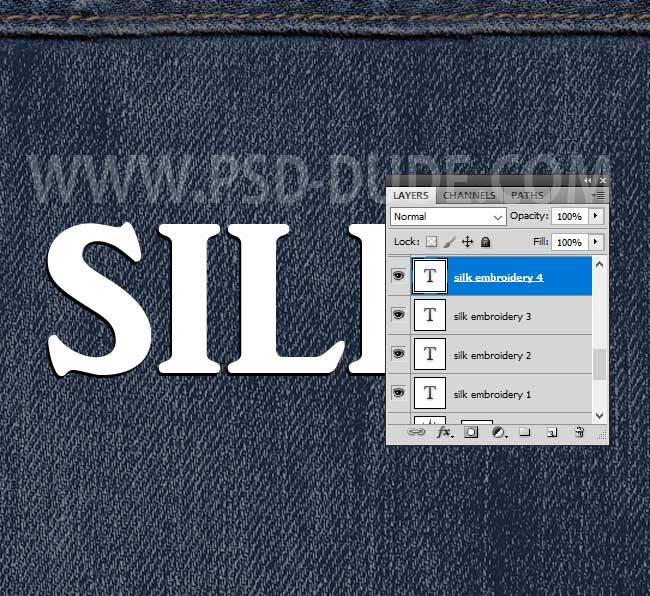
Make three copies of this layer and call them: Silk Embroidery 1-4.
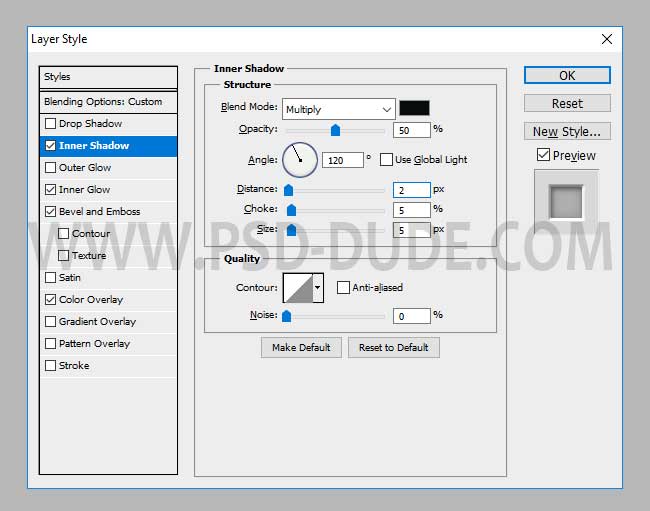
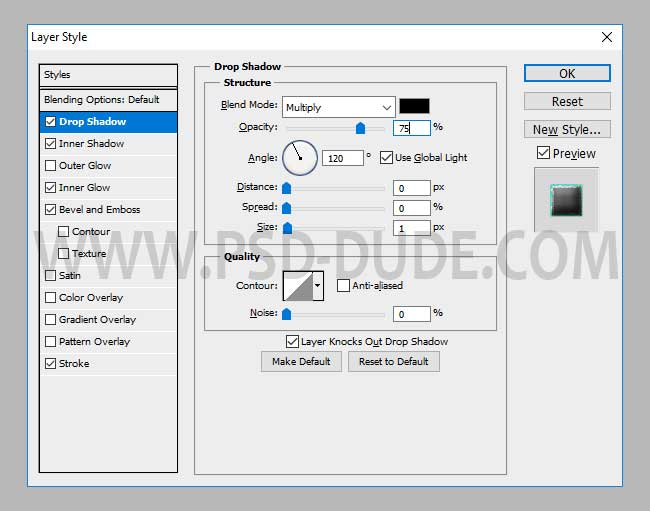
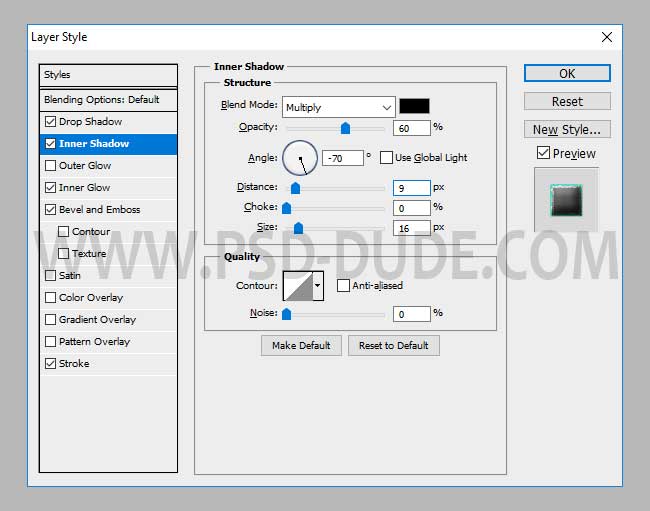
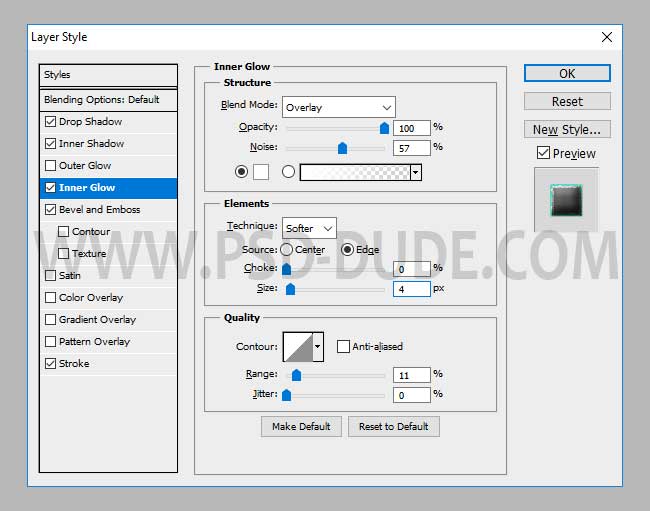
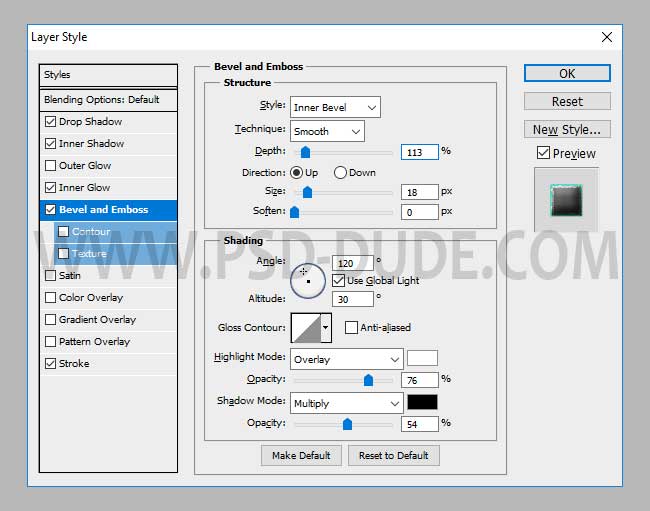
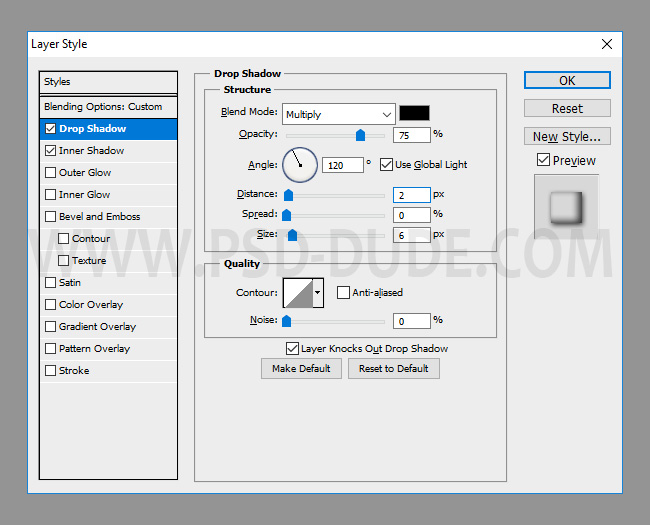
Add this layer style to the Silk Embroidery 1 layer. I will hide the top text layers to see the layer style effect.
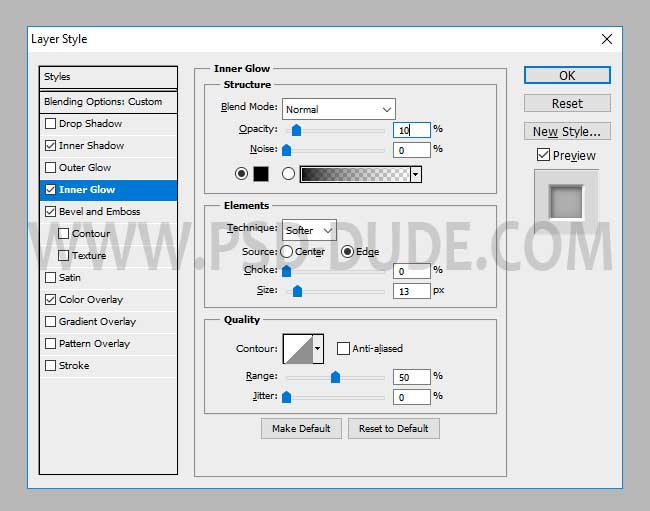
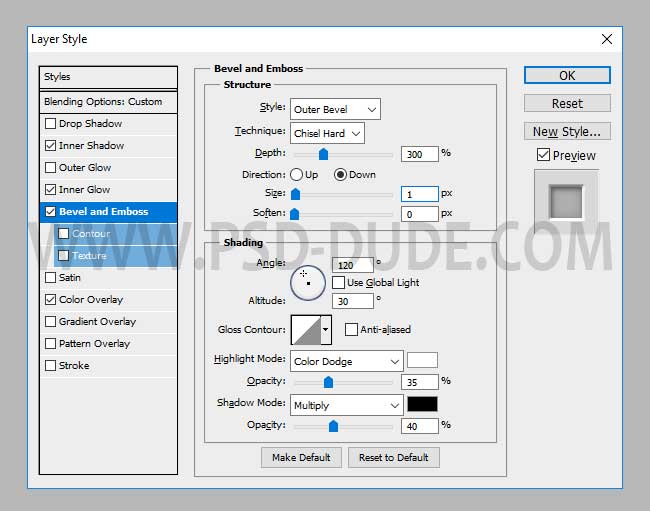
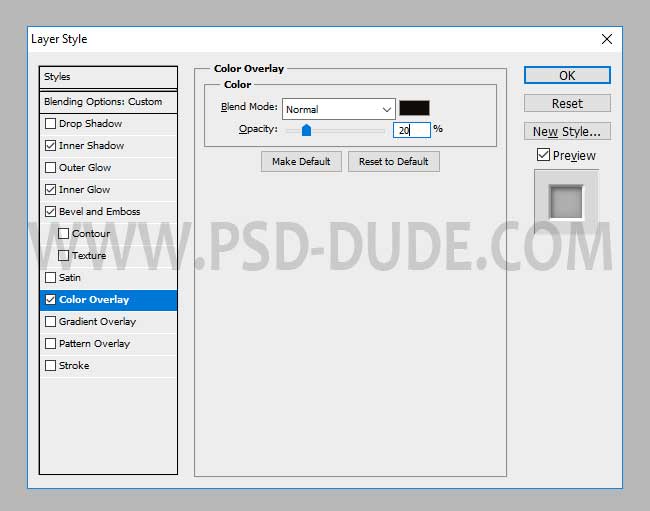

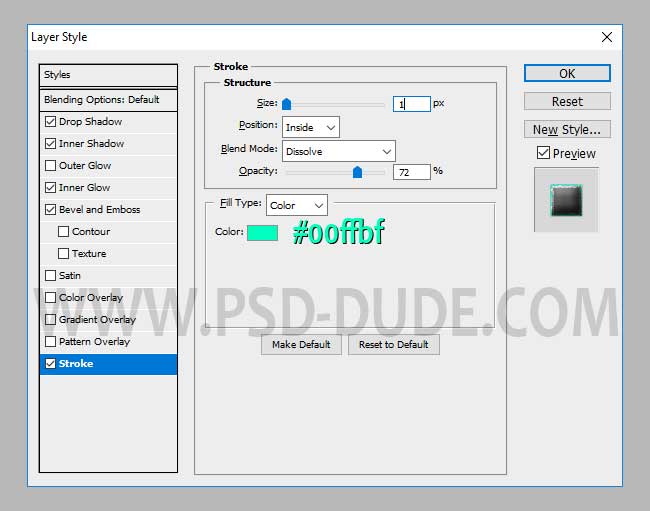
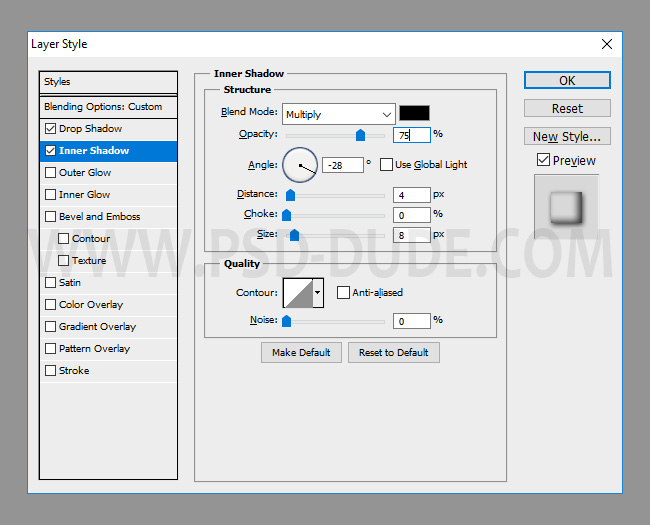
Add this layer style to the Silk Embroidery 2 layer. I will hide the top text layers to see the layer style effect.
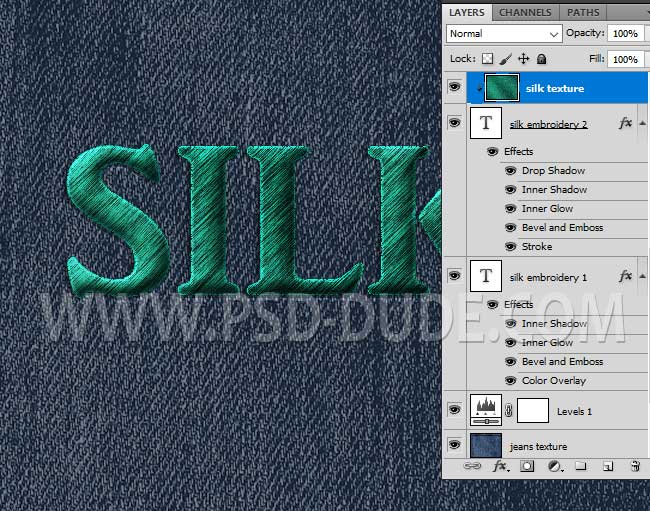
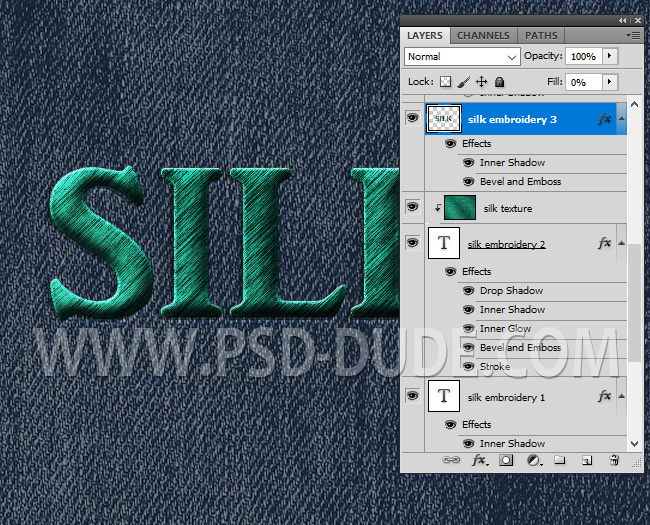
Add the Silk Texture in a new layer above the Silk Embroidery 2 layer. Right click and choose Create Clipping Mask.
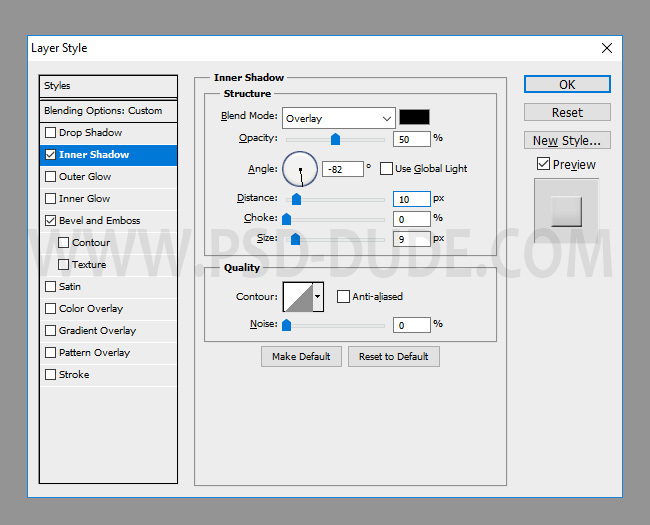
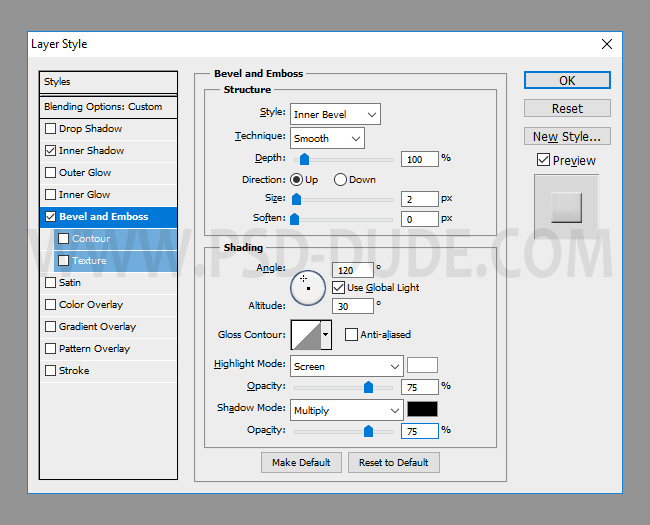
Add this layer style to the Silk Embroidery 3 layer. I will hide the top text layers to see the layer style effect.
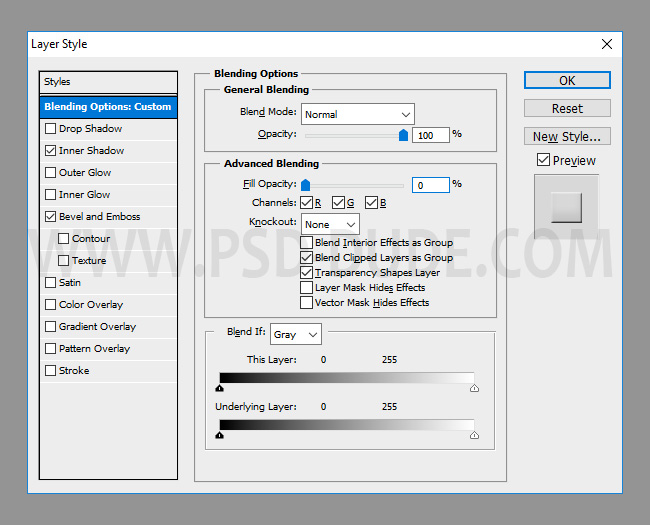
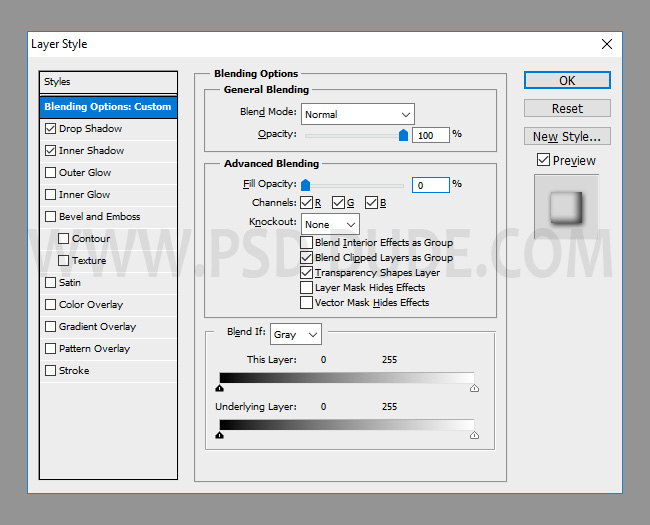
Add this layer style to the Silk Embroidery 4 layer.
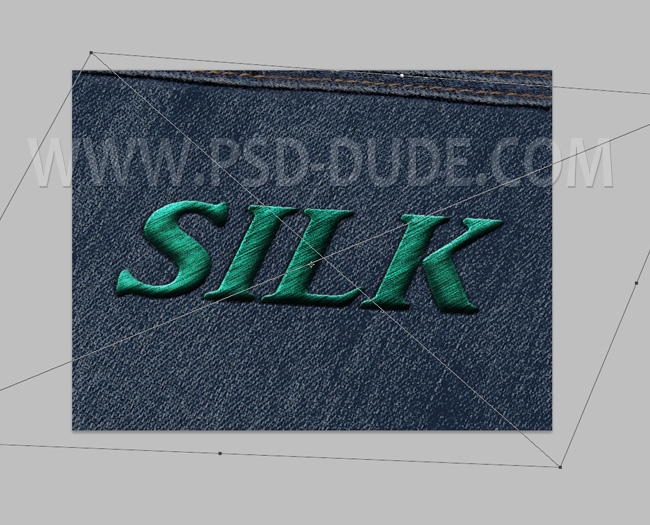
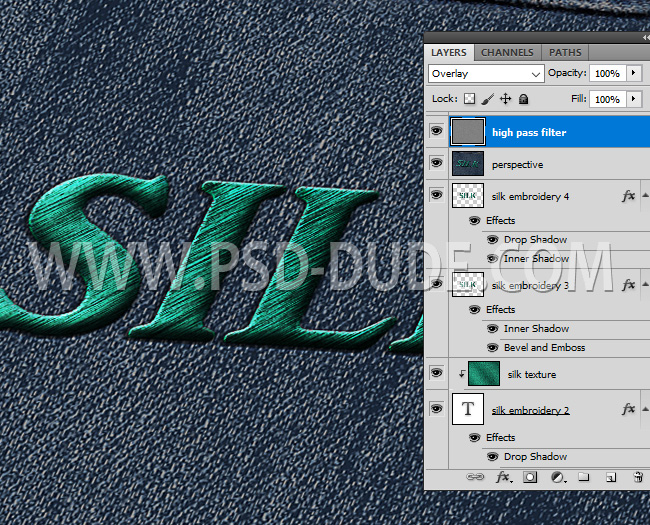
Press Shift-Control-Alt-E to make a copy of the merged layers. Go to Edit > Transform > Distort to change the perspective.
Press Shift-Control-Alt-E to make a new copy of the merged layers. Go to Filter > Other > Hih Pass.
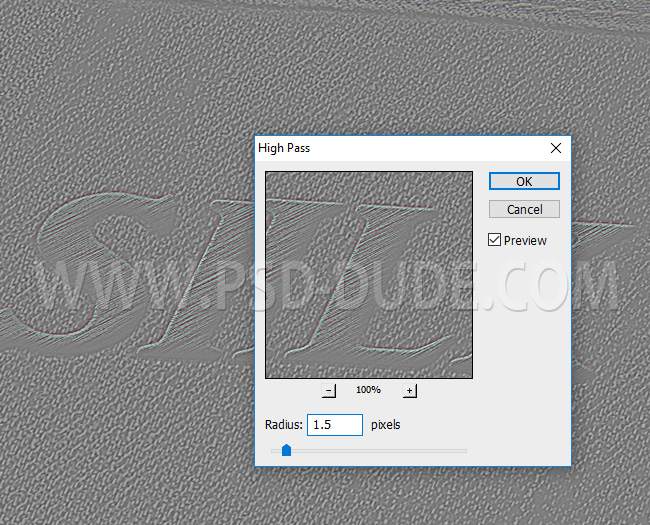
Set the opacity of this High Pass Filter layer to Overlay to obtain a sharpen effect. You can of course use a Levels or a Brightness and Contrast adjustment if you want to add more contrast, lightness, etc.
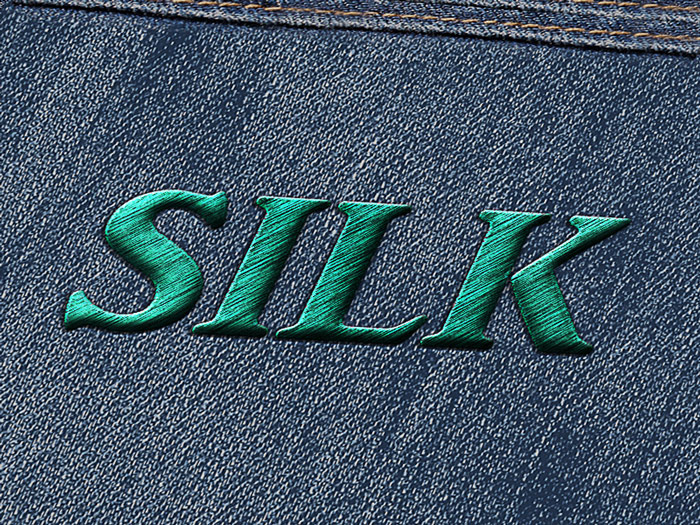
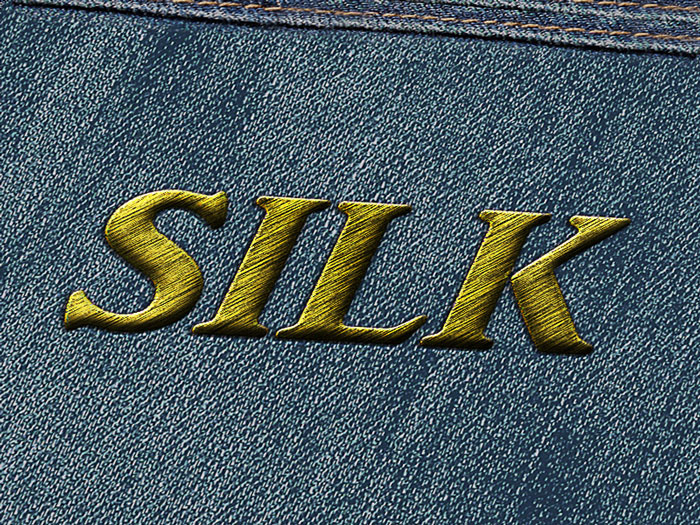
So here is the final result for the silk embroidery effect made in Photoshop using mixed fabric texture.
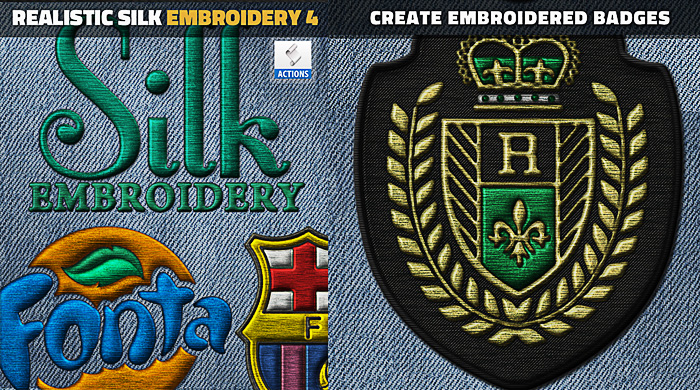
Silk Embroidery Photoshop Action
If you want to create silk embroidery badges and patches in just a few easy steps, you can download this useful Photoshop action. It's a silk embroidery effect photoshop action that requires one-click to create very realistic embroidered designs.
3 comment(s) for "Realistic Silk Embroidery Effect in Photoshop"