In this new tutorial for Photoshop beginners, I will show you how to create your own brushes in Adobe Photoshop. You all know there are thousands of Photoshop brushes, free and premium, already made but it' i's always good to know how to create your own custom brushes. First I will tell you a little bit how the Photoshop brush works.
What Is A Photoshop Brush?
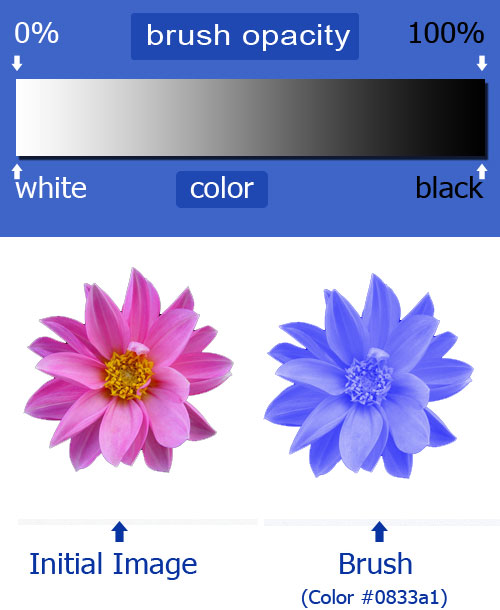
A brush is a grayscale representation of a colorful image with transparency levels given by the same image. The general rule is that white becomes transparent (opacity 0%) and black becomes opaque (opacity 100%). Every tone in between has opacity levels from 0% to 100%. In Photoshop a brush is an grayscale image with different opacity variations that can be used by different tools. The most commonly ascociated with "brushes" is the Photoshop Brush Tool, but a brush once loaded appears in the Brush Presets List of many other Photoshop Tools like the Eraser Tool, the Burn and Dodge Tool, the Clone Stamp Tool and so on.
Create Define Save Load New Brushes in Photoshop
Every Photoshop version has a default set of brushes but it also gives you the oportunity to:
- Load new brushes - To load an ABR file in Photoshop you go to Edit > Prest Manager > Load
- Make your own custom brushes - To define a brush in Photoshop go to Edit > Define Brush Preset
- Save brushes - To save a set of brushes as ABR file you go to Edit > Preset Manager > Save Set
How to Make Make a Photoshop Smoke Brush
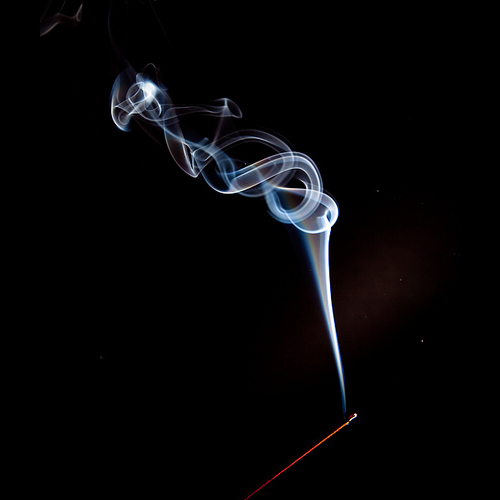
You can make a brush from the scratch in Photoshop, or you can use an image instead. For this tutorial I will use a photo to create a simple smoke brush. I will start with choosing the stock image. The perfect images when you are trying to make a brush out of them, are the ones that have either black or white backgrounds, or backgrounds that are easy to remove. So I found this smoke stock image and I opened it in my Photoshop.
Remember black is 100% and white is 0% opacity. So if I define the brush as it looks now, our brush will have a solid background and a transparent smoke and we want obviously the opposite. So of course we need to invert the colors. For that go to Image, Adjustments, Invert or simply press CTRL+I. You can notice little on the white background, areas that are not part of the smoke. So we need to make that spots white so that in the brush to be invisible (opacity 0%)
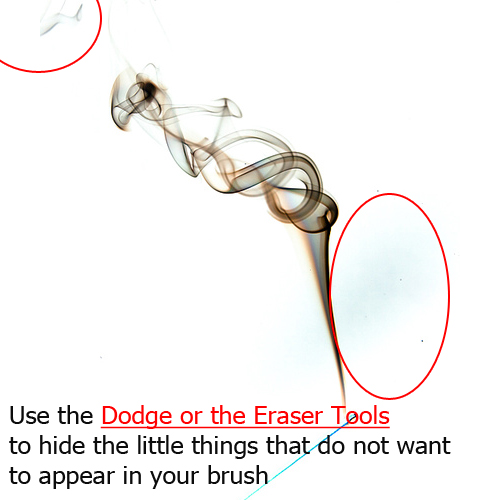
Always use a soft round brush to obtain beautiful edges. If you use the eraser Tool always make sure you have a white background layer under. You can use the Dodge Tool, trying to make that spots white. In both cases try not to affect the smoke shape and to look as realistic as possible. When you are sure it is the right image, simply go to Edit, Define Brush Preset.
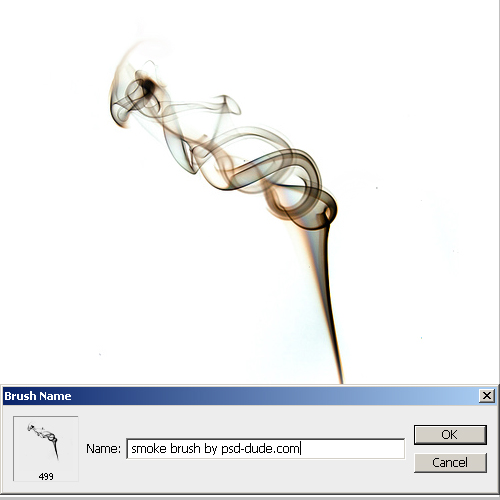
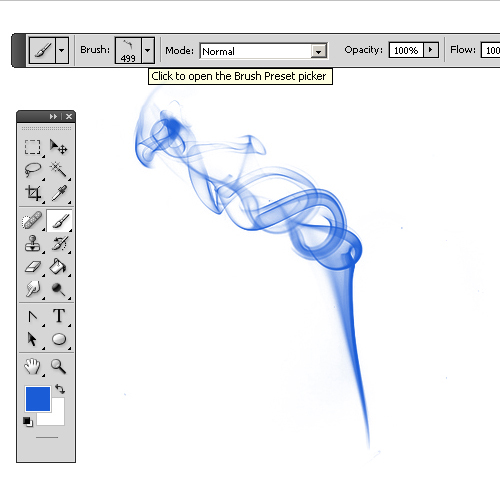
Now you can use the brush to paint, erase and so on. Let's create a white background layer. Pick the color #1a5cd6. Go to the Brush Tool and choose the brush that we have just made from the list. This is how our smoke brush looks like.
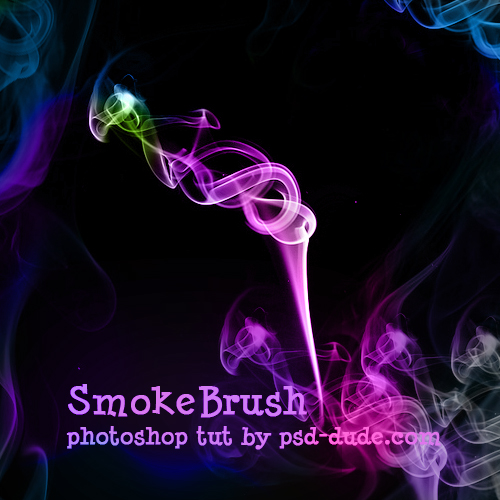
For a cooler effect, create a black background and use white for the smoke brush. Create a new layer above, change its blending mode to Color. With different Colors paint over the smoke shape. You will obtain a beautiful result.
In a same way you can create a fire brush; see how you can use a fire brush in Photoshop from this quick tutorial.
2 comment(s) for "Create a Smoke Brush in Photoshop"
Creating brushes in Photoshop is easy and fun! reply