This tutorial is made for Photoshop beginners that want to learn how to use the fire brushes Photoshop kit. At first it can be a little confusing, because it looks more like a smoke brush and less like a fire brush. So you have to know how to use a fire brush and to obtain realistic fire flames.
Start with a Background layer filled with color black; the fire brushes look better on dark backgrounds. Download my set of fire brushes or any other set of fire brushes that you like. Set the foreground color to white and pick one of the fire brushes and use it in another layer than the background. Let's call this layer Fire layer.
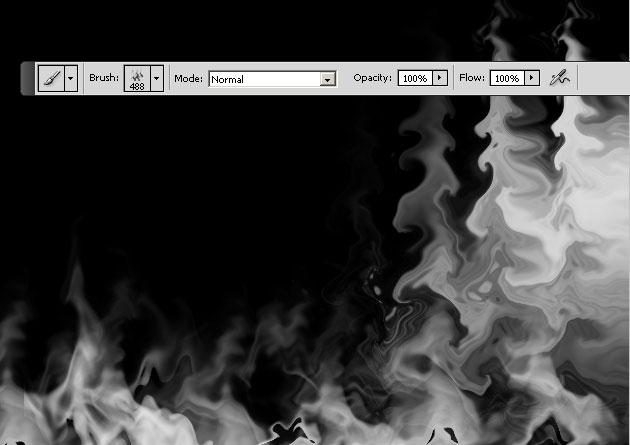
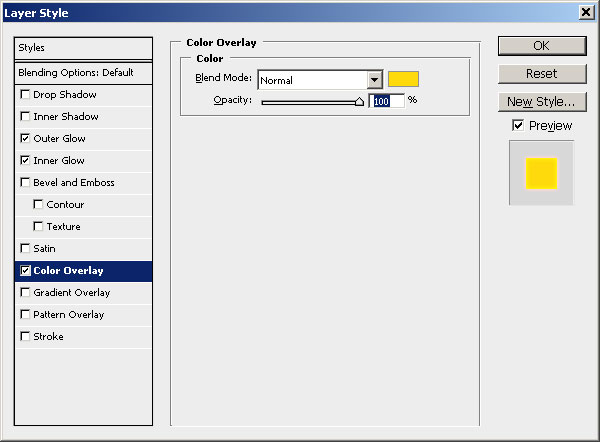
As you can see in the image above, the flames look more like smoke brushes instead of fire brushes. To change that I will add some layer styles to the Fire layer; so add Outer Glow, color #ff0000, Inner Glow, color #ffff00 and Color Overlay, color #ffda0c with the following settings.
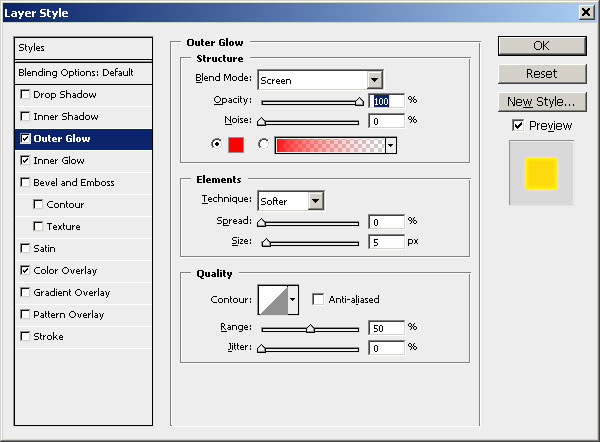
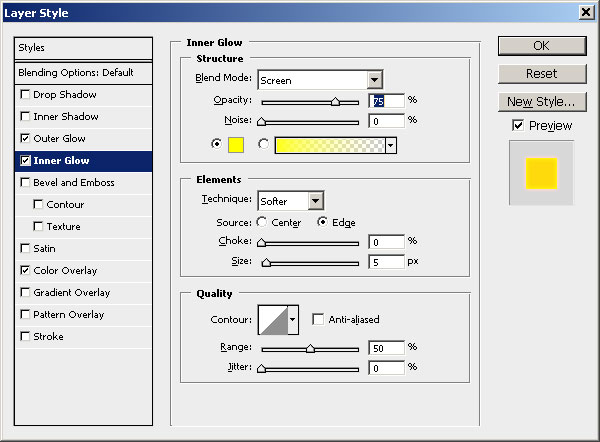
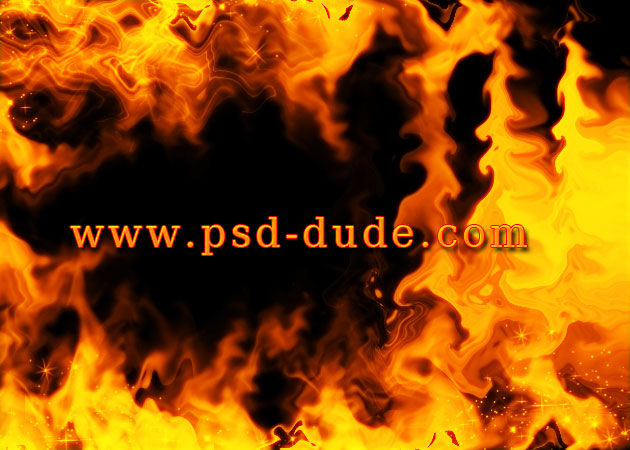
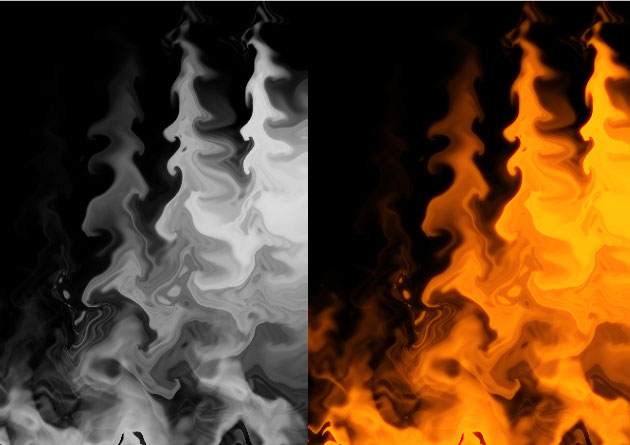
So after adding these layer styles this is the result. You can clearly spot the difference between the before and after image of these Photoshop flames.
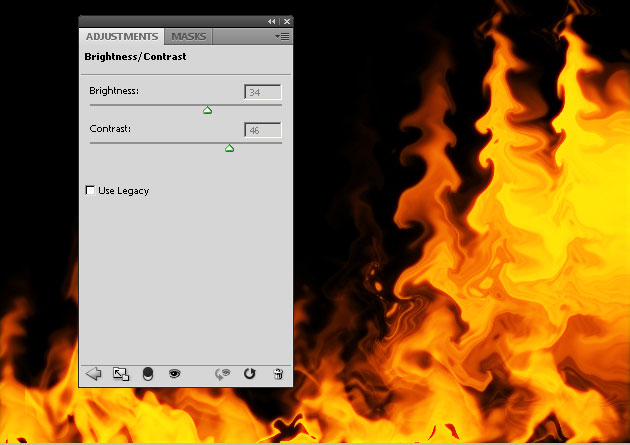
Now it starting to lok like a realistic fire but to make it look better we will add two adjustment layers. The first adjustment added is a Brightness/Contrast which will make the flames more vibrant. Remember that this adjustment is nt always necessary, depends on the quality of the brush and the result that you want to obtain.
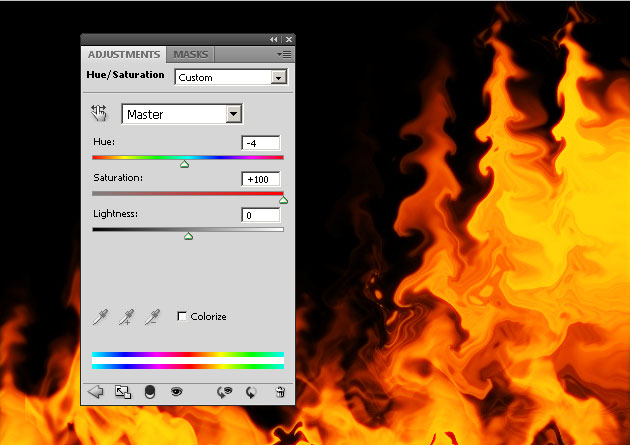
You can also add a Hue/Saturation adjustment layer if you want to change the saturation and the color tone levels.
So that is all, this is how I use fire brushes in Photoshop. I suggest you to save the Fire layer style so that you can use it quickly when you need it. This is my final result for fire flames made from scratch in Photoshop. If you want to practise right now, take a look at my fire Photoshop brushes collection.



6 comment(s) for "Photoshop Fire Brush Tutorial"
LG
Finja reply
Thanks reply