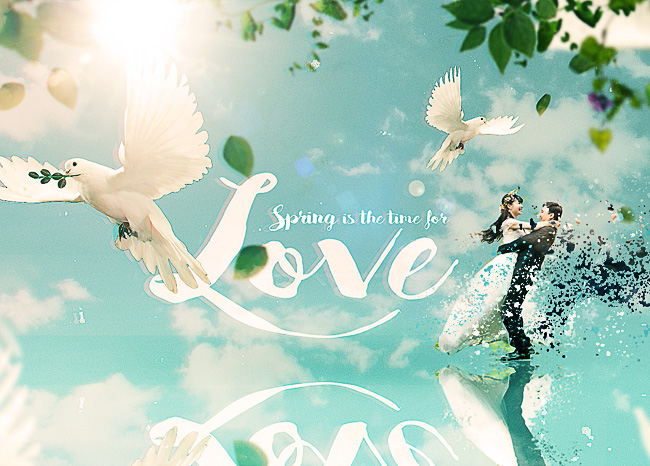
Learn how to create a spring rebirth poster in Photoshop using just a few stock images, free font types and basic Photoshop techniques.
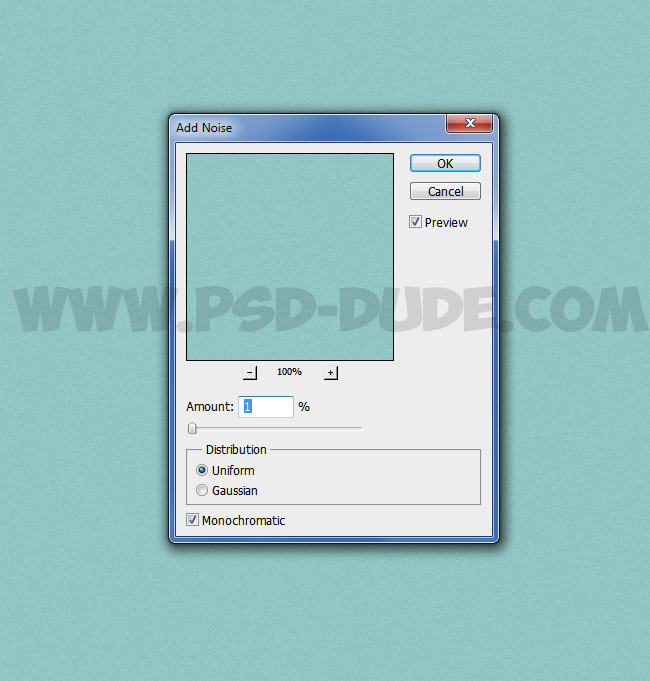
Rename the first layer Background and fill it with color #94c8c6. Go to Filter > Noise > Add Noise and set the level of noise effect.
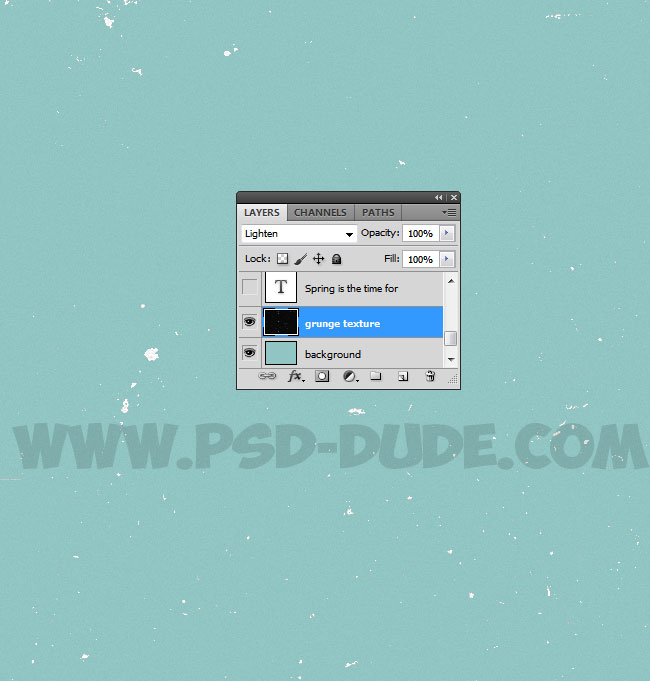
Pick a grunge texture and add it in a new layer.

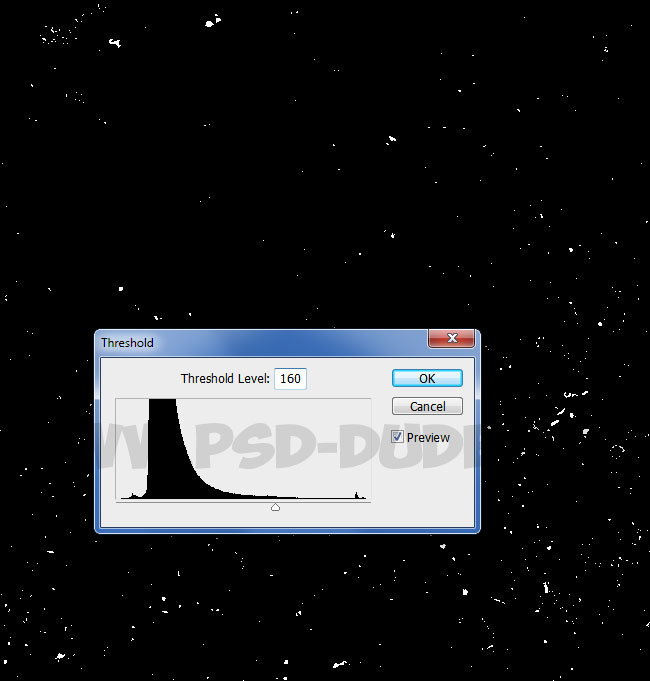
Go to Image > Adjustments > Threshold and set the Threshold Level to obtain only some white spots and scratches like shown in the image.
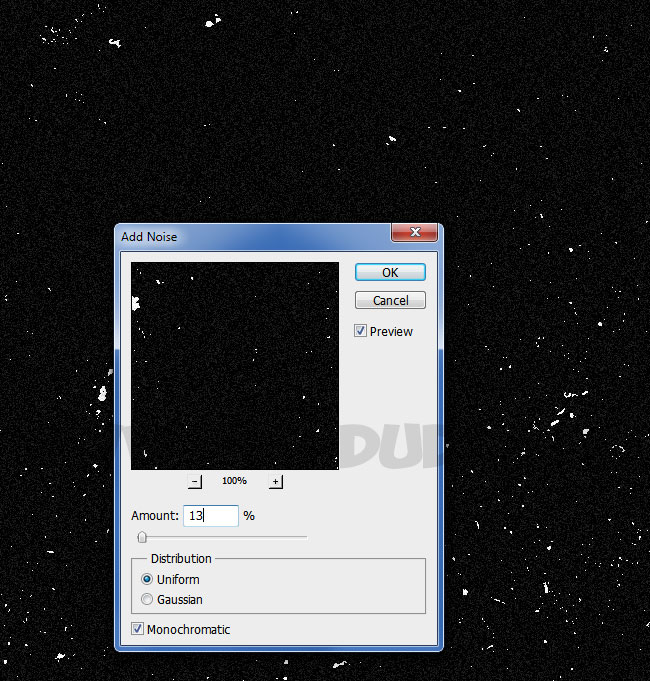
Go to Filter > Noise > Add Noise and set the levels as shown in the screenshot.
Set the blend mode of Grunge Texture layer to Lighten, opacity between 70% and 100%, it is up to you.
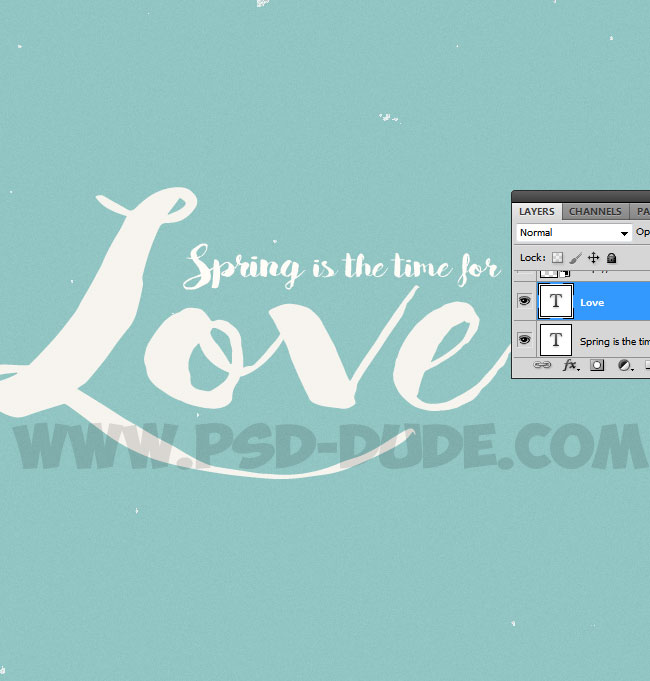
In the middle of the image write your message using any font type you want. I will work with Bakery Font which is a free font type for personal use only. Learn how to install new font in Photoshop from this quick tutorial. The color for the text layer is #f6f4ee.
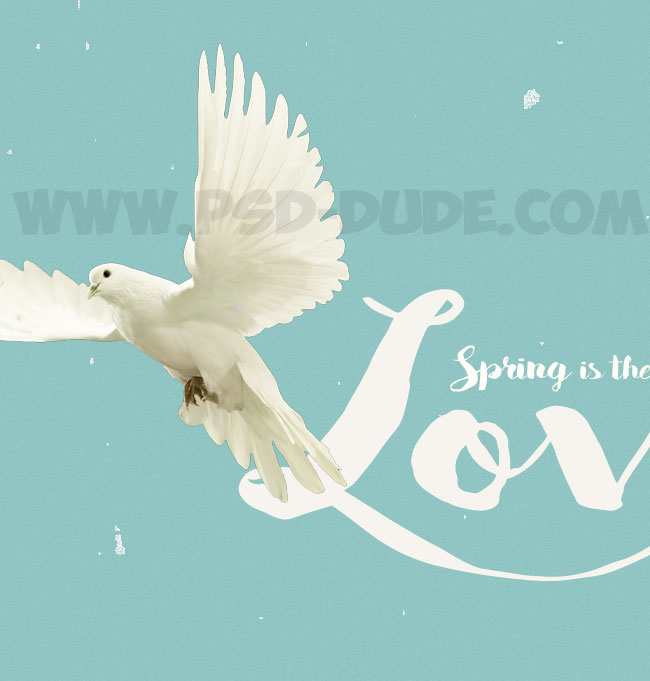
Create a new layer and add this white dove stock image.
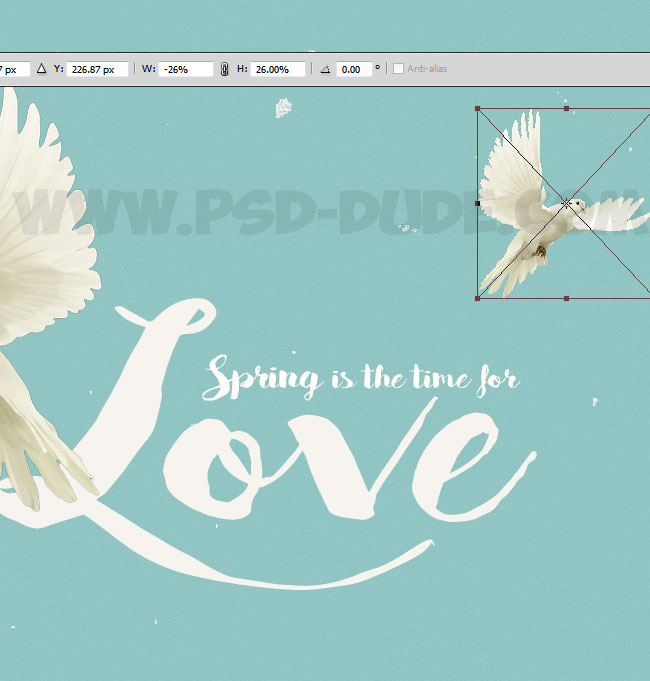
Duplicate the White Dove layer and press CTRL+T to transform it. Set the horizontal scale to -26% and the Vertical scale to 26% as shown in the preview image.
Make a new layer and add this happy wedding couple stock image. Pick one of the Photoshop's Selection Tools and remove the background, keeping only the couple. You can also use the Eraser Tool to delete the background.
Create a disintegration effect using this free dispersion Photoshop action for a quick result. If you use the action copy the couple image in a new PSD file and play the action there.

Another quick solution is to use this dispersion texture. Add the texture and remove the white background. Create a new layer, right click and choose Create Clipping Mask. In this layer you can paint with different tones of dark gray and white to create the dispersion effect.

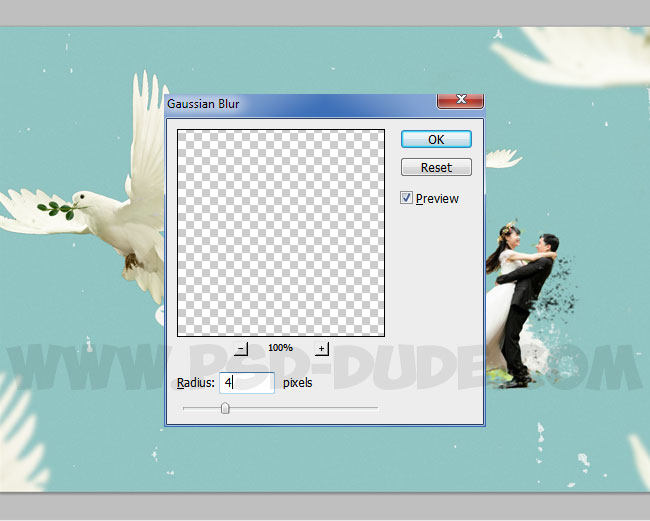
In this step you have to duplicate the White Dove layer several times. Resize it to around 120% and use the Filter > Blur > Gaussian Blur Filter with a 4 pixels radius. Place the wings in the corners of the image like shown in the preview. If you want you can use these feather brushes with color #ebead9.
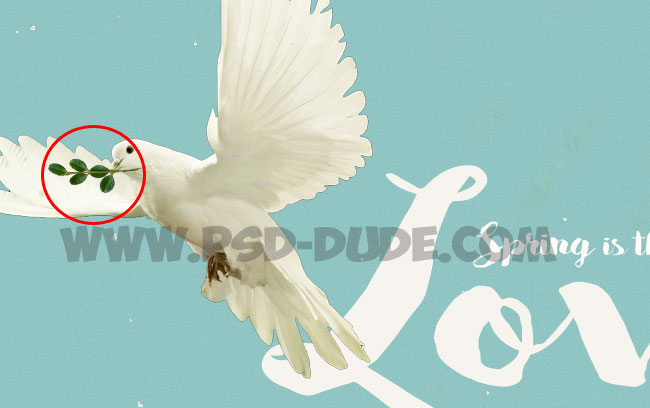
Use a Selection Tool to cut one of these leaves and branches that you like best. Put the branch in the dove's beak (mouth). You will have to resize and rotate the branch to look realistic.
Use these beautiful viny leaves to add a floral leafy border. Use the Gaussian Blur filter to add depth to the image.
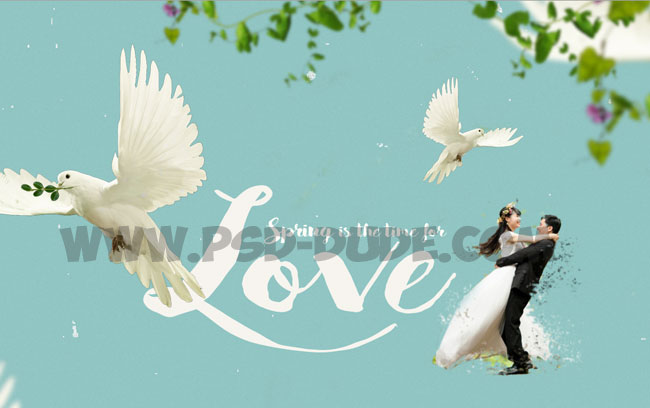
Add more foliage and use again the Photoshop's Gaussian Blur filter.
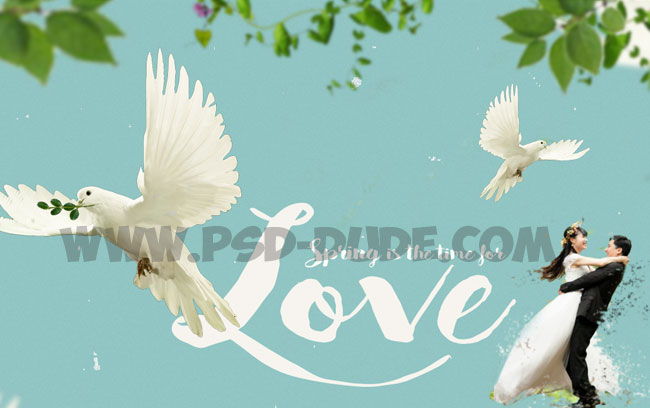
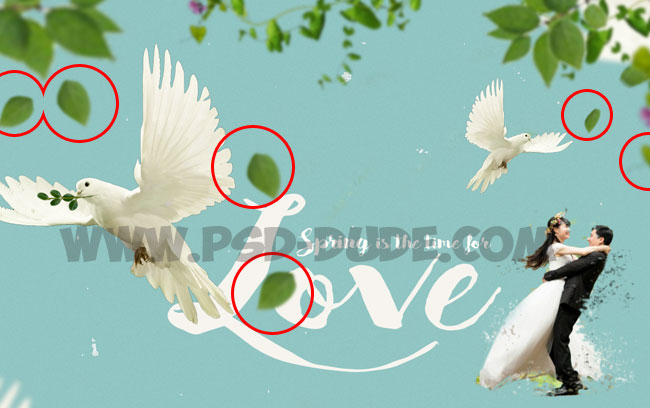
To complete the look add cutout leafs with different sizes in separate layers. Use the Gaussian Blur and the Motion Blur filters to simulate motion. You have to rotate and resize the leafs to look natural.
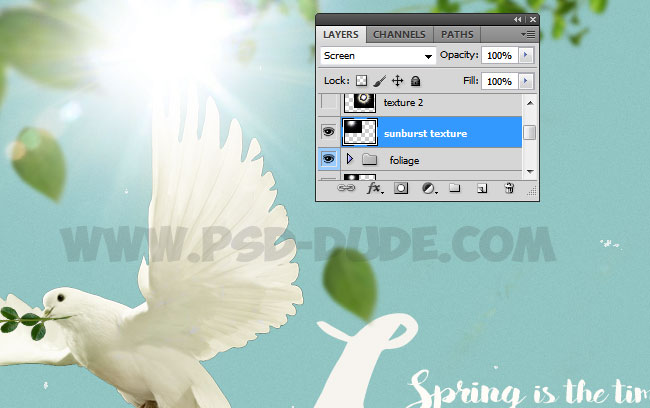
Add this sunburst texture in a new layer and set the blend mode to Screen. You can also use this Sun Flare Texture Overlay if you are not a PSDDude registered user.

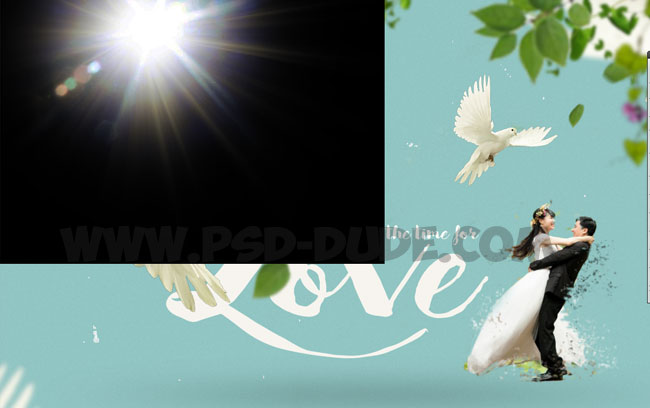
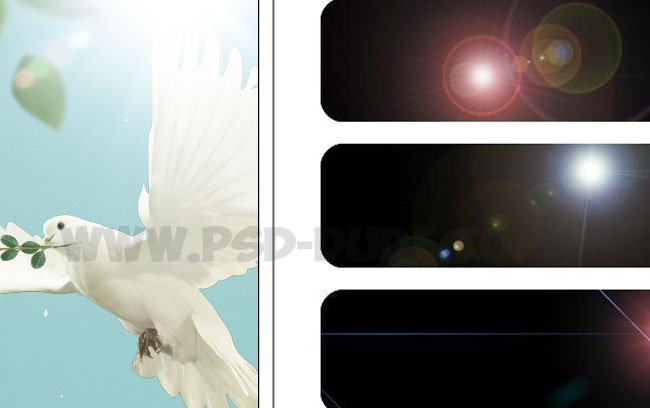
You can also add more lens flare effects. Add the lens flare texture that you like in a new layer and set the blend mode to Screen or Lighten.
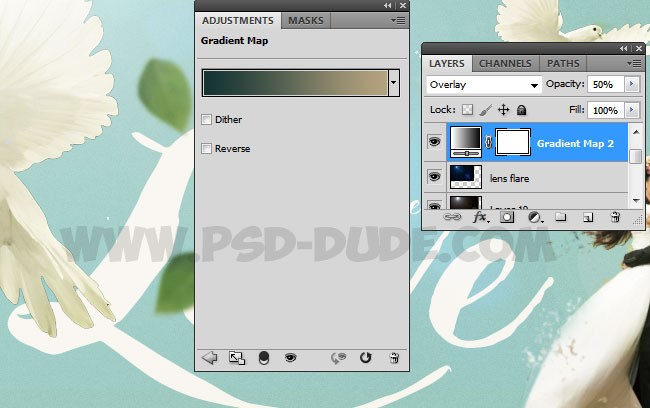
Add a Gradient Map adjustment above all the other layers and set the blend mode to Overlay, opacity 50%. The colors for the gradient are #153433 and #b5a47e but you can use any tones of color you like.
Add Reflection Effect in Photoshop
Press Shift-Control-Alt-E to make a copy of the layers. Press Control-T and flip it vertically.
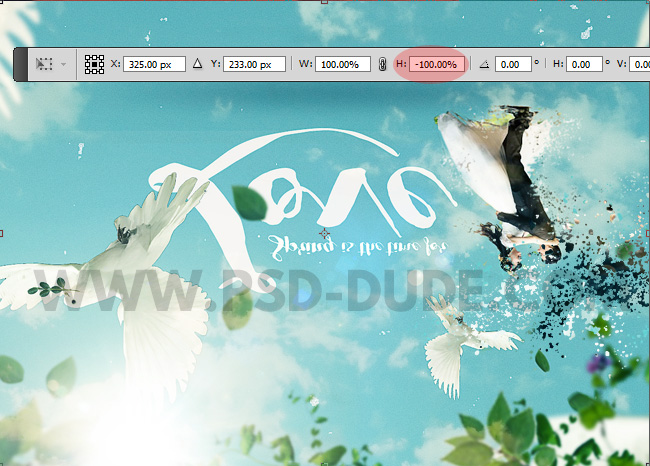
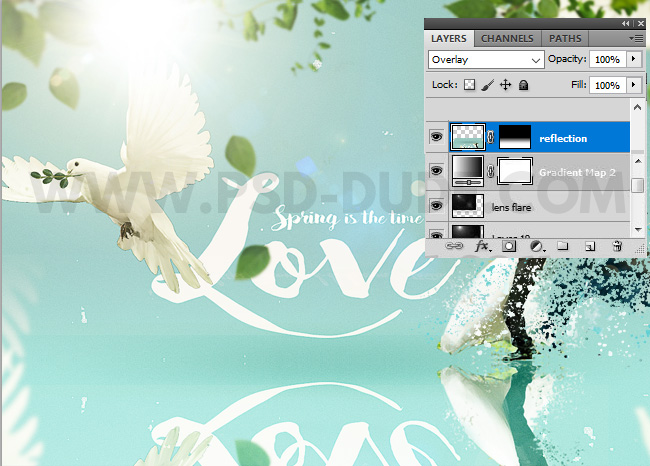
Set the blend mode to Overlay and move the layer to create the reflection effect. Add a Layer Mask and use the Gradient Tool, with black and white gradient, to make a smooth transition.
Add this Fluffy Clouds Texture in another layer and set the blend mode to Soft Light.
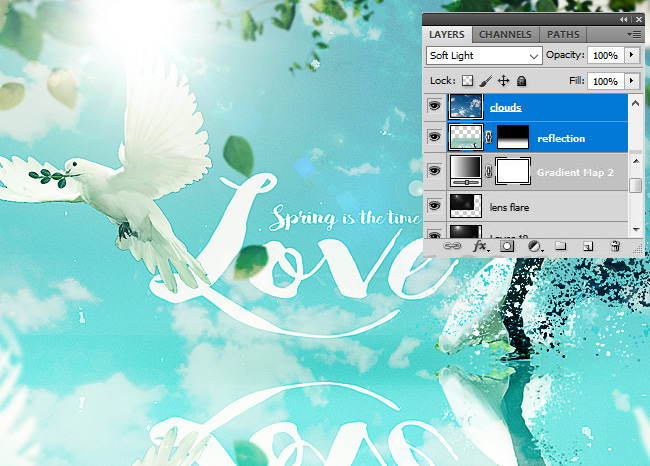
For the final touches you can use the High Pass filter to sharpen the image.
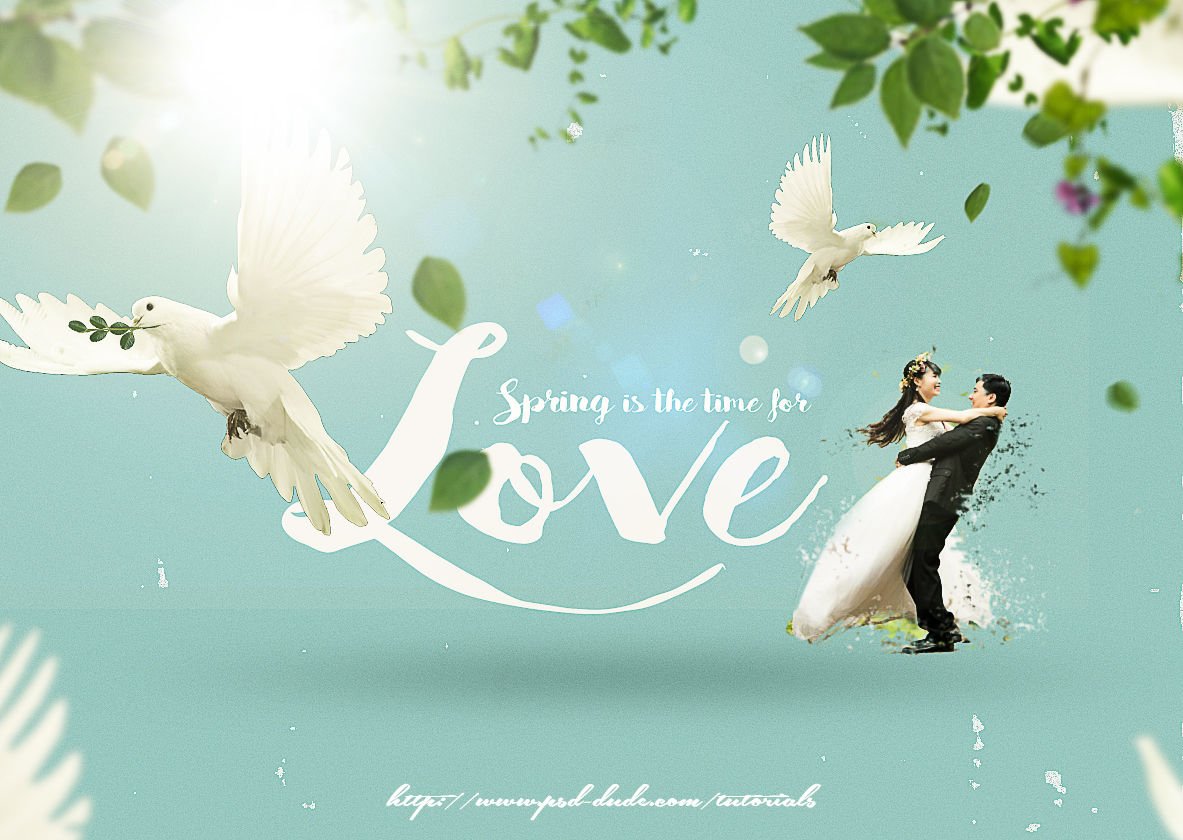

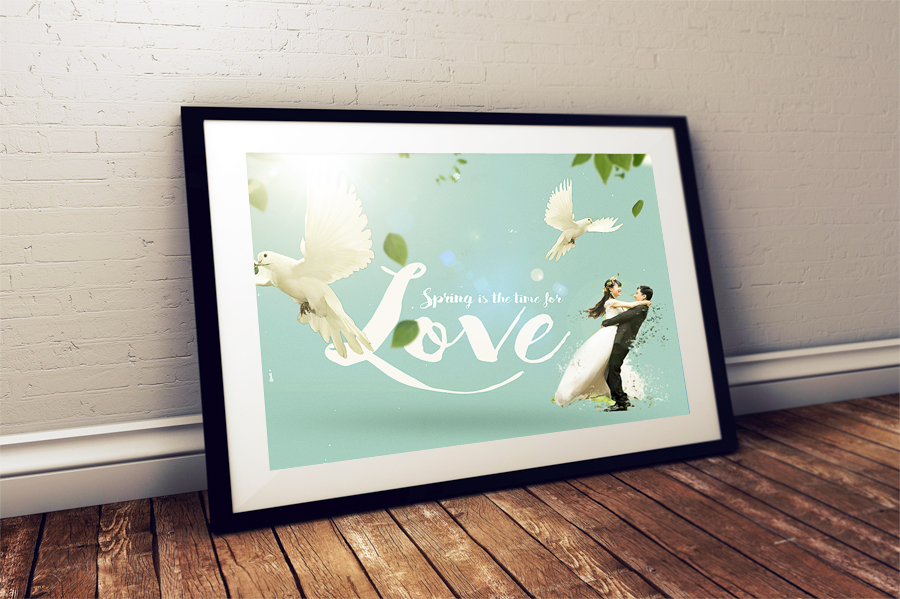
You can use a photo frame mockup to display your poster in beautiful way. Hope you enjoyed reading this new Photoshop tutorial. See you soon!



3 comment(s) for "Nature Rebirth in Spring Photoshop Tutorial"