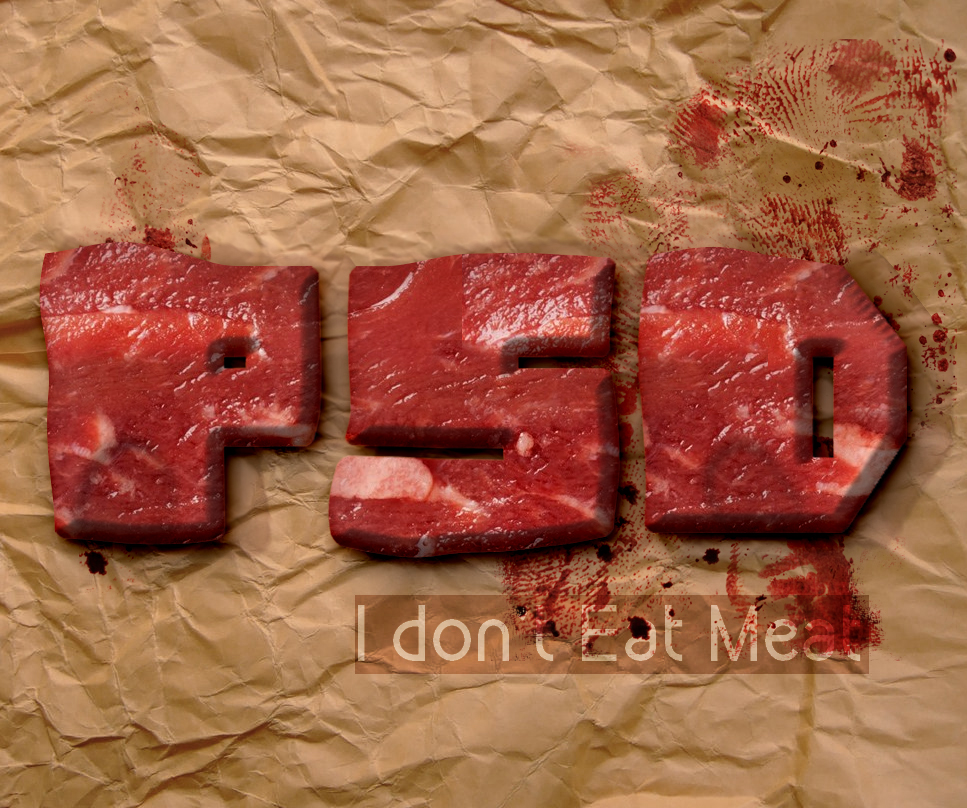
In this tutorial you will learn how to create a raw meat text effect in Photoshop. All we need is a realistic meat texture to apply on the text/shape and a paper background texture with blood stains.

First you have to download the salmiak font type, which is a free font type. For this tutorial I will use the Salmiak Bold Rounded. Learn how to install new font in photoshop from this quick tutorial for beginners.
You can of course use another font type but this one seems perfect for the raw meat text typography that we want to create. Remember that the font type is just as important as the effects applied.

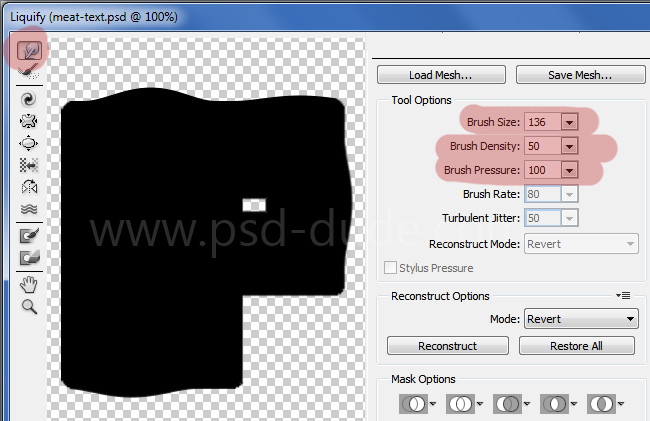
Now you have to rasterize the Text Layer; simply right click on the layer and choose Rasterize Type. This means that you will not be able to edit the text. Go to Filter menu and choose the Liquify Filter. Pick the Forward Warp Tool and make the following settings. Now simply distort the text shape like shown in the preview.

For the next step you have to duplicate the text layer 3 times and call it: meat 1, meat 2 and meat 3 so that

For each layer we will apply a different layer style. Let's start with the Meat 1 layer. Add a Drop Shadow layer style with the following settings:

For the Meat 2 layer we'll add multiple styles, including a raw meat pattern that you can download for free from our blog. You can of course use another meat pattern that you like or a raw meat texture.
So first you have to download the raw meat pattern and install it in Photoshop. Go to Edit>Preset Manager choose the Patterns Preset Type from the list and simply click the Load button and choose the .PAT file to load it in Photoshop. The ZIP file contains also the fully layered PSD file with layers styles intact so that you can follow this tutorial better.


For the Meat 3 layer we'll add only a Inner Shadow effect.

Now all we have to do is add a nice background for our for our text effect. The background must always match with the text effect that you are creating. For example, for this raw meat typography, a rough paper or even better a folded paper texture would be great.
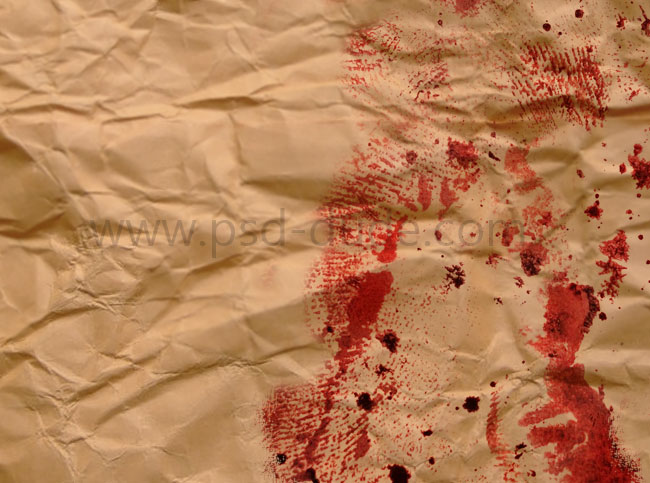
So I will use this folded paper texture that you can choose any other texture that you like. Even a newspaper texture would work great. Add a Hue/Saturation adjustment layer , with the following settings to change the saturation of the texture.

For a little bit of realism you can add some blood textures like bloody stains, bloody fingerprints, etc. I will use this grunge blood texture ; use Multiply blend mode for the texture. Also you will have to adjust the brightness/contrast to blend perfectly with the paper texture.

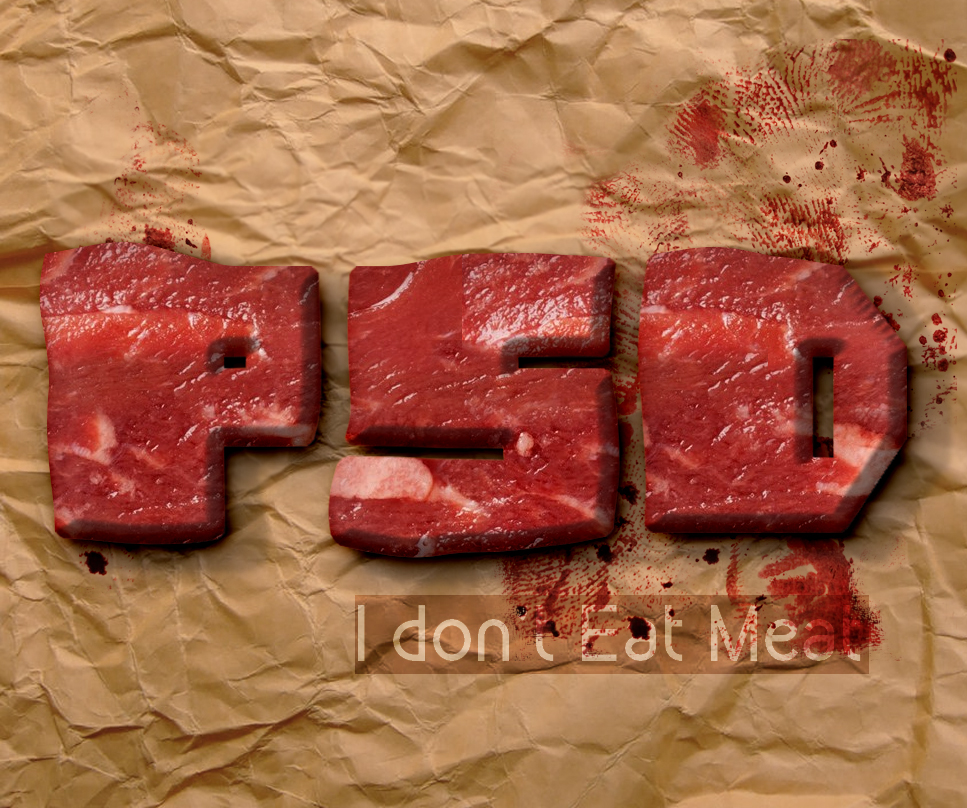
So here is the final result for the raw meat text effect made in Photoshop almost from scratch. You can replace the meat pattern with another texture that you like.


12 comment(s) for "Meat Photoshop Food Text Style Tutorial"
It's fantastic. I can just wonder how do you get this idea like this one?! I'll make it (I hope I can do it) this week. Then I'll upload my outcome.
Congratulations. reply
Now...
I think I know enough now to start trying out some of your stuff. Had no chance when I first subscribed.
NOTE: I see why halley gave in, nearly did the same. If it wasn't for the attached PSD in the zip file I would never have figured out the opacity trick. Now it's obvious... hours later :)
Yeah, Thanks PSDDude !!!
I am glad you enjoyed our Meat Typography Photoshop tutorial. Keep up the good work! reply