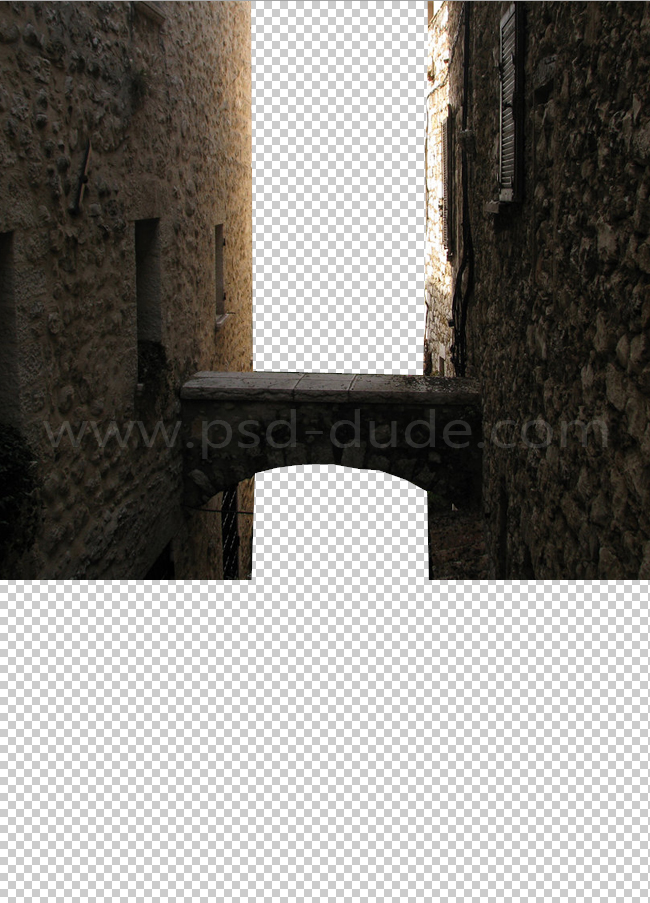
Open the medieval house stock image and use one of the Photoshop selection tools to remove some of the background like shown in the preview. Call this layer Brick Wall Layer 1 as we'll need it later on.
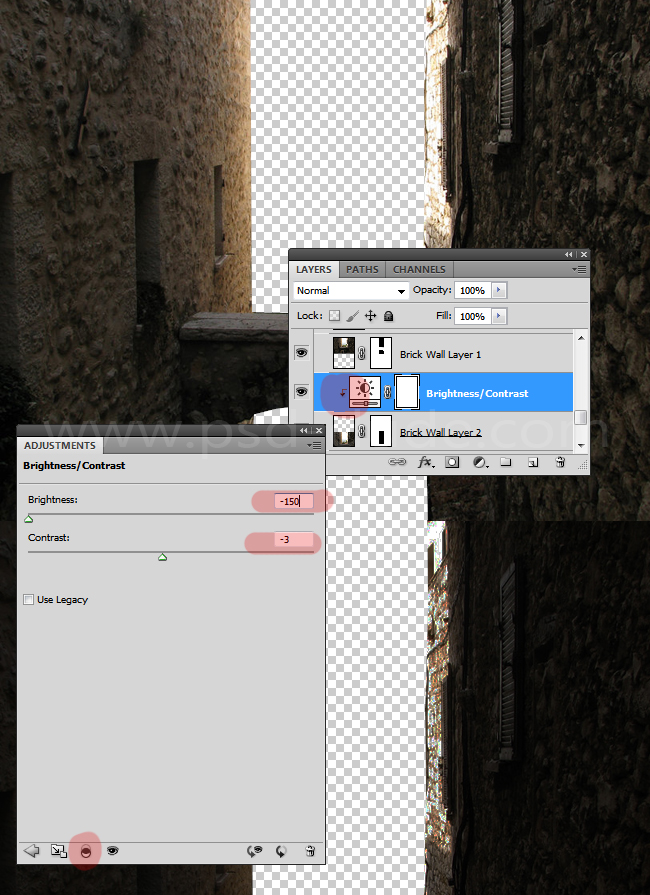
Duplicate the Brick Wall Layer 1 and call it of course Brick Wall Layer 2; place the copy behind the original layer. Make sure that the two layers overlap one another. Add a Brightness/Contrast adjustment layer just for the Brick Wall Layer 2 using a clipping mask.
Click on the layer mask of the Brightness/Contrast adjustment layer. Pick the Brush Tool and with color white simply paint over the right wall to hide the darken effect.
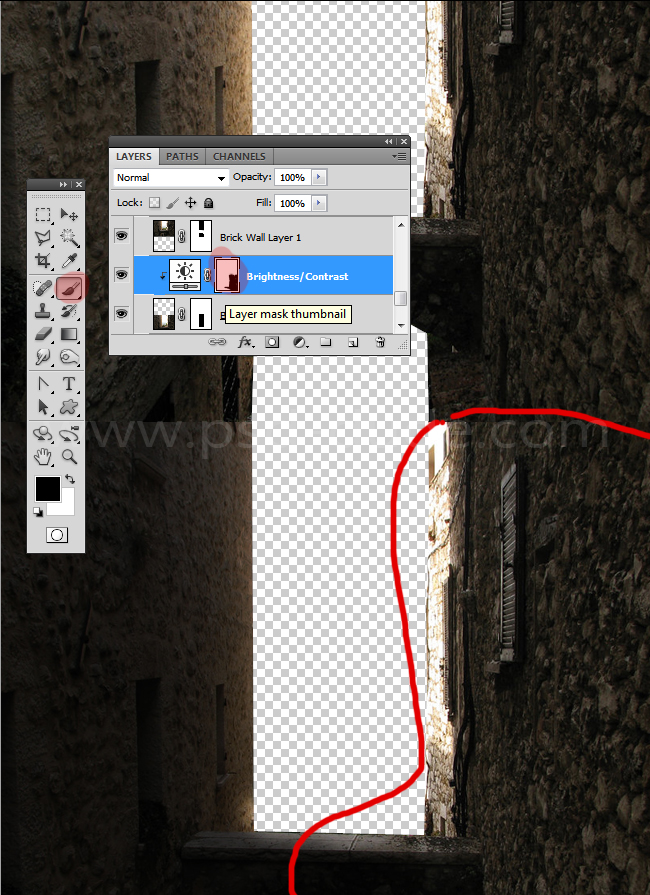
Now we have to make the two walls seamless. For that go to the Brick Wall Layer 1, click on the layer mask and use a soft round brush, color black to hide the areas shown in the preview. If the two wall layers do not overlap you will obtain some empty spaces between the bricks.
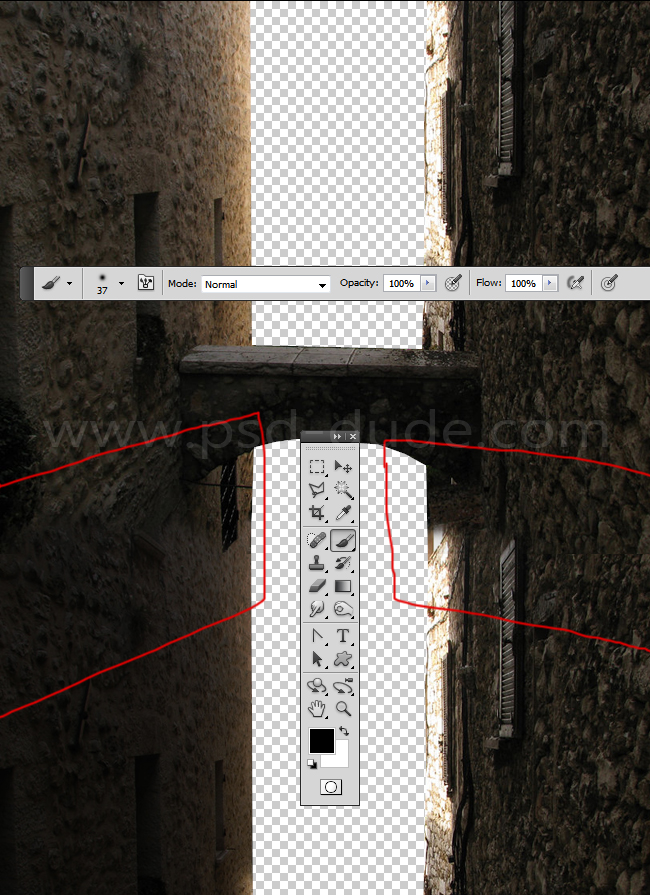
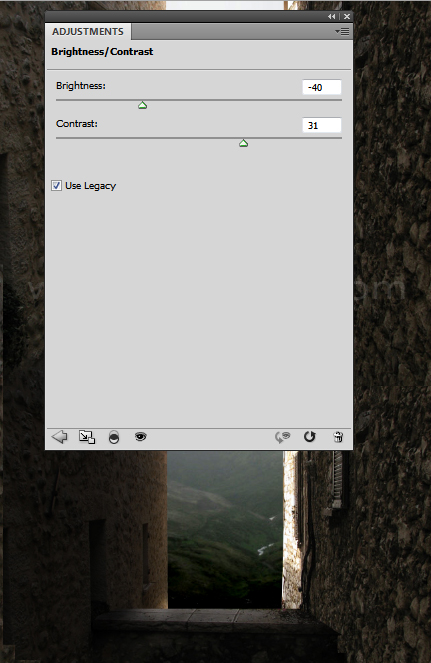
Add this mountain landscape image below the previous layers. Use a Brightness/Contrast adjustment layer just for this layer with these settings.
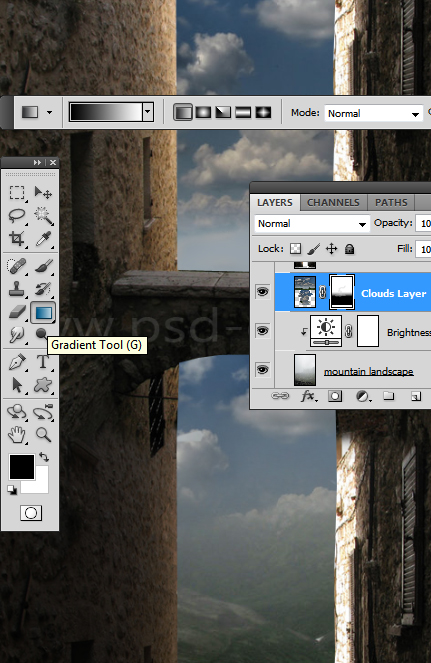
In a new layer add a clouds texture that you like. Add a layer mask for the Clouds Layer; use the Gradient Tool with default black and white gradient to paint inside the mask. That way you get a smooth transition between the landscape and the sky.
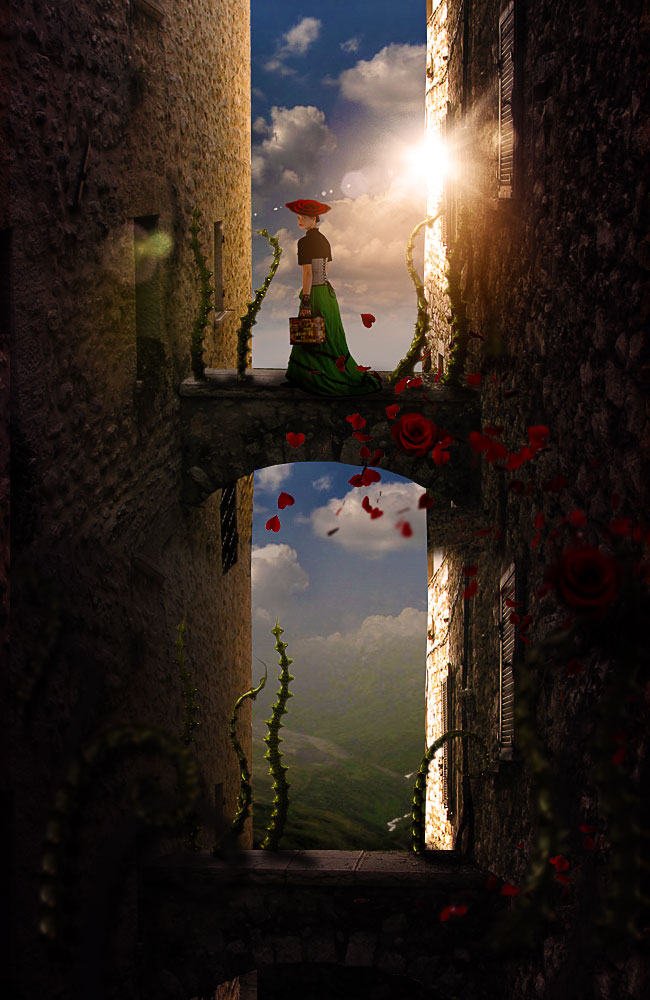
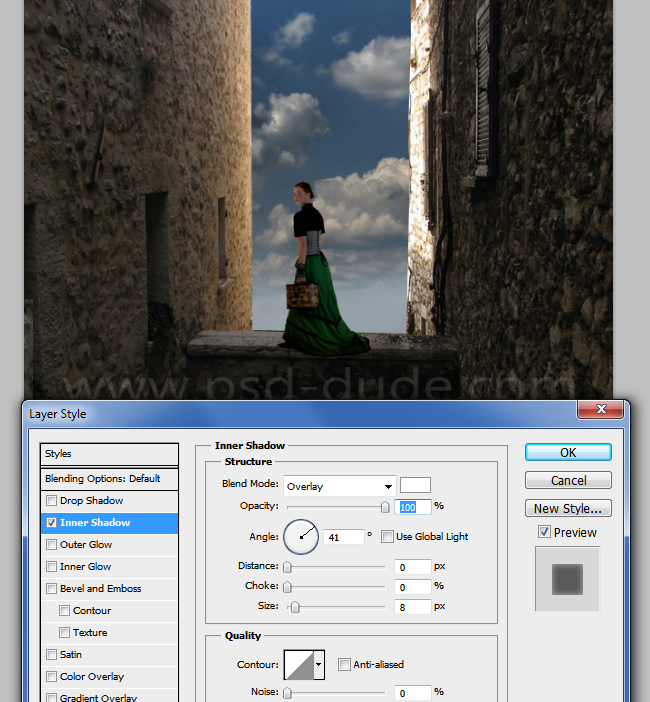
Now let's add this woman and place it on the bridge like shown in the image. Add a Inner Shadow layer style.
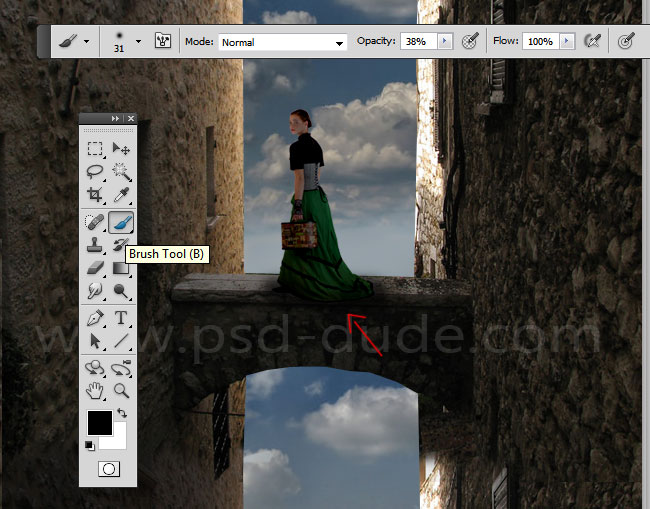
Create a new layer below the Woman Layer and call it Shadow. Use the Brush Tool and a soft round brush to paint a shadow effect. Use color black with different opacity levels. Learn more about how to create cast shadow in Photoshop from these tutorials for beginners.
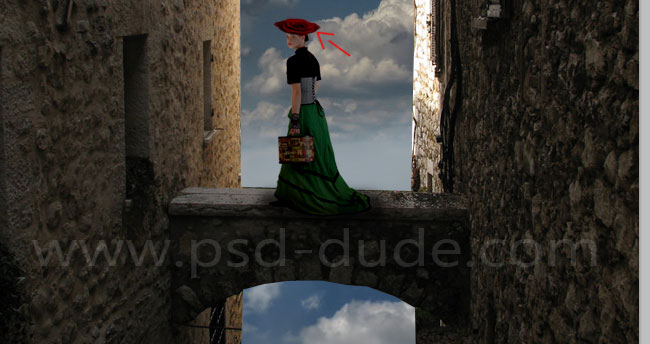
Use this rose image to create a hat for the girl. Simply use the Transform Tool to resize and distort the image to look like a hat.
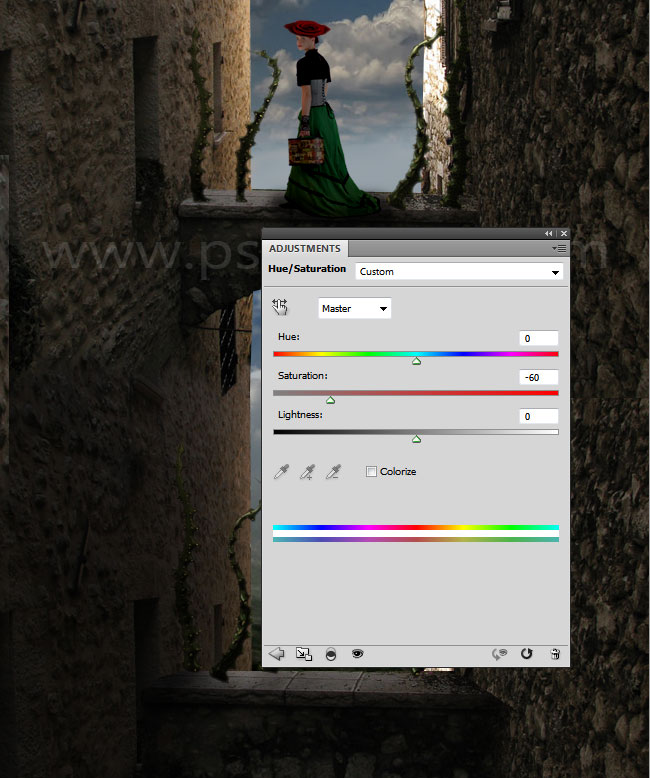
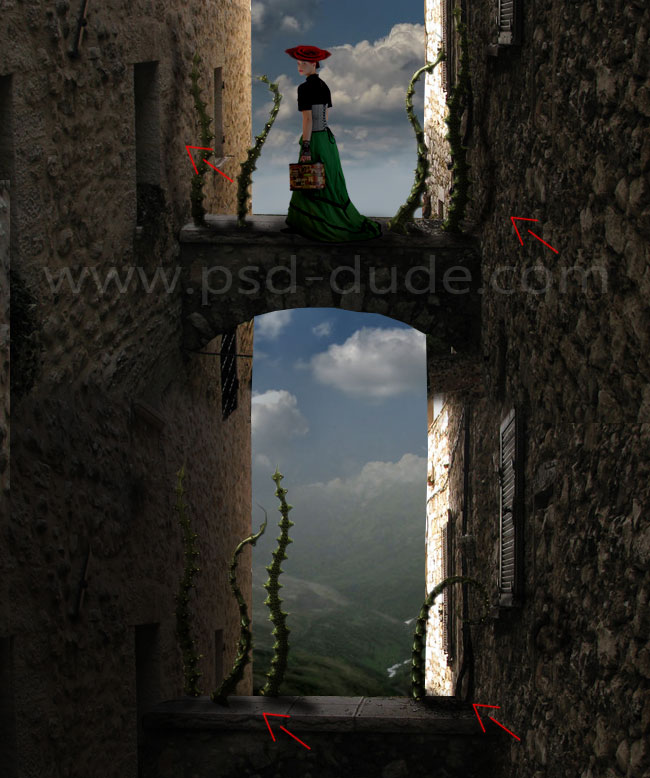
To make the image look a little creepy and surreal I will add some tentacles like shown in the image. Use a Hue/Saturation adjustment just for the TEntacles Layer using the Clip to Layer option. Also add an Inner Shadow style.
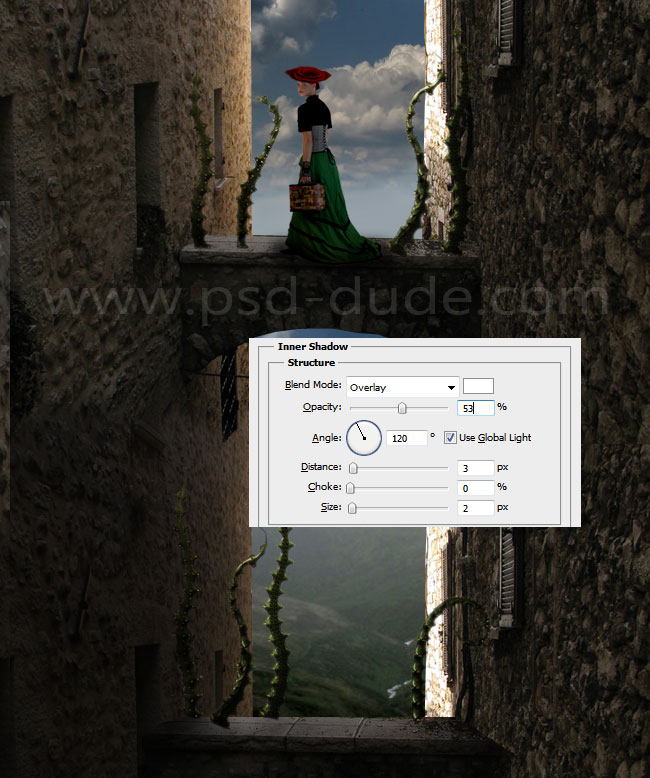
Use the Brush Tool and a soft round brush to paint a shadow effect. Use color black with different opacity levels. Try to make the shadows as realistic as possible. The cast shadow effect depends on the light source and is projected only on tangible surface (not air).
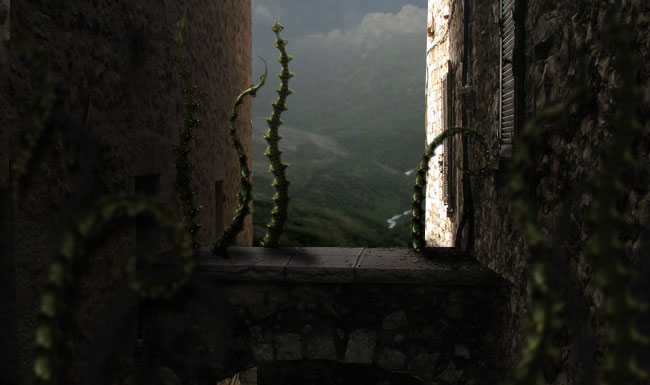
You can add tentacles in the foreground. You have to resize the tentacles to a larger scale and also to add a Gaussian Blur effect.
In a new layer add this heart stock image like shown in the image. Also add some red roses flying with the heart petals. Don't forget to add the shadow effect and also to use the Gaussian Blur filter to create depth of field.
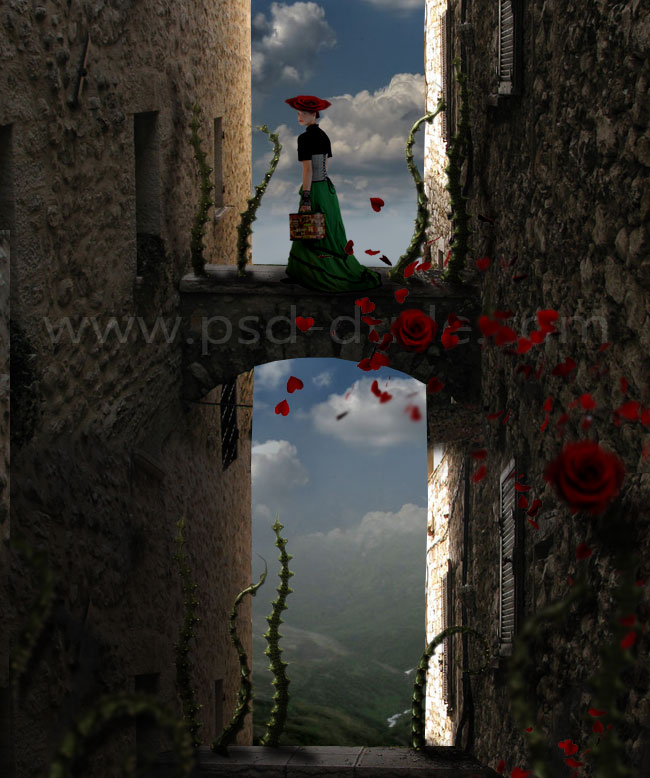
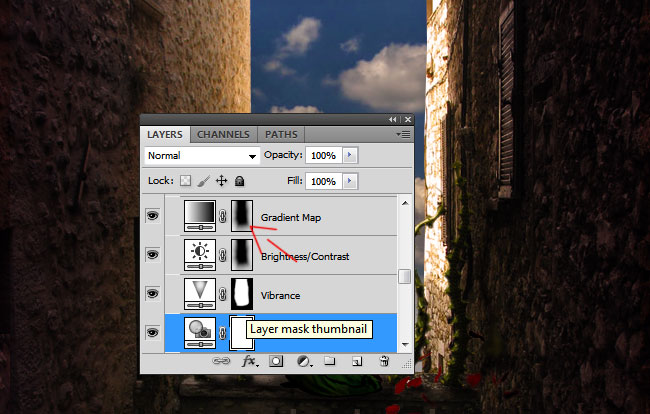
For the final touches add some adjustments and filters to blend all the images together. We'll use a Photo Filter, Vibrance, Brightness/Contrast and a Gradient Map.
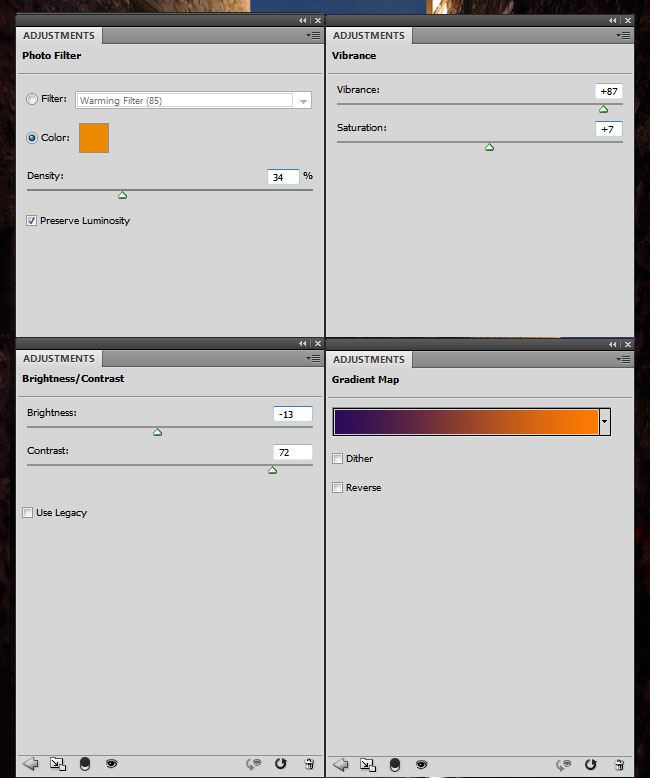
Notice that every adjustment has by default a white mask. Use the Brush Tool and color black to paint inside the mask like shown in the preview.
If you want you can also add a sun flare; learn how to create lens flare in Photoshop from this tutorial.
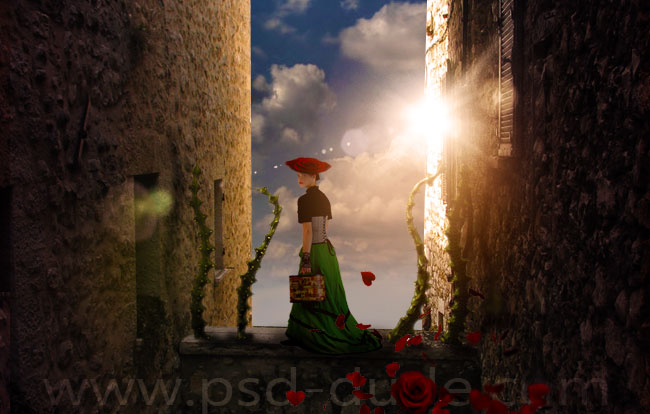
To sharpen the image use the High Pass Filter; so here is the final result for our surreal photo manipulation.


4 comment(s) for "Looking for Love Photoshop Manipulation Tutorial"
http://cartes-mireilled.eklablog.com/ambiance-romantique-fantastique-en-photomontage-a117979686