
Tutorial Assets
For this tutorial you will need these stock images, textures and other resources.
- Fluffy Clouds Texture
- Seamless Grass Texture
- Seamless Grass Border PNG
- Clouds PNG image
- Wood Sign PNG (optional)
- Heart Tree PNG (optional)
Create a Blue Sky in Photoshop
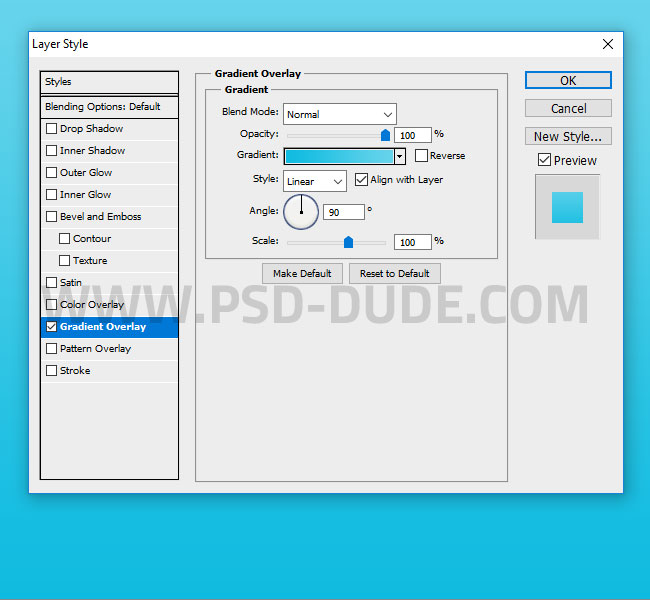
Create a new layer and fill it with color white. Add a Gradient Overlay using the colors #0fbbe0 and #66d4eb to create a blue sky gradient.
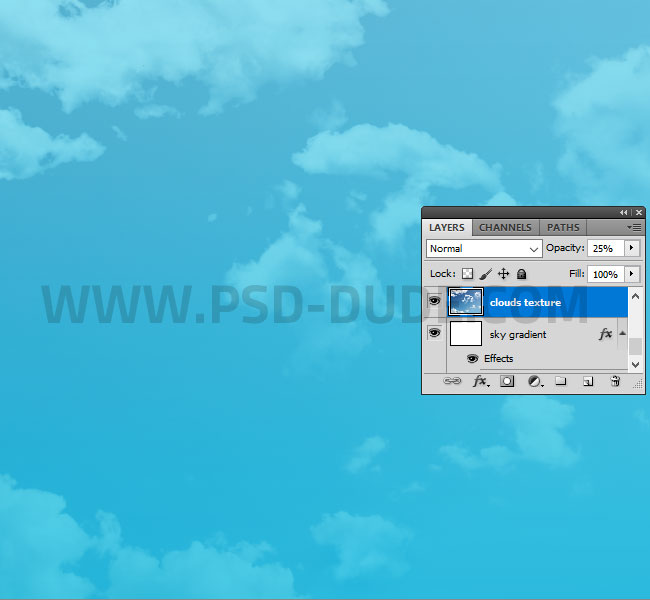
Add this Fluffy Clouds Texture in a new layer and set the opacity to 25%. You can even use the Gaussian Blur filter to obtain a softer look.
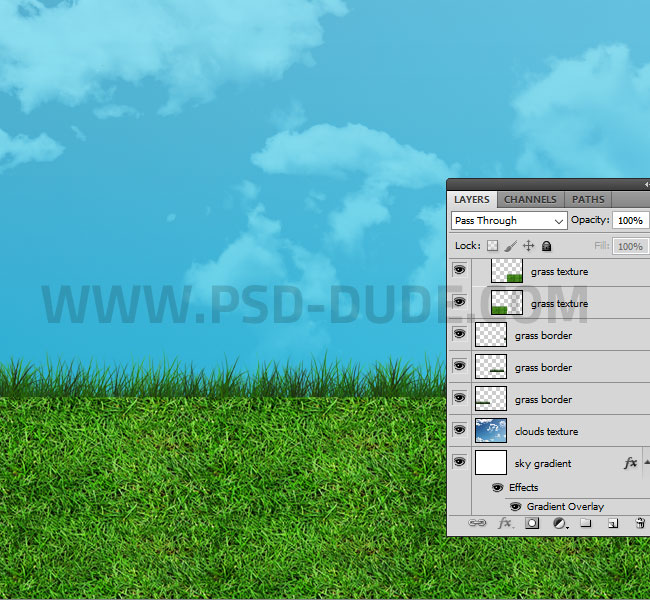
Add the Seamless Grass Texture
Add the Seamless Grass Texture in a new layer. You can resize the texture and add multiple layers to create any size grass background. You can also make it Photoshop pattern to use it easier.

Add the Seamless Grass Border PNG
Below the Grass Texture layers, add this Seamless Grass Border PNG image. You can resize the border and add multiple layers to create a seamless grass edge for any size image. You can of course use Grass Brushes if you find it easier.
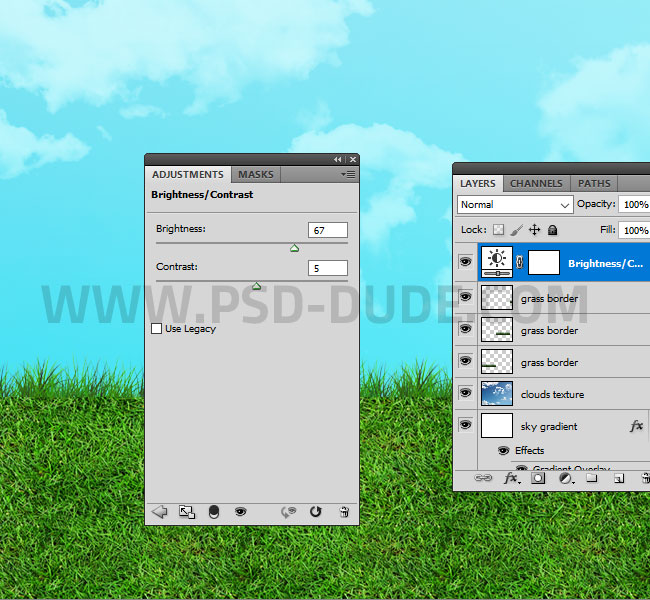
Add a Brightness and Contrast adjustment layer to lighten the image.
Merge the Grass Texture layers. Add a Layer Mask to the Grass Texture layer and use the Gradient Tool with black and white color for the gradient. Use the gradient inside the layer mask to create a soft edge between the grass texture and the grass border.
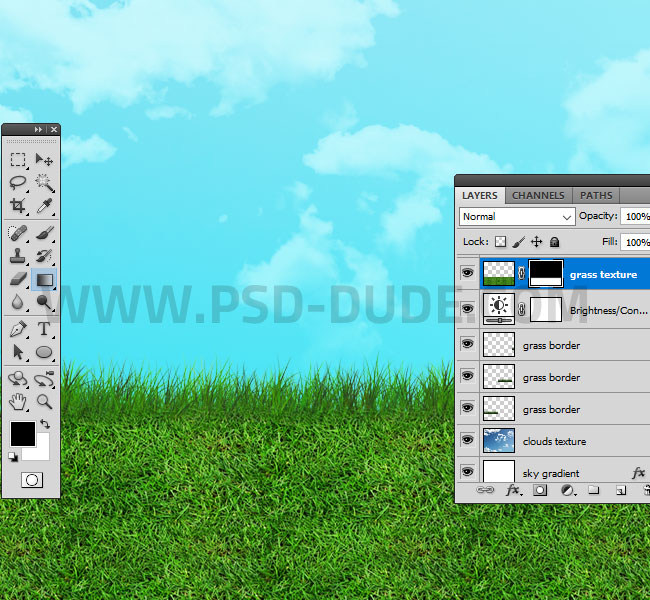
Add the Clouds Overlay
Download and add this Clouds PNG image in a new layer. Scale the image like in the preview and set the blend mode to Screen. You can even lower the opacity if you want.
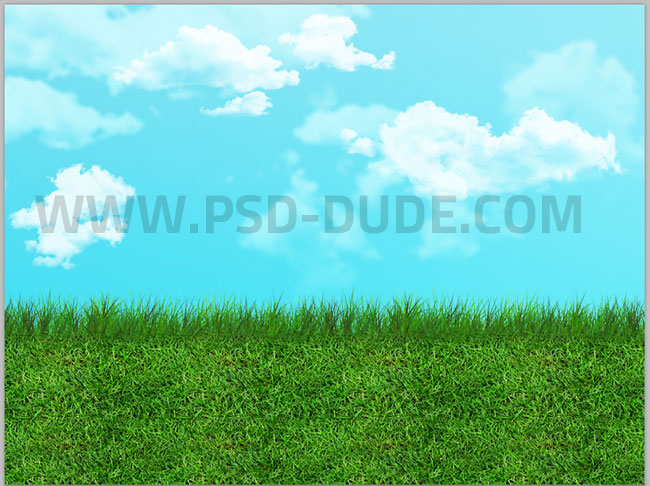
Right click and rasterize the Clouds PNG.
Use the Lasso Tool to select one of the clouds. Use the Move Tool to move and rearrange the clouds.
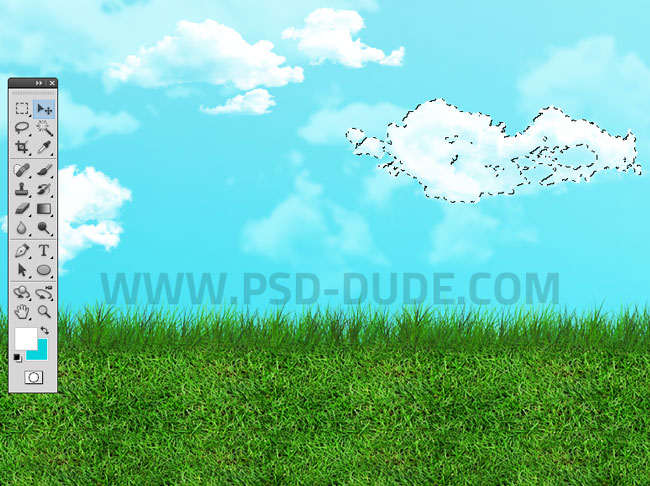
Drop Shadow Photoshop Effect
Duplicate the Clouds PNG and call the layer Clouds Shadow.
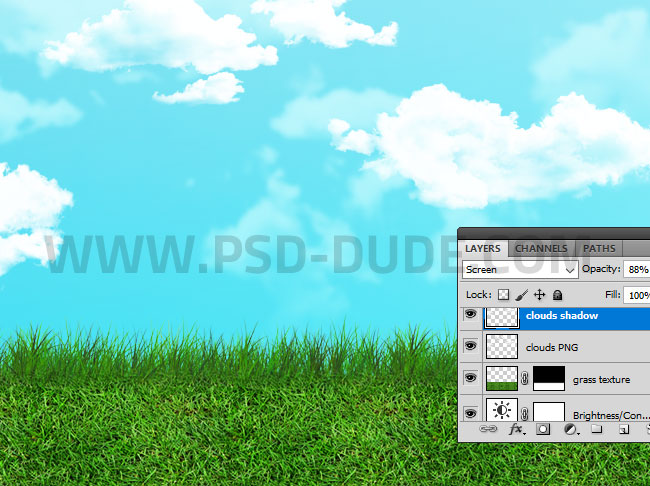
Press Control-I to invert the colors and set the blend mode to Multiply.
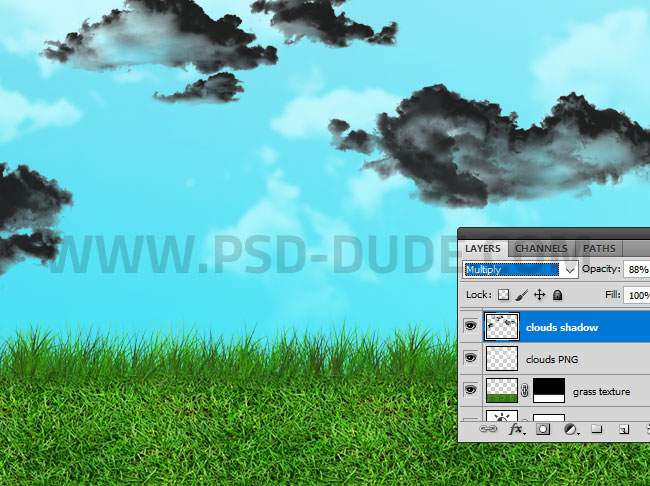
Press Control-T to transform and Flip Vertical the clouds shadow.
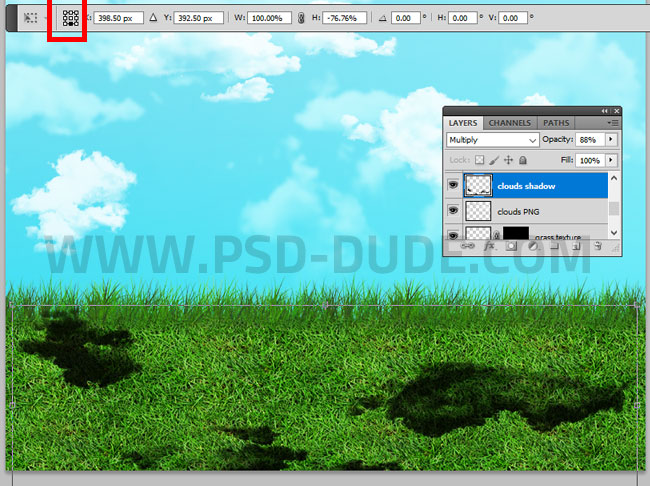
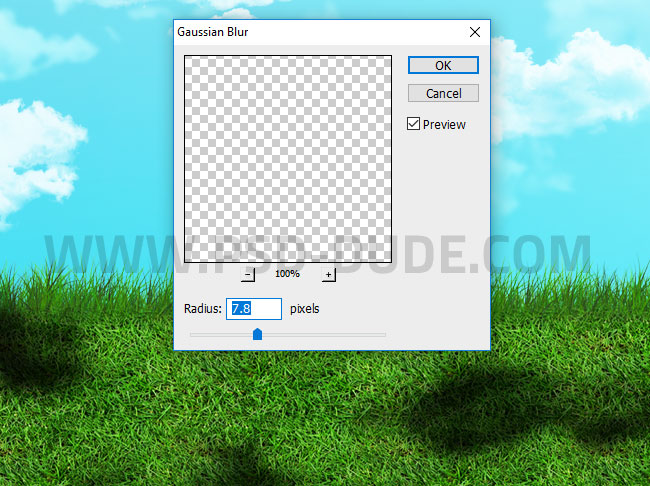
Go to Filter > Blur > Gaussian Blur.
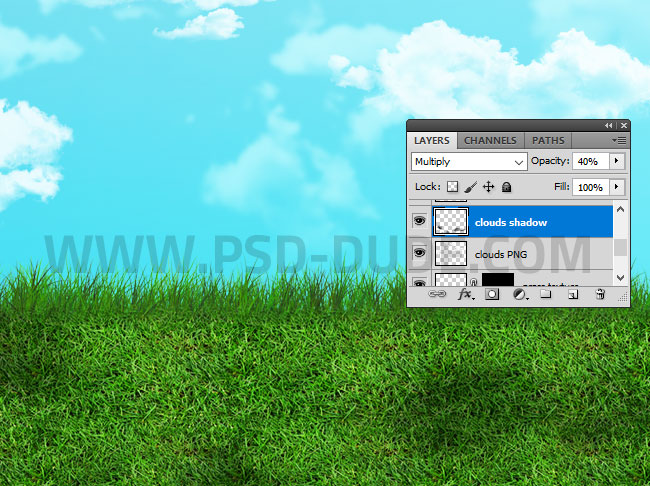
Set the opacity to around 40% .
Duplicate the Clouds Shadow layer and the Clouds PNG layer.
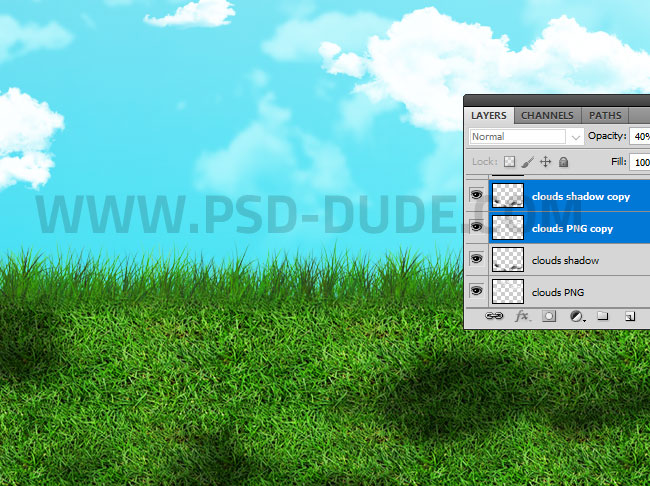
Keep the Shift pressed and select the Clouds Shadow copy layer and the Clouds PNG copy layer.
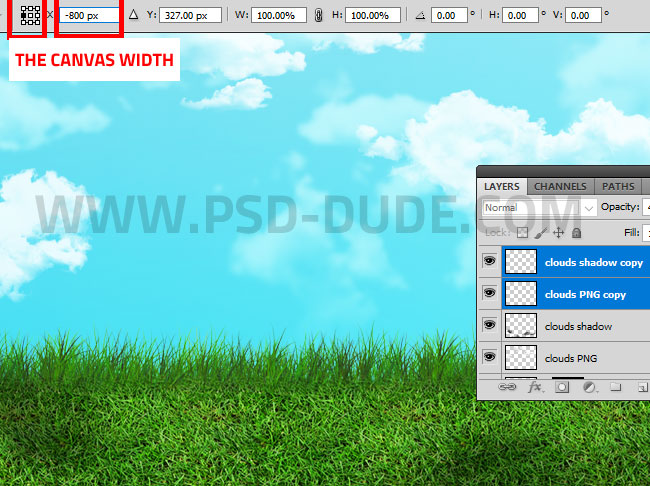
First you have to know the exact width of your PSD file; go to Image > Canvas Size. Mine is 800px.
Press Control-T, change the Reference point location and set the horizontal position to -800px (in your case - minus your PSD width)
Create the Clouds Animation in Photoshop
Go to Window > Animation. Click in the right corner and choose Convert to Frame Animation.
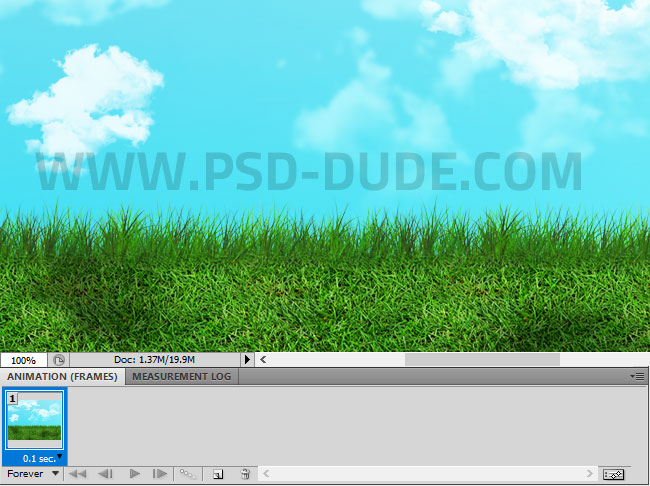
Click on the Duplicate Frame icon to create a new frame.
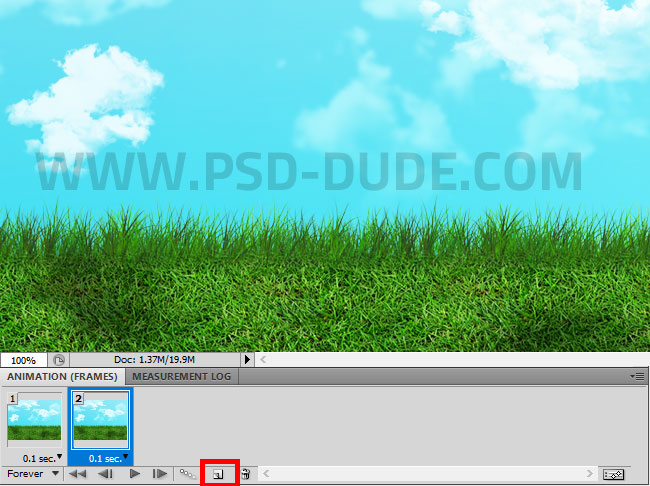
Select all four clouds layers and use the right arrow key to move them to horizontal right until the copy layers are in the same position with the original image.
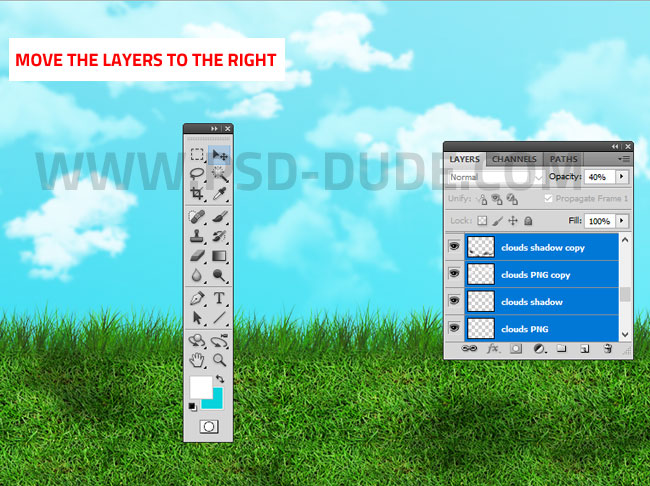
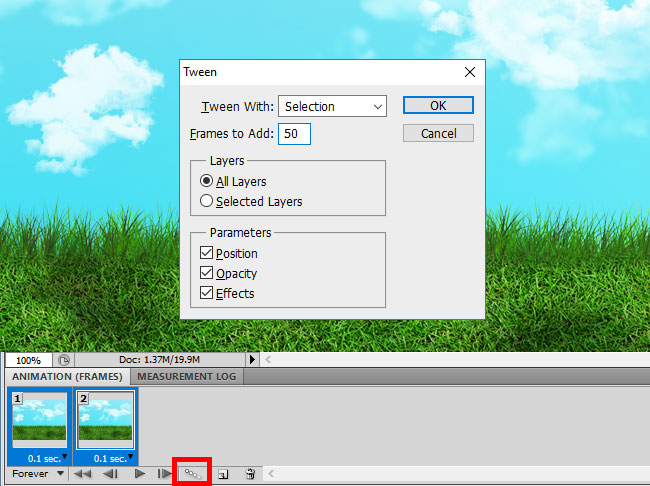
Select the Frame 1 and Frame 2. Click on the Tween Animation Frames button to create the animation. The number of frames determines how fast or slow the clouds are moving.
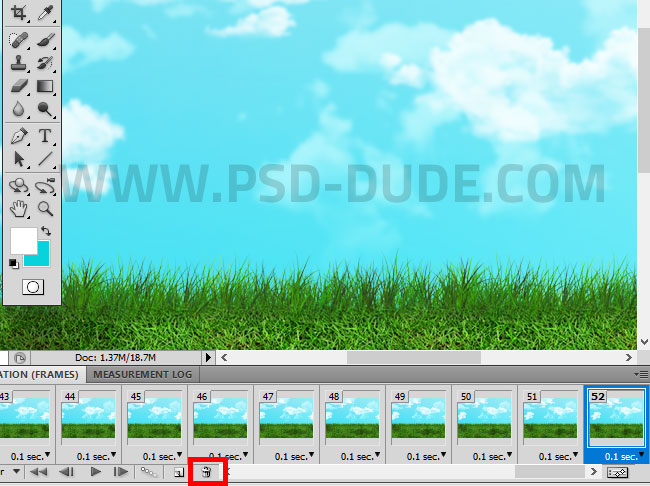
Click on the last frame and delete it.
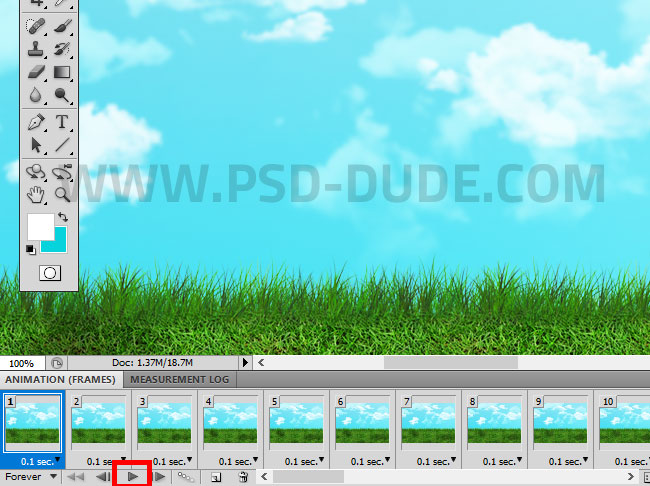
To test the animation click on the Play Animation button.
To save your animation go to File > Save for Web and Device. Choose Gif from the Preset list and set the other fields. Choose a small size for the image for better quality and details.
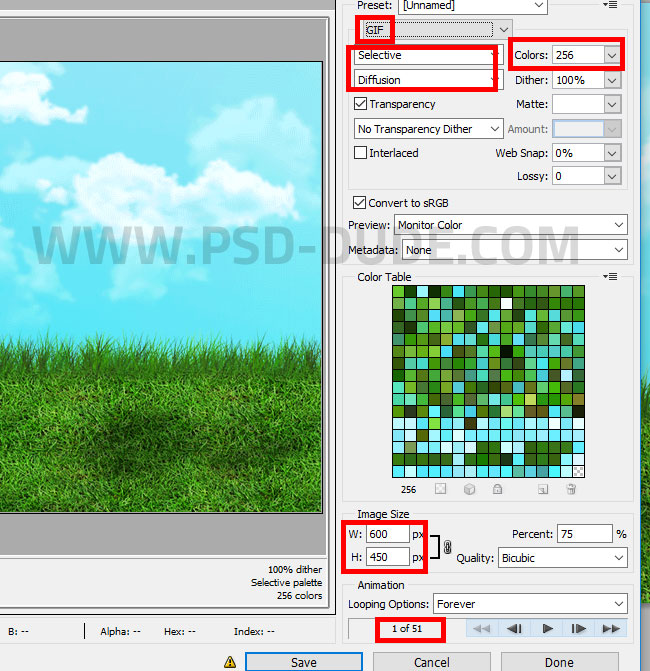
So here is the final result for the animated clouds Photoshop tutorial. You can of course use a landscape image for the background.

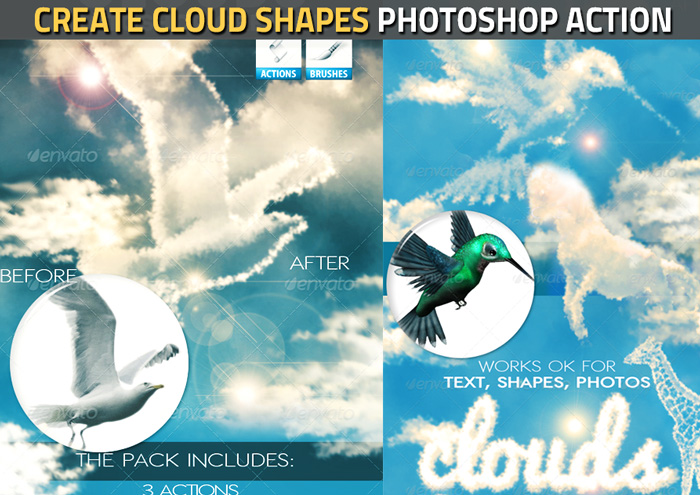
Download Cloud Shapes Photoshop Action
With this Photoshop action you can create cloud shape images using real photos, graphics and text.

4 comment(s) for "How to Make Animated Moving Clouds in Photoshop"