
Tutorial Assets
For this tutorial you will need these stock images, textures and other resources.
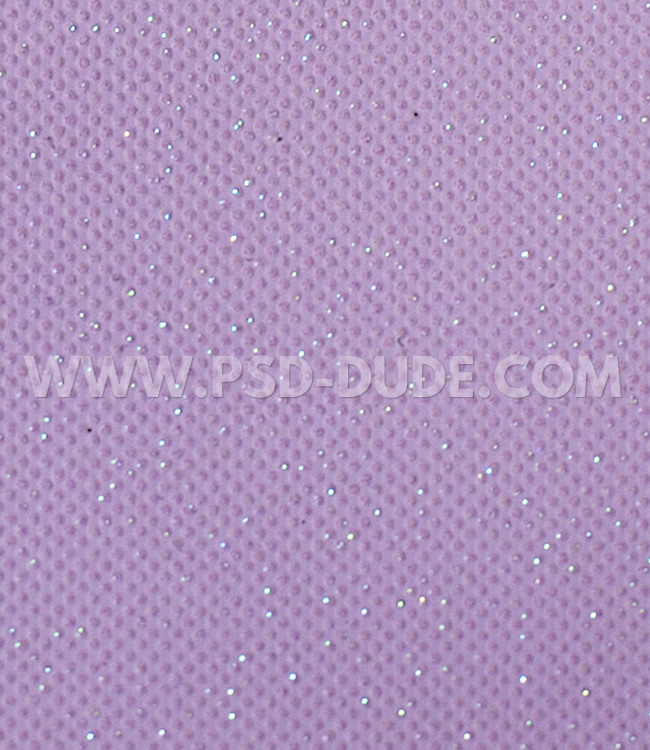
Add this cute Glitter Paper Texture in a new layer as background for the greeting card. This is a high-res printing paper texture that you can use for print materials.
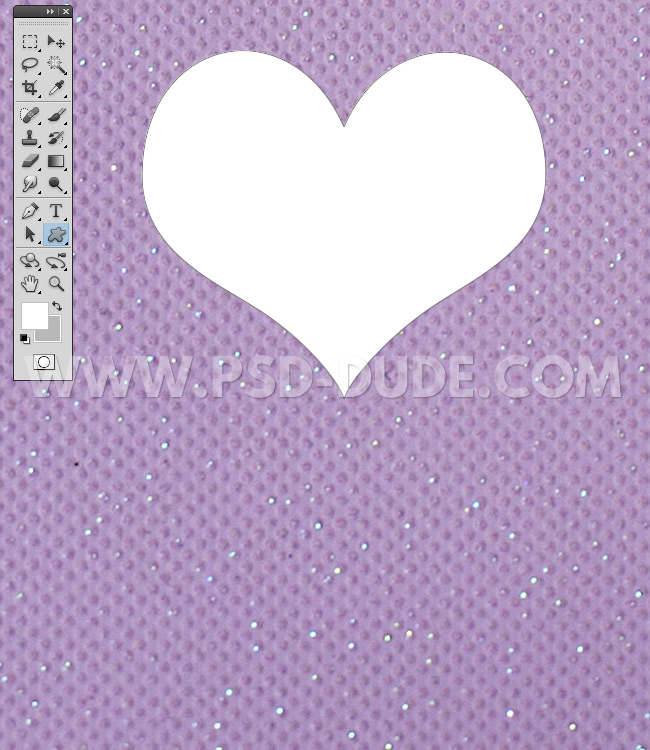
Download the Heart Custom Shapes and load the CSH file in Photoshop. Use the Custom Shape Tool and add a heart on the paper background.
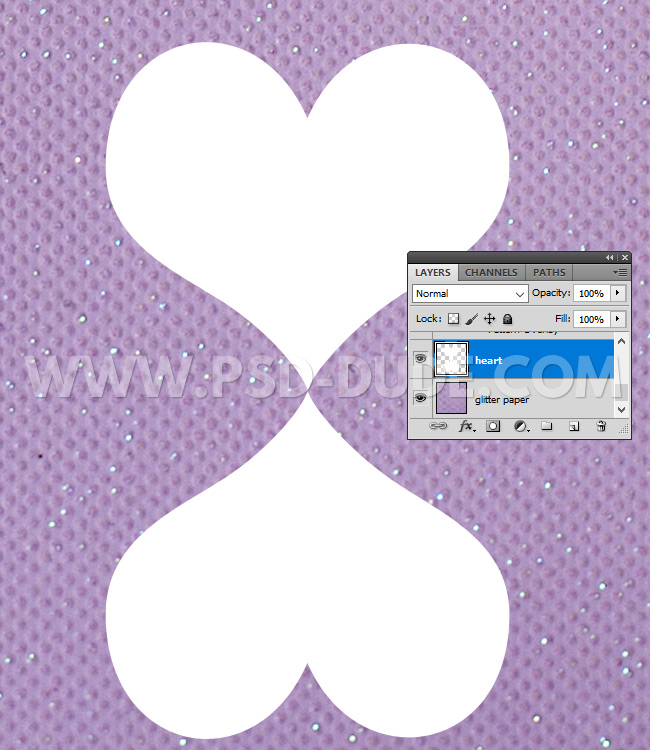
Duplicate the Heart Shape layer. Press Control-T to transform the image.

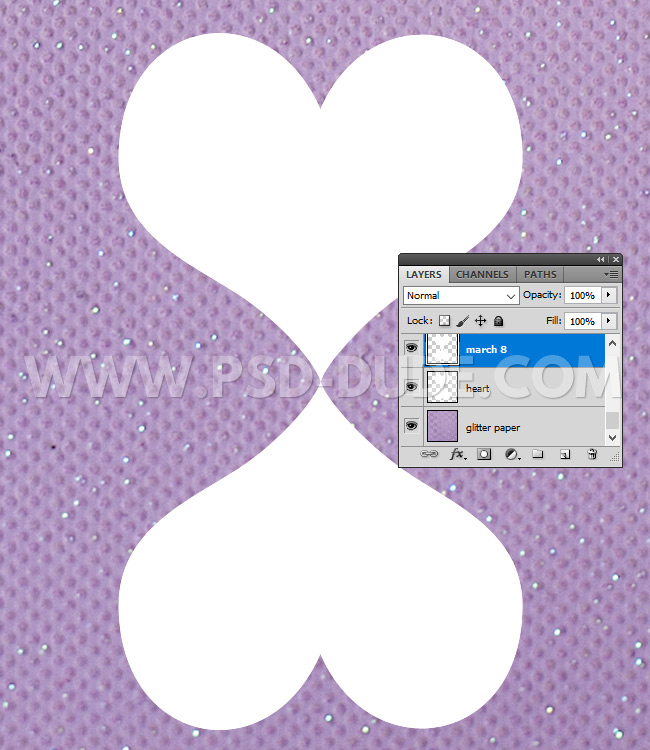
Merge the two layers and call the new layer Heart. We now have a numeric 8 text made by dual heart shapes.
Duplicate the Heart layer and call it March 8.
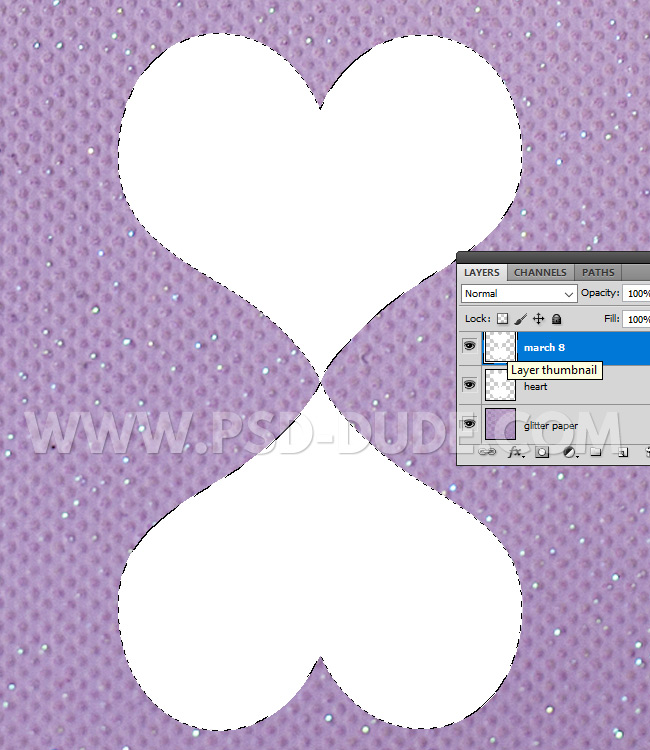
Keep the Control key pressed and click on the thumbnail of the March 8 layer to make a selection.
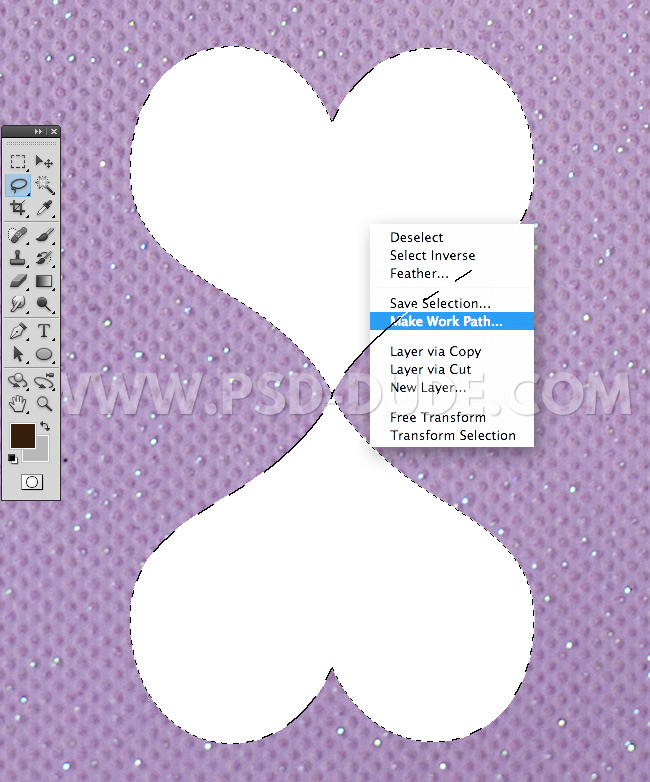
Pick the Lasso Tool and right click on the selection. Choose Make Work Path.
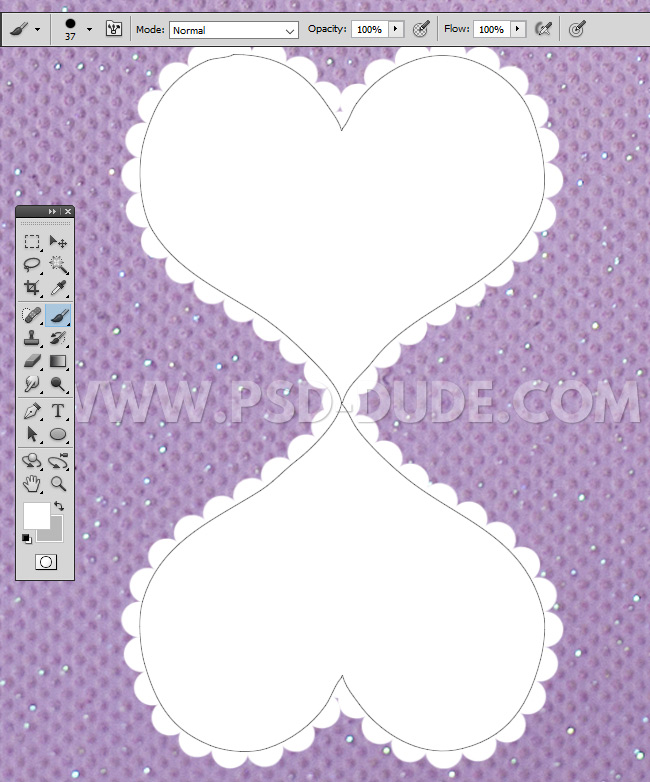
Load the Border Brushes in Photoshop. Pick the Brush Tool and choose the "border1-brush". Click Enter to Stroke Path. Press Delete to remove the work path.
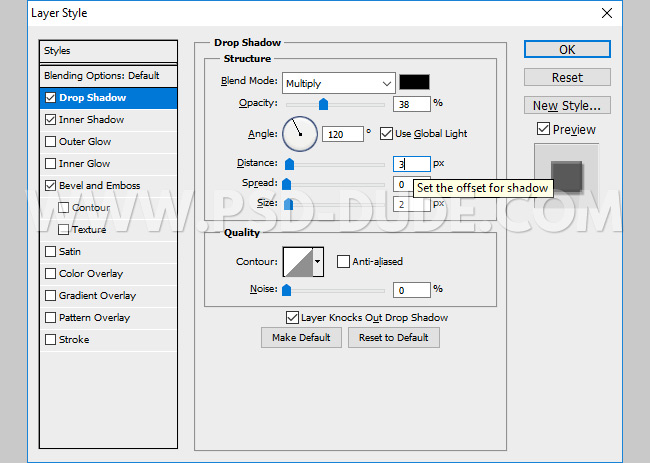
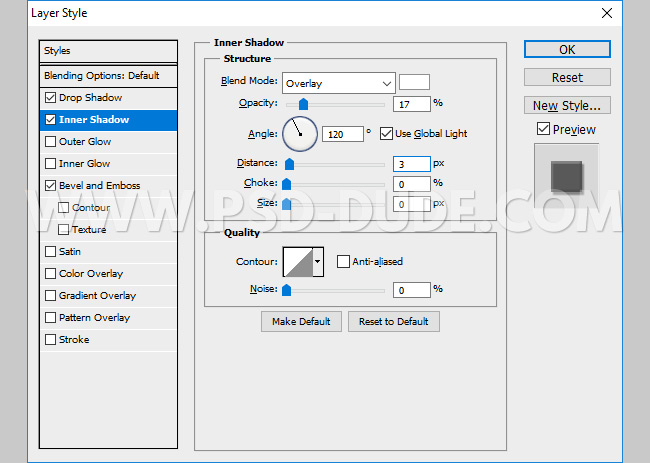
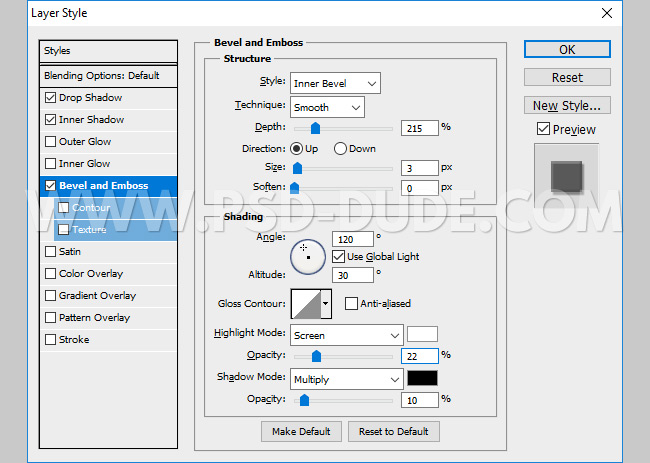
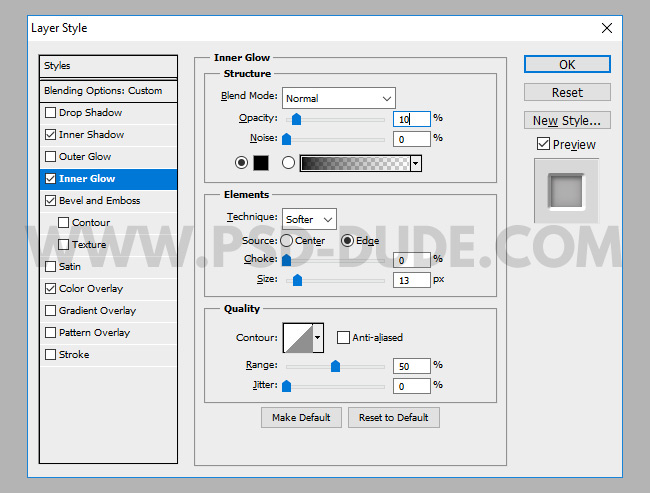
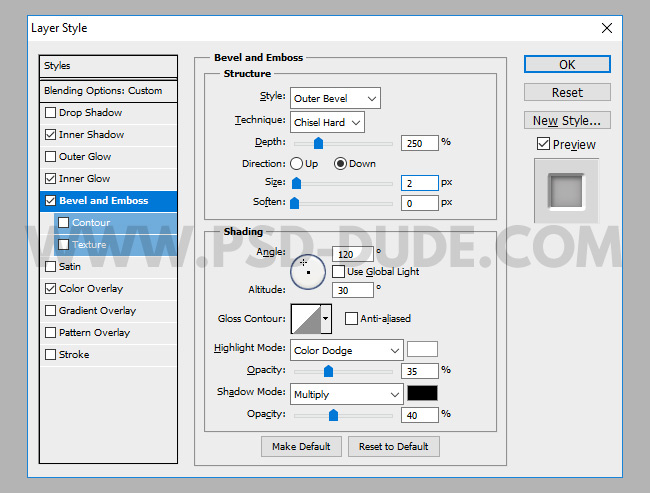
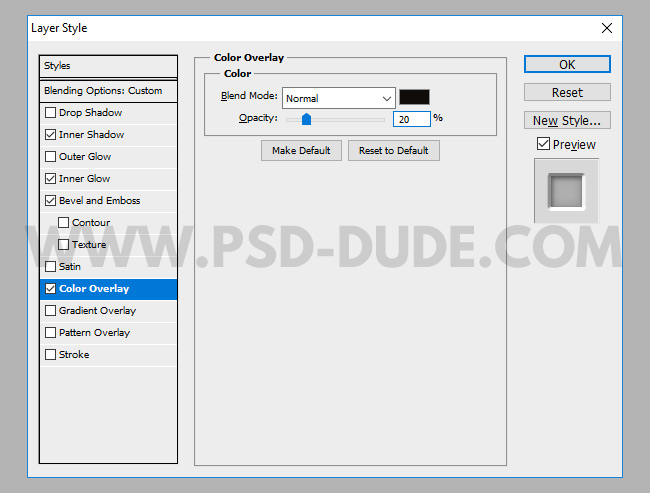
Add this layer style to the March 8 layer to create an emboss effect.
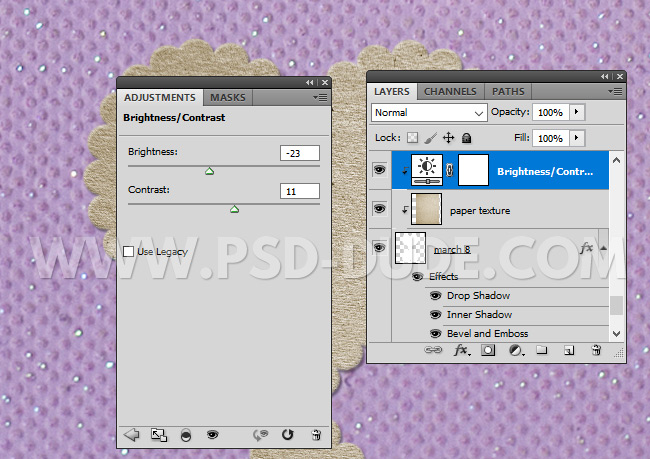
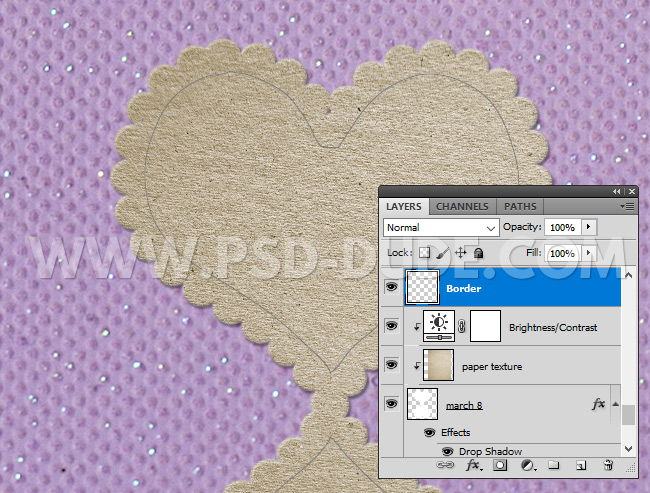
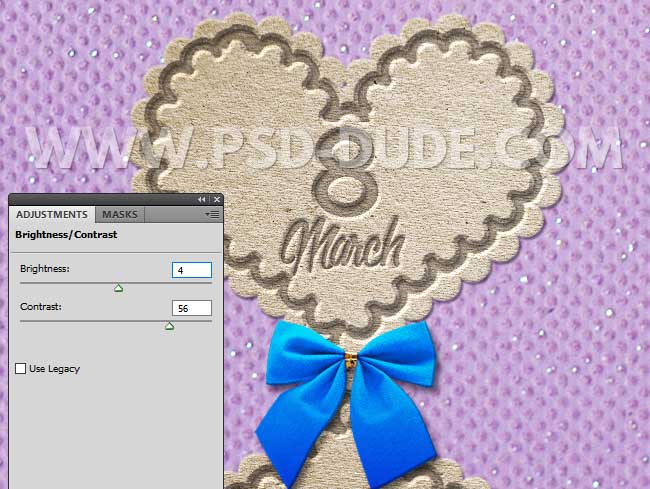
Addd this High-res Paper Texture in a new layer. Right click and choose Create Clipping Mask. Also add a Brightness/Contrast adjustment layer as Clipping Mask.
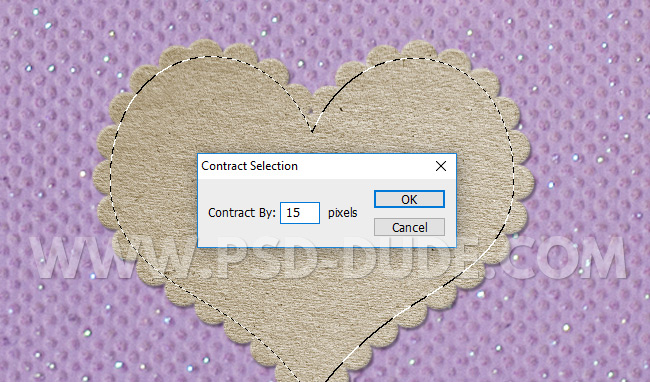
Keep the Control key pressed and click on the thumbnail of the Heart layer to make a selection. Go to Select > Modify > Contract.
Pick the Lasso Tool and right click on the selection. Choose Make Work Path.
Press Shift-Control-N to create a new layer. Call this layer Border.
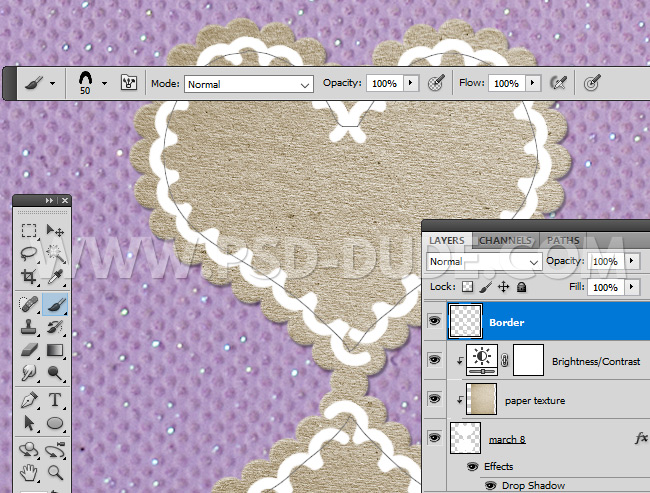
Pick the Brush Tool and choose the "border2-brush". Click Enter to Stroke Path. Press Delete to remove the work path.
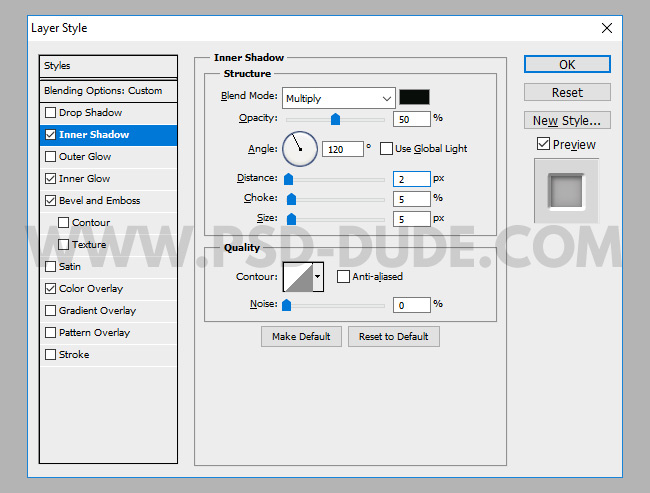
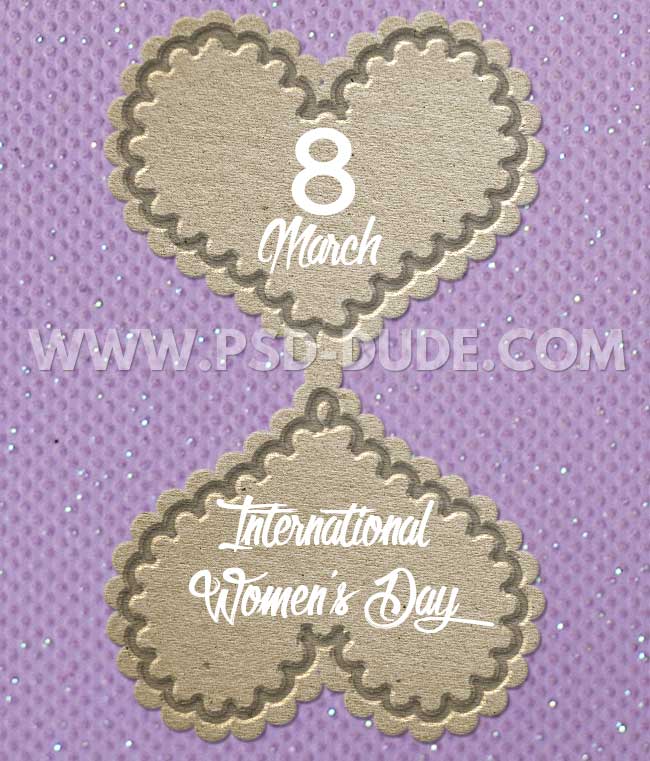
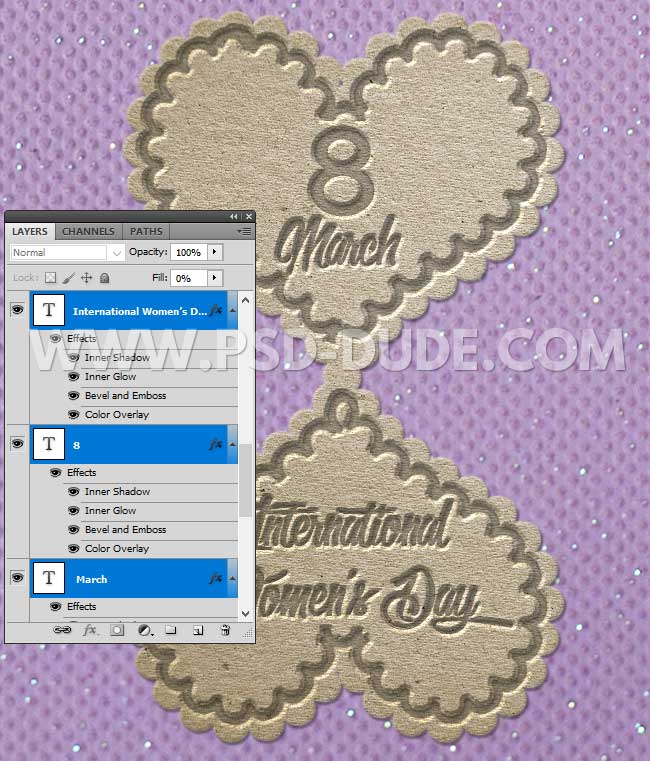
Add this letterpress layer style to the Border layer.
Add a text inside the "8 March" shape. I will write "8 March International Women's Day" using these font types: Omnibus and Olympic Branding which are both free fonts.
Learn how to Add New Font in Photoshop from this quick tutorial for beginners.
Go to the Border layer. Right click and choose Copy Layer Style. Select all the text layers, right click and choose Paste Layer Style.
If you want to modify the layer style depth you can go to Layer > Layer Style > Scale Effects.
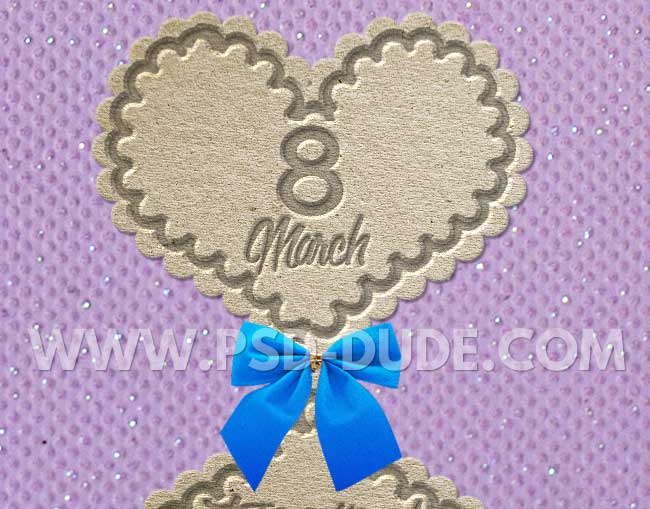
To make the image more cute and festive you can add this Ribbon PNG image.
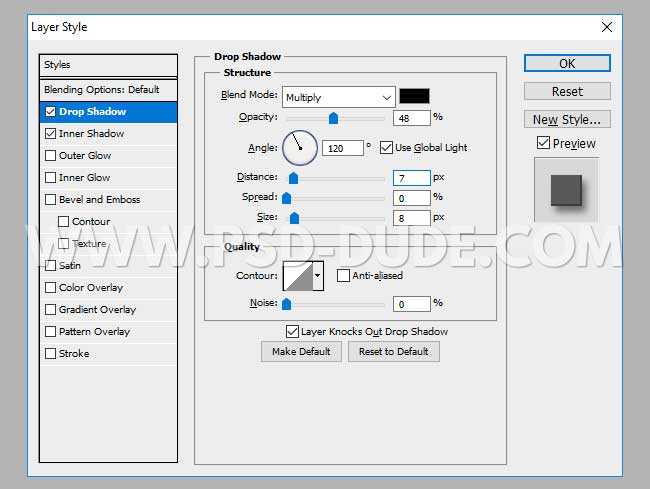
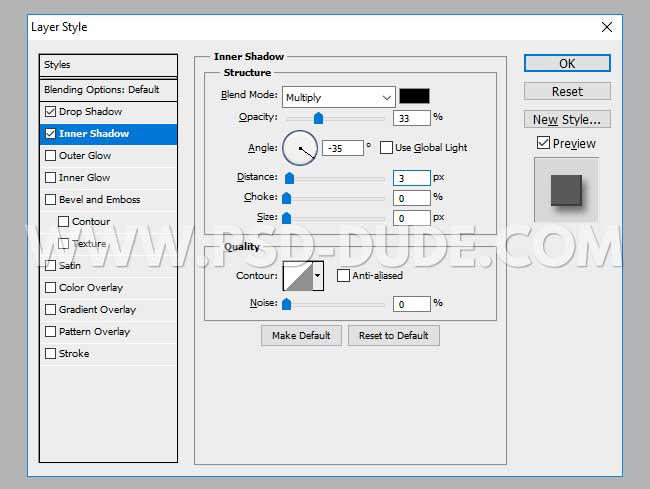
Add a Drop Shadow and Inner Shadow layer style to the Ribbon layer.
For the final touches you can add a Brightness/Contrast adjustment layer.
Here are two other effects that you might want to try to make this image look even better: Sharpen Image in Photoshop and Add Border in Photoshop.
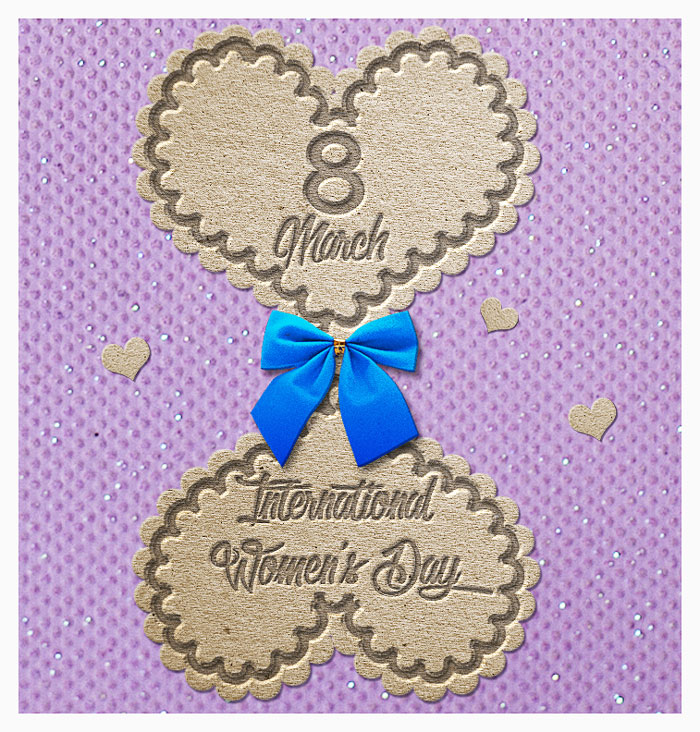
So here is the final result for the 8 March International Women's Day greeting card made in Photoshop using textures, shapes, brushes and layer styles.
2 comment(s) for "Happy Womens Day Greeting Image in Photoshop"