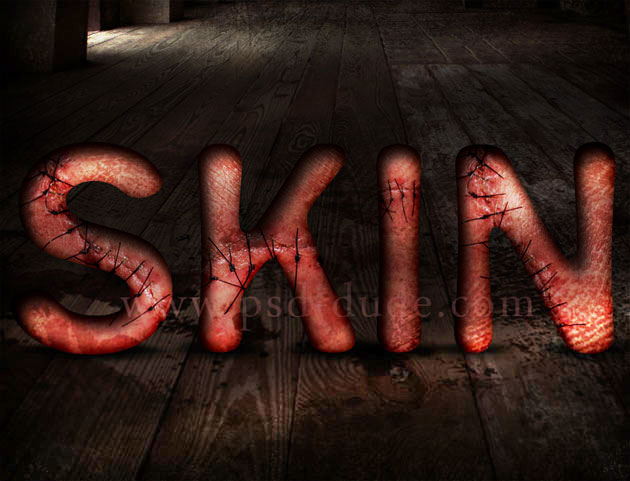
Let's take a quick look at the grunge horror text that we are going to create in Photoshop using blood textures, stitched skin stock images, adjustment layers and so on. You can create the stitched effect using stitch and scar brushes instead of using real images.
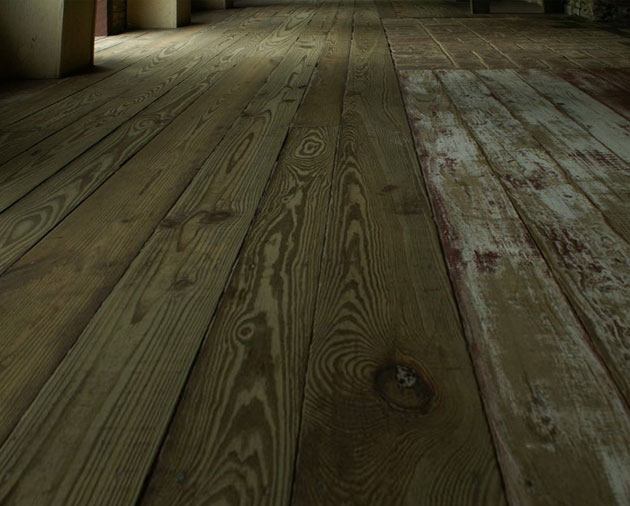
Create a new layer and fill it with black color; it will be our background color. In a new layer open this image of a room floor and transfor it using the Perspective Tool. Call this layer Floor Layer.
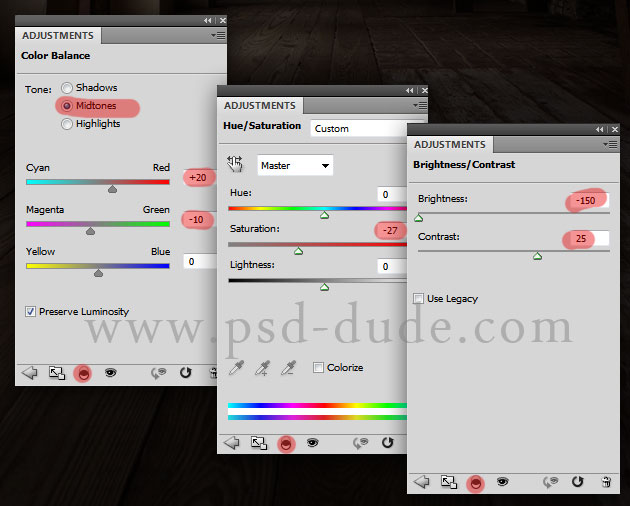
To change the room color, saturation and brightness I will add three adjustment layers : Color Balance, Hue/Saturation and Brightness/Contrast with the following settings. Make sure to press the Clip to Layer button so that the adjustments to affect only the layer below.
In a new layer open this blood texture and rotate it by 90 degrees. Call this layer Blood Texture Layer.
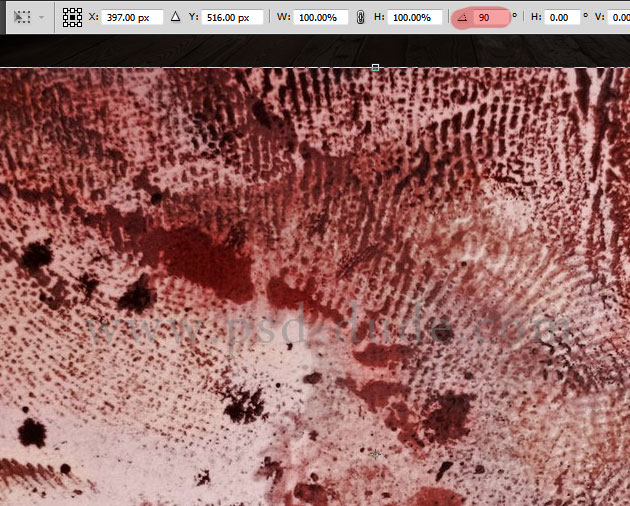
Scale the blood texture and set only the Vertical Scale to around 50%.
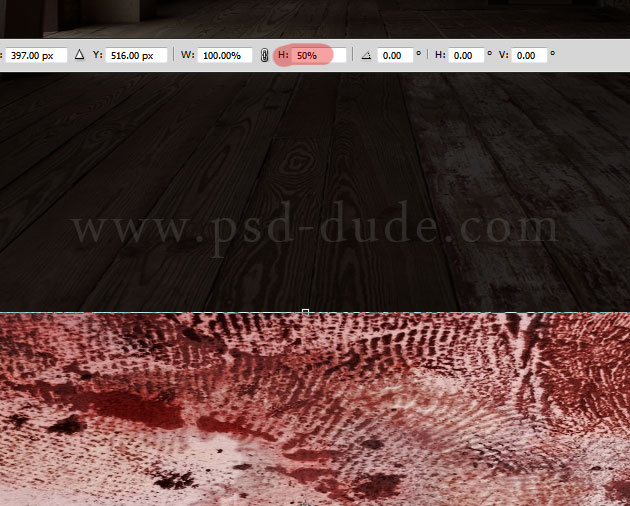
Use the Perspective Tool to tansform the blood texture so that it looks like blood on the floor. Change the blend mode of the Blood Texture Layer to Overlay, 100% opacity.
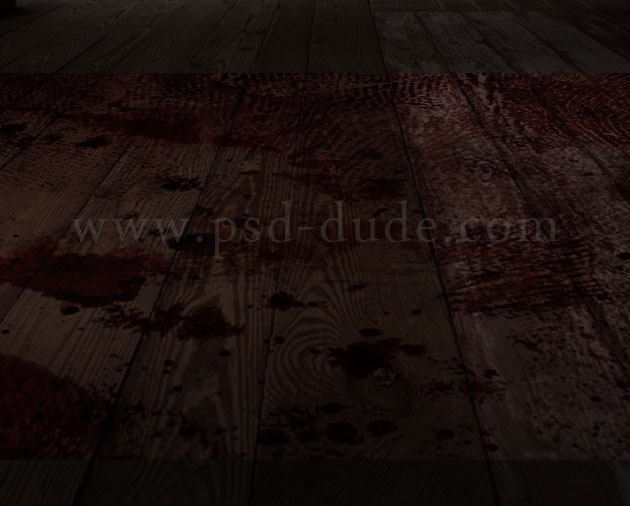
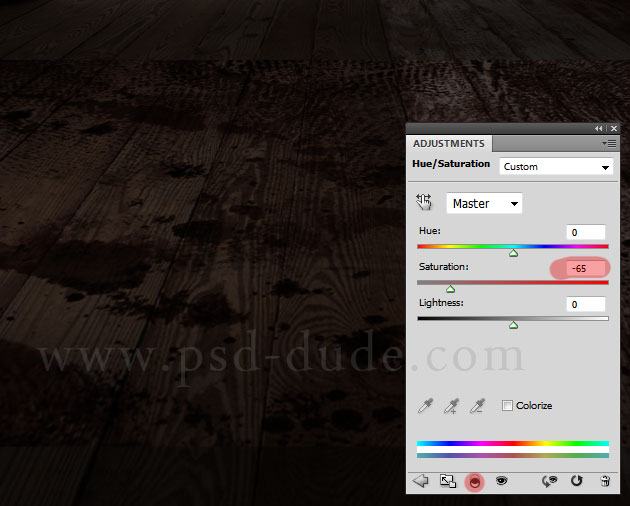
Add a Hue/Saturation adjustment layer only for the Blood Texture Layer(use the Clip to Layer option).
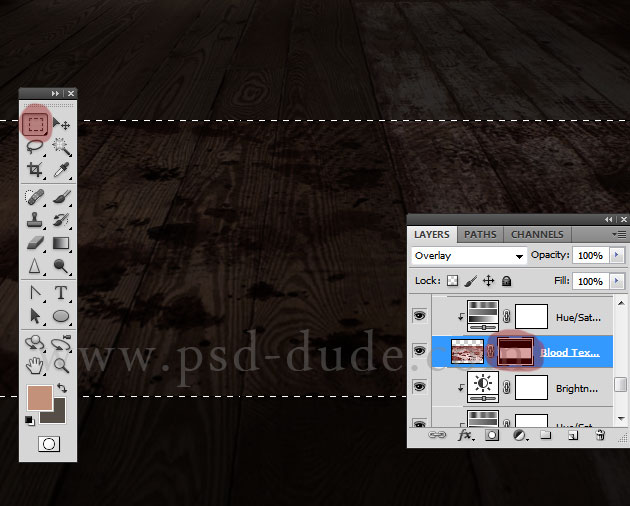
Add a layer mask to the Blood Texture Layer and use the Rectangular Marquee Tool to make two selections like in the image. Fill the selections with black color in the layer mask.
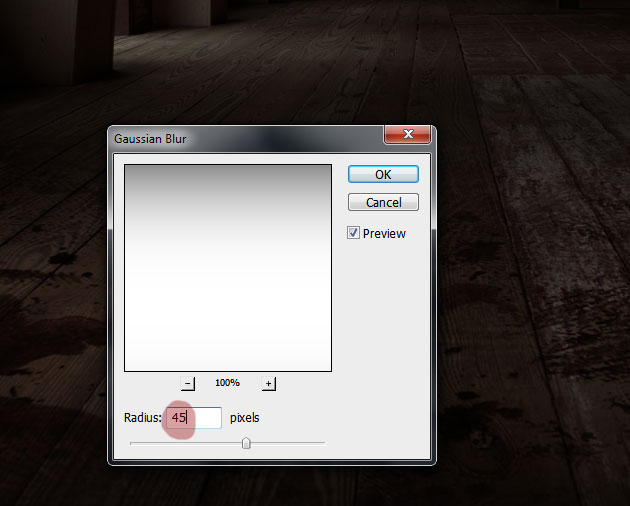
Use the Gaussian Blur for the layer mask with the following setting to soften the edges between black and white.
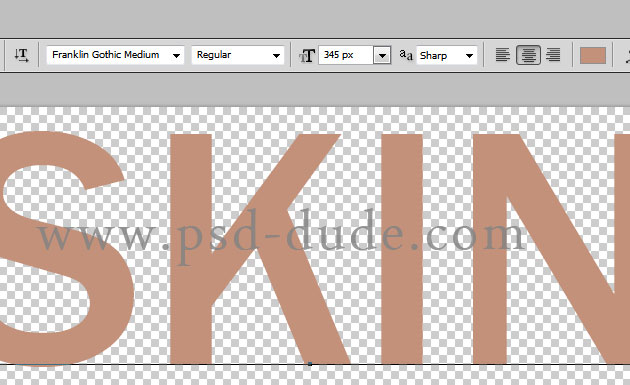
Time to add the text layer. I have used Franklin Gothic font; if you don't have this font you can download it from the internet and install it. Learn how to install font in Photoshop from this simple tutorial.
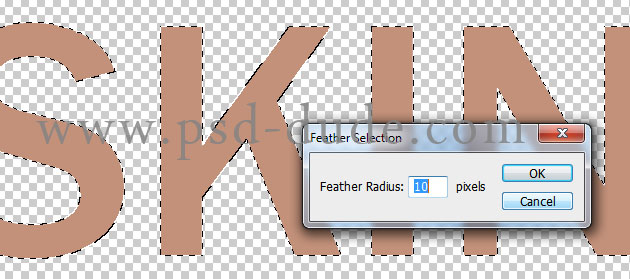
Make a selection out of this text layer(press CTRL and click the text thumbnail) and go to Select>Modify and choose Feather to make text round corners.
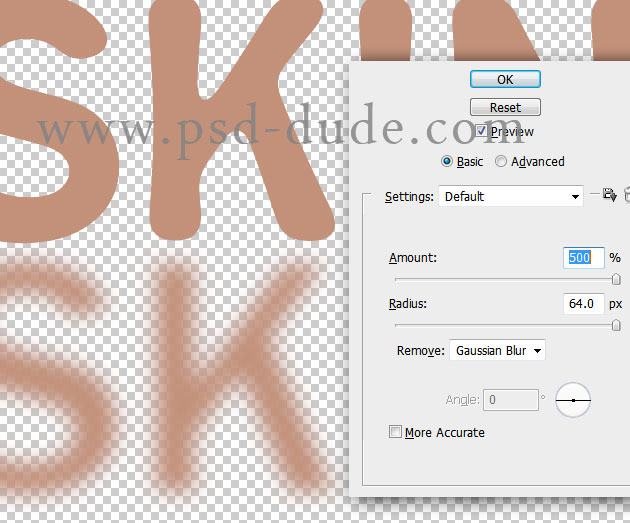
Hide the text layer. Create a new layer and fill the selection with #c3917a color. Use Filter>Sharpen>Smart Sharpen to times to sharpen the soft edges like shown in the image. Call this layer Skin Text Layer.
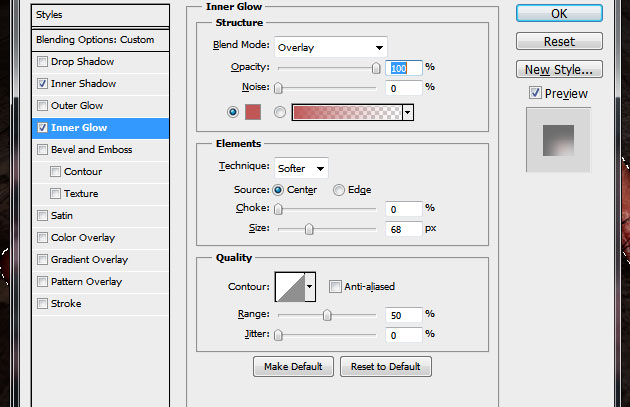
Open the layer style window of the Skin Text Layer and add Inner Shadow and Inner Glow like in the image.
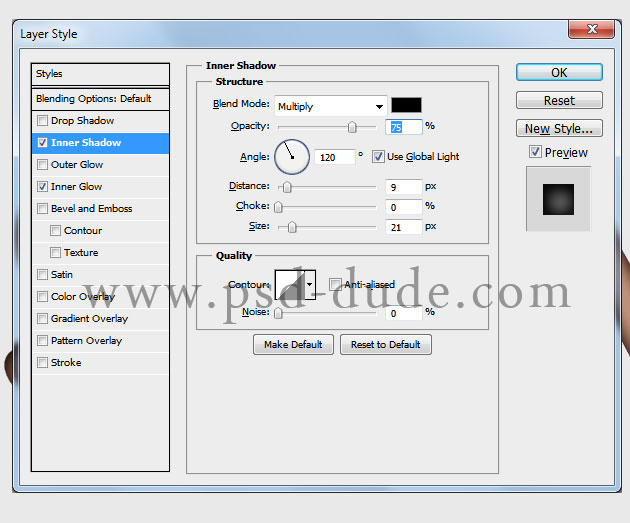
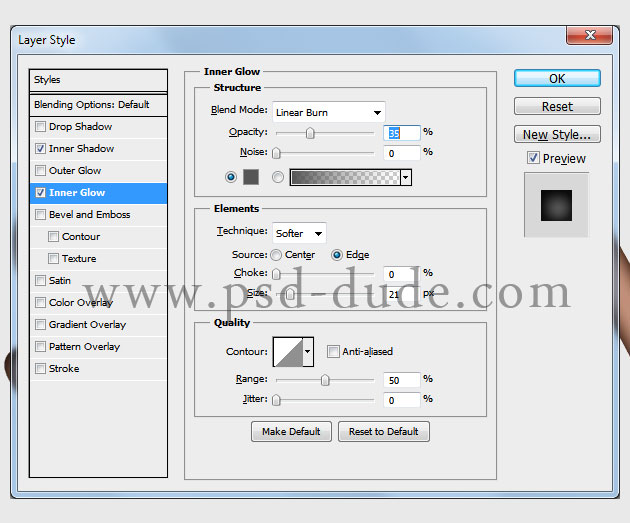
Time to put together the background with the horror text; to make the text look more creepy and dark I will use this Skin Stitches Stock image to texture it.
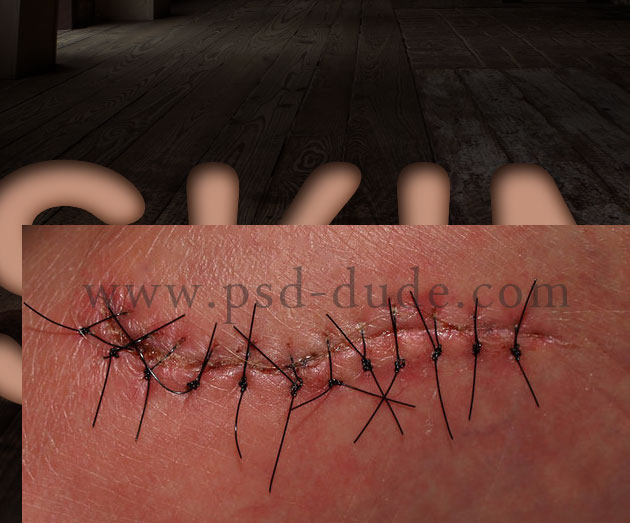
Copy the texture two three times, resize it and rotate it to obtain a nice stitch effect on the text. Reduce the opacity temporarily to see the text below.
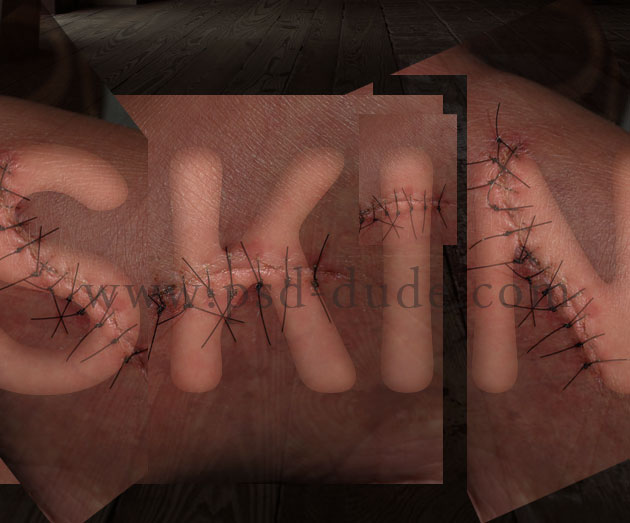
Right click on the Skin Stitches Layer and choose Create Clipping Mask. Your result should now look like this:
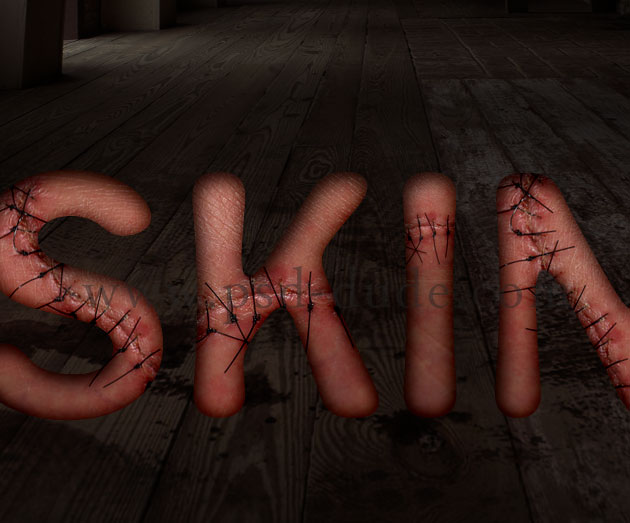
Copy the Blood Texture Layer and place it above all the other layers. Right click on the layer and choose Create Clipping Mask and change its blend mode to Soft Light, 50% opacity level. Call this new layer Blood Texture 1 Layer
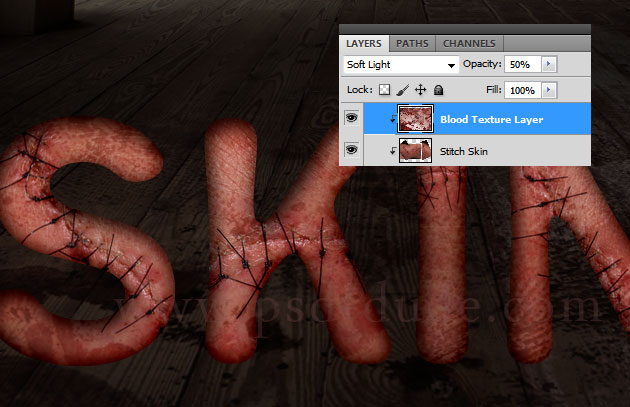
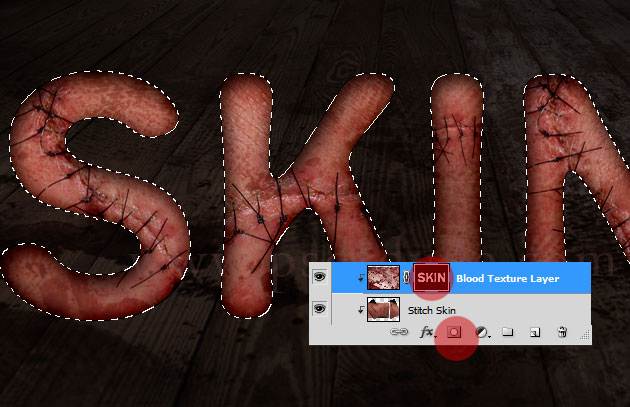
Make a selection out of the text layer and add it as layer mask for the Blood Texture 1 Layer.
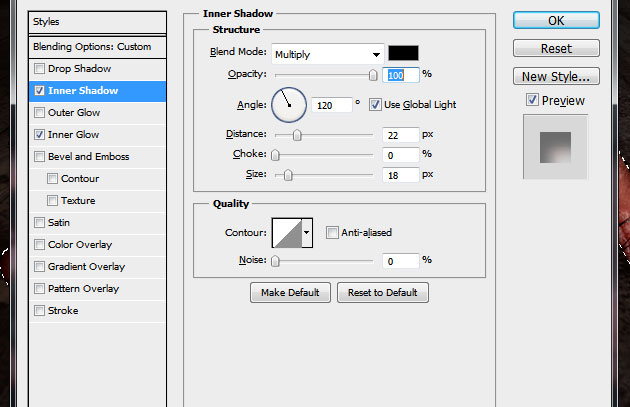
Open the layer style window of the Blood Texture 1 Layer and add Inneg Shadow and Inner Glow as shown in the image. You can make small changes and adjust the result to you liking.
If you want to add more grungy effets to the text, you can use one or two of these grunge textures. As a final touch we have to add a soft shadow effect to the text. All you have to do is create selections at the base of each letter using the Elliptical Marquee Tool and fill the selection with black.
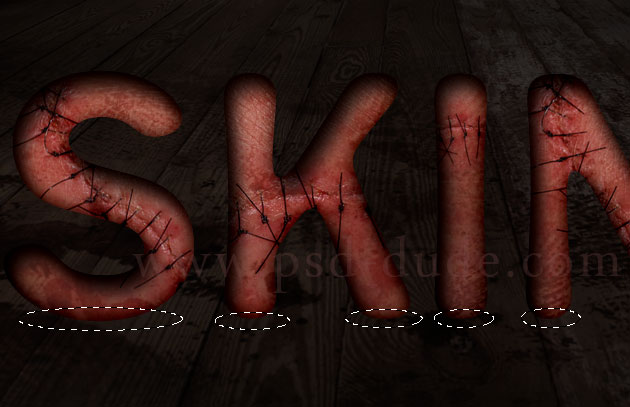
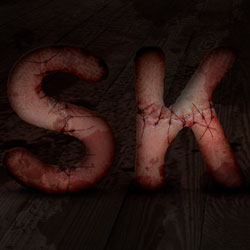
Use Gaussian Blur to soften the shadow; if you want to learn how to create a text shadow you can check out this tutorial for beginners that teaches you how add text shadow in Photoshop. This is the end of this text tutorial and here is my final result for the grunge horror text effect.



6 comment(s) for "Grunge Horror Photoshop Text Effect"