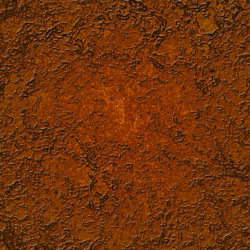
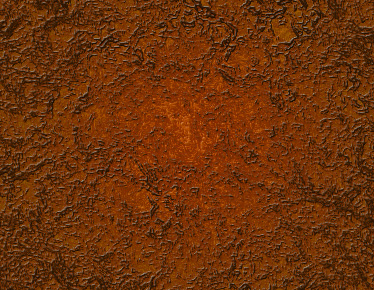
Creating a Rusty Surface Texture
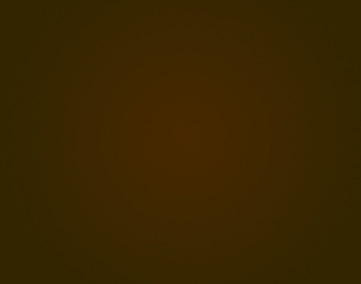
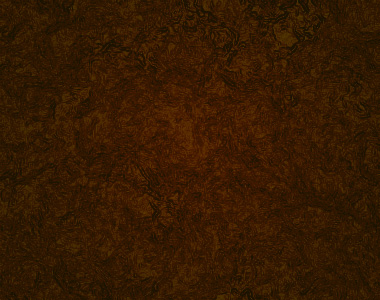
Create dark brown gradient and apply in radial mode to the background.
Set your foreground and background color according to the image below.

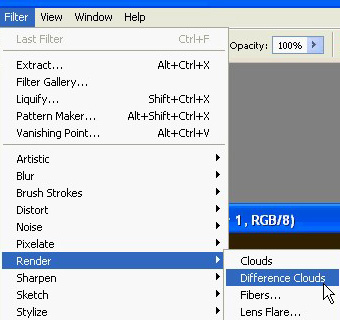
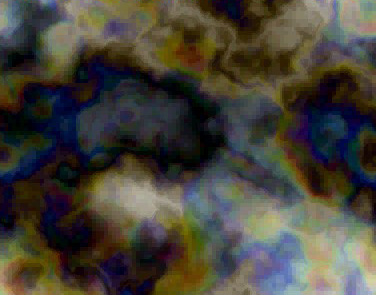
From filter menu select render>>difference clouds.
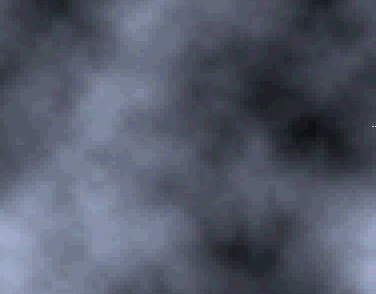
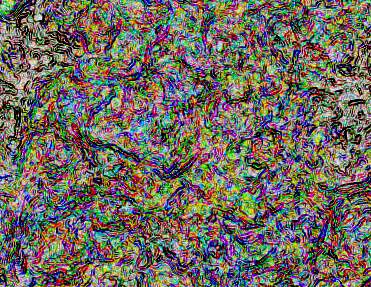
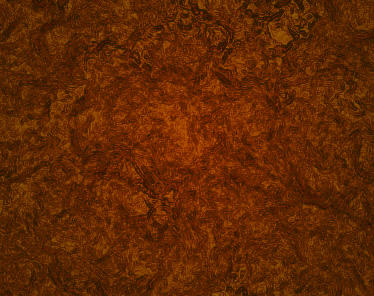
Press Ctrl+F to reapply the filter several times till you get the result as shown in the shot below.
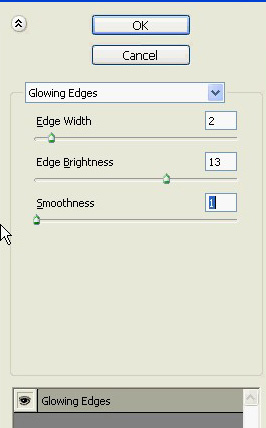
From filter menu select stylize>>glowing edges.
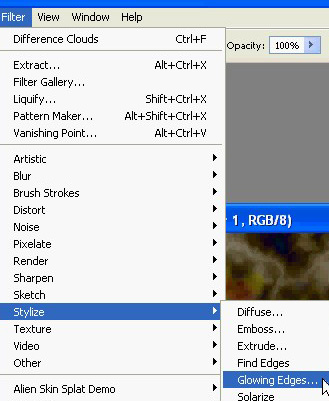
Apply settings as shown.
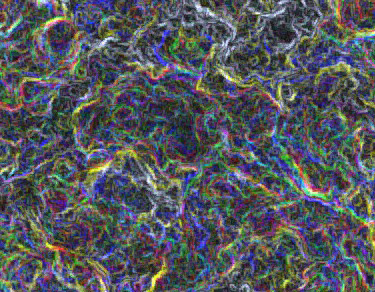
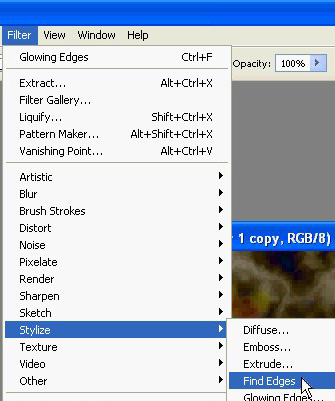
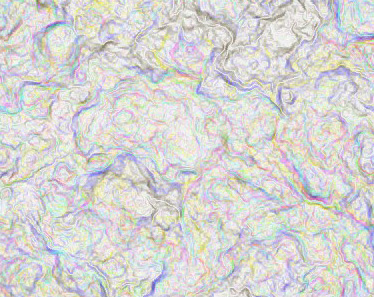
Duplicate the layer . From filter menu select stylize>>find edges.
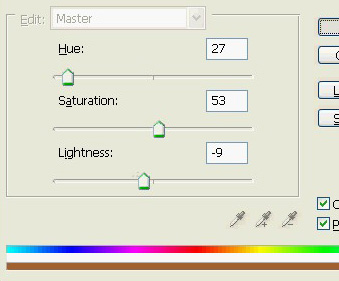
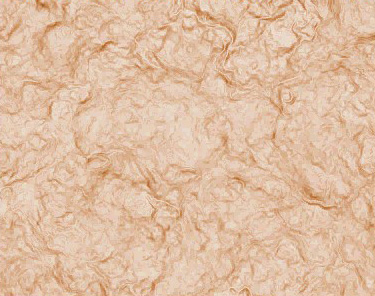
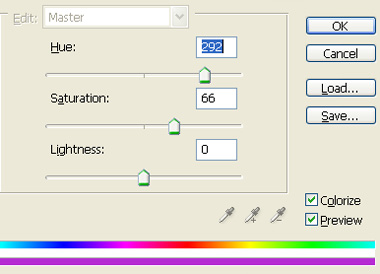
Press Ctrl+U to open hue/saturation window. Apply settings as shown.
Hide this layer. Select the layer below. Press Ctrl+F to apply find edges filter on this layer.
Press Ctrl+U to open hue/saturation window. Apply settings as shown.
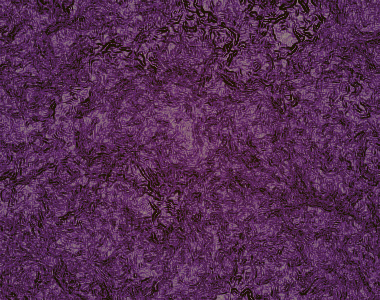
Change the layer mode to overlay and opacity to 50%.
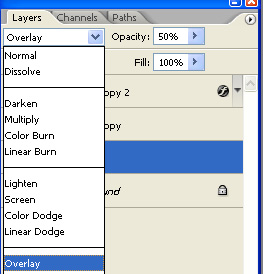
Unhide the layer above and change the layer mode to overlay.

Duplicate the layer. From select menu click color range. Select a color range using following settings.
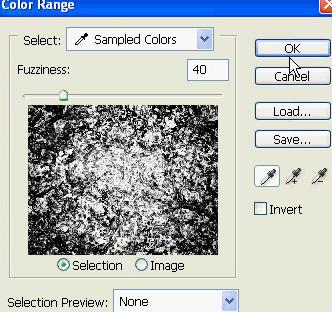
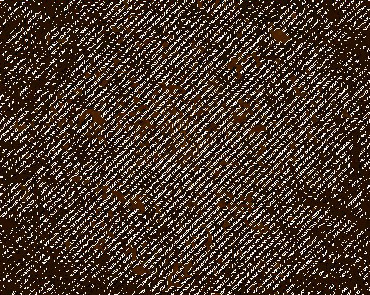
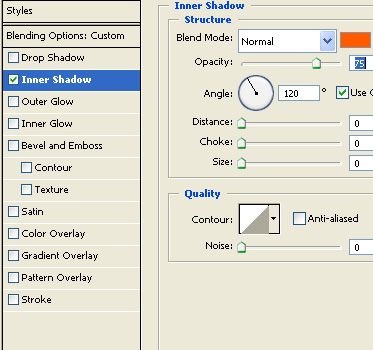
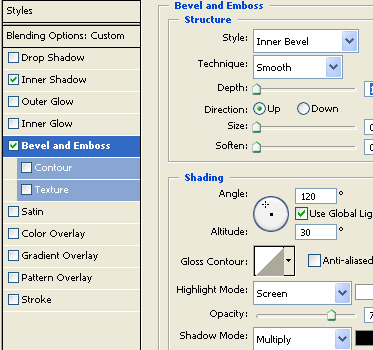
Press Delete to remove area under selection. Double click the layer to open layer style window. Apply layer style with the settings shown.
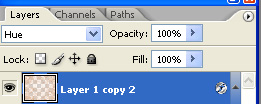
Change the layer mode to hue.
No comment(s) for "Create Rusty Metal Texture from Scratch in Photoshop"