Canvas Size
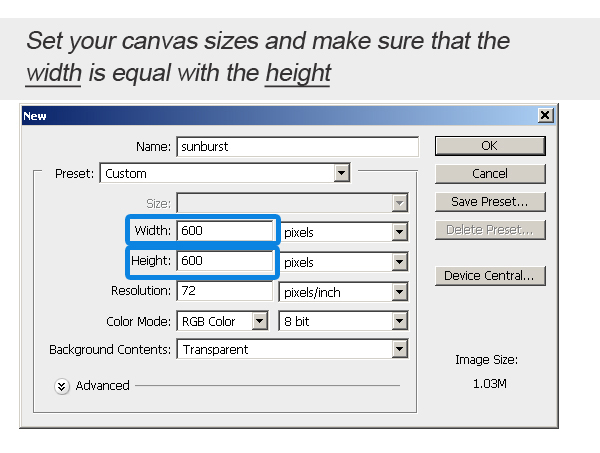
First you need to open a new PSD file and set the canvas sizes. The width has to be equal with the height to obtain a perfect sunburst. I will choose 600x600 px.
Photoshop Gradient
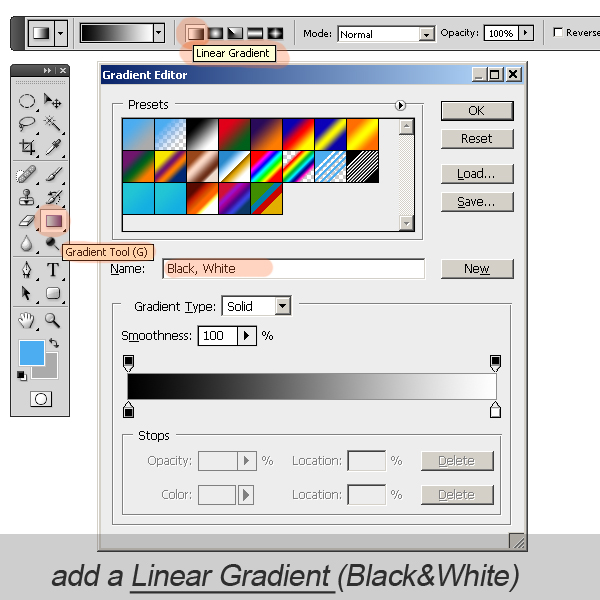
Pick the Gradient Tool and choose a black/white gradient with the default Linear Gradient.
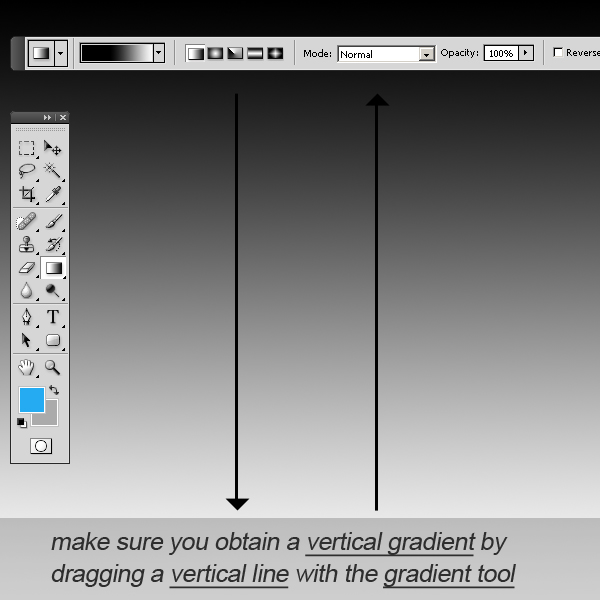
Of course you can choose another two colors for the gradient. But you have to make sure that you obtain a vertical gradient. And to do that you have to use the Gradient Tool by dragging a line from the top to the bottom of the canvas. Or to use the same tool by dragging a line from the bottom to the top of the canvas. The idea is clear, to obtain a vertical gradient.
Wave Filter
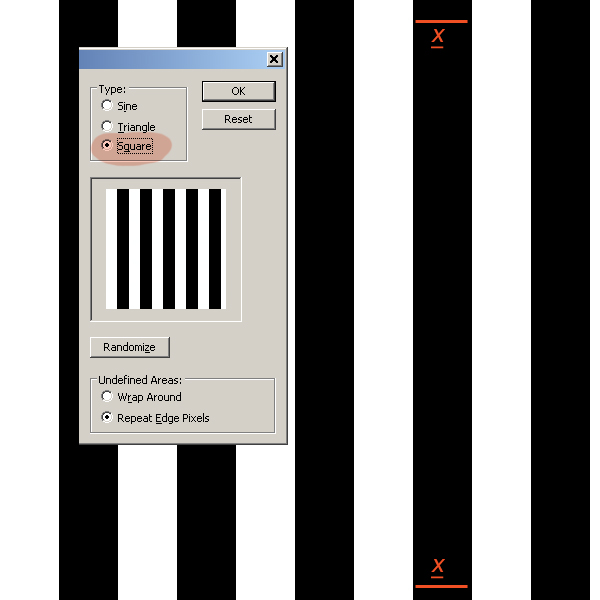
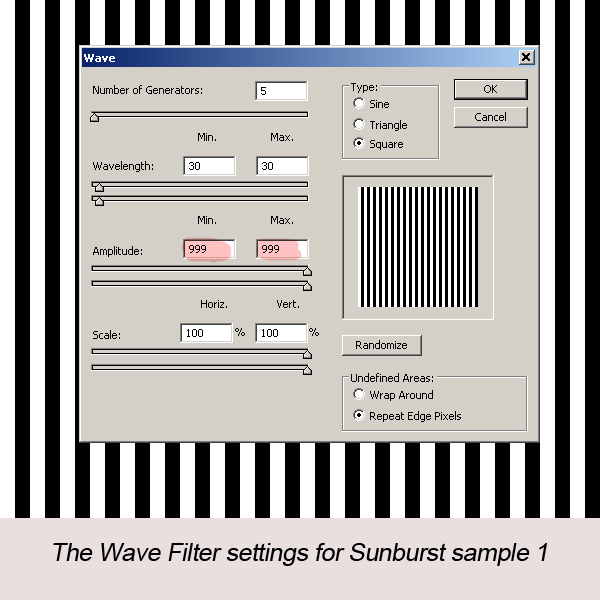
The next step is to use the Wave Filter. You can find it in the Filter, Distort menu. There are a lot of settings to be made in this form so I will have to explain it. First choose the Type Square for the waves. That way we'll obtain perfect vertical lines that have the same width from top to bottom. For the Number Generators let the default setting 5.
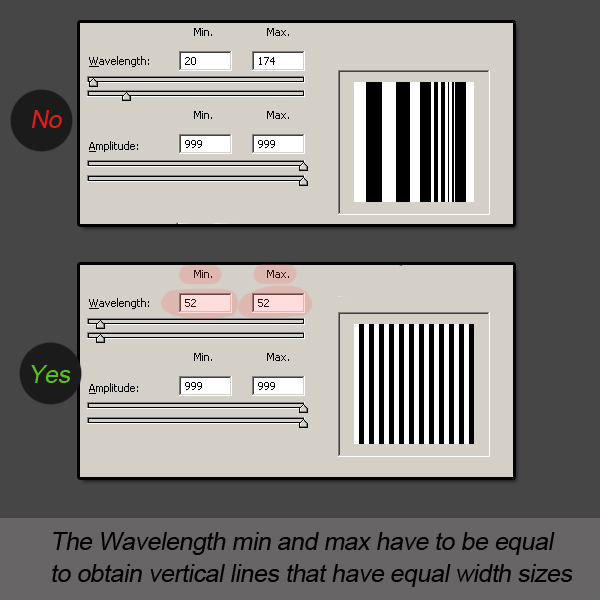
The most impotant setting is the Wavelength. If the Wavelength min and max are equal you will obtain vertical lines that have the same width. Otherwise you will obtain random lines with sizes between the min and max.
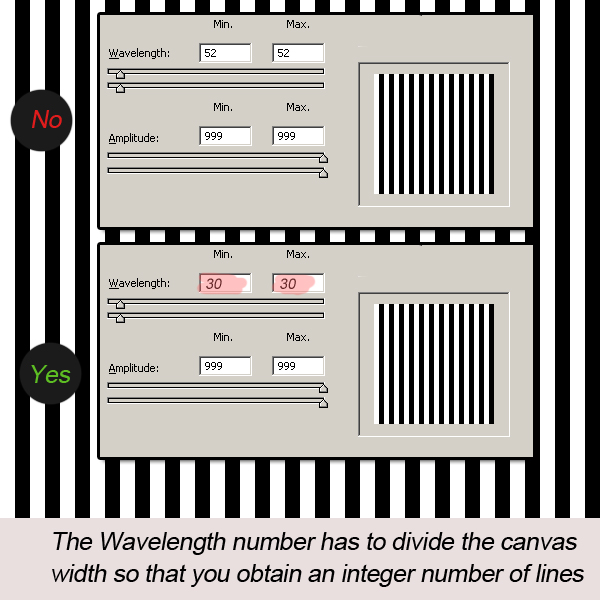
What about the wavelenght size? What size should we choose? Well, if you remember we chosen 600 px width for the canvas size. To obtain an integer number of vertical lines we have to choose a number that divides the number 600. These numbers are 2, 3, 5, 6, 10, 20, 30, 60 and so on. To obain a beautiful sunburst I will choose the number 30 (we obtain 600/30=20 lines).
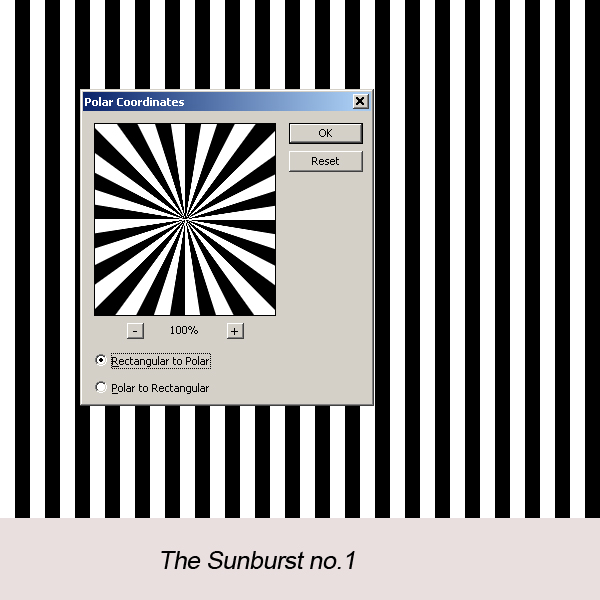
The Amplitude defines how the two colors will blend with one another. If you choose a smaller size amplitude you will not obtain well defined vertical lines of black and white but also gray tones. You will obtain different Sunburst depending on that Amplitude setting. I will show you how they will look like in both cases. Set the Amplitude to maximum size 999% to create a first type of Photoshop Sunburst.
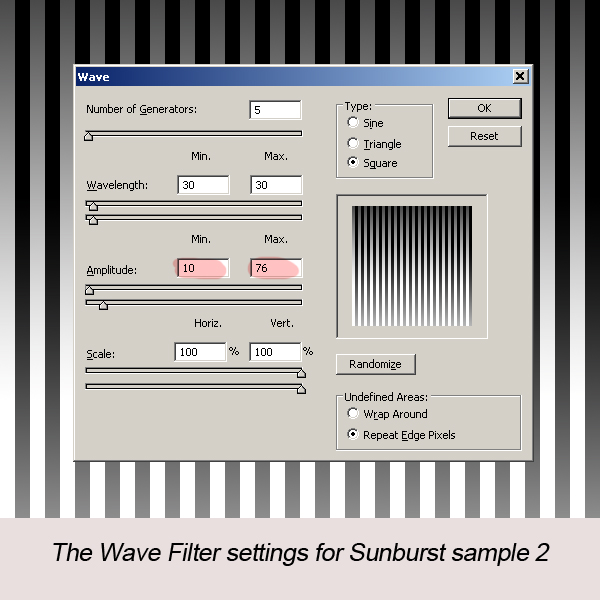
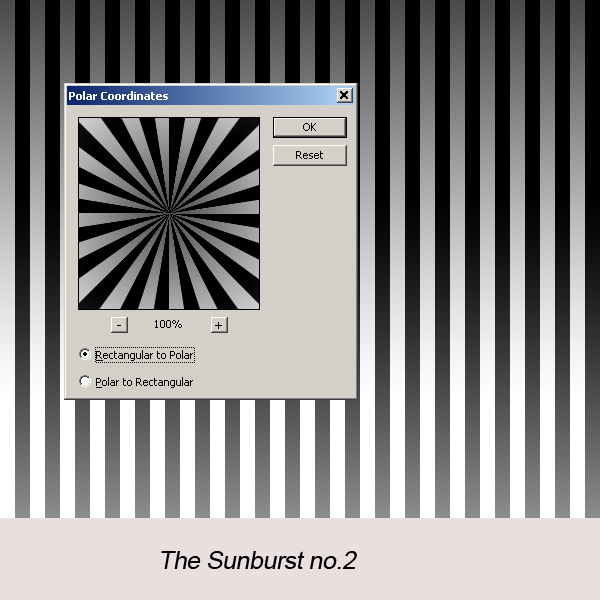
Create another gradient layer similar with the one above and set the Amplitude of the Wave Filter to min 10 and max 76, to create the second type of Photoshop Sunburst.
Polar Coordinates Filter
You can find the Polar Coordinates Filter in the same menu category: Filter, Distort menu. Use the Wave Sample 1 layer and apply the Polar Coordinates filter, and the result is this well defined sunburst.
Use the Wave Sample 2 layer and apply the Polar Coordinates filter, and the result is a sunburst that is similar to the Sunburst no.1 but with a radial gradient overlay.
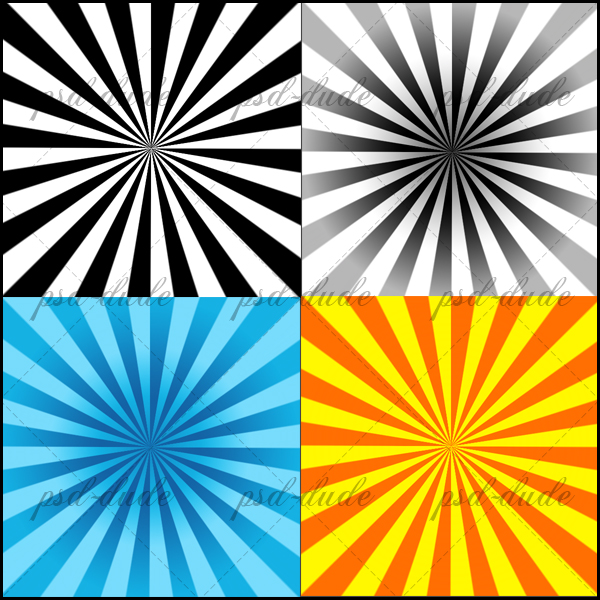
They both look beautiful and you can play with different color gradients, wavelength and wave amplitudes to create different types of sunburst made in Photoshop from scratch. Here are some examples.
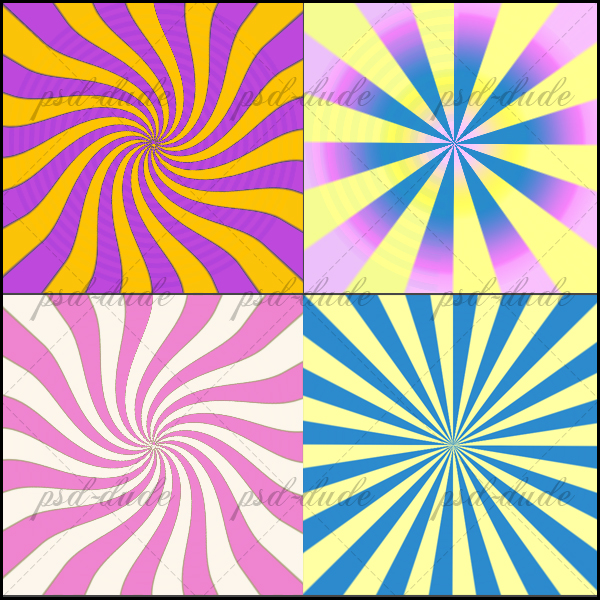
You can of course play with different sunburst sizes and overlay one another to create yet another interesting effects. You can create cool effects by adding a Twirl Filter to your sunburst.
The black and white sunburst looks great as Photoshop brush so you can easily create your own sunburst brushes.
Photoshop Sunburst

4 comment(s) for "Create a Photoshop Sunburst"