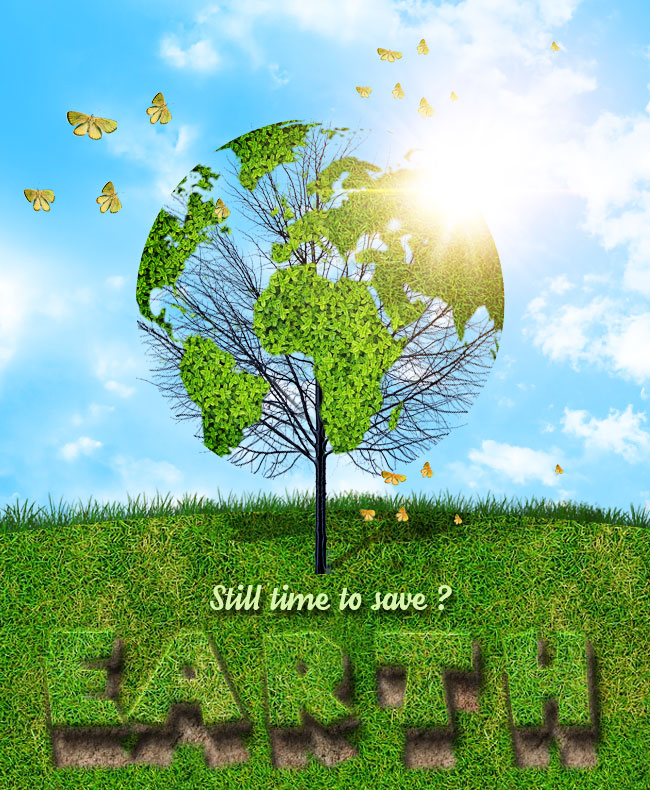
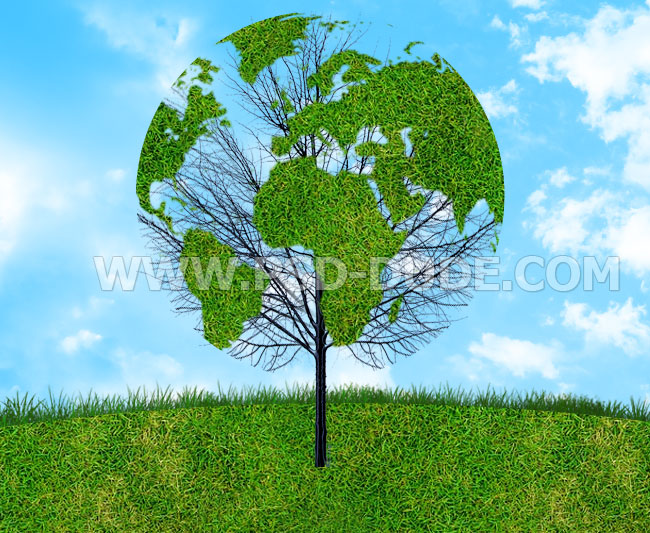
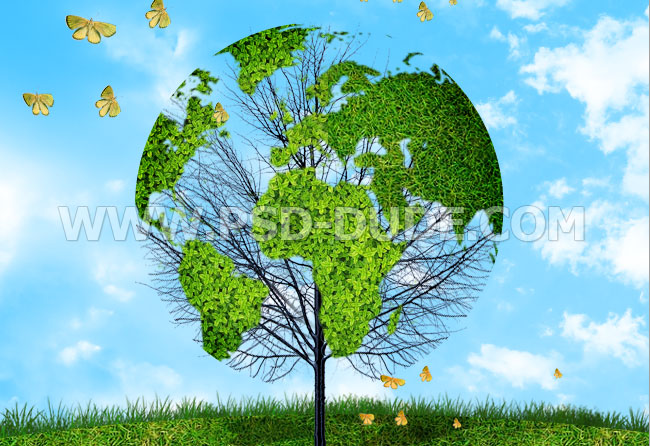
How to create a world map tree in Photoshop for a nature environmental background design. You can use this ecology background image for free in all kind of personal and commercial projects. Use it as background for PowerPoint presentations (check out our free PPT background images HD quality), for blog posts, for website headers, etc.
Tutorial Assets
For this tutorial you will nedd these stock images, textures and other resources. Make sure you download them.
- Grass Seamless Pattern
- Fluffy Clouds Texture
- Seamless Grass Texture Transparent PNG
- Dead Tree PNG
- Ivy Plant Leaves Texture
- rays of light texture overlay
- lens flare
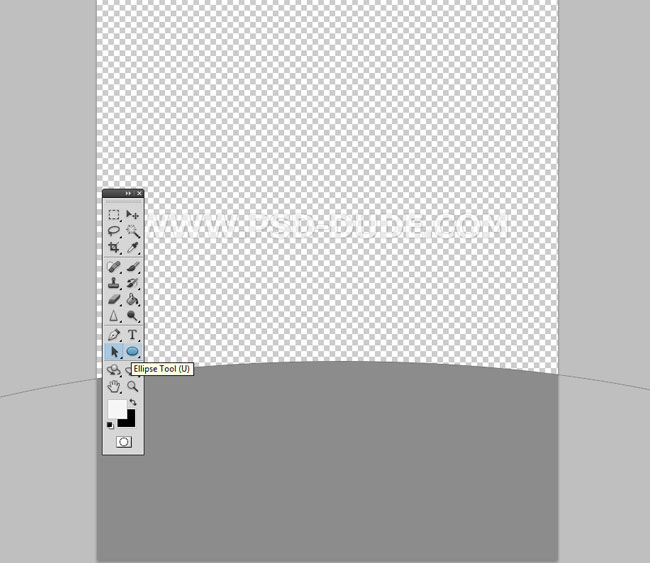
Create a new PSD file, size 650x790px and use the Ellipse Tool to create a shape like in the image.
Add Seamless Grass Pattern in Photoshop
Download this Grass Seamless Pattern and load the PAT file in Photoshop. Add a Pattern Overlay to the Ellipse Layer and use one of the grass patterns. Rename the Ellipse Layer and call it Grass Surface.
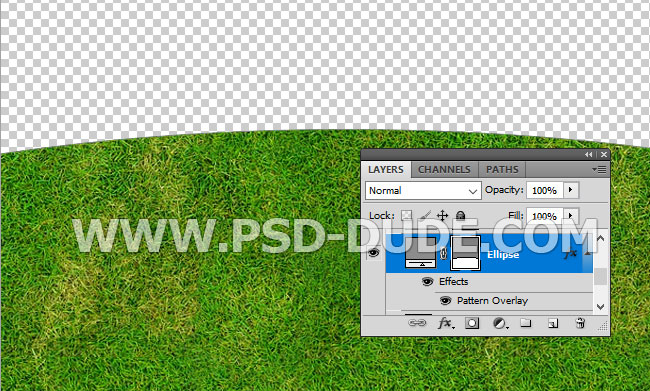
Instead you can of course add a Grass Texture over the Ellipse Layer. Right click on the Grass Texture layer and choose Create Clipping Mask.
Add Sky Texture in Photoshop
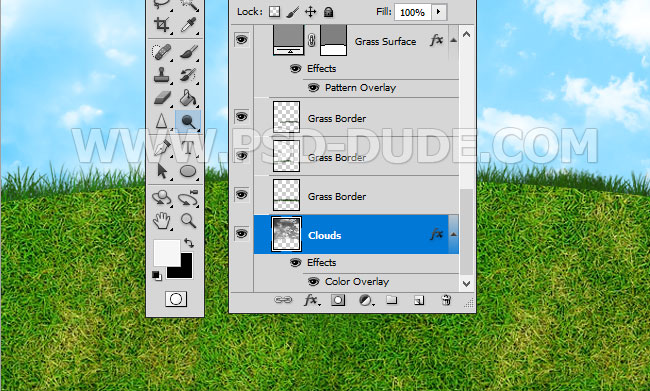
Create a new layer below the Grass Surface layer and call it Clouds. Add this Fluffy Clouds Texture and go to Image > Adjustments > Desaturate to make the image black and white. You can also use any other cloud PNG image or use the online cloud generator.
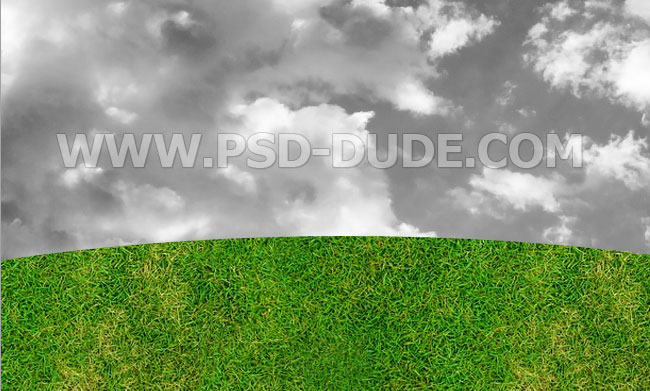
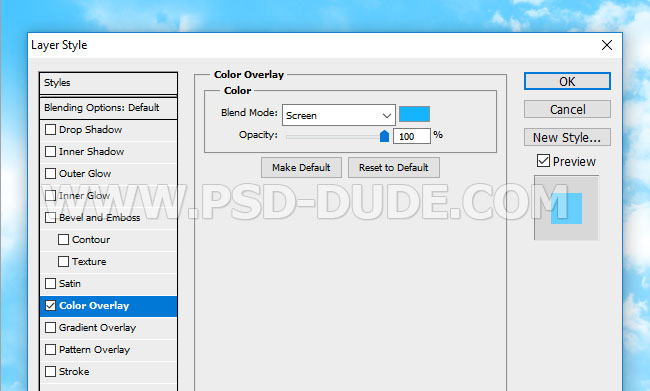
Add a Color Overlay layer style to the Clouds Layer and use this blue color tone #14b4ff with Screen blend mode to create a blue cartoon sky.
How to Add a Grass Border in Photoshop
Download this Seamless Grass Texture Transparent PNG and add it below the Grass Surface layer. This is a grass PNG image with transparent background that you can use to create grass borders very easily. Resize the image to look realistic. You can add many layers to create the grass border effect. Use the Dodge Tool and the Burn Tool to blend the grass border with the grass texture.
How to Create an Earth Tree in Photoshop
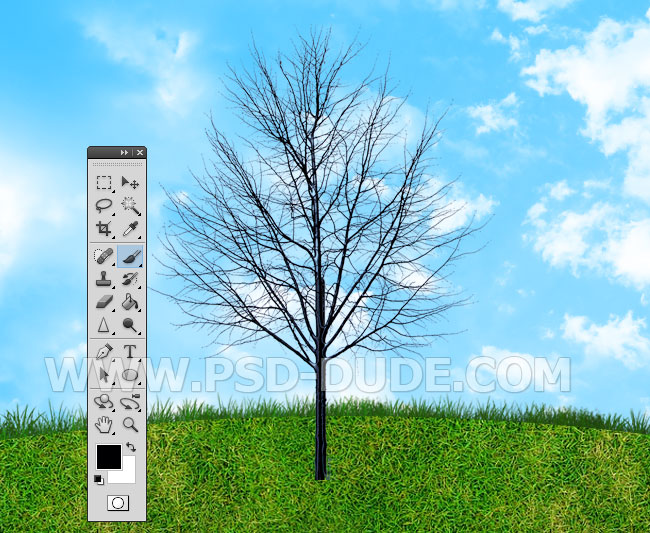
Add this Dead Tree PNG image in a new layer. Use the Brush Tool and color black to fill the tree trunk.
Duplicate the Dead Tree layer and rotate and move it, to the right like shown in the preview.
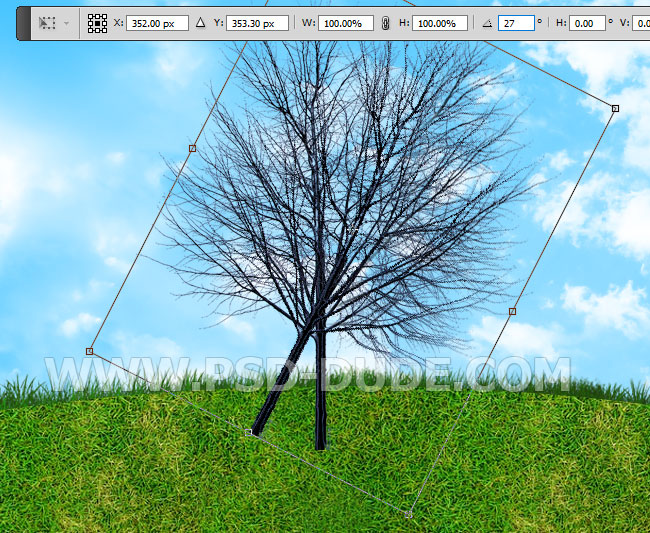
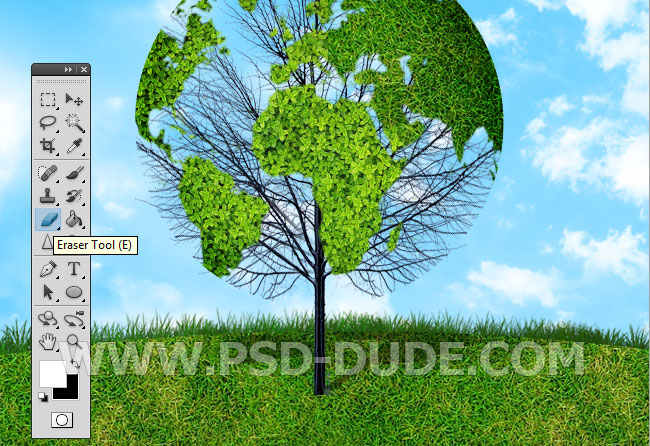
Use the Eraser Tool to delete the trunk and some branches from the left part of the tree.
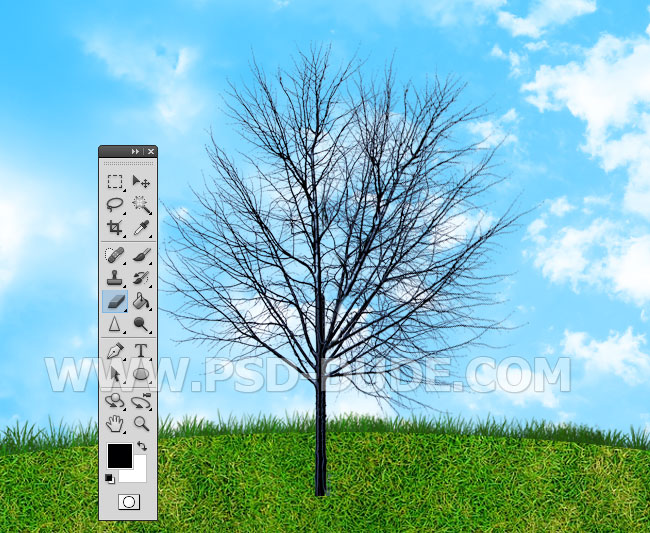
Duplicate the Dead Tree layer again and rotate and move it, this time to the left like shown in the preview.
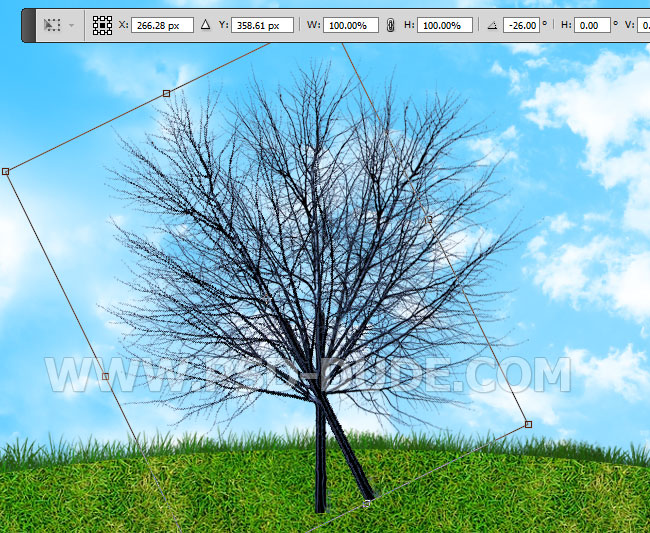
Use the Eraser Tool to delete the trunk and some branches from the right part of the tree.
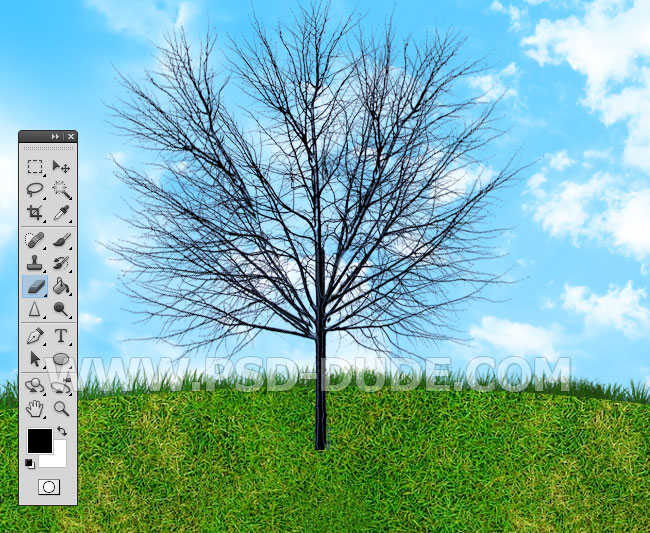
Merge the Dead Tree Copy 1 and the Dead Tree Copy 2 and call the new layer Tree Branches. Use the Ellipse Tool and keep the Shift key pressed to make a circle selection.
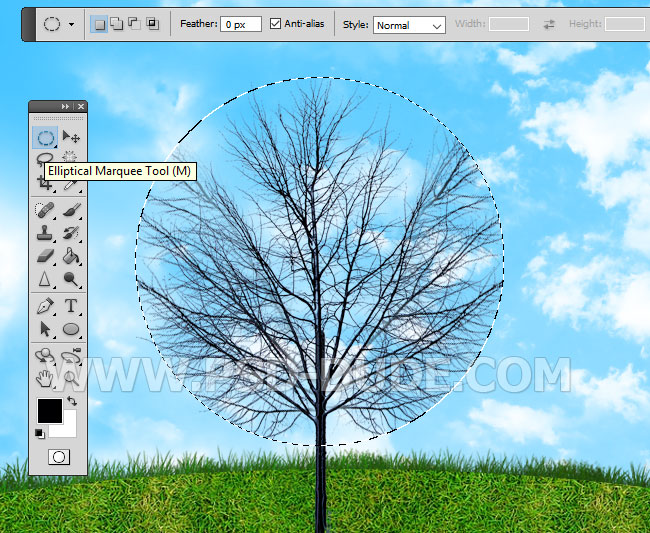
Add this selection as layer mask for the Tree Branches layer.
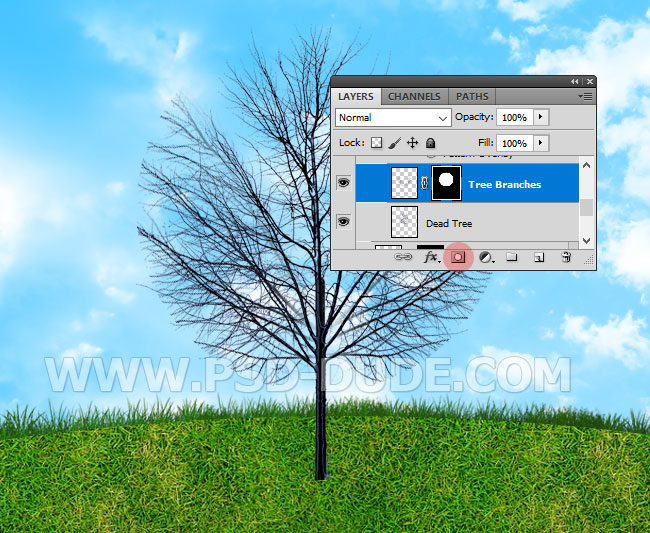
How to Create a World Map with Grass Effect in Photoshop
Create a new layer and call it World Map. Load this CSH file(custom shape) in Photoshop. Use the Custom Shape Tool to add the "world-map-psddude" shape like shown in the preview.
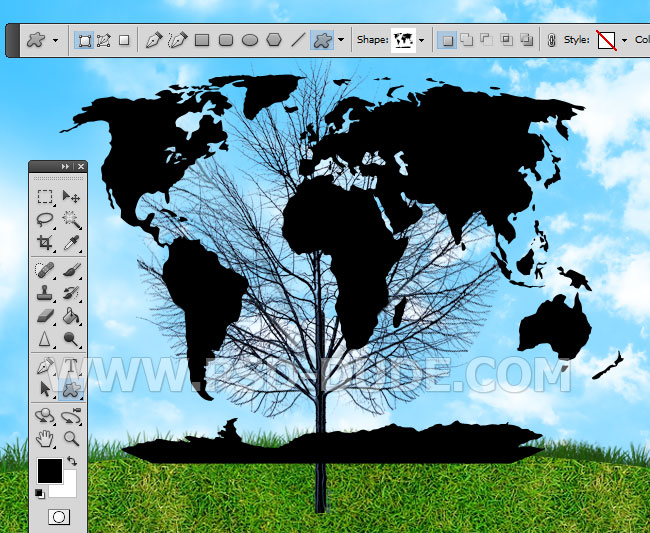
Right click on the World Map and choose Rasterize Layer. Keep the CTRL key pressed and click on the Tree Branches layer mask thumbnail to make a circle selection. Click on the Add Layer Mask button.
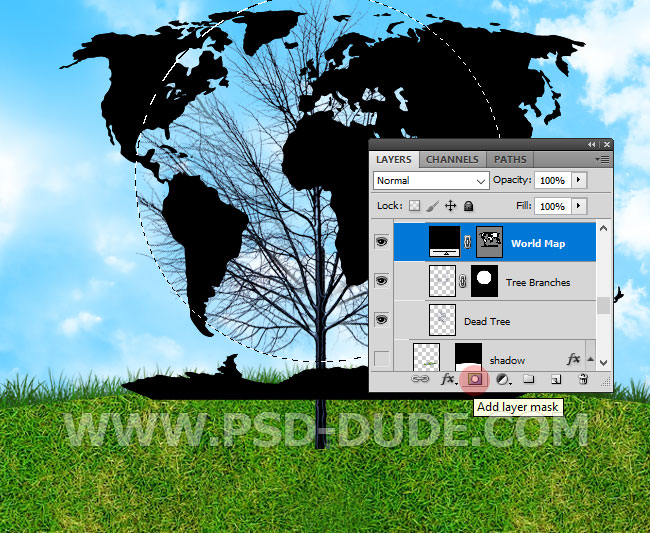
Keep the CTRL key pressed and click on the World Map layer mask thumbnail to make a circle selection. Click on the World Map thumbnail to make sure you are working with the layer and not with the mask. Go to Filter > Distort > Spherize.
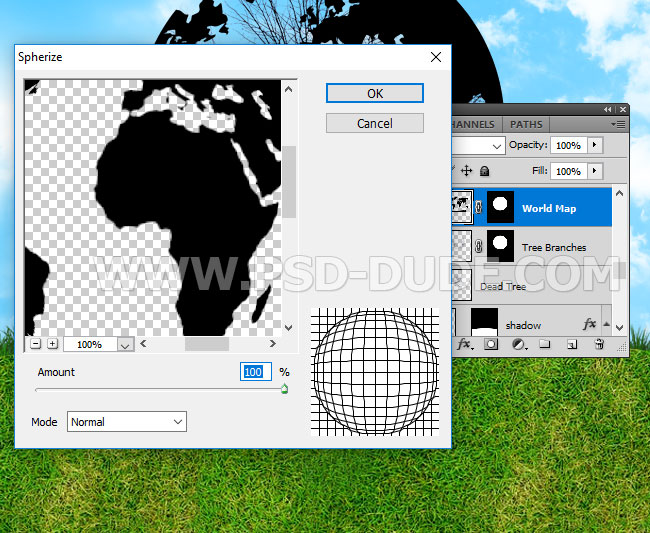
Add a Pattern Overlay layer style to the World Map layer using the Grass Seamless Pattern that you downloaded in the first step.
Right click on the World Map layer and choose Convert to Smart Object.
Copy this Ivy Plant Leaves Texture in a new layer, above the World Map layer. Right click and choose Create Clipping Mask. Use the Eraser Tool to erase some areas so that you have parts of grass and parts of green leaves.
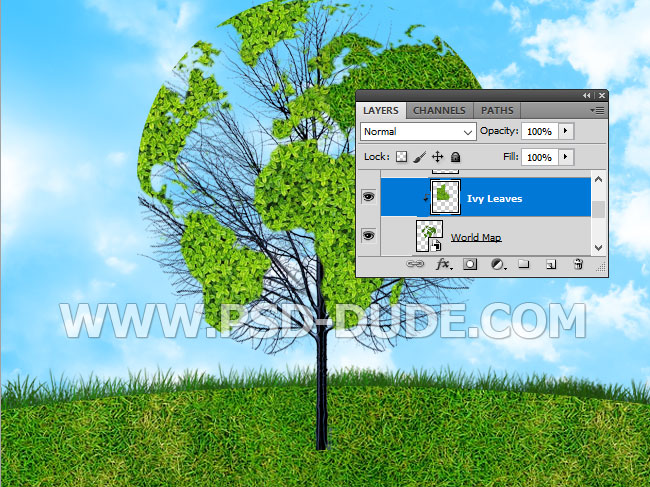
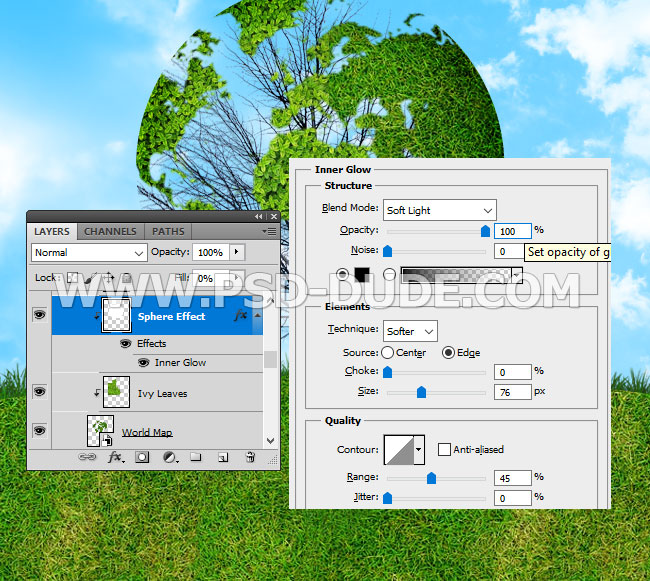
Keep the CTRL key pressed and click on the World Map layer mask thumbnail to make a circle selection. Create a new layer above the Ivy Leaves layer and fill it with color white. Set the Fill to 0% and add an Inner Glow effect.
Cast Shadow in Photoshop
Keep the Control key pressed and click on all the tree layers to select them. Right click on them and choose Duplicate Layers.
You can also check out this Drop Shadow Photoshop action.
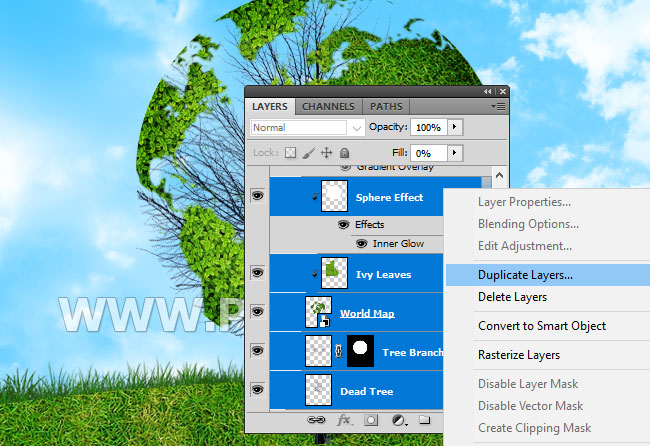
Press Control-E to merge the duplicated layers. Call this new layer Shadow and place it behind the Dead Tree layer.
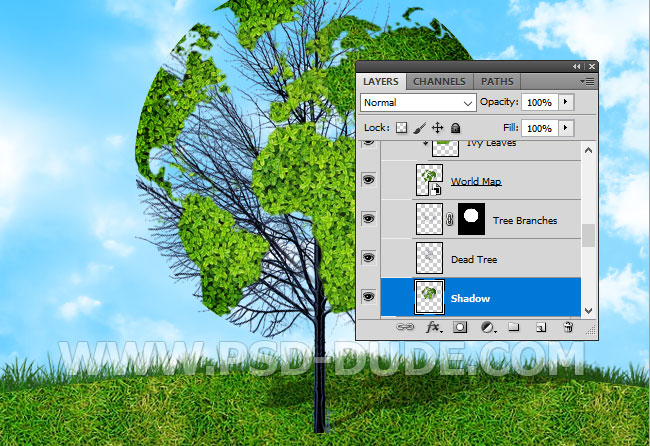
Add a Color Overlay layer style to the Shadow Layer using color black. Set the opacity to 43% . Go to Edit > Transform > Distort and create a cast shadow effect.
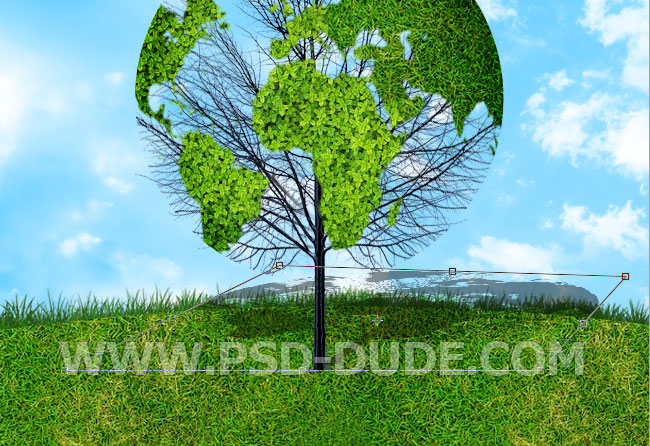
Use the Eraser Tool to remove the shadow that goes beyond the grass surface.
Create a grass text effect in Photoshop
In a new PSD file I created the "Earth" text using this useful Grass Effect Photoshop Action that you can download for free.
For the text layer I used Super Mario font type. Learn how to Install New Font in Photoshop from this quick tutorial.
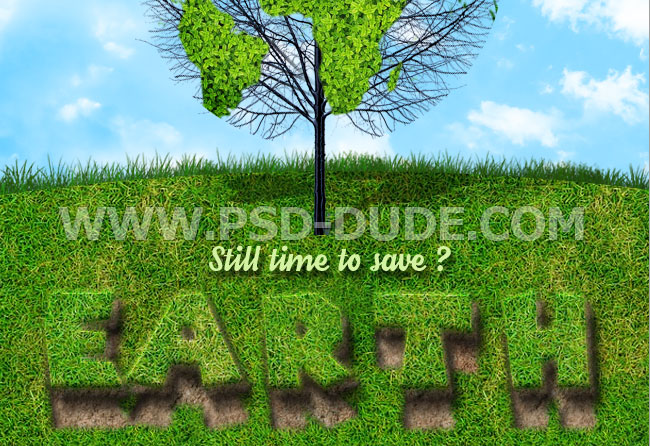
If you want you can add other details like birds or butterflies. Another cool image that you can add is a Cloud Shape using this cool Photoshop action for create cloud silhouettes and cloud brushes in Photoshop.
Add Sunlight and Rays of Light in Photoshop
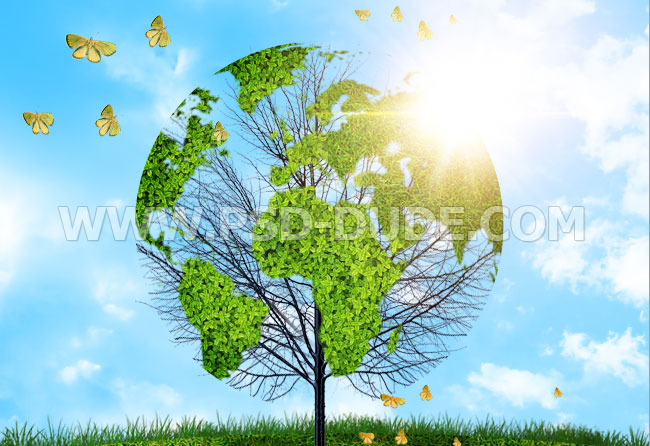
To make the image more sunny and bright, you can add sunlight using some of these rays of light texture overlay for Photoshop. You can also add lens flare effect. Simply set the blend mode of these texture overlays to Screen or Lighten.
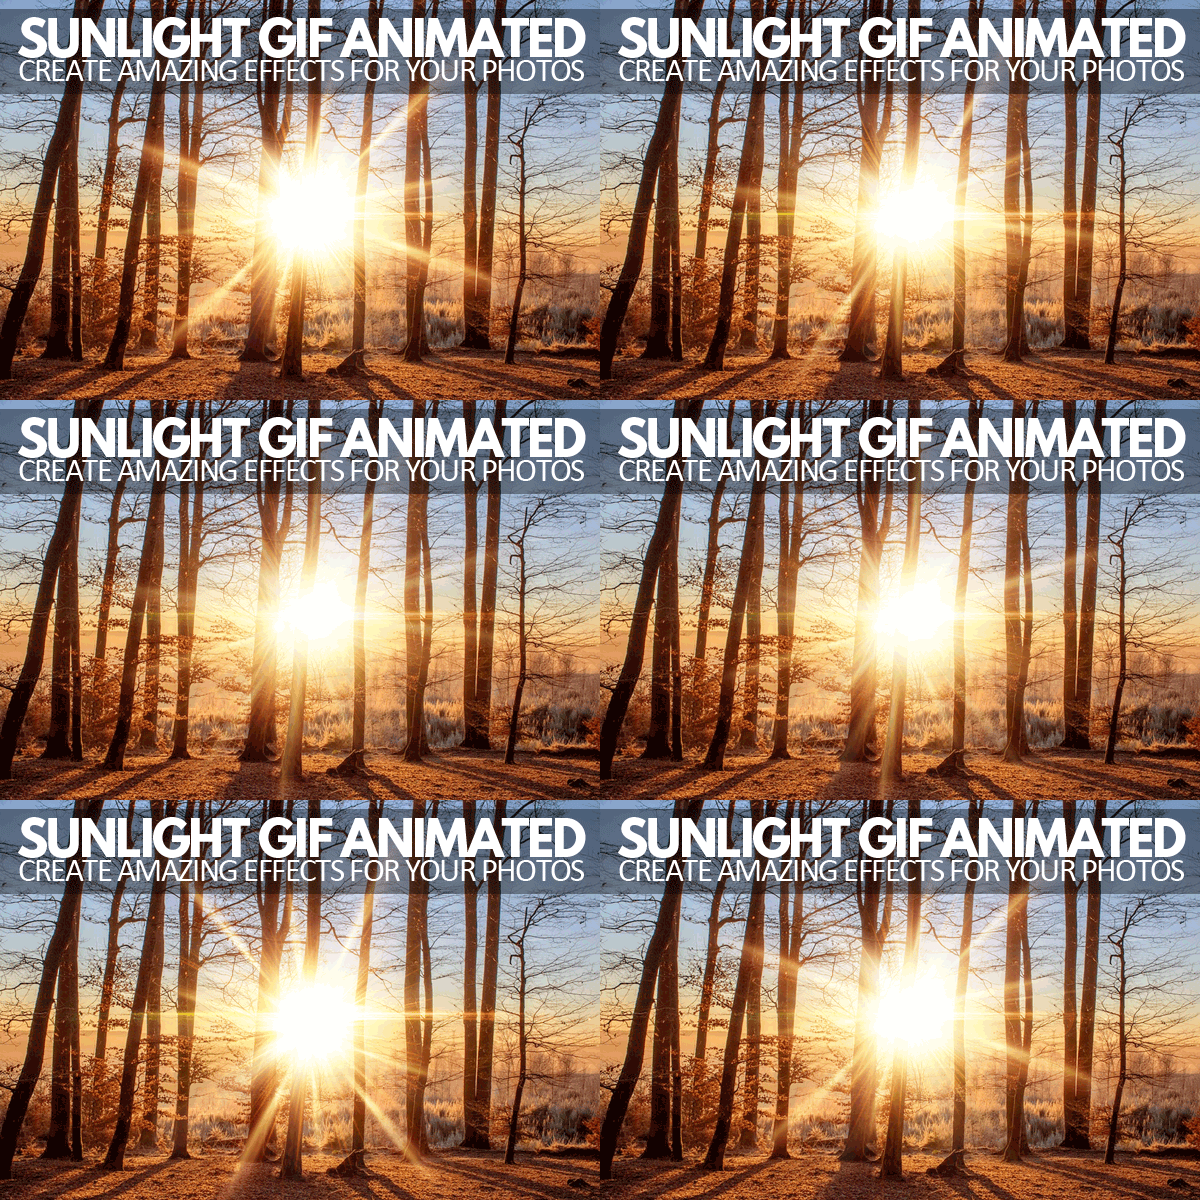
Animated Sunlight Photoshop Premium Action
Congratulations, You Made It!
So here is the final result for this beautiful green earth tree environment background made in Photoshop using textures, stock images, overlays and different blending techniques.

No comment(s) for "Create a Green Earth Tree Environment Background in Photoshop"