To create a Christmas rubber stamp with personalized photo, from scratch it can take up to 20 minutes. To make things easier you can use my rubber stamp Photoshop action.
Photoshop is just one of the many options to create rubber stamp effect online free.
So, in this quick Photoshop tutorial I will show you how to customize this premium action to create vintage rubber stamps in Photoshop. And because the winter holidays are coming I will create a vintage Christmas rubber stamp, so let's start.
First, you have to download the stamp creator, that contains 3 easy to customize Photoshop actions for creating rubber stamps. Go to Window>Actions menu and load the Photoshop action; you will also have to load all the other files that are in the pack for the action to work properly.

Pick one of the three actions available and click Play button. A new PSD file will be created by the action, containing stamp template. At one point the action stops asking you to place your image inside the file(it can be a photo, text, vector shape, etc). All you have to do is to place it in the middle of the stamp.

So pick any image you like, I will choose this vintage xmas postcard but you can use any image you want. Copy and paste into the PSD file. Make a round selection and position the image in the center of the rubber stamp. Resume Play!

You will now have a ready to use rubber stamp that you can customize as you wish. So I will explain how you can edit and customize the stamp template to create beautiful rubber stamp for any occasion.

As you can see the stamp has a Hue/Saturation adjustment that gives the stamp color effect. You can change the Hue or Saturation levels to obtain different color tones or you can hide the adjustment, That way you will have a classic black rubber stamp.
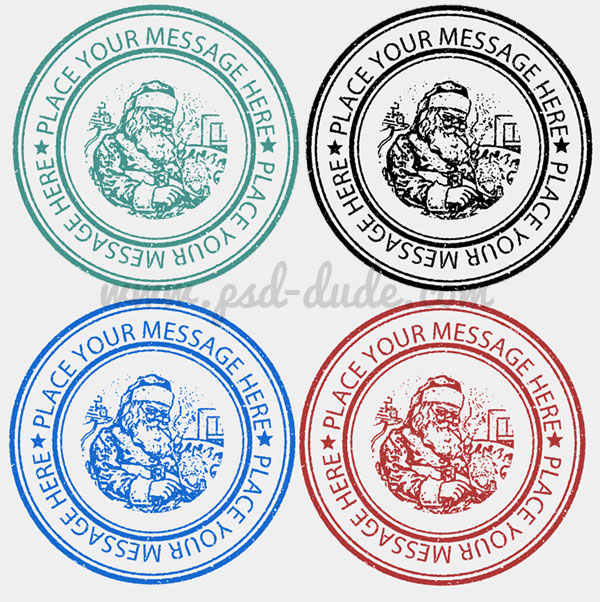
So let's see how we can customize this and create a multi color rubber stamp. First you have to hide the Hue/Saturation adjustment. Second open the stamp smart object layer by double clicking on its thumbnail.
You can see inside a number of editable layers. First modify the Text layer by adding your own text message. You can use any color you want for the text. You can change the font type; choose one of these awesome and free Christmas Fonts that you can install in Photoshop.
Also you can edit the Circle Layers by changing the Stroke size and/or color. I modified the color of the Circle 2 layer, making it green.
Another customization that you can make is replacing the Shape Layer that now contains star shapes with any Christmas shape you want. I added some snowflake vector shapes.

Now I want to colorize the center image. For that you have to open the Image smart object and simply hide the Stamp filter. Save the smart object and close it to see the result.

Now your colored stamp should look something like this.

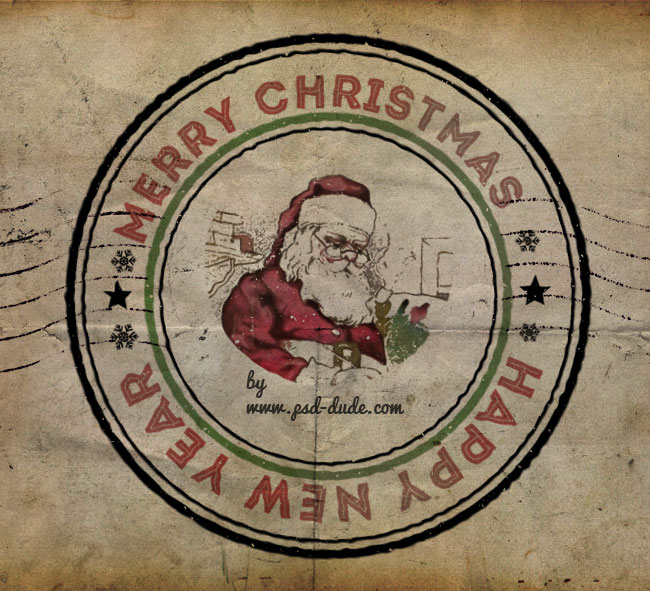
For the final touches I have used this desaturated old paper texture as background. I also changed the blend mode of the stamp object to Multiply. And above all the layers I have added a new old paper texture with Multiply blend mode. If you want to reduce the color saturation of the stamp you can add a Vibrance adjustment layer and play with the Vibrance and Saturation Settings. So here is the final result for our customized multi color Christmas rubber stamp.

If you don't have Photoshop, you can use this cute Christmas rubber stamp online. The rubber stamp is fully editable, so you can change the font type, the colors and the center Christmas shape. And, did I mention that it's ★free★? I hope you like it!
Online Christmas Card Maker
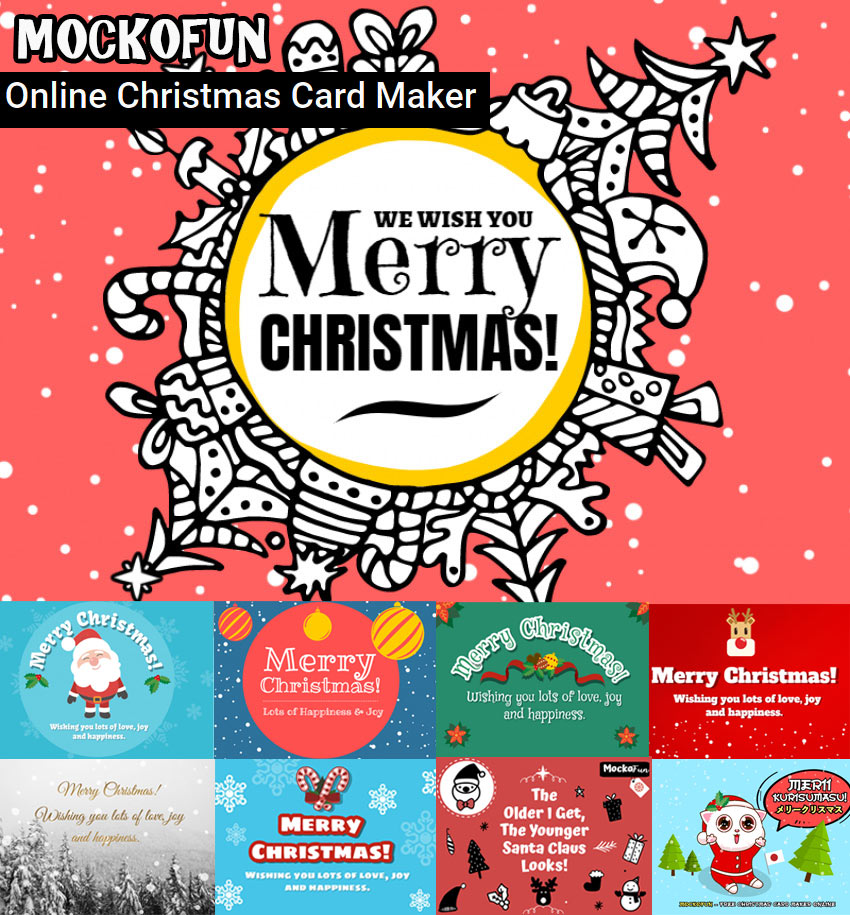
Did you know you can use online tools like MockoFun to make Christmas cards? Combine Christmas vector shapes with text and create some amazing Christmas cards. MockoFun provides pre-made templates for making Christmas cards online in just a few minutes.
Check out this awesome list of over 50 Christmas fonts that you can use online or download for free to use in Photoshop. Combine Christmas fonts with text symbols like a star symbol for example.
Check out this tutorial on how to use the online Christmas Card Maker and all the awesome features that MockoFun has to offer.




12 comment(s) for "Create a Christmas Rubber Stamp in Photoshop"
http://fontfabric.com/intro-free-font/ reply
The stock images used are:
- Envelope letter: http://floringg.deviantart.com/art/Classic-envelope-pattern-211163321
- Old paper: http://mourningstocks.deviantart.com/art/Old-Paper-1-22865437
- Christmas PNG stock: http://lavitadistress.deviantart.com/art/Christmas-Stock-Pack-2-Png-418463423
http://www.digitalartsonline.co.uk/tutorials/adobe-illustrator/create-3d-vector-icon-in-fireworks-or-illustrator/
So it doesn't work with Photoshop Elements.
But you can try this tutorial that will teach you how to create a rubber stamp from scratch:
https://design.tutsplus.com/tutorials/how-to-create-a-rubber-stamp-in-photoshop--cms-28279