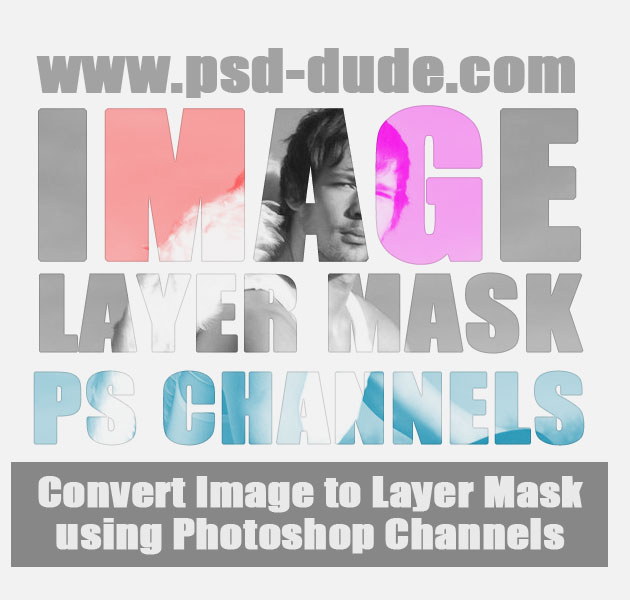
In this tutorial you will learn how to convert an image to layer mask in Photoshop using channels. This is a very useful Photoshop tip that will help you create interesting effects using any grayscale image as mask for text, shapes or other images.
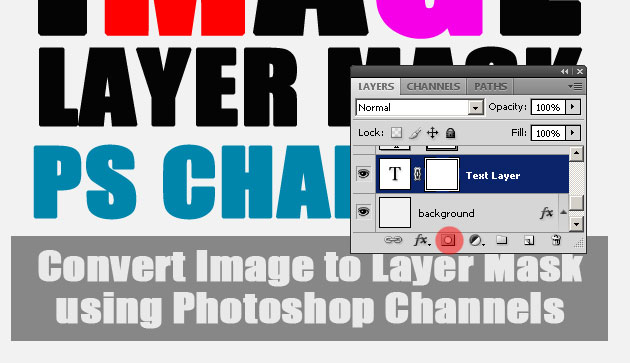
Start with a simple Text Layer; I will use different colors for the letters to see the image mask effect. he opacity of the text layer is 100%

Add an empty layer mask
I will use this angel stock image as mask for the text layer. You can of course use any image you want like grunge textures for example.
Simply copy the image(right click on the image and choose Copy Image) and return to Photoshop. Go to the Channels Tab and make the Text layer Mask visible.
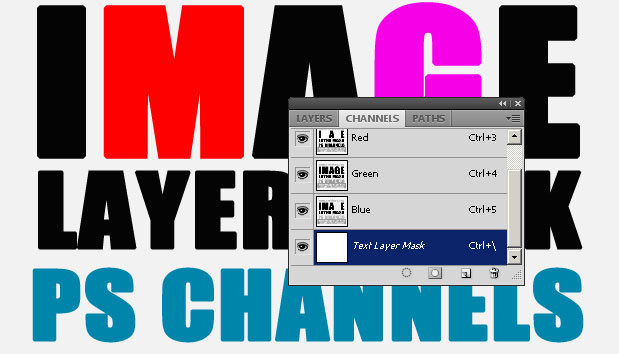
Press CTRL+V to paste the image into the Text layer Mask from the Channels Tab

While the image is still selected you can use the Move Tool to place it whee you want it to be. You can also use the Transform Tool to resize image and so on.
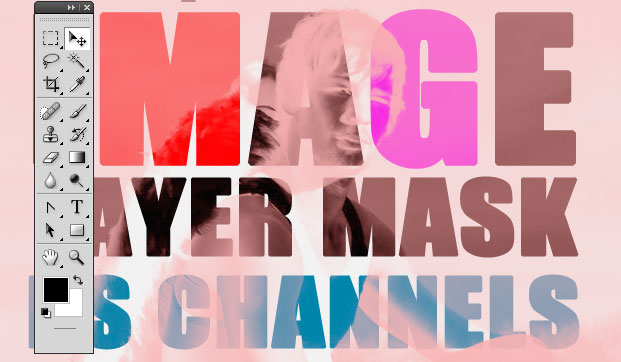
Return to the Layers Tab and as you can see in the layer mask of the text layer you have a grayscale image
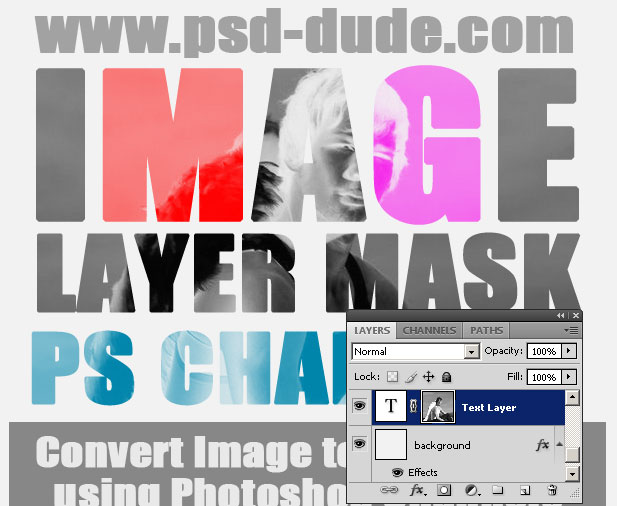
Click on the layer mak thumbnail and press CTRL+I to invert image; you can now see the effect of the image layer mask. You can use adjsutments for the image mask as for example the Brightness/Contrast to adjust the result. As you can see the opacity of the text layer dropped accordingly to the graycale map of the image used.



7 comment(s) for "Convert Image to Layer Mask in Photoshop Using Channels"
Danke f??rs teilen.
LG Finja reply
:)
Liked it as always.
Thanks reply
Thanks a ton for your short yet essential tutorial. I wonder, does it work if we want the image to not lose its color? reply
See Also :
Double Exposure Effect Photoshop Tutorials
reply