
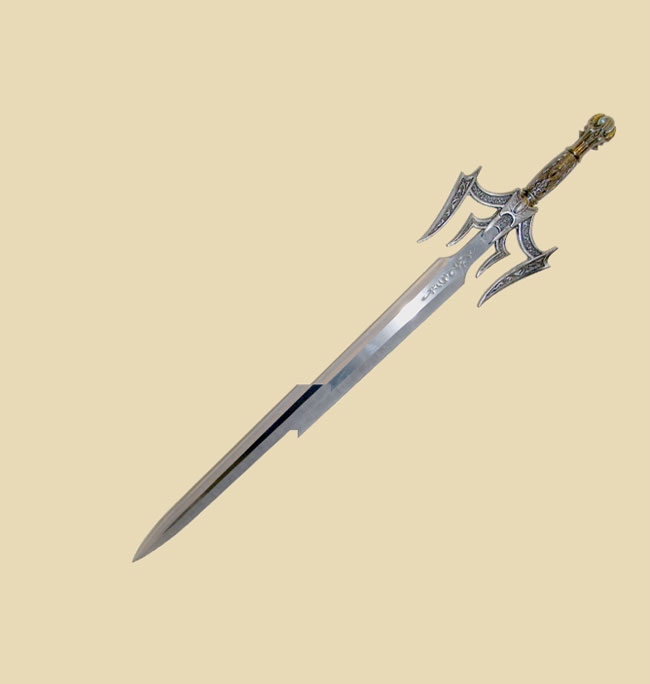
In this tutorial we are going to create a bloody rose heart in Photoshop just in time to practice it for this year Valentine's day. I will start with a simple background layer; fill it with #e8dab7 color. Copy this fantasy sword stock image in your PSD file. Use a Selection Tool to remove background in Photoshop. You can create a clipping path with the Pen Tool and add it as layer mask.
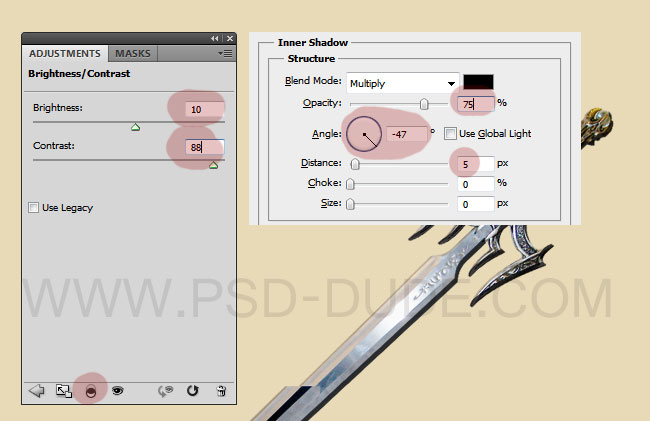
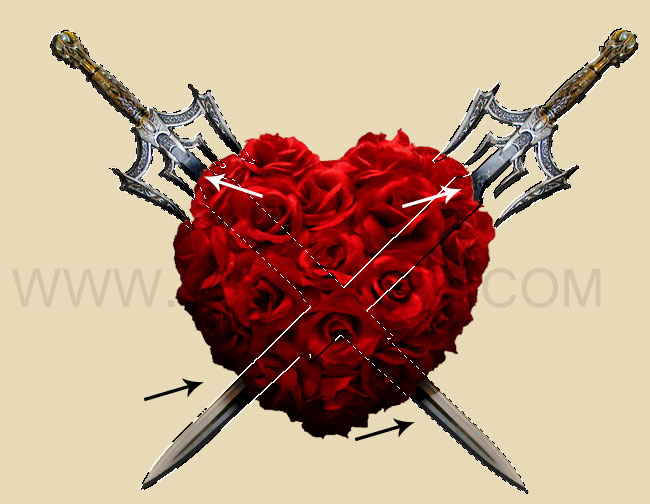
Add an Inner Shadow layer style to the Sword Layer and also add a Brightness/Contrast adjustment just for this layer. Also roate the image like shown in the preview.
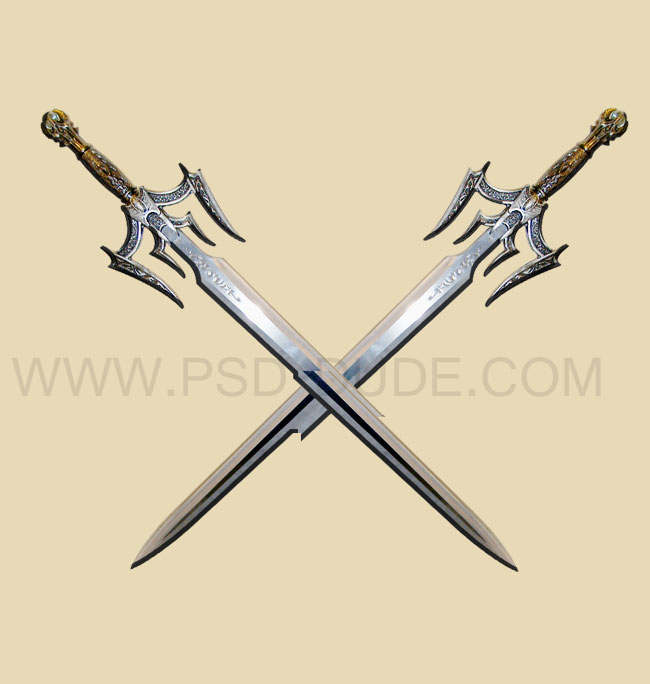
Select the Sword Layer and the adjustment layer and cnvert them into a smart object; duplicate the new created object. Flip the duplicate smart object horizontally to create a cross swords effect.
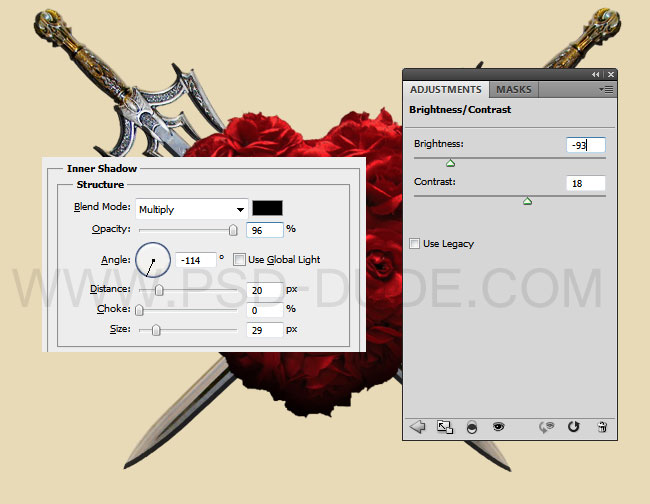
Add this beautiful roses heart PNG image. Duplicate the layer and call them Roses Heart 1 Layer and Roses Heart 2 Layer.

Add a Inner Shadow style and also a Brightness/Contrast adjustment just for the Roses Heart 1 Layer.
Set the blend mode of the Roses Heart 2 Layer to Soft Light

Create a new layer below the Roses Heart Layers and set the blend mode to Overlay. Use the Brush Tool and a soft round brush, color black, to paint a shadow effect. Make sure that the shadow is visible only on the swords. For that you have to make a selection of the swords and paint only inside that selection.
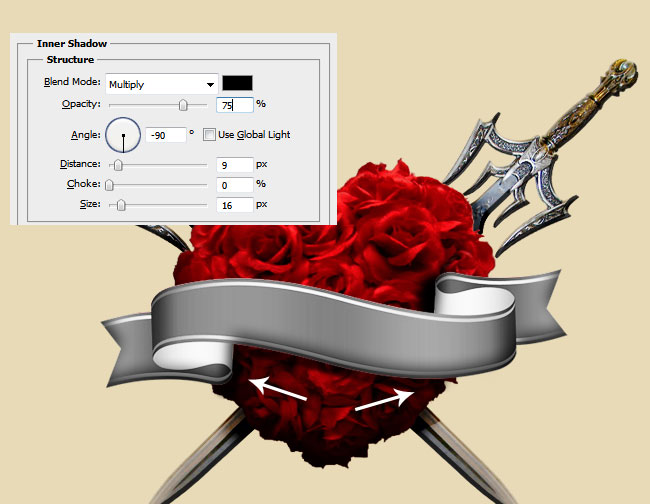
Now we'll add a ribbon on the center of the roses heart. You can pick one of the many vector ribbons available for free on the internet. Here is the second collection of ribbon vector with free PSD files.
I will use this Curled red ribbon and desaturate it. Increase the brightness to 35 and the contrast to 95. Add also a Inner Shadow effect. Also add a new layer below this one and paint a shadow for the ribbon, visible only on the roses heart surface.
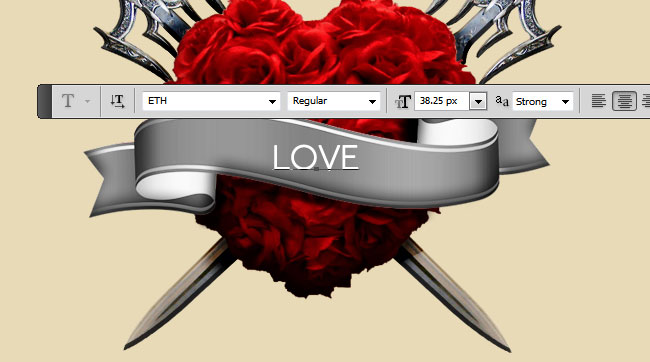
Add a text layer and type something. I will use the Ethon Font type for my text, but you can use any font you like. Learn how to install font in Photoshop if you want to use a new font type.
Now I will use some blood brushes to add blood drops dripping from the sword blade.
You can of course try some of these blood images or you can combine them with blood textures for a more dramatic effect.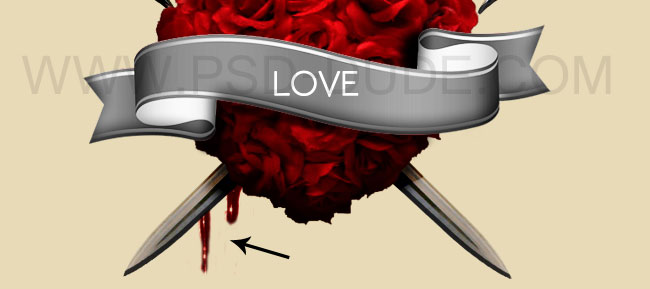
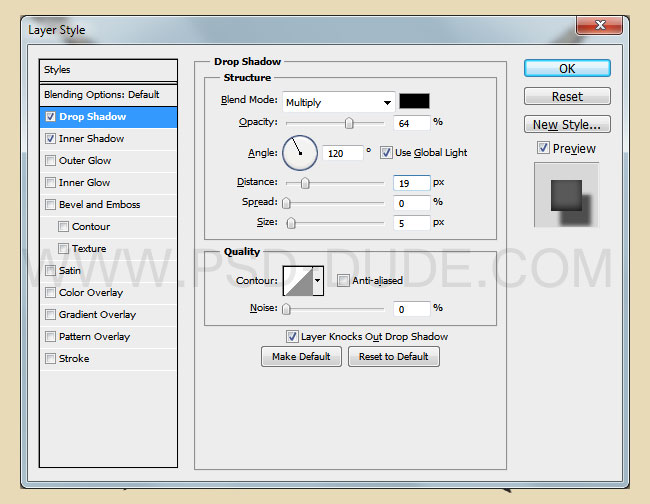
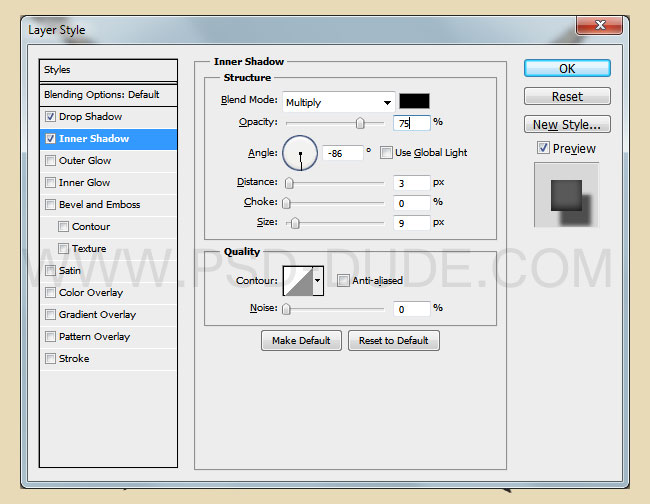
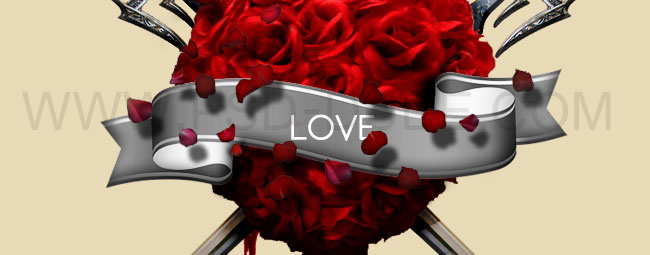
Copy this roses petals PNG image to your PSD. It is great that the petals are on a transparent background so you don't have to waste time with removing the background. Add a Drop Shadow and Inner Shadow layer styles to the Rose Petals Layer.
To create a grunge vintage effect I will use one of these old paper textures to texturize the image. Set the blend mode to Multiply; you might have to adjust the saturation, luminosity, contrast of the texture.
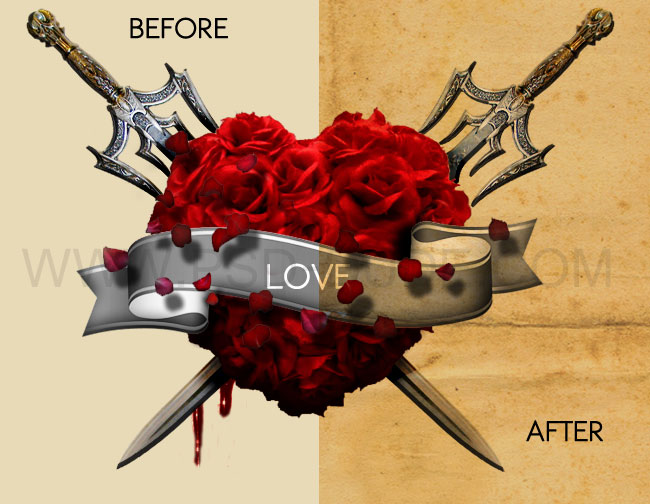
As final touch you can add some light effects. For example you can add a flare texture or a flare overlay with Screen blending mode. I also used the Lens Flare filter to make the light effect more interesting.
You can learn from here how to add lens flare in Photoshop from this quick tutorial.
So here is the final result for the bloody roses heart photo manipulation made for Valentine's Day. I hope you will enjoy practicing this tutorial.

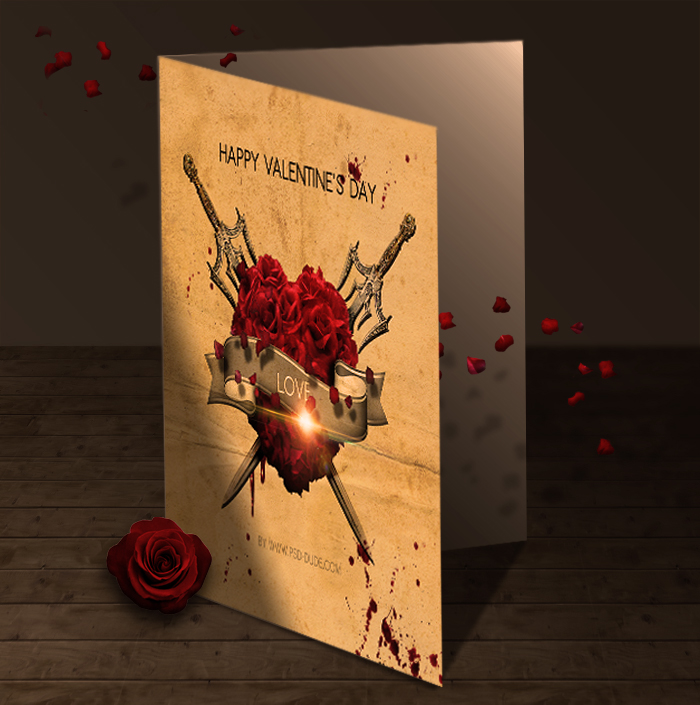
If you want you can create a Valentine's Day greeting card using one of our free greeting card templates with editable PSD file. I have also added this rose PNG and some roses petals inside of the card.

6 comment(s) for "Bloody Roses Heart Photoshop Tutorial"