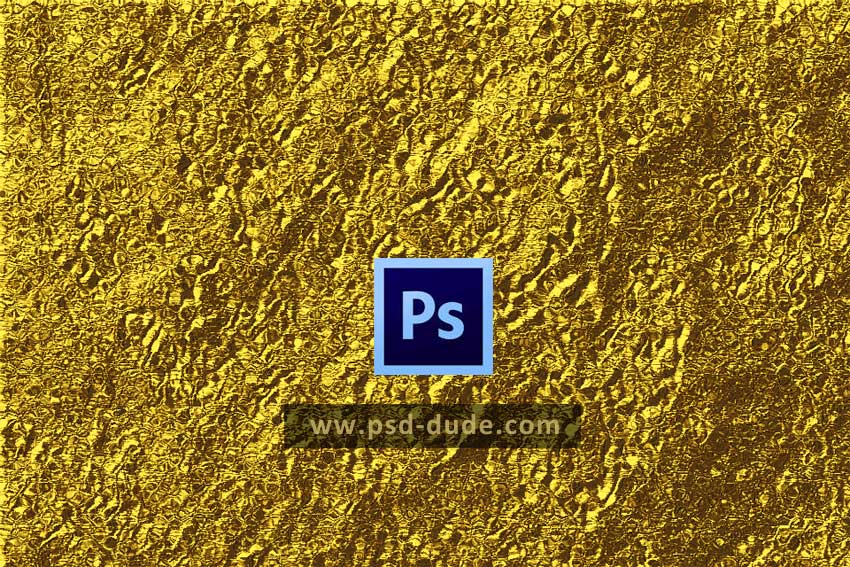
In this tutorials you are going to learn how to create a relistic gold leaf texture in Photoshop from scratch using filters and gradient maps. I know you can simply download a free gold foil texture and use it as such, but it's also more fun to learn how to create a gold foil on your own.
How to Create a Gold Leaf Foil in Photoshop
Create a new PSD file. You can choose the size that you want your gold leaf texture to have. Create a new layer and call it Gold Leaf Texture. Fill the layer with white color.
Set the Foreground color to white and the Background color to black. Go to Filter > Render > Clouds.
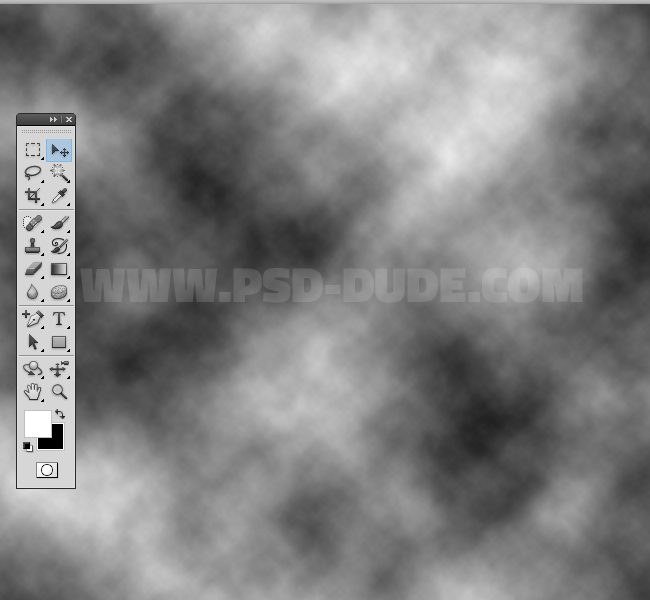
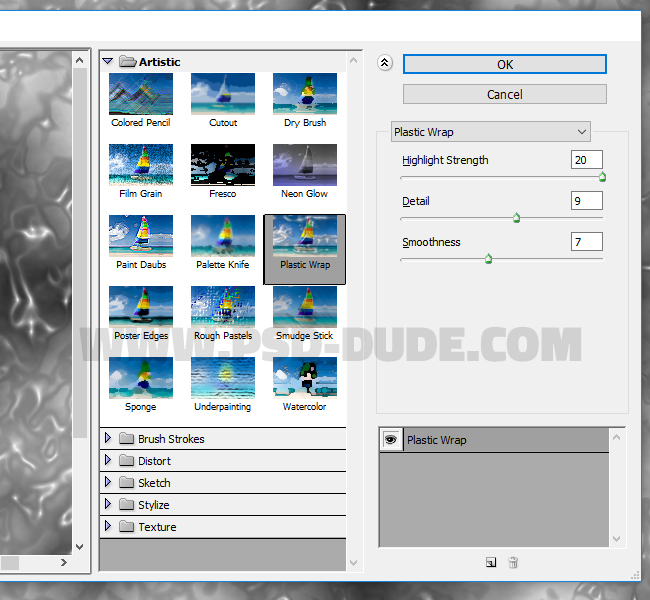
For the same layer apply the Plastic Wrap Photoshop filter. Go to Filter > Artistic > Plastic Wrap.
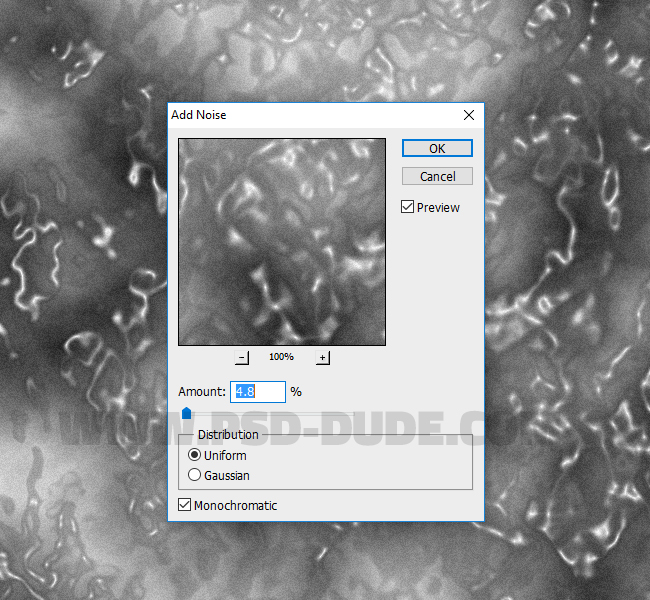
Now its tme to add another filter. Go to Filter > Noise > Add Noise.
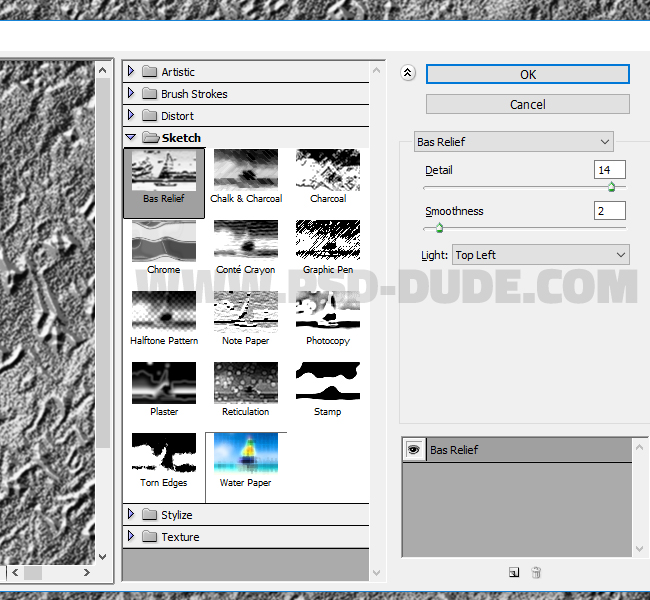
The next Photoshop filter that we are going to add is Bas Relief. So go to Filter > Sketch > Bas Relief and make these settings.
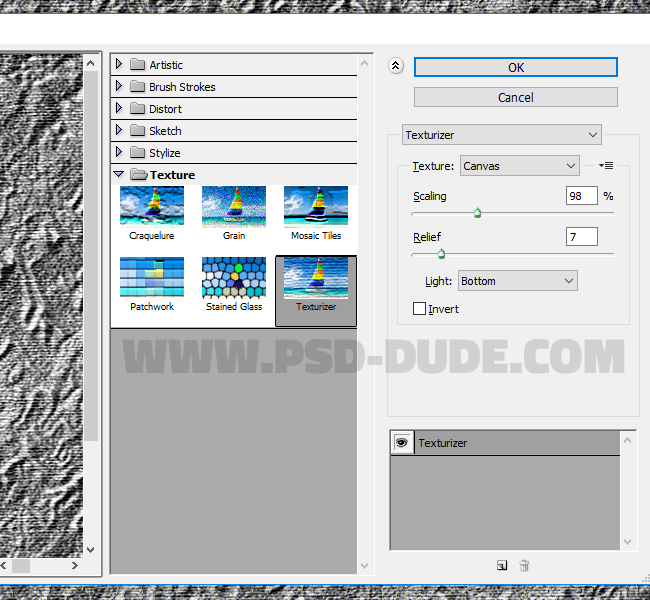
The fifth filter that we apply to this texture is Texturizer. To apply this filter you go to Filter > Texture > Texturizer.
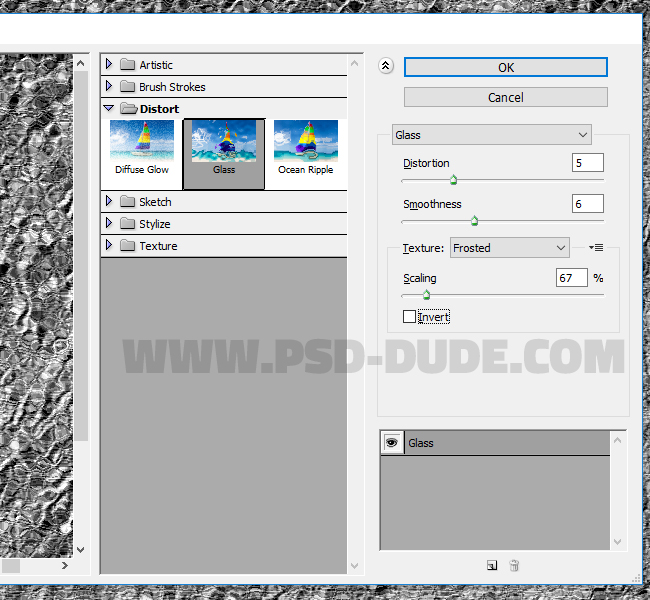
The last filter that we add is the Glass Filter. Go to Filter Menu > Distort > Glass and choose the texture frosted and make the following settings.
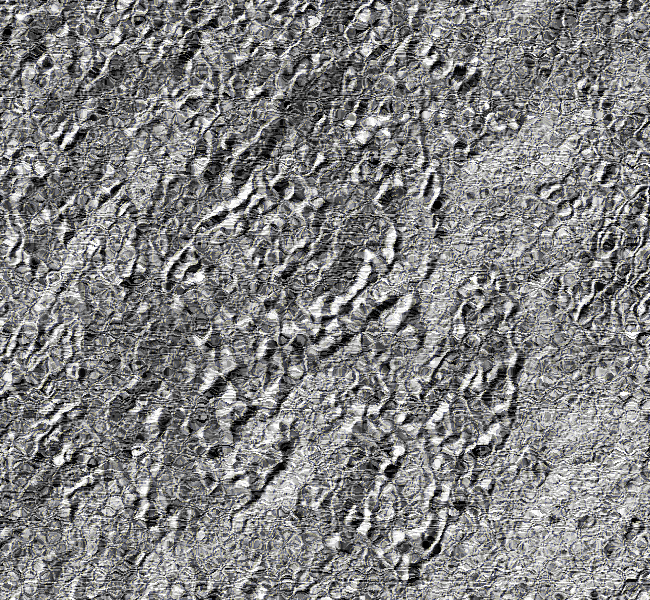
Wrinkled Metal Foil Texture in Photoshop
So far the result looks something similar to a wrinkled metal foil texture like aluminium foil for example. So you can use this texture as is or you can read the rest of the tutorial to learn how to create a golden foil effect.
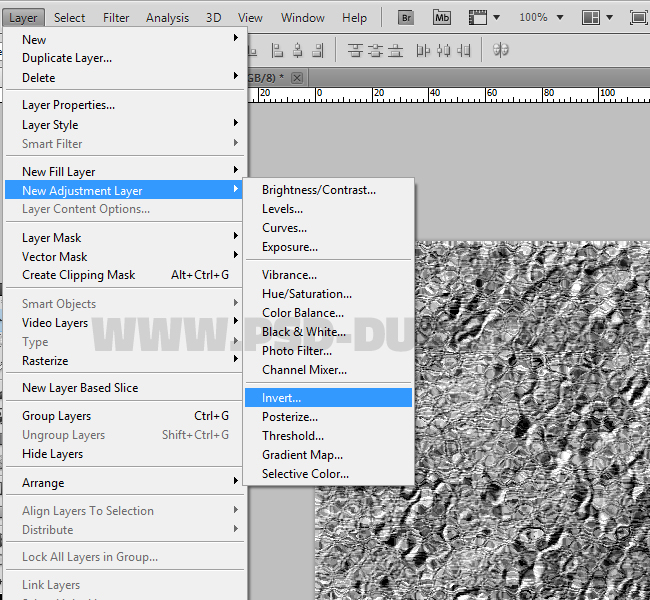
Go to Layer Menu > New Adjustment Layer > Invert. The Invert adjustment produces a photo negative effect by creating a negative based on the brightness values of the image.
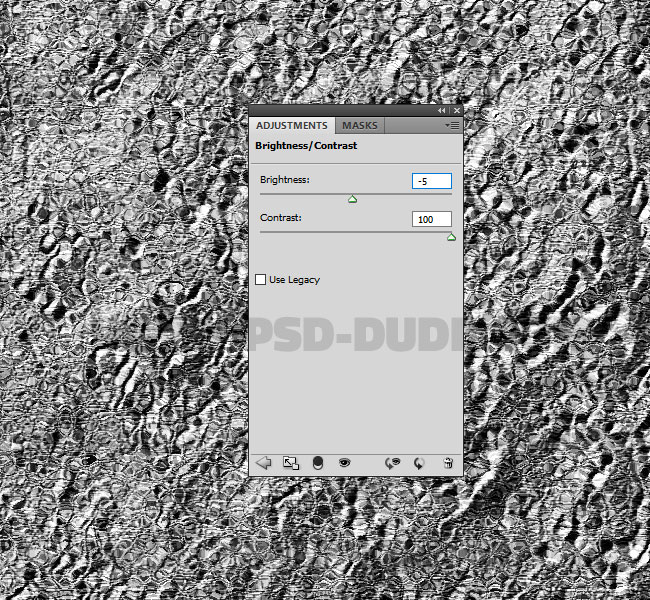
Add a Brightness/Contrast adjustment layer and increase the contrast to 100 like shown in the screenshot.
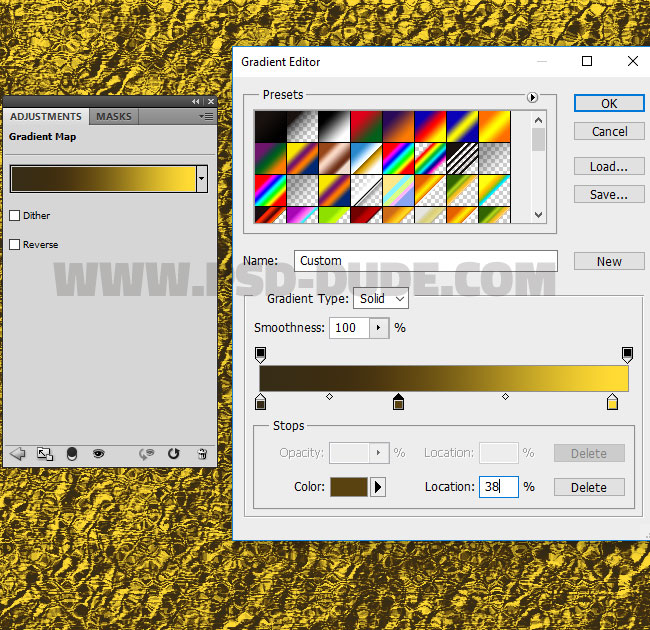
Add a Gradient Map adjustment layer with these colors: #362c16 (opacity 100%, location 0%), #594210 (opacity 100%, location 38%) and #ffdb33 (opacity 100%, location 96%).
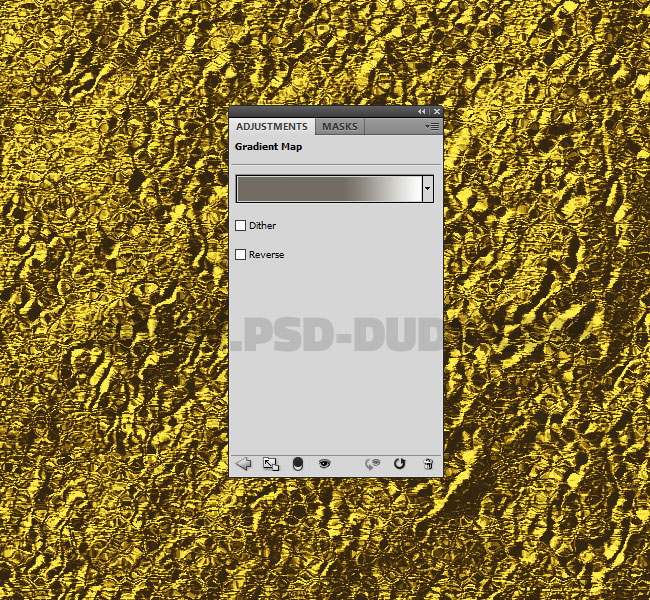
Add a new Gradient Map adjustment layer with these colors: #726d63 (opacity 100%, location 57%) and #ffffff (opacity 100%, location 100%). Set the blend mode of this adjustment to Overlay, opacity 100%.
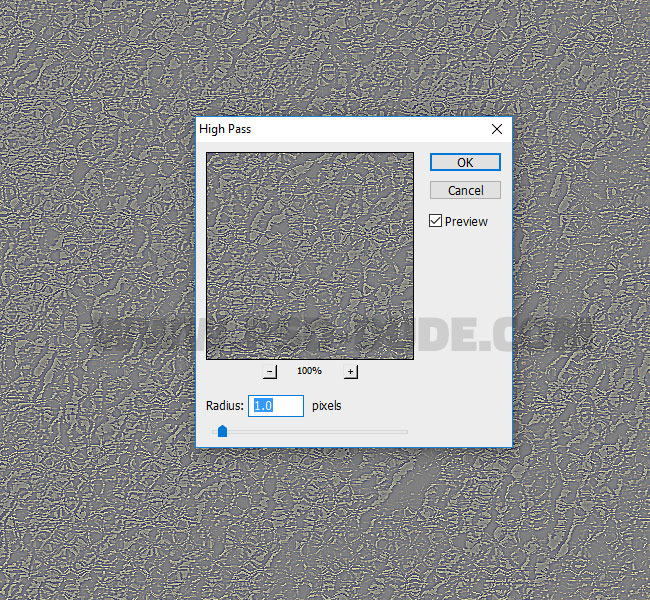
Press SHIFT+CTRL+ALT+E to make a copy of all the visible layers merged. Call this layer Sharpen Effect. Go to Filter > Other > High Pass. Set the blend mode of this layer to Overlay.
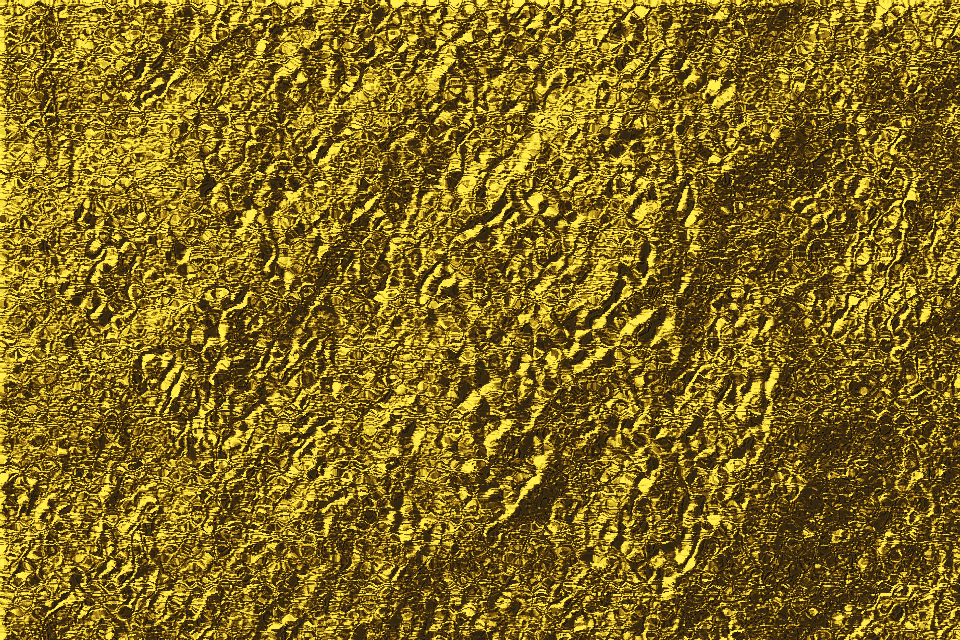
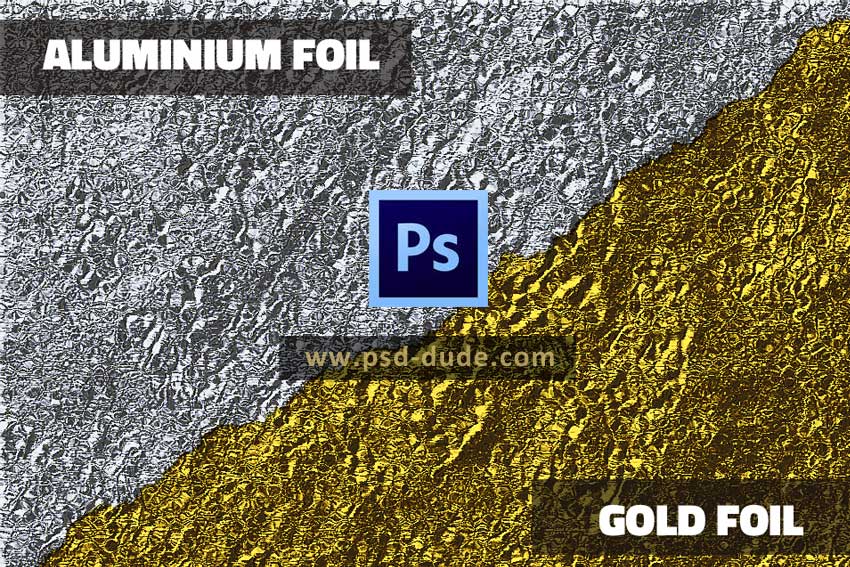
So here is the final result for the aluminium foil and gold leaf textures made in Photoshop from scratch.
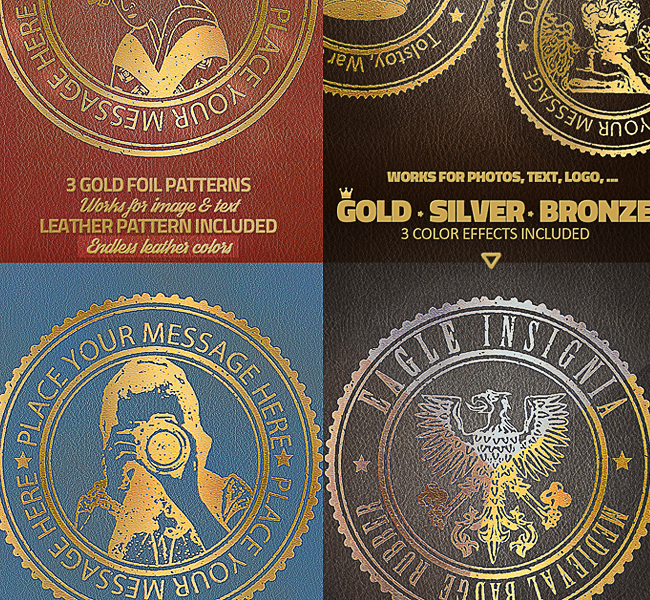
You might also be interested in this cool item for creating Gold leaf rubber stamps in Photoshop using your own photos. The gold foil stamp has a leather texture background that you can customize adding any color you want.
Gold Foil Stamp Photoshop Action
Make sure to check out this collection of the best gold text effect PSD templates and layer styles.
You might also like these premium Photoshop actions for creating jewelry from text and custom shapes. You can create gold and silver, diamonds, pearls and other precious stone effects.
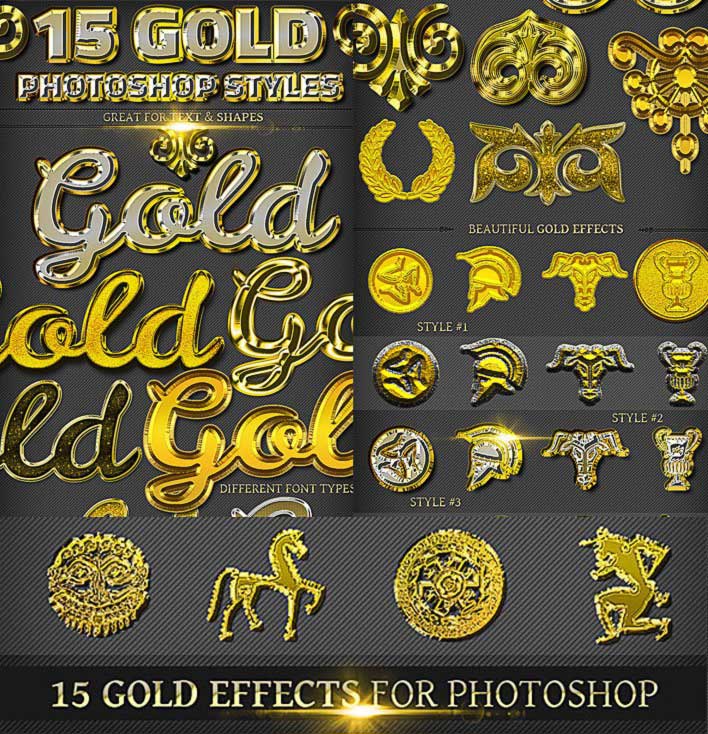
15 Gold Effect Photoshop Styles
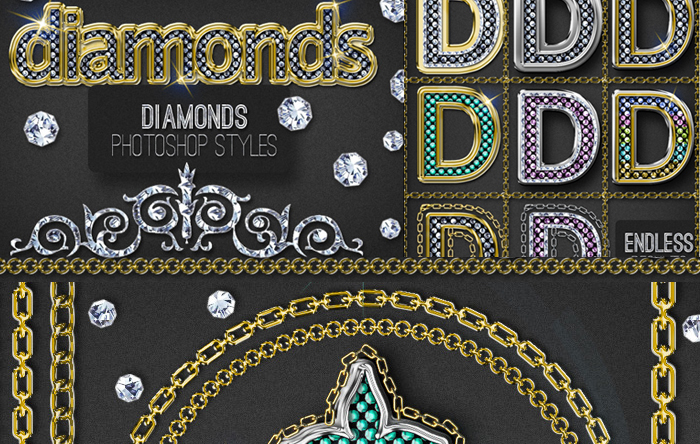
Bling-Bling Diamonds and Gold Photoshop Style Creator
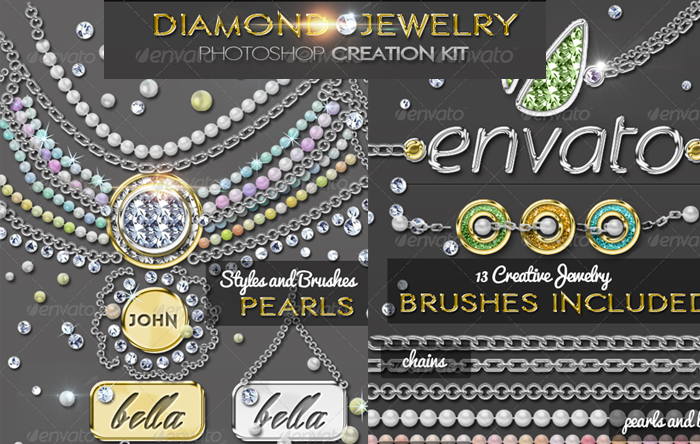
Gold Diamonds and Pearls Jewelry Photoshop Creator


6 comment(s) for "How to Create a Gold Foil Texture in Adobe Photoshop"