Tutorial Assets
Add Your Photo
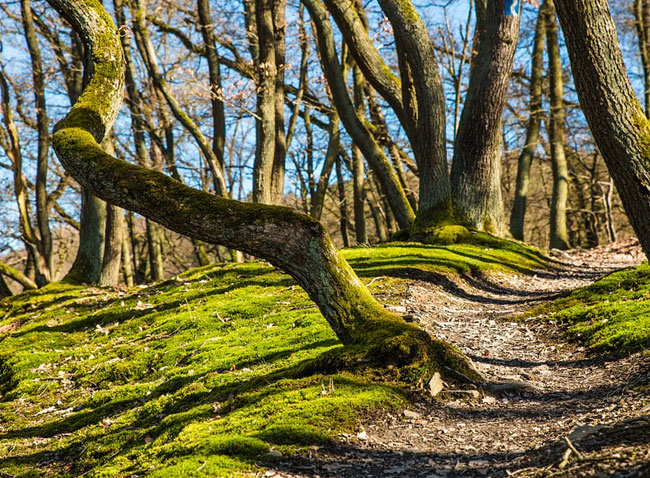
Create a new PSD file and add you photo. For this tutorial I will use this beautiful spring forest landscape stock image.
What is Selective Color
Selective Color is a Photoshop adjustment layer that you can use for post-processing your photos. Selective Color is used to create the black and white photo effect while some parts are left in color. Also you can use it for dramatic color toning, for example changing the season of a photo, like I will show you in this tutorial. You can also use the Selective Color adjustment to correct skin color in Photoshop.
How to Use Photoshop Selective Color Adjustment
Click the Create new fill or adjustment layer icon at the bottom of the Layers panel, and choose Selective Color.
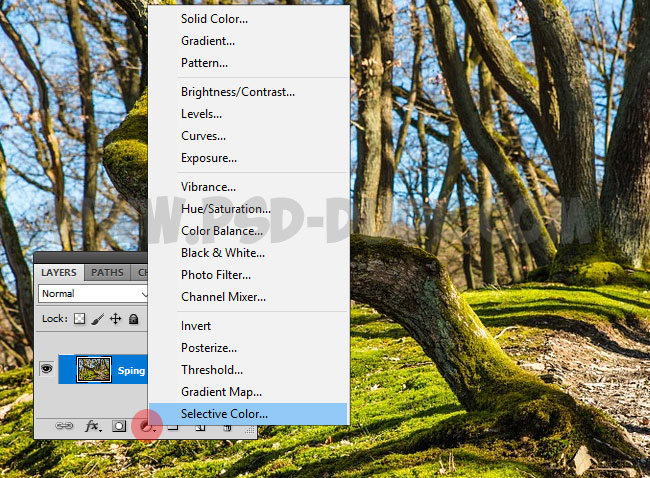
As you can see this adjustment has a dropdown list called Colors: reds, yellows, greens, cyans, blues, magentas, whites, neutrals and blacks. We will change the settings for some of these color tones.
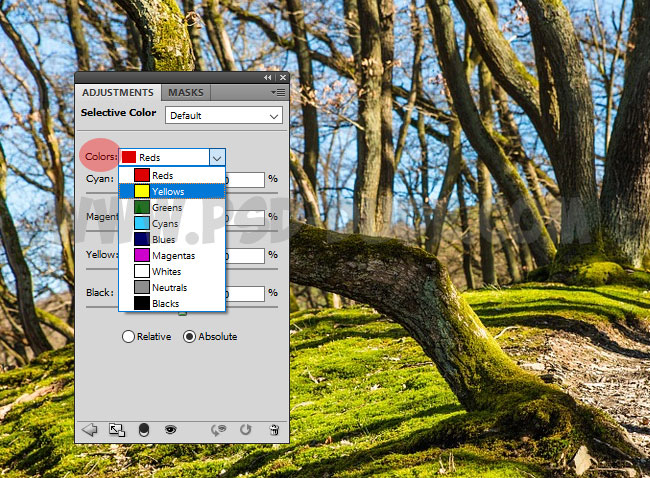
How to Create Spring to Autumn Effect in Photoshop using Selective Color
Because every photo is unique also in terms of color tones, you have to use other color toning settings if you are not using this exact image. So play with all the Colors to obtain the best result. Autumn has beautiful orange, red and golden color tones. So to change spring season to autumn, mainly you have to modify the Greens and Yellows.
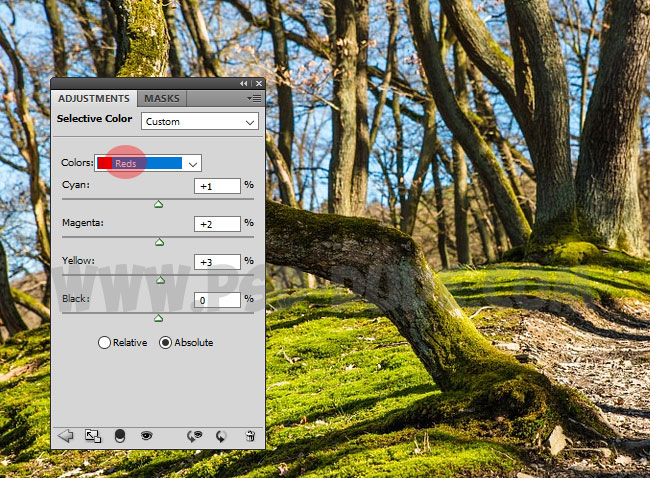
Set the Reds color tones.
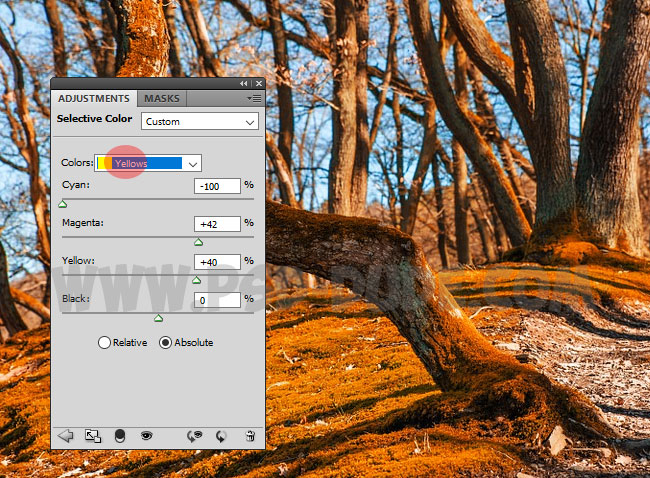
Set the Yellows color tones.
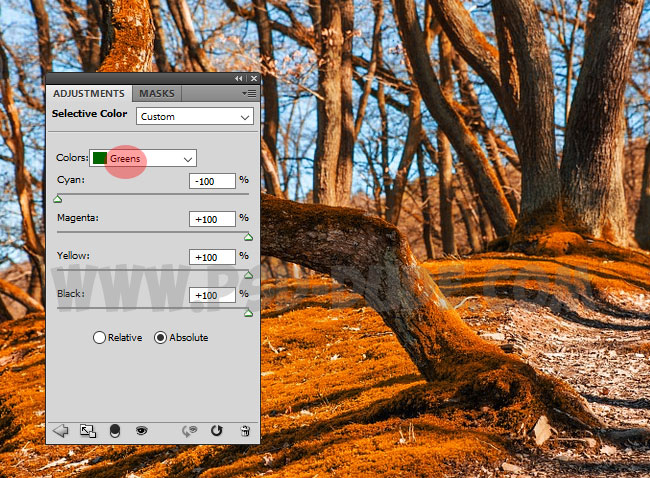
Set the Greens color tones.
How to Add Autumn Falling Leaves in Photoshop
Create a new layer on top of all the other layers and adjustments. Download this autumn falling leaves PNG overlay image. Go to File > Place and add this PNG image. Call it Falling Leaves 1. You might have to resize the image depends on your canvas size. Duplicate the Falling Leaves 1 layer and call it Falling Leaves 2
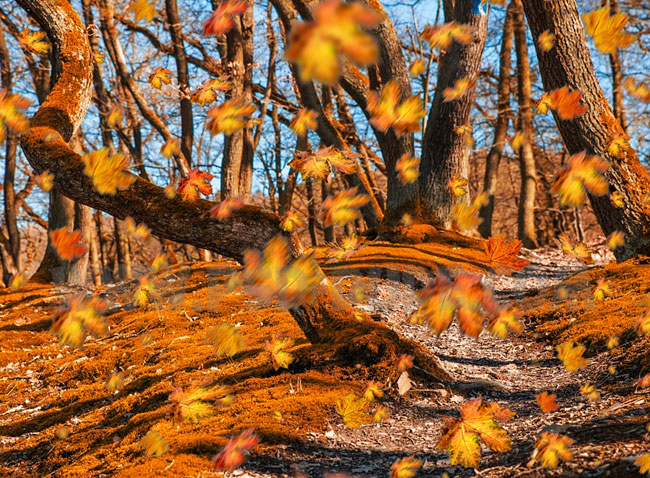
Resize the Falling Leaves 1 layer to around 50-60%. Return to the Falling Leaves 2 layer and use the Eraser Tool and a soft round brush to delete the center area (the idea is that the two Falling Leaves layer to not overlap too much)
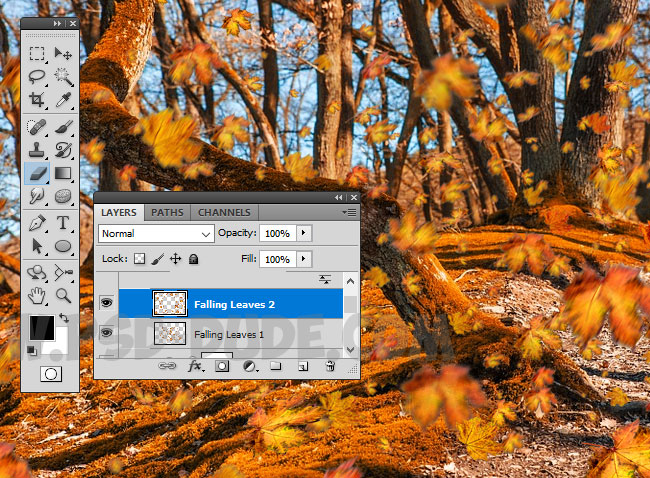
For the final touches click the Create new fill or adjustment layer icon at the bottom of the Layers panel, and choose Photo Filter; set the Color to #ec8a00 and Density to 40%.
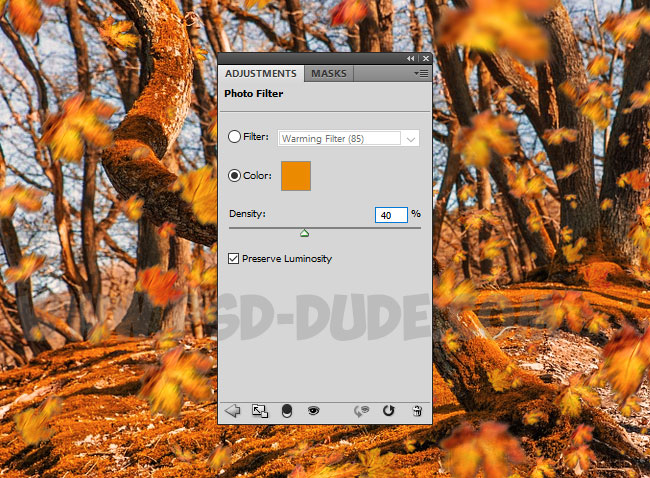
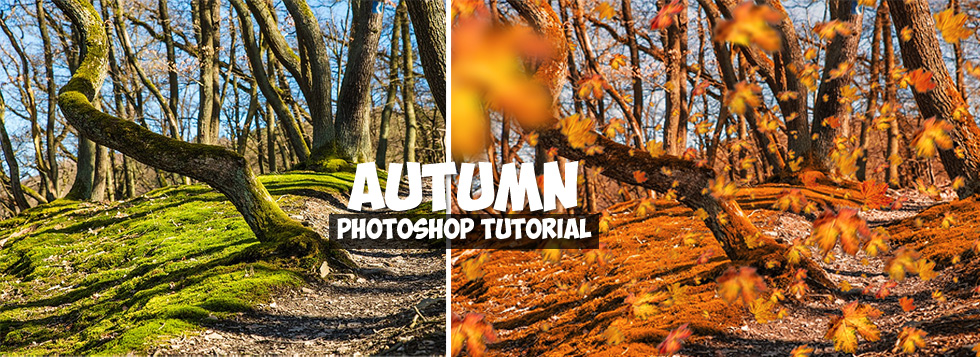
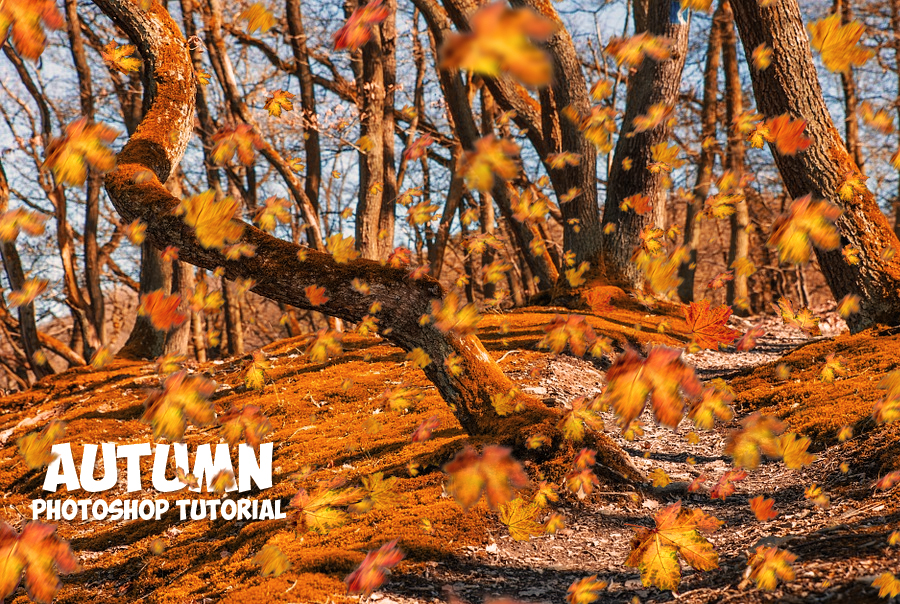
So here is the final result for the change season autumn effect in Photoshop tutorial.


2 comment(s) for "How To Change Season Autumn Effect In Photoshop"