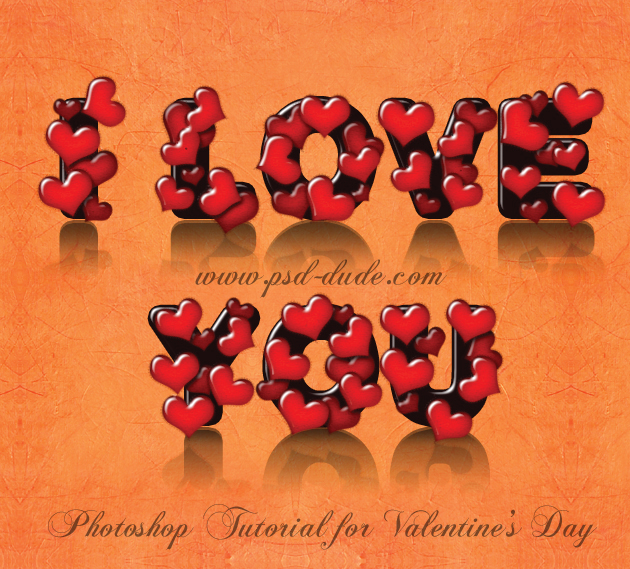
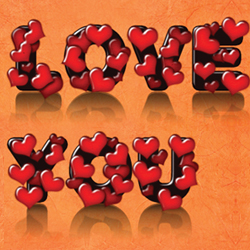
Learn how to create a beautiful Photoshop I love you text art effect with reflection on a glossy surface. The text is black and covered with red heart shapes; this effect can be used to create Valentine's day inspired cards, wallpapers and so on. If you only want to write a text message to your loved one, you can simply use a heart emoji like this 💕. But, if you want to really impress someone for Valentine's Day, try out this tutorial.
Don't Want to Use Photoshop?
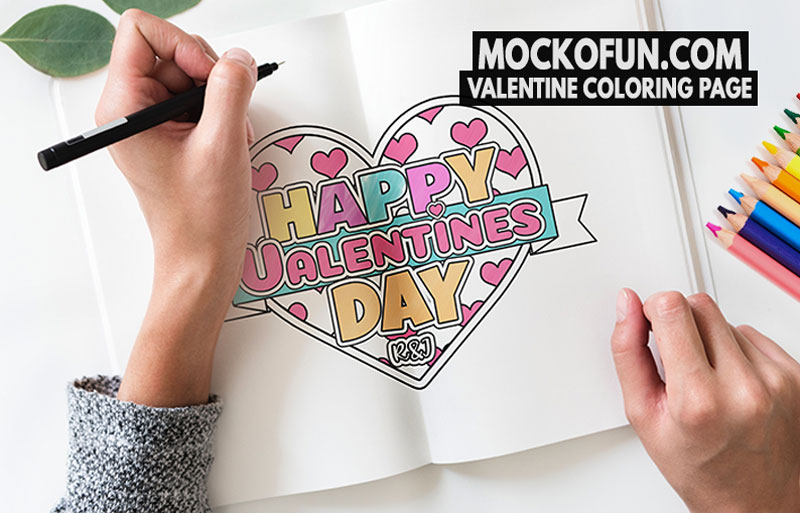
If you don't have Photoshop, or simply don't feel like opening it up and want to create a quick Valentine's Day card I have an idea for you. Check out this Valentine Coloring Page online template. Yes, ONLINE, you can modify this in your browser, then download it as an image, print it and color it as you like to give it a personal touch.
"I Love You" Text Art Effect for Valentine Day Preview
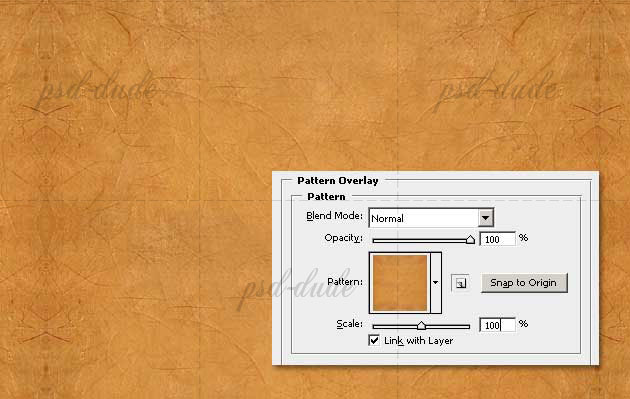
Old Paper Background
Create a new layer and fill it with the Foreground Color(press SHIFT + F5). Call it Background Layer. Reduce Fill to 0% and add Pattern Overlay using this old paper texture or this old paper pattern.
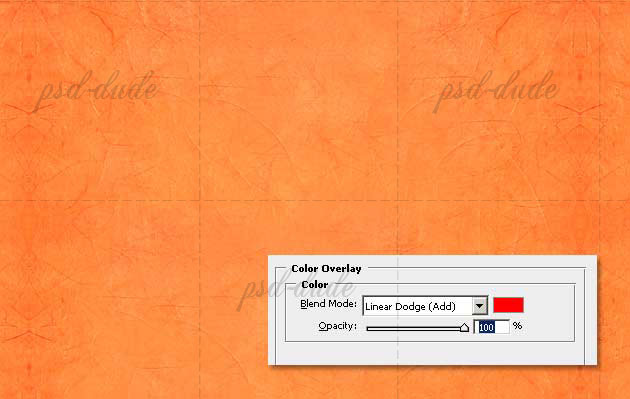
Add Color Overlay to the same Background Layer using the following settings. The color used is red #ff0000.
The "I Love You" Text Message
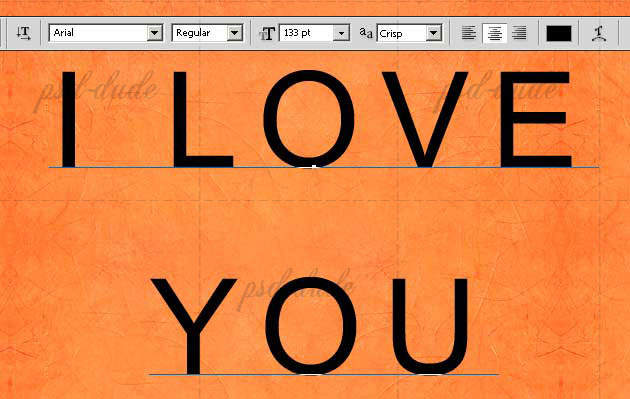
Use a simple Arial Font to write "I LOVE YOU" with uppercase letters. The color used for this text is black #000000. Use a big size for the letters, I have used 133 px. And place the text on two lines and press the Center Text button for the alignment.
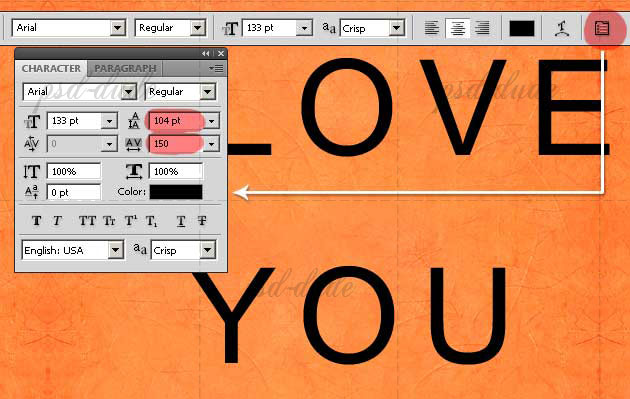
Open the Character and Paragraph panel and set the space between lines and the space between the letters like shown in the image:
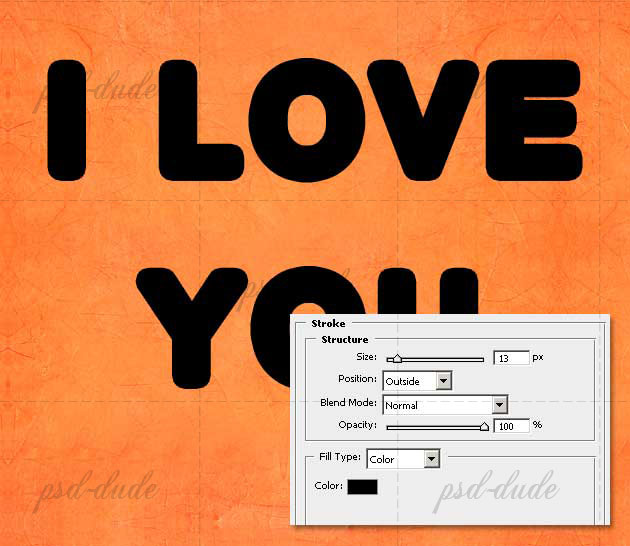
Open the Layer Style Window of the Text Layer and add a 13 px black Stroke. If you are new to Photoshop and want to learn more about stroke settings, check out my tutorial on Outline In Photoshop or the more detailed tutorial about How To OUtline Text In Photoshop.
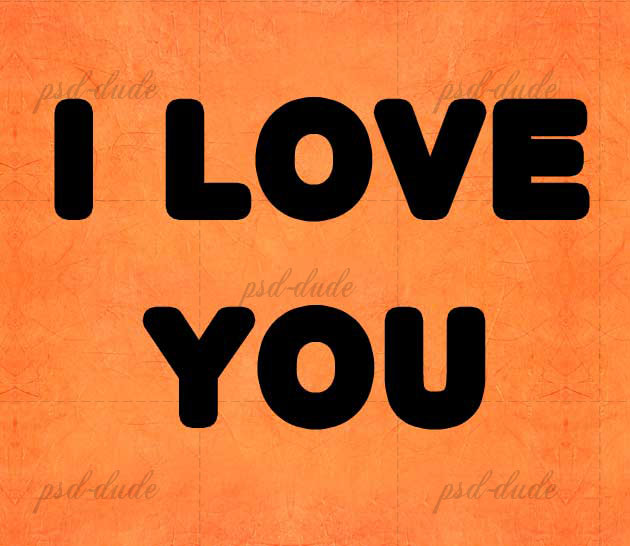
Create a new empty layer above the Text Layer. Rasterize the Text Layer and merge the two of them. You will obtain a new layer with the text with the stroke all rasterized. Call this new layer Black Text Layer.
3D Text Effect
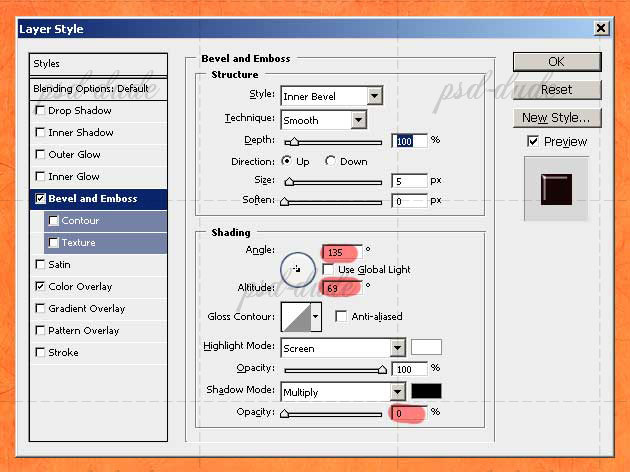
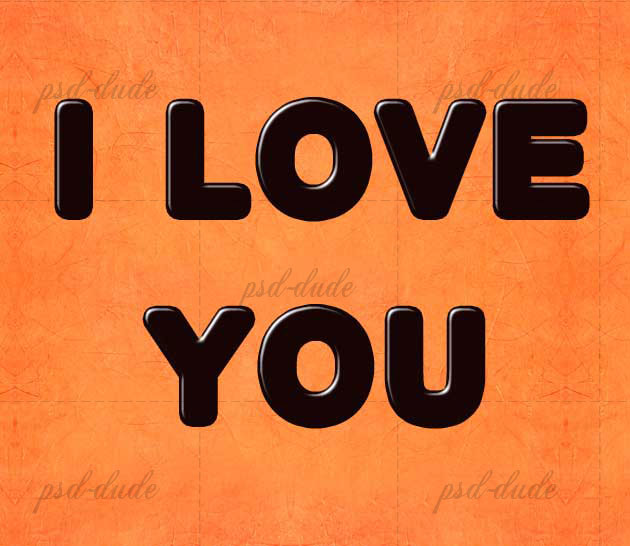
Open the Layer Style Window of the Black Text Layer and add a Bevel and Emboss effect with the following settings:
Heart Brushes
Create a new layer and call it Dark Hearts. We need a simple heart shape brush for this step. If you don't have it in your list you can download these heart brushes Pick the simple brush from this set, open the Brushes Panel and make the following settings to create a custom made new heart brush:
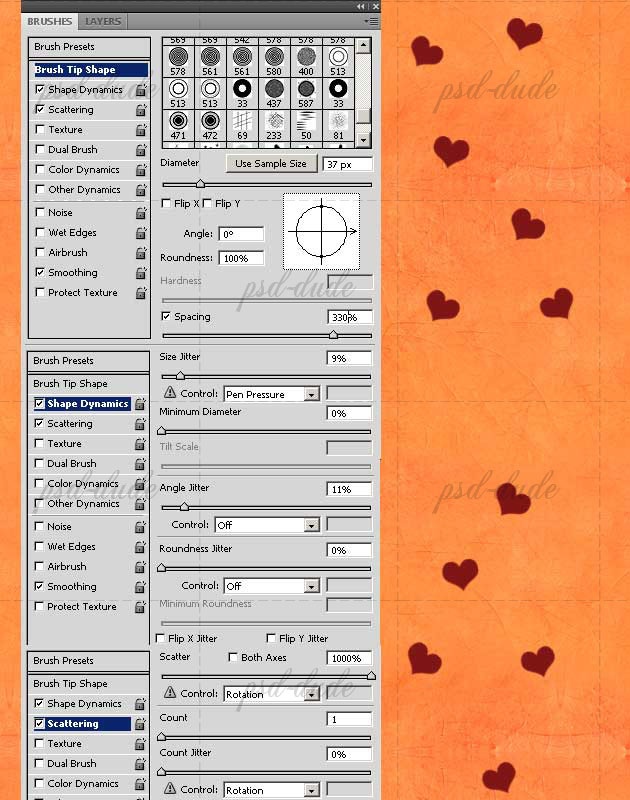
Pick the #7e1515 color and with the brush that we've just created in the previous step add hearts on the text area. But make sure you add the hearts in the Dark Hearts Layer.
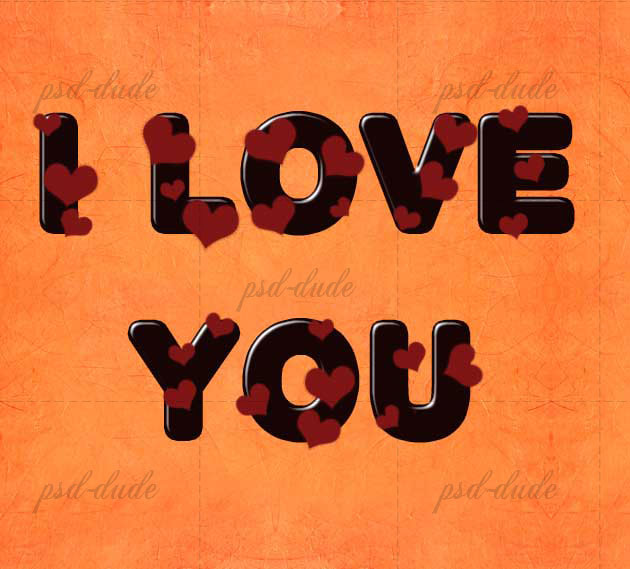
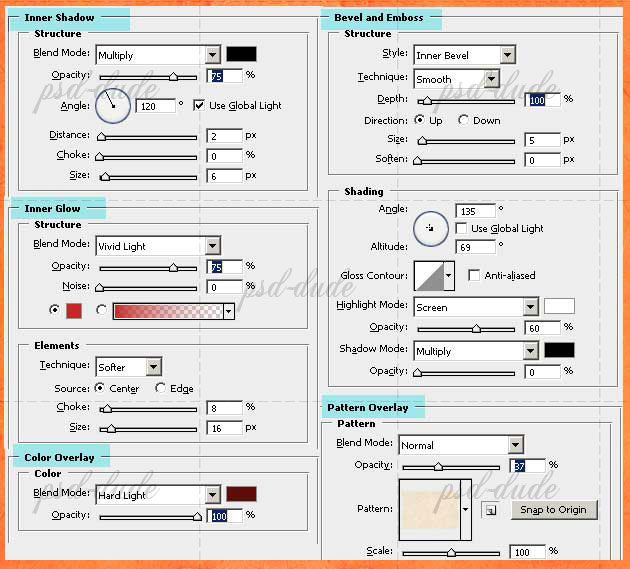
Now I will add some layer style effects to these hearts. I am talking about an Inner Shadow, Inner Glow(color #c72625), Bevel and Emboss, Color Overlay(color #600b0b) and Pattern Overlay(Seamless Paper Patterns). Yes I know there are a lot of effects, make sure you set them right. These will make the a glass heart effect. If you want to know more about making glass in Photoshop, check out this awesome list of Glass Style Photoshop freebies.
The result so far should look something like this:
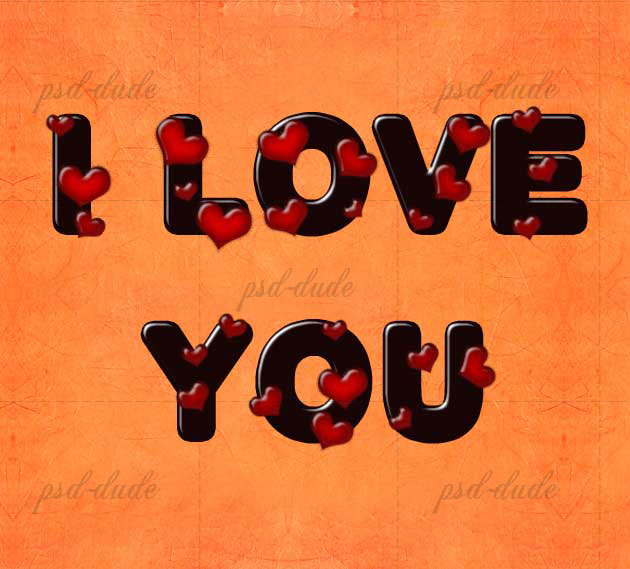
Create a new layer above this one and call it Light Hearts. Use the same brush and the same color.
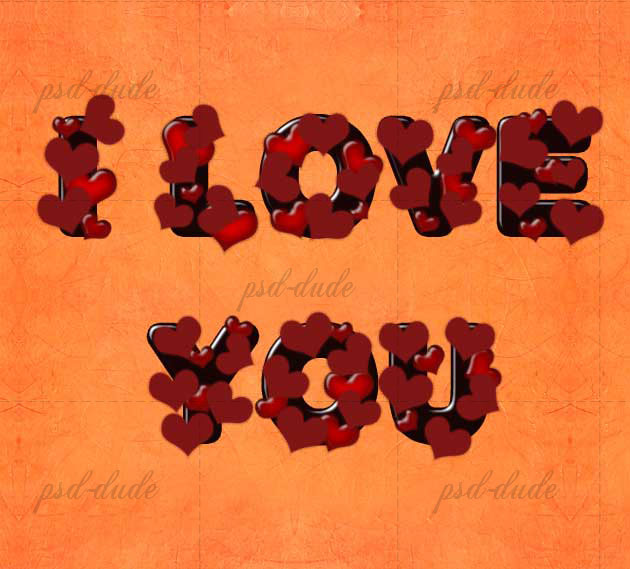
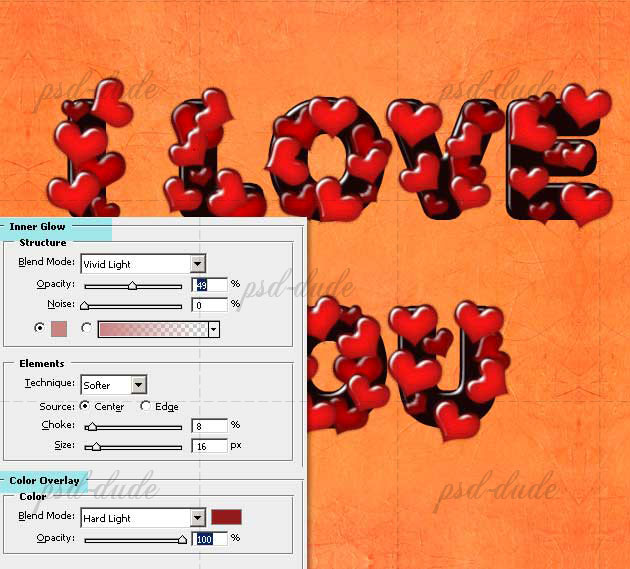
Add the same layer style effects like you did with the Dark Hearts Layer. The only difference is with the Inner Glow(color #cb8383) and the Color Overlay(color #921b1b)
Drop Shadow Effect
Duplicate the Light Hearts Layer, remove all the layer styles. Call this layer Hearts Shadow. Reduce the Fill to 0%. Add a Drop Shadow effect and place this layer between the Light Hearts and the Dark Hearts.
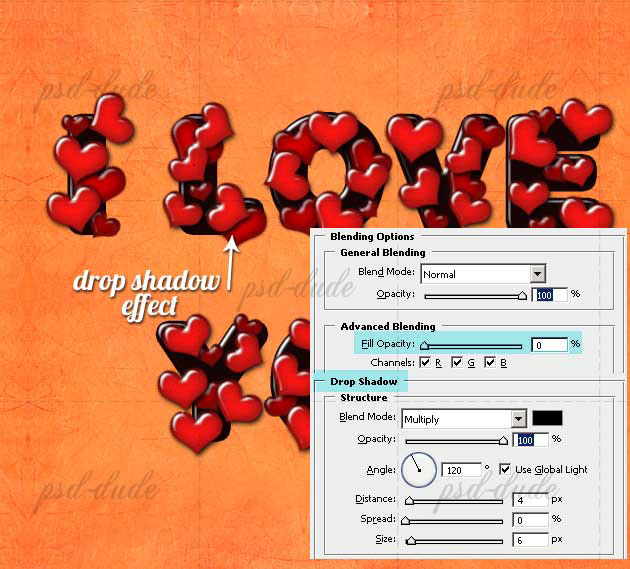
Create a new empty layer above the Hearts Shadow layer and merge the two of them. Rename this layer Hearts Shadow again. That way the Drop Shadow effect gets rasterized.
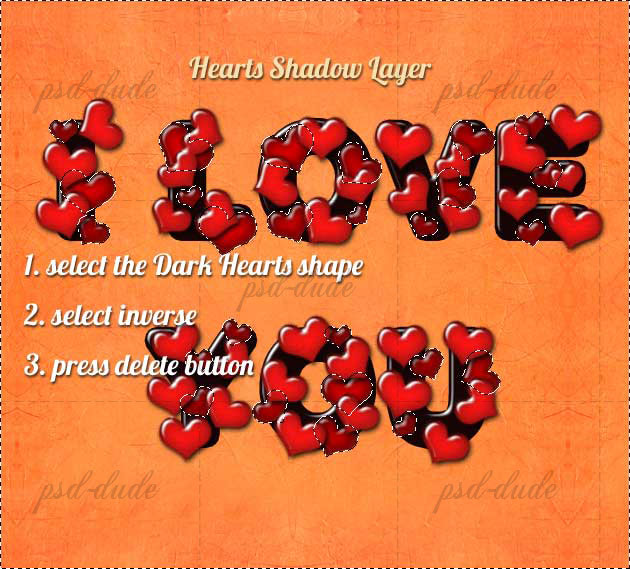
Select the Dark Hearts(CTRL+click on the layer thumbnail), Select Inverse and press delete. Make sure you are in the Shadow Layer when you press delete.
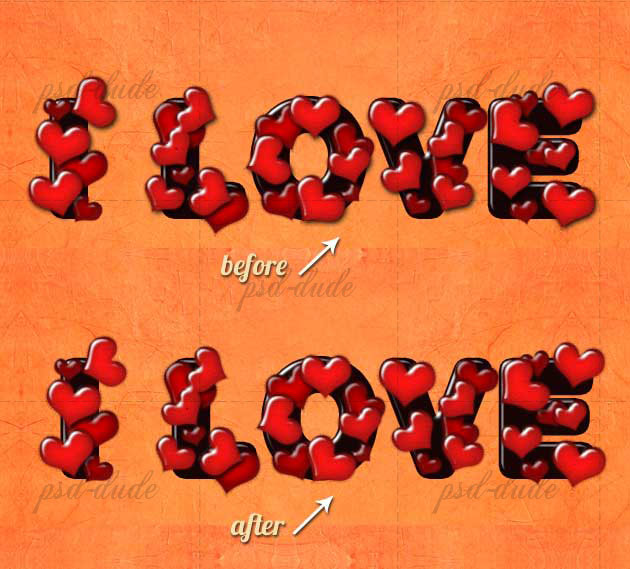
Here is the before/after result. The idea is that the Light Hearts drop a shadow only on the Dark Hearts, not on the air. An object drops a shadow only on solid or liquid surfaces.
Make The "I Love You" Text Reflection In Photoshop
Time to add another cool effect. Right now the text seems to be floating in the air. To give the illusion that the text is standing on a ground we have to add a reflection. So select the "I love" text and press CTR+J (Layer via Copy). Remove the layer style of the new layer. Press CTRL+T for transform and filp vertical like shown in the image. This technique is covered in depth in my tutorial How To Make Reflection In Photoshop
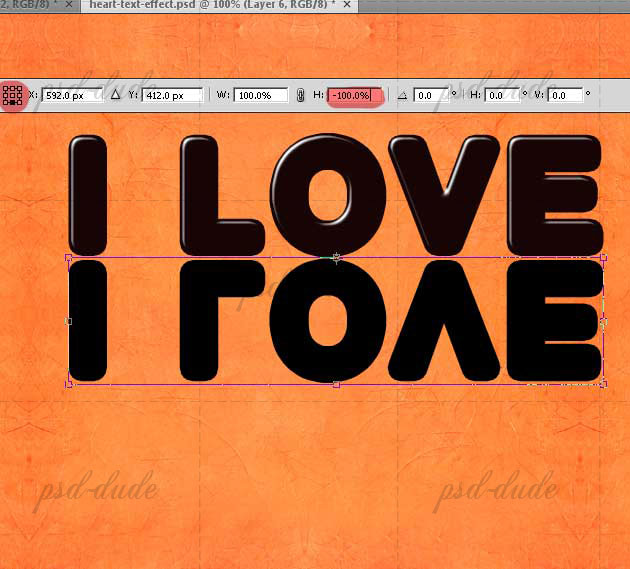
Reduce the Fill to 0% and add a Gradient Overlay with a transparent (black 100%, black 0%) linear gradient.
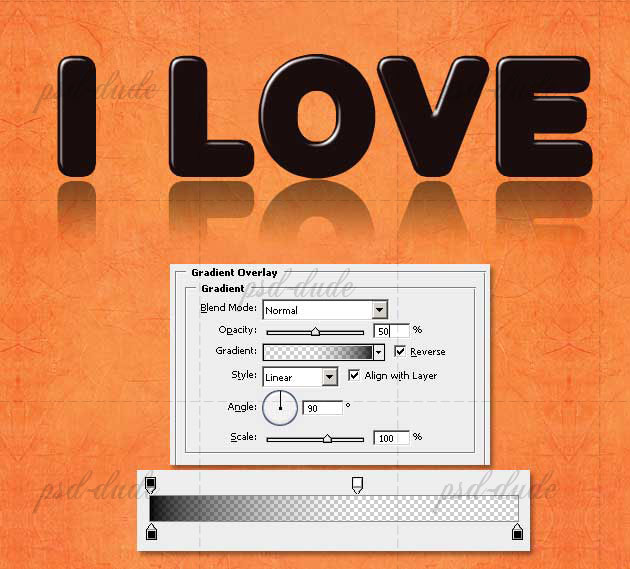
Repeat the same procedure with the "You" text but in another layer. To simplify the process, Copy Layer Style of the "I love" Shadow layer and Paste Layer Style to "You" Shadow layer. This is how your text should now look like.
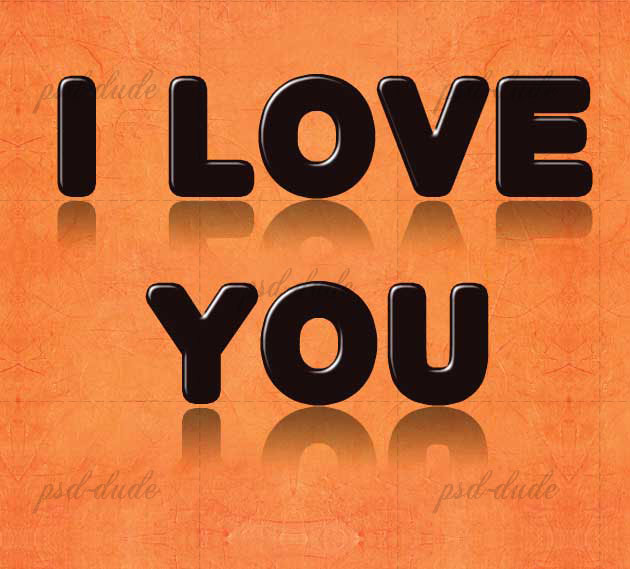
To make it look even more realistic you will have to add a reflection for the Hearts Layers also. Here is my final result for the Love Text Effect for Valentine Day. Hope you like it.

Valentine's Day Text Messages
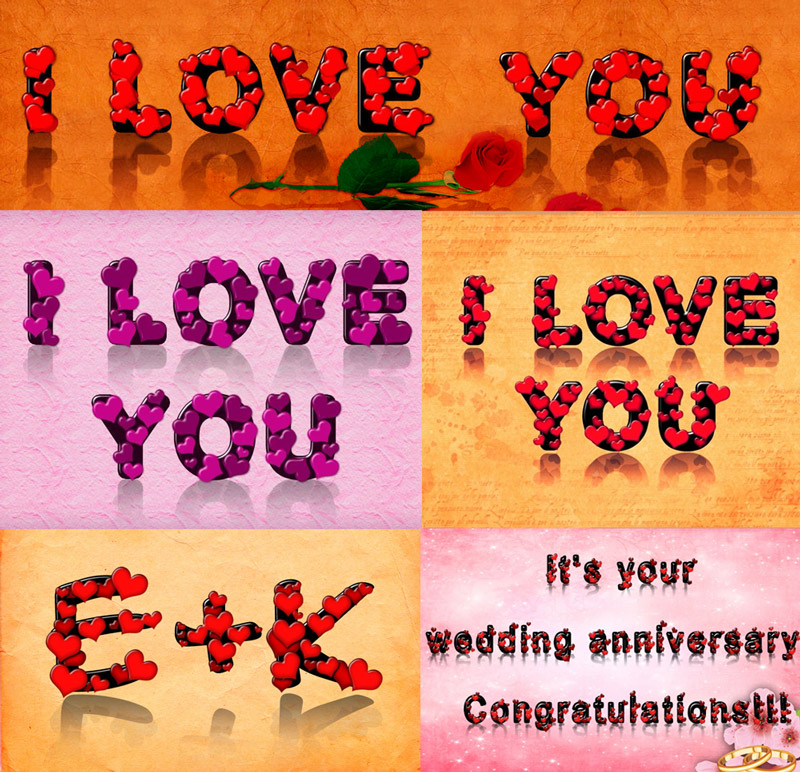
Here's a couple of examples that you can make with this "I Love You" Art Text Photoshop tutorial:
Also, if you want to create Valentine's day cards really quickly and without Photoshop, check out MockoFun and the Heart Shape Design templates that you can modify online.
14 comment(s) for "Photoshop Love Text Effect for Valentine Day"
gracias,
un abrazo amiga.
;)
This beautiful fan art work was made by svladi.