What is a GIF?
A GIF (Graphics Interchange Format) is a short, looping animation or image format that supports both static and moving visuals, often used for memes, reactions, stickers, or short clips online.

GIF Software
A GIF maker allows you to create animated GIFs from scratch, edit GIFs that are already made, add text to GIF and so on. Here are some popular GIF creation software/tools:
- Adobe Photoshop – Professional tool for detailed and layered GIF creation.
- GIPHY – Web-based tool for making fun, quick GIFs from videos or images.
- EZGIF – Free online editor for creating and editing GIFs.
- MockoFun – User-friendly design tool online that also supports animated GIF exports.
- Krita – Free, open-source software with frame-by-frame animation tools.
- GIF Brewery (Mac) – Convert video clips into GIFs easily.
- ImgPlay (iOS/Android) – Mobile app for quick GIF creation from videos or photos.
How to create animated GIFs in Photoshop
In Photoshop, there are two main types of animation:
- Photoshop Frame Animation – Uses individual frames to show changes over time (like a flipbook). Ideal for simple GIFs.
- Photoshop Timeline Animation – Uses keyframes to animate properties (like position, opacity) over time. Better for complex, smooth motion.
Both can be exported as GIFs, but frame animation is the most common for classic looping GIFs.
To create animated GIFs in Photoshop, you use the Timeline panel to build a frame-by-frame or layer-based animation, set frame durations and looping options, then export it as a GIF using the "Save for Web (Legacy)" option.
How to Create a GIF in Photoshop
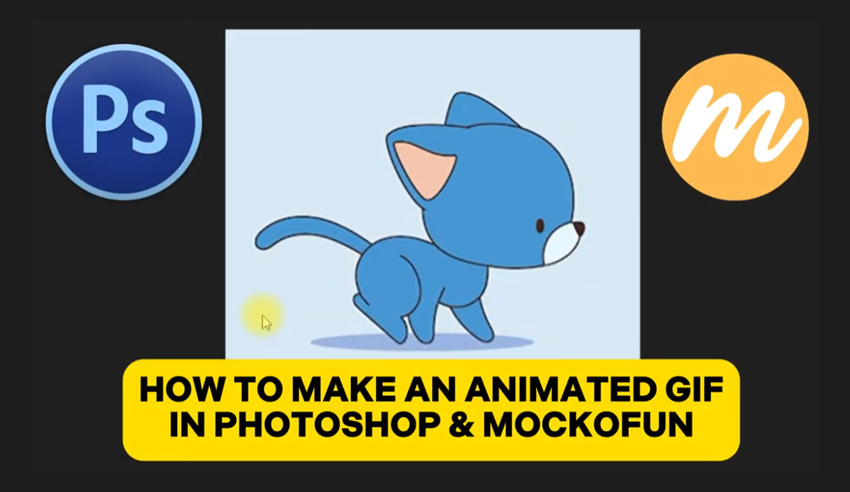
Learn how to make a GIF in Photoshop from this quick tutorial for beginners.
To create GIFs in Photoshop you can use your own drawings or you can use sprites from freepik like I did.
- Open Photoshop and create a new file or import images.
- Go to Window > Timeline to open the Timeline panel.
- Click "Create Frame Animation" in the Timeline panel.
- Add new frames by duplicating layers and adjusting content.
- Set the duration for each frame (e.g., 0.1s, 0.5s, etc.) and the looping option (e.g., once, forever, etc.).
- Click "Play" to preview the animation.
- Go to File > Export > Save for Web (Legacy).
- Choose GIF format, adjust settings, and click Save.
GIF Types
Now that you know how to create an animated Gif in Photoshop, let's see what types of GIFs you can make. As you probably guess, there are all kinds of GIF types that you can create with Photoshop or online with MockoFun (free tool with limited options). Let's see some of them:
- Cinemagraphs. A still photo with subtle motion, like moving hair or water.
- Looping GIFs. Simple animations that loop seamlessly, often used for memes or product demos.
- Frame-by-Frame Animations. Each frame is a new image, like a flipbook, showing detailed motion.
- Text Animations. Animated text appearing, disappearing, or changing styles.
- GIF Stickers. Small, animated graphics used for social media or messaging.
- GIF with Transparent Background. Animation with a transparent background, useful for overlays.
- Stop Motion GIFs. A series of photographsphotographing real objects or scenes one frame at a time, creating the illusion of movement when played in sequence.
- Reaction GIFs. A reaction GIF is a short, looping animation often used to express emotions or reactions, like laughter, surprise, or frustration, typically pulled from movies, TV shows, or social media.
- Data Animations. Animated charts or graphs that visually demonstrate data changes.
In Conclusion
Now you know how to make a gif animation in Photoshop using frame animation. If you want to learn how to edit GIF in Photoshop check out our next tutorial. You basically have to open the GIF in Photoshop and edit each layer(s) that coresonds to a frame.


4 comment(s) for "How to create animated GIFs in Photoshop"
I realize it isn't a good looking GIF because I've focused mainly on theory about animation in Photoshop,
hope u find it useful :D reply
tkankx reply