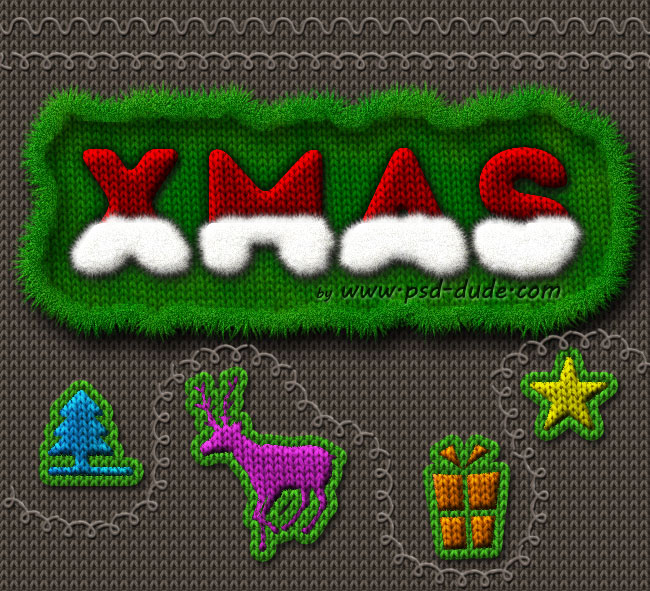
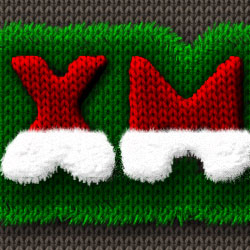
In this tutorial we'll learn how to create a santa hat text effect in Photoshop using some knitted texture and fur brushes. I was inspired to make this tutorial by a premium Christmas Style pack so I hope you like it.
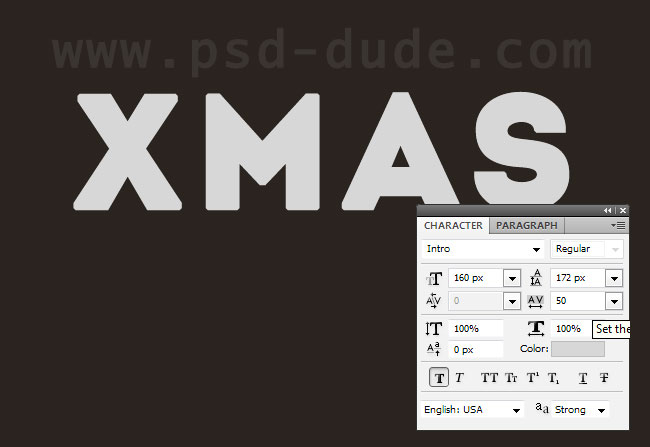
Create a new Text Layer and type "XMAS" using the intro free font. Learn how to install font in Photoshop from this quick tutoial for beginners.
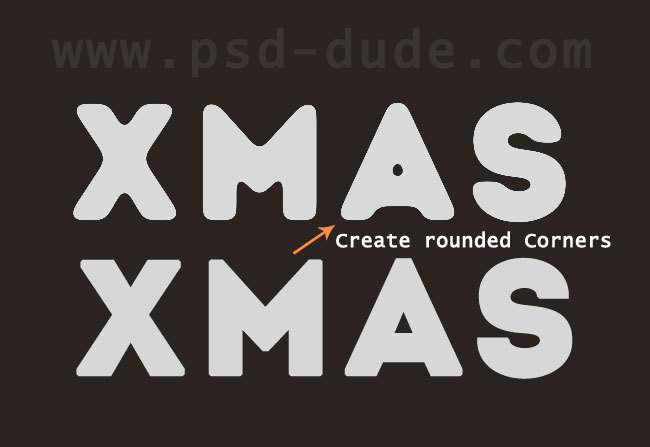
Now I will rasterize the text and make the edges of the text rounded. Learn how to create rounded corners in Photoshop from this quick tutorial. Hide the initial text layer and call the new rounded corner text, Xmas Text.
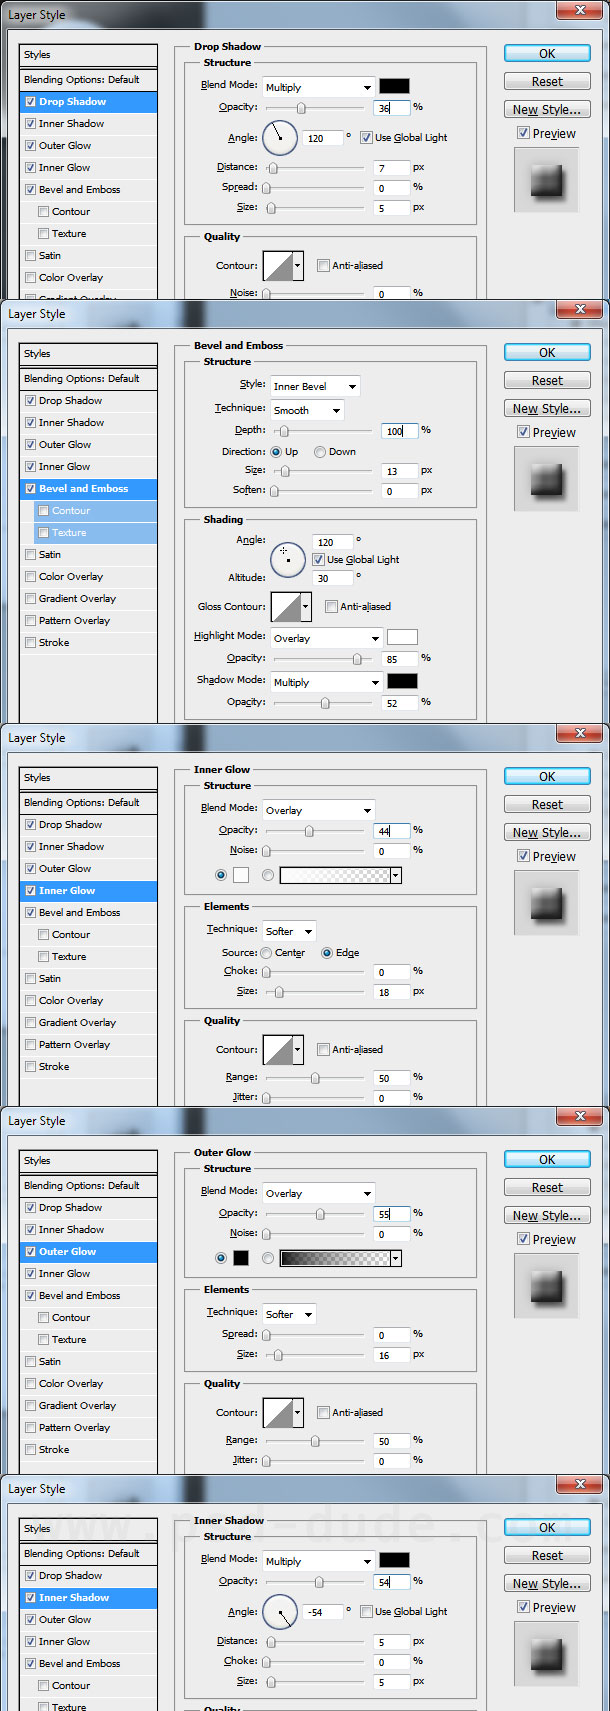
Open the layer style window of the Xmas Text layer and add the folowing layer styles. Your styles might have to be adjusted according to your font size. Learn how to scale effects from this quick Photoshop Layer Style Guide for Beginners
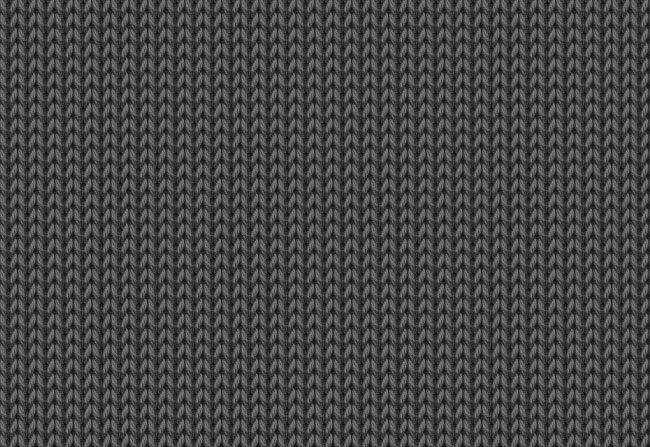
Copy this knitted texture in your PSD file. You might have to resize the image to your liking. Also go to Image > Adjustments > Desaturate. Place right above the Xmas Text layer. Call this Knitted Texture layer.
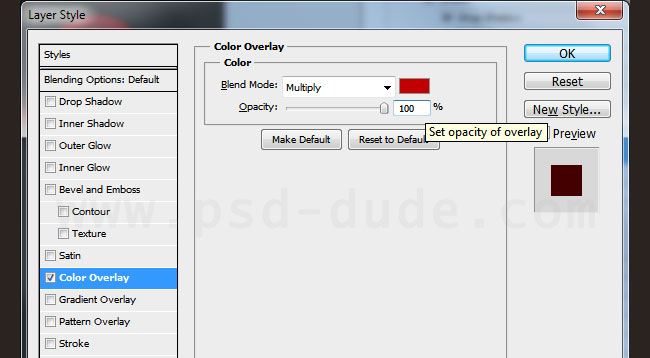
Add a Color Overlay to the Knitted Texture layer to change the color from gray to red, the color of the Santa Claus hat.
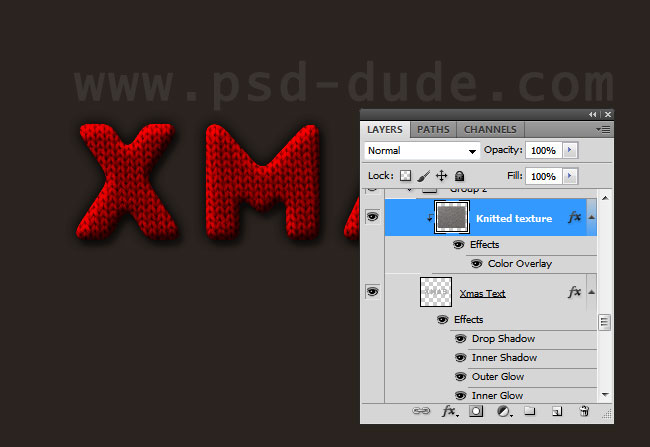
Right click on the Knitted Texture layer and turn this into a Clipping Mask
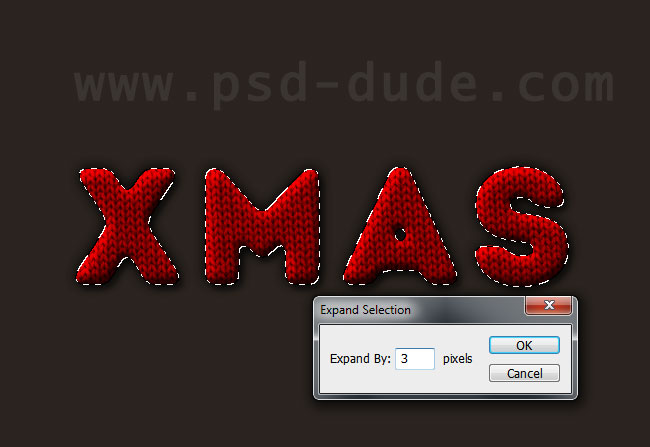
Make a selection out of the Xmas Text layer and Expand Selection with 3px (Select>Modify>Expand). Again it depends on your font size and of course the result that you want to obtain.
Create a new layer above the Knitted Texture layer and fill the selection with white color. Call this layer Fur Texture. Make a selection like in the image and remove part of the text.
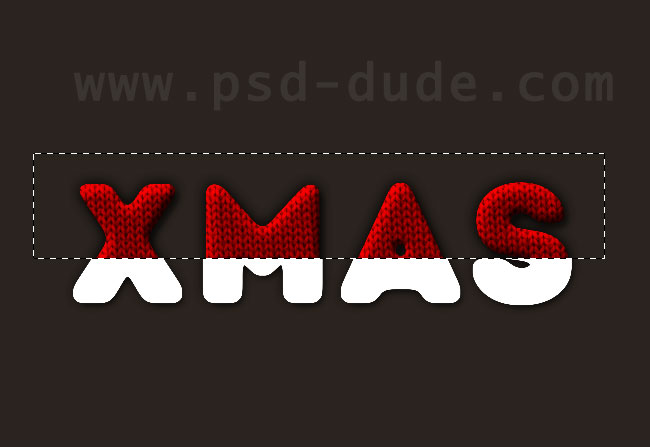
You can again make the rounded corners effect for the Fur Texture layer selection.
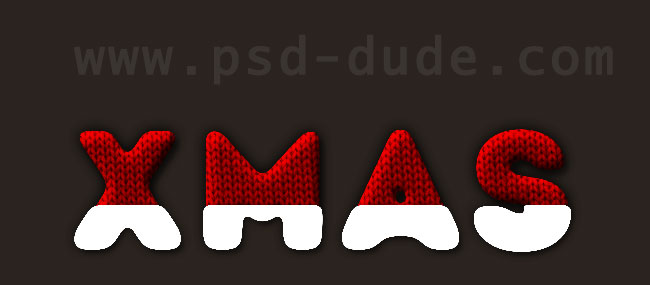
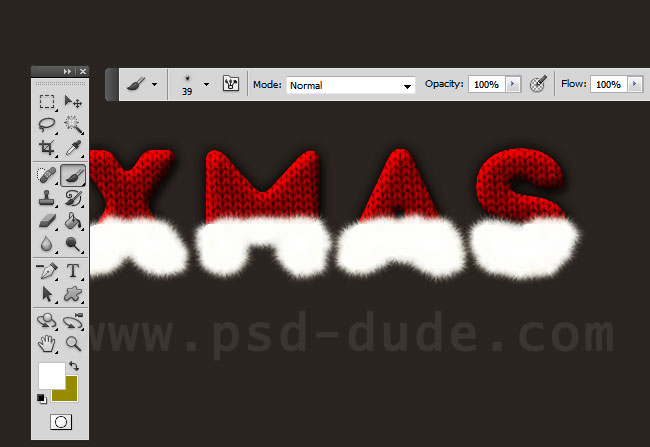
Make a selection out of the Fur Texture layer. Contract the selection with 4px (again it depends on the font size, brush size, etc). Make work path out of the selection and use one of these fur brushes to stroke path. You will obtain a fur effect like shown in the image.
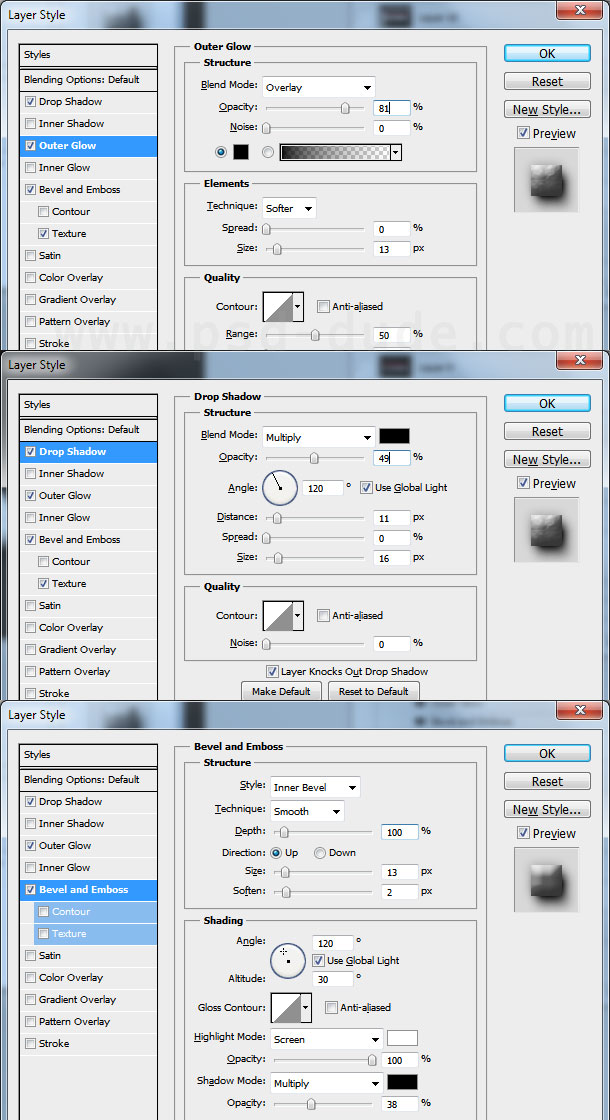
Add these layer styles for the Fur Texture layer
Make a selection out of the Xmas Text layer and Expand Selection with 30px (Select>Modify>Expand) and also round the selection. Create a new layer called Christmas Knitted Texture layer and fill it with green color #016002
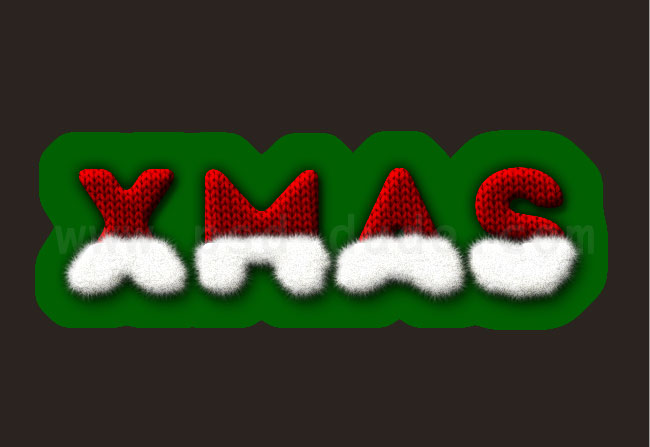
For this new layer repeat the previous steps and add fur effect on the edges and also add the knitted texture clipping mask but this time with no Color Overlay; instead set the blend mode of the texture layer to Soft Light. Add also a Drop Shadow and Inner Shadow effects and this is the result that you have to obtain.
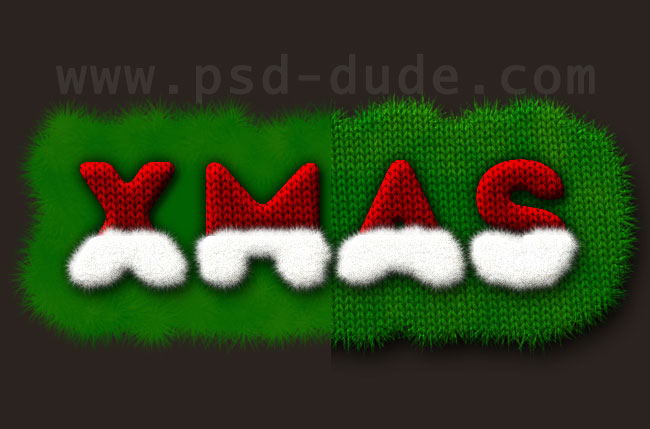
You can get even more creative and add a fur border using the same techniques.
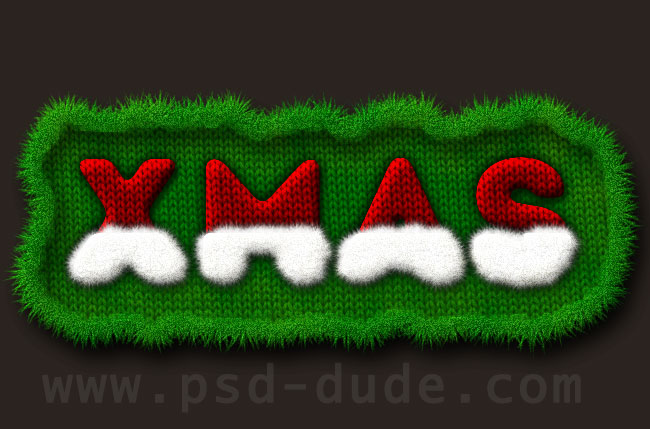
You can use the knitting texture also for the background and you can combine it with some Stitch brushes to create interesting effects.
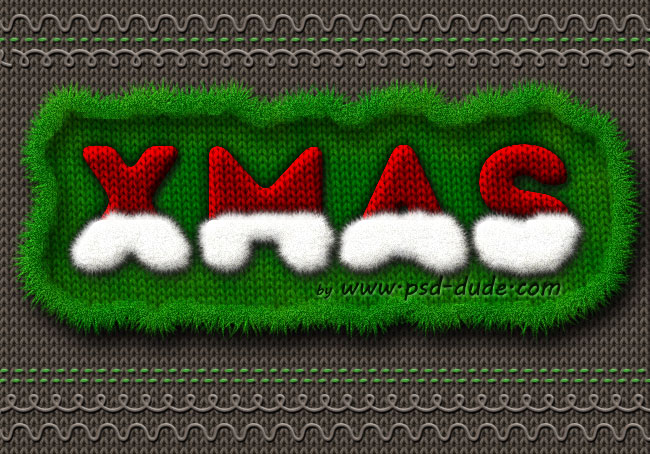
You can also make some creative knitted furry icons using Christmas vector shapes or even xmas vector graphics.

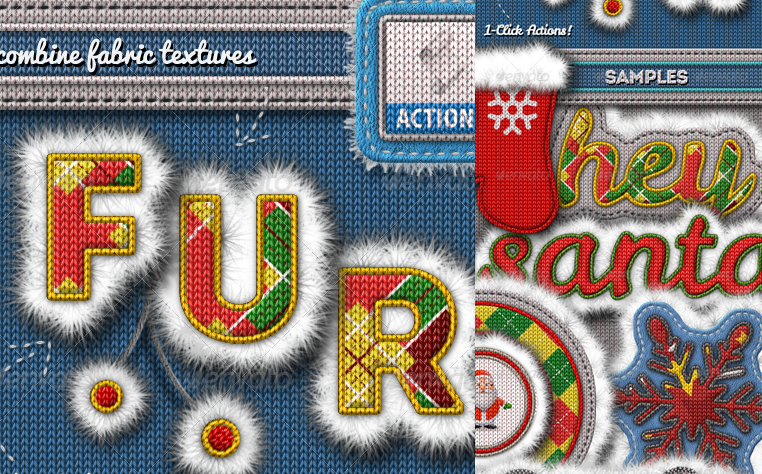
Knitted and Fur Photoshop Creator
This set contains 6 Photoshop actions that will allow you to create realistic knitted and fur effects out of any text, shape, raster. The knitted furry effect can easily be modified and customized after the action is ended.
Online Christmas Card Maker
Did you know you can use online tools like MockoFun to make Christmas cards? Combine Christmas vector shapes with text and create some amazing Christmas cards. MockoFun provides pre-made templates for making Christmas cards online in just a few minutes.
Check out this awesome list of over 50 Christmas fonts that you can use online or download for free to use in Photoshop. Combine Christmas fonts with text symbols like a star symbol for example.
Check out this tutorial on how to use the online Christmas Card Maker and all the awesome features that MockoFun has to offer.




7 comment(s) for "Santa Hat Knitted Christmas Text Effect in Photoshop"
gr van sonia
Here's what I'm amused to realize: