


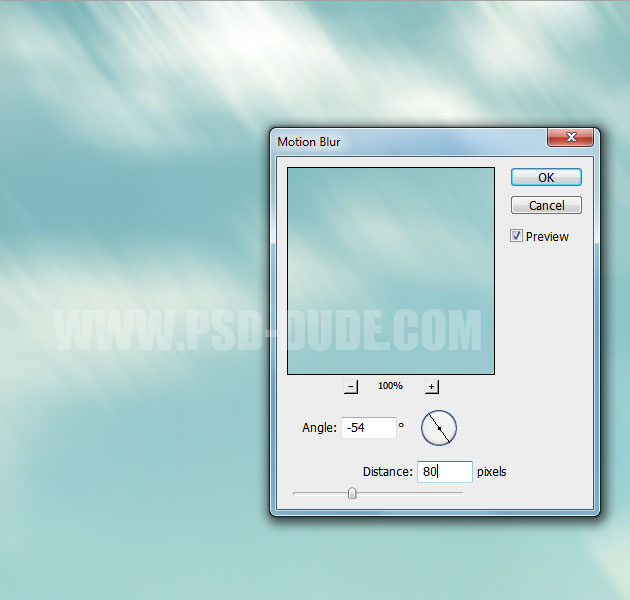
We will start with a simple white background layer. Above this layer create a new one and copy this beautiful sky clouds stock image. Use the Motion Blur to create an abstract look. You can also add a soft Gaussian Blur.
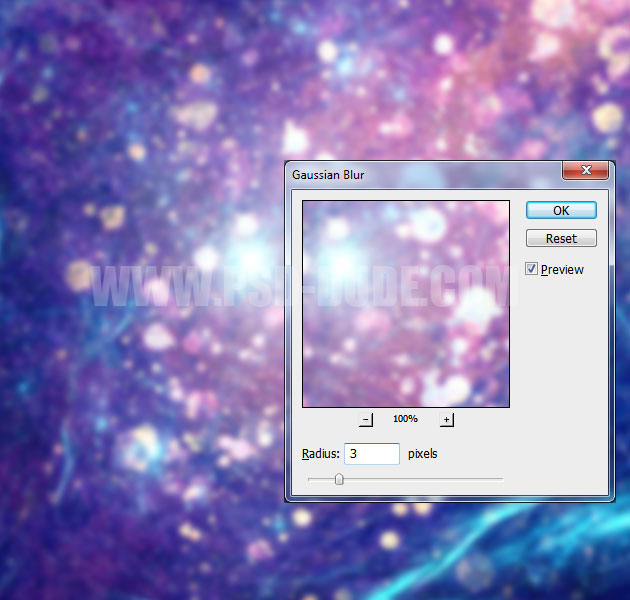
Reduce the opacity of the Clouds Layer to around 70%. In a new layer copy this galaxy texture and use Gaussian Blur to soften the image.
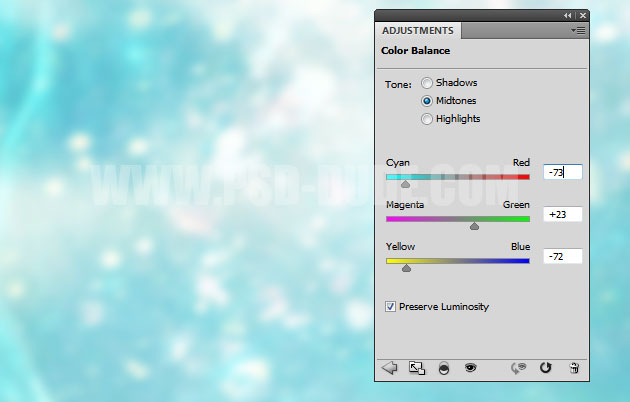
Change the blend mode to Overlay 100% opacity level and also add a Color/Balance adjustment layer to modify the color tones. Make sure you add the adjustment only for this layer, using a Clipping mask. The beginners might be interested in reading this Adjustment Layer Tutorial and also Clipping Mask Tutorials.
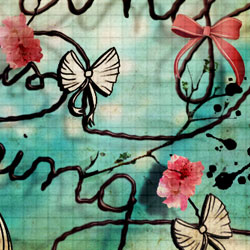
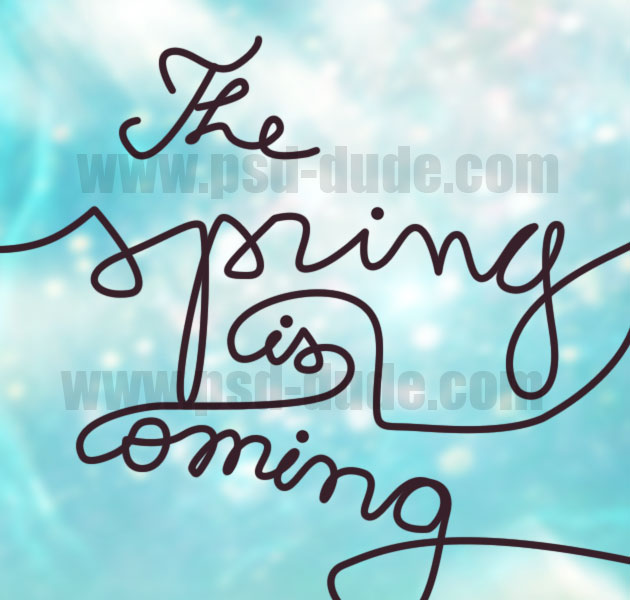
Now I will create a handritten text with Photoshop Path technique; simply take the Pen Tool, choose Paths from the toolsbox and simply write a text.

Create a new layer and call it Text Layer. Go to the Brush Tool, choose a hard round brush, size 7px, and color #372029. Pick the Path Selection Tool make sure you have the path selected and right click on the path. Choose Stroke Path.

Press delete to remove the path. Your result should now look like this.

Do the same for all the words/text that you want to add; you will have to make separate paths if you are not writting a continuous text. Simply make a path, stroke the path, delete rthe path and move to the next word/letter. Here is my handwritting text effect.
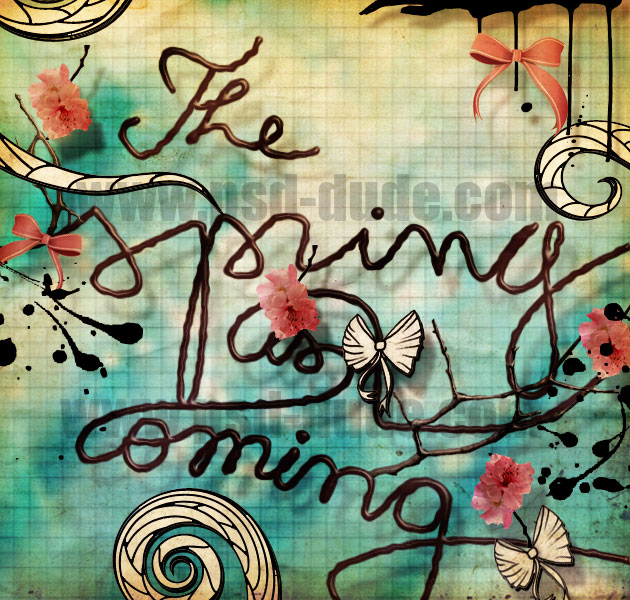
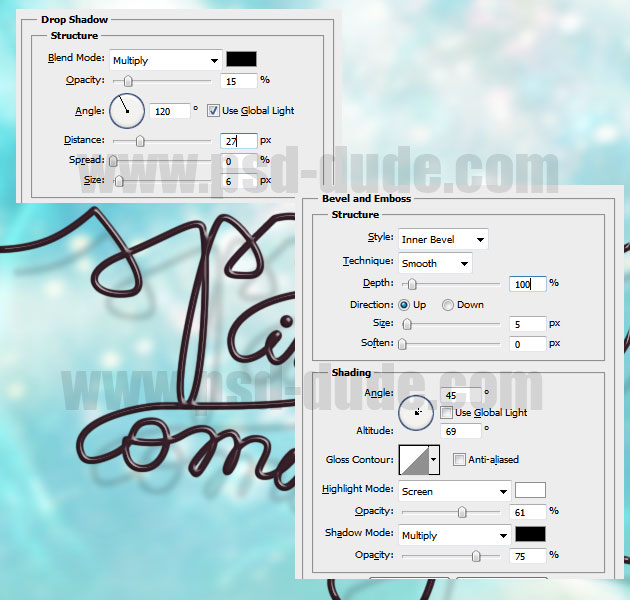
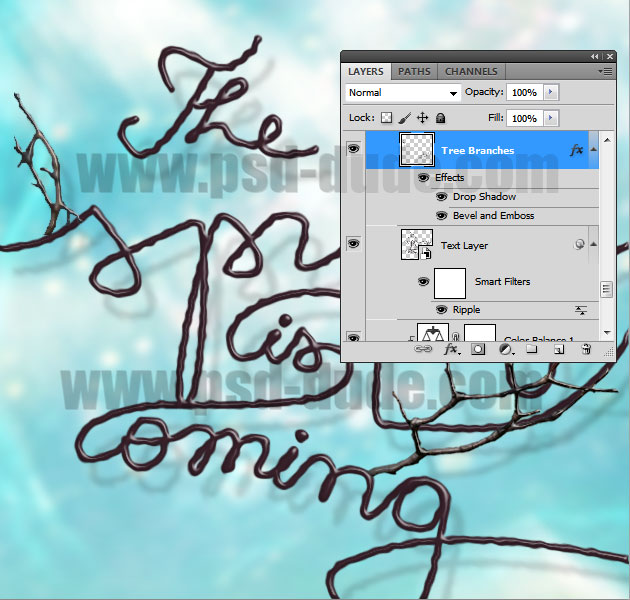
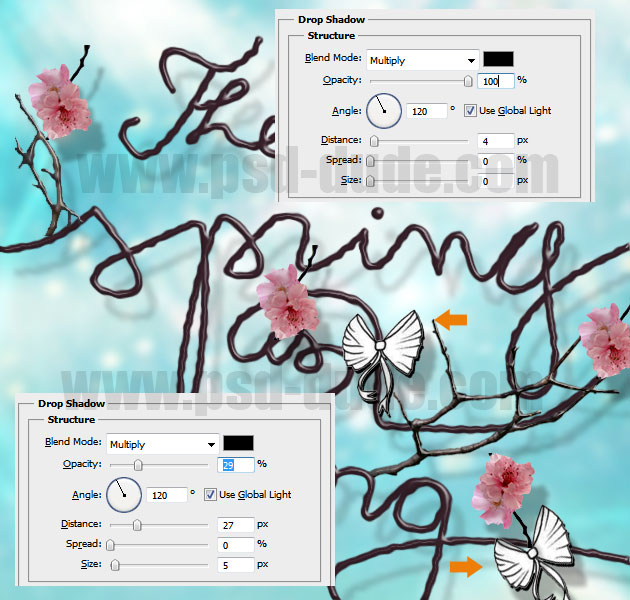
Open the layer style window and add Drop Shadow and Bevel and Emboss effects like in the image.
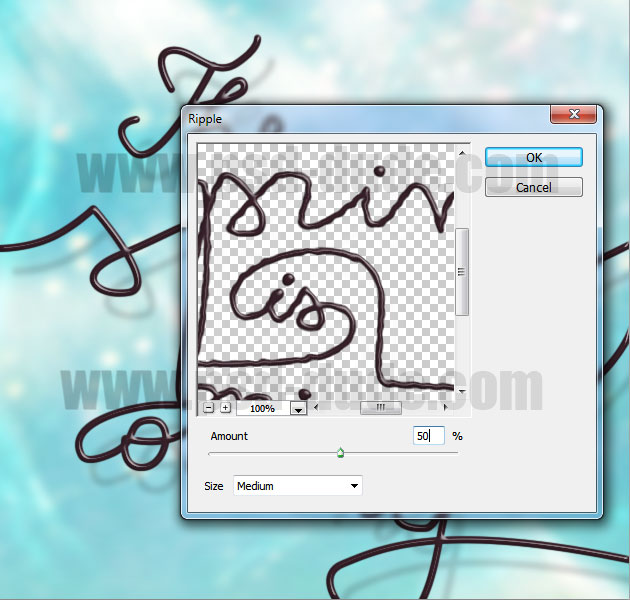
Right click on the Text layer and choose Convert to Smart Object. Read more about Photoshop Smart Objects here. Go to Filter>Distort and chooswe Ripple. This will become a nondistrucive Smart Filter.
Use these beautiful blossom PNG and tree branch PNG stock images and cut parts of the branches and arrange them around the text.
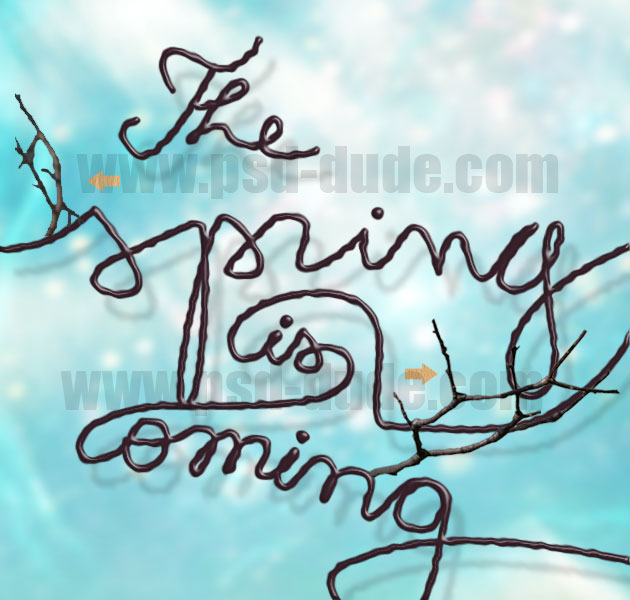
Copy Layer Style from the Text Layer and paste it to the Tree Branches Layer to obtain a seamless result.
Use this cherry blossom PNG stock image and simply cut some areas and place them on the already added tree branches. Use your creativity. You can also use the Smart Sharpen filter to change the image a little bit.
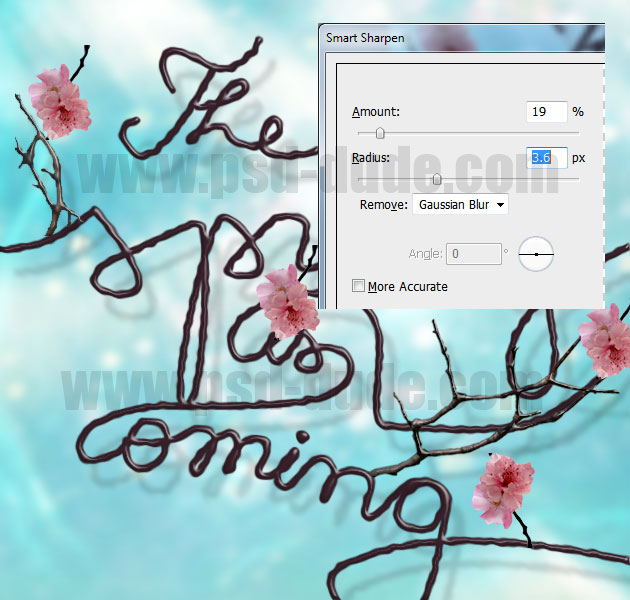
Add a Drop Shadow to the Cherry Blossom layers.
I will use these bow brushes to make the image look more interesting. Simply copy the preview image not the brush set and cut one of the bows. Use the magic Wand Tool to remove the white backgrund.
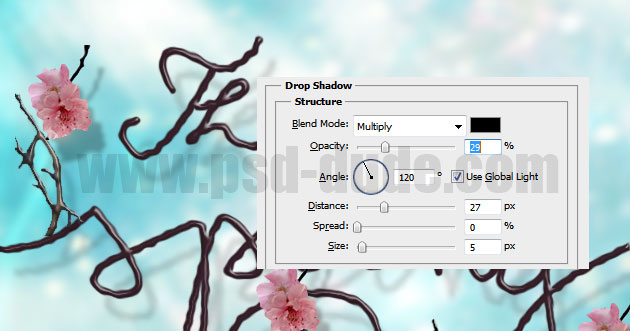
Place one or more bows like shown in the image. I copy each Bow Layer twice and add two Drop Shadow layer style with these settings. You can also add other bows; I will use these glamour bows stock image.
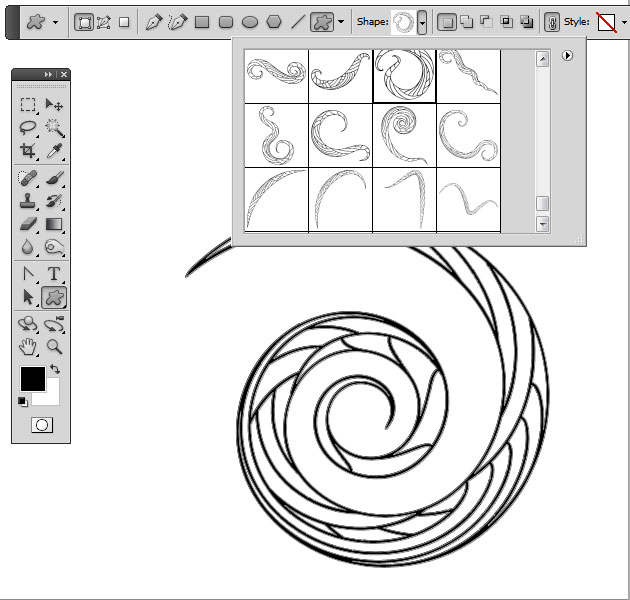
You can also use these swirl shapes or other floral decorative vector shapes and add them to your design. Use color black for the swirl shapes.
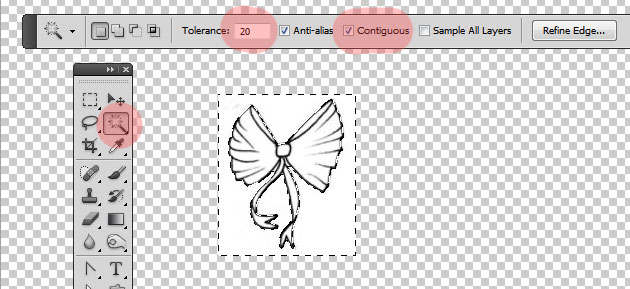
Rasterize the shape and use the Magic Wand Tool to select the empty areas. Uncheck the Contiguous option.
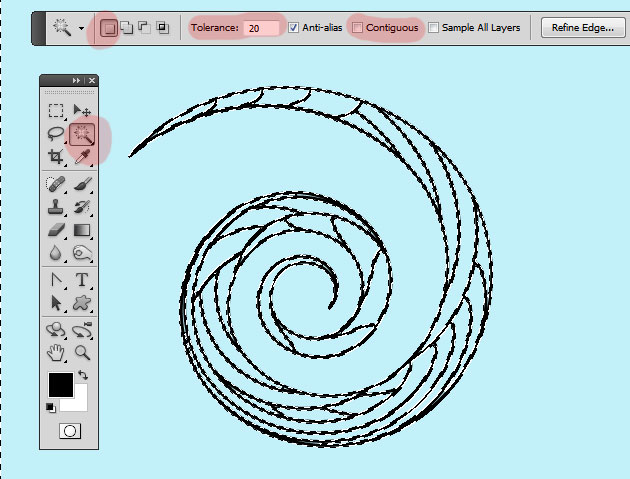
Set the Magic Wand Tool like shown in the image, check the Contiguous option and simply click on the area outside the shape.
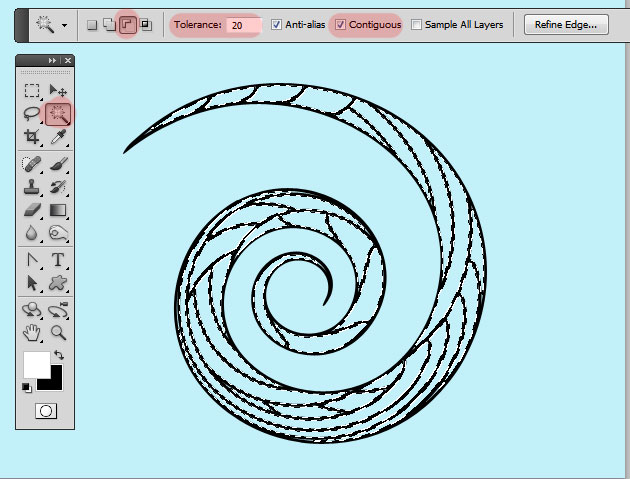
Fill the selected area with white color. Also add a Drop Shadow effect to the Swirl Layer.
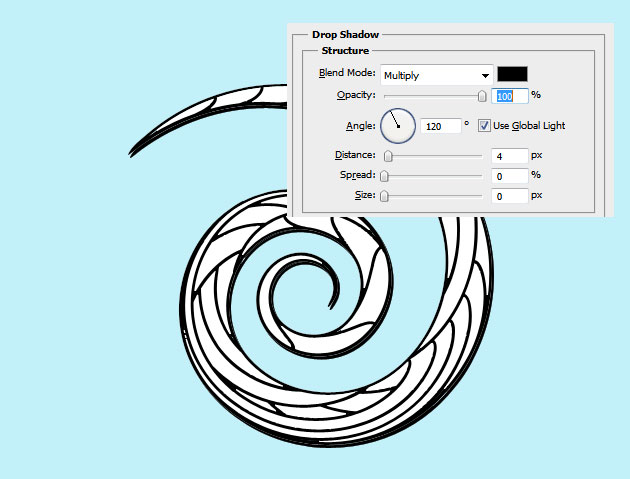
Add different swirl shapes in different areas of your design.
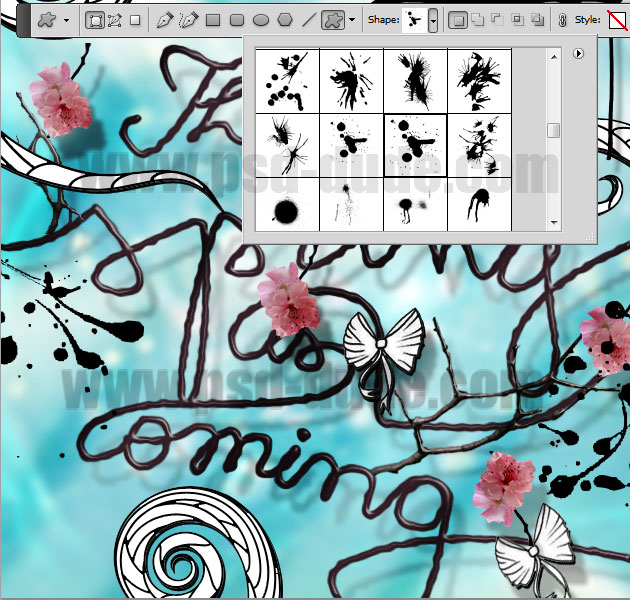
Download another custom shapes like these stain drips and splatter shapes; use color black and add the vector shapes.
For the final touches I wanted to add a grungy look so I have used this old paper texture, blend mode Multiply 80% opacity. Also use this crumbled paper texture blend mode Linear Burn 60% opacity. In a new layer use these notebook pattern to add as pattern Overlay and use as blend mode Linear Burn.
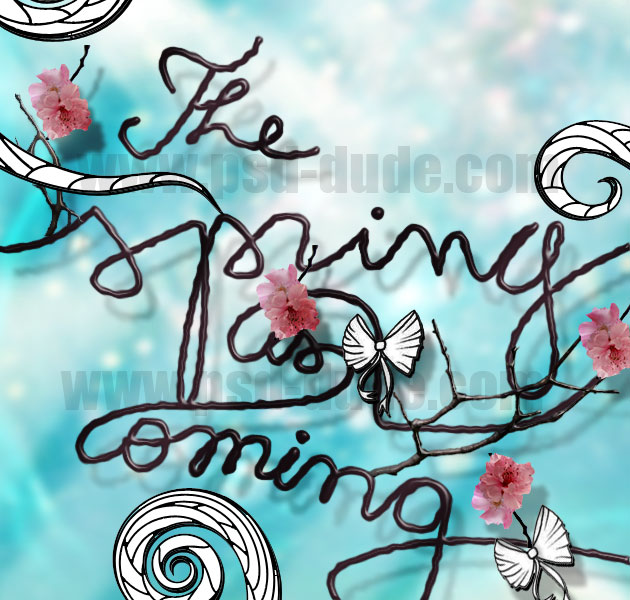
To change the colors you can use a Gradient Map adjustment layer. So here is the final result for the Flower Blossom Typography made in Photoshop.

5 comment(s) for "Flower Blossom Typography Photoshop Tutorial"
My personal interpretation:
http://www.chez-mireilled.com/article-typographie-printaniere-avec-photoshop-116084441.html