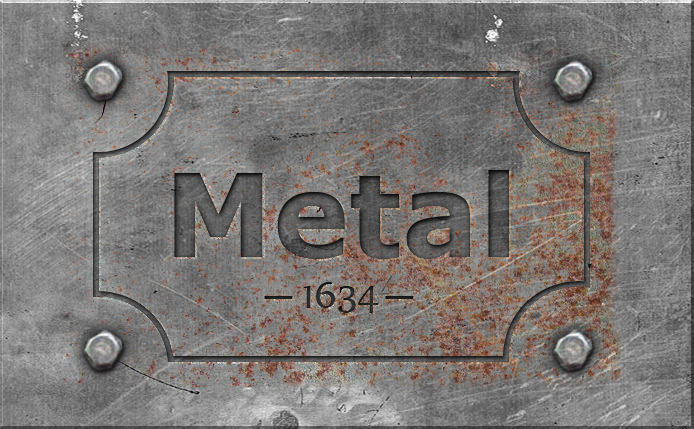
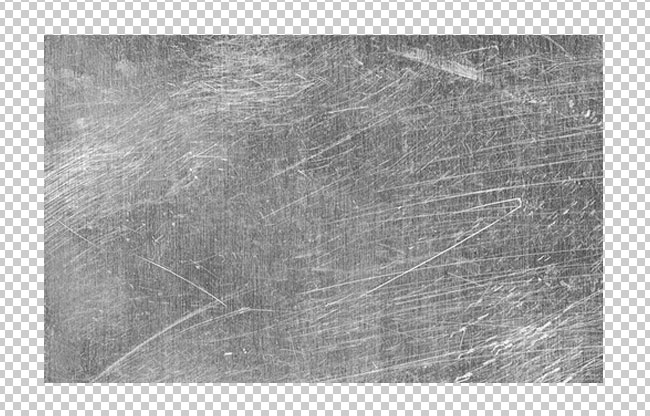
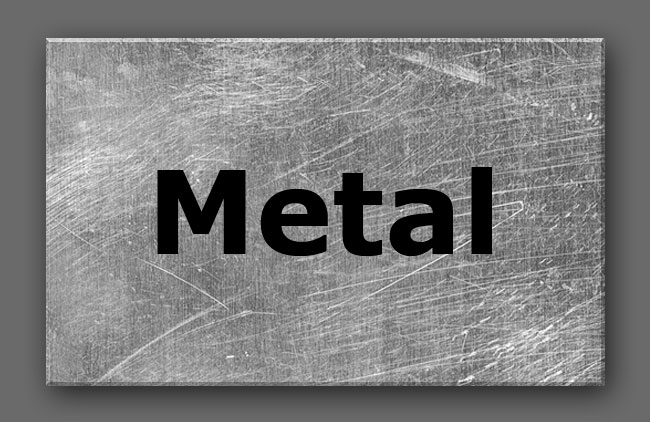
Start by creating a rectagle shape using the Rectangle Tool. In a new layer just above the Rectangle Shape Layer add a metal texture that you like. It is better to use a metal texture that has scratches like the one that I've used. Right click on the Metal Texture Layer and choose Create clipping mask option.
Return to the Rectangle Shape Layer and add a Bevel and Emboss and a Drop Shadow layer styles to create a metallic sign.
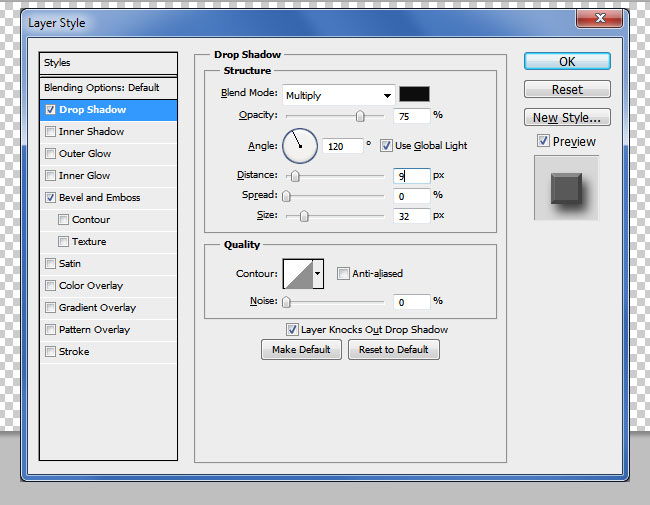
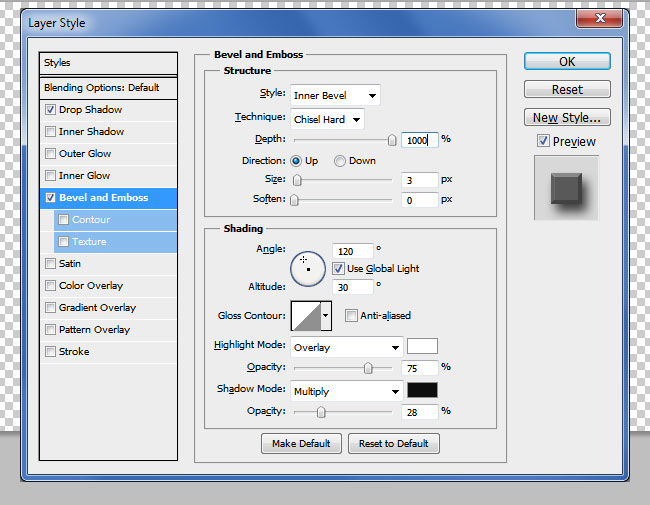
In a new layer add a simple text layer or you can use something more complex like a logo for example.
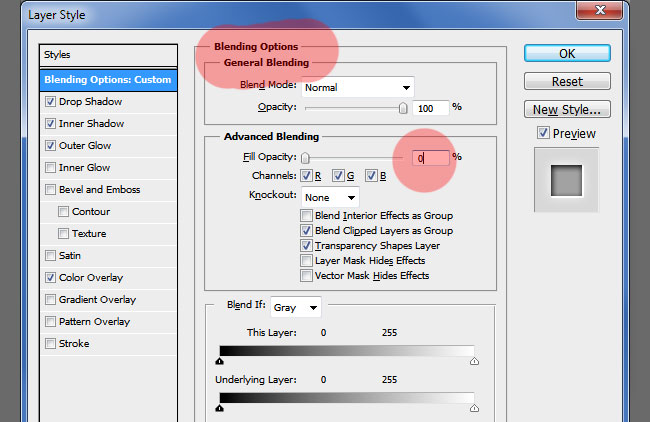
To create an engraved metal effect for the text layer we have to add some layer styles.
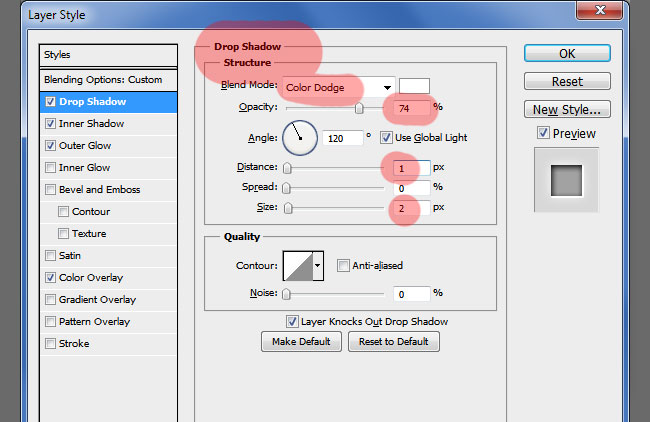
Drop Shadow
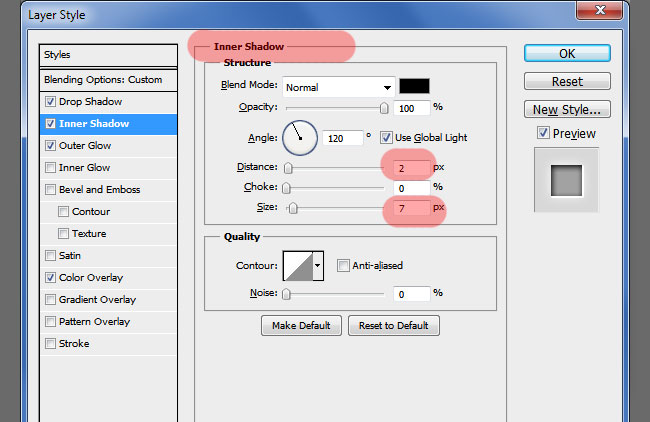
Inner Shadow
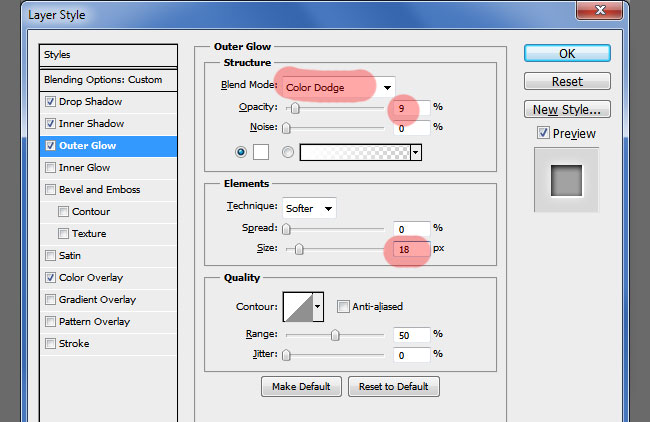
Outer Glow
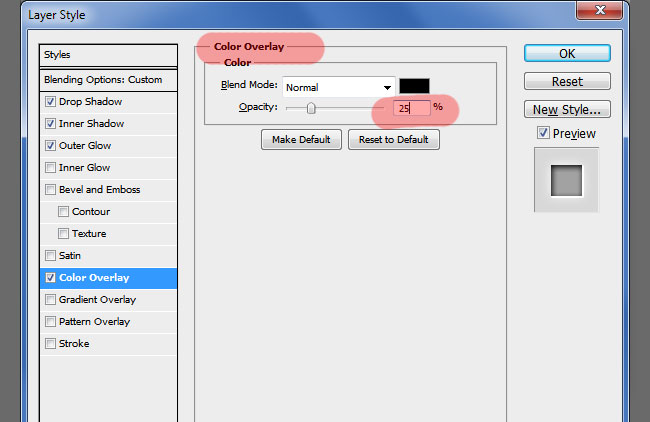
Color Overlay
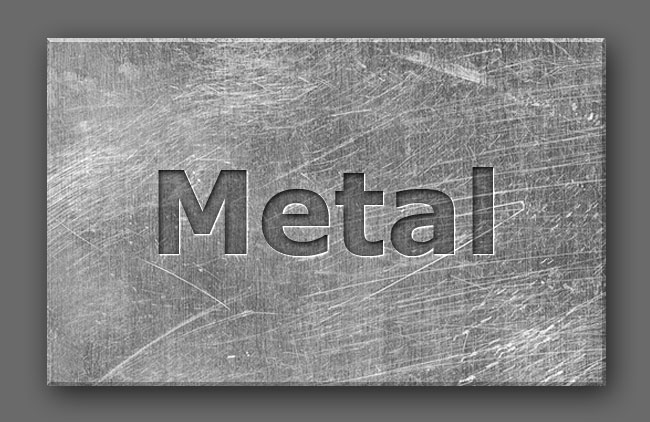
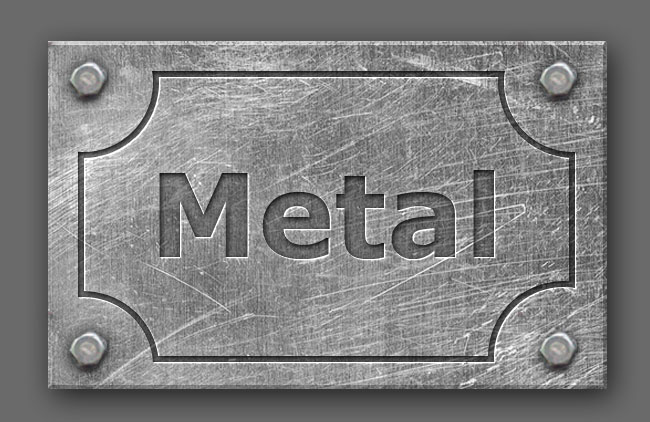
If everything went well your engraved metal text effect should look like this:
To make the old metallic sign more interesting you can add a frame like shown in the preview. You can use any frame shape that you like.
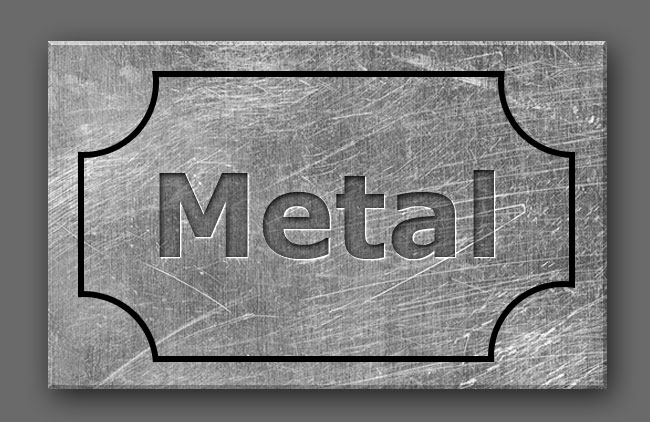
Go to the Engraved Metal Text Layer, right click and choose Copy Layer Styles. Return to the Frame Shape Layer, right click and choose Paste Layer styles. That way you don't have to make the same settings twice. Or you can save the layer style and it will be available for other projects too.

To bring more details you can add some Screws on the four corners. Use one of the Photoshop Selection Tools to cut a screw. Add a Drop Shadow effect and duplicate the layer 4 times. Add them like shown in the image.
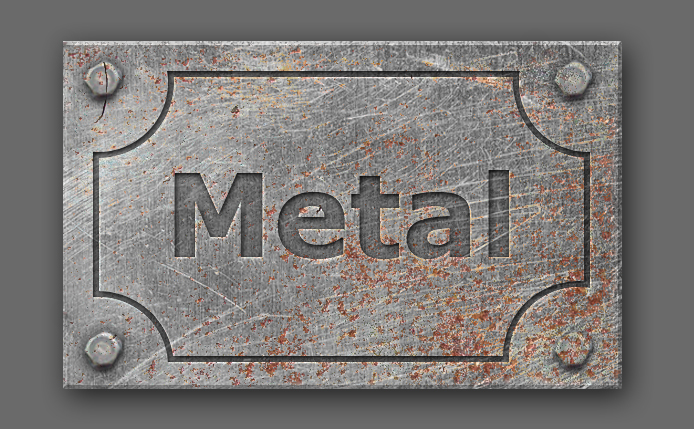
If you want to achieve that vintage old look effect, you can add a Rusty Texture with a blending mode like Overlay, Multiply(it really depends on the texture). I have use this metal rust texture with Darker Color blend mode.
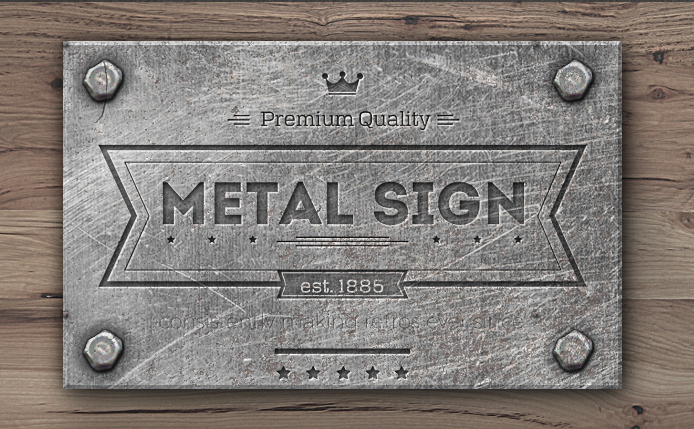
Here is another result using a retro badge and a rustic wood texture.
You Might Also Like
Here you have some premium Photoshop actions that you can use for creating great looking metal effects with just 1-click. Easy to use and customize.
Riveted Metal Photoshop Creator
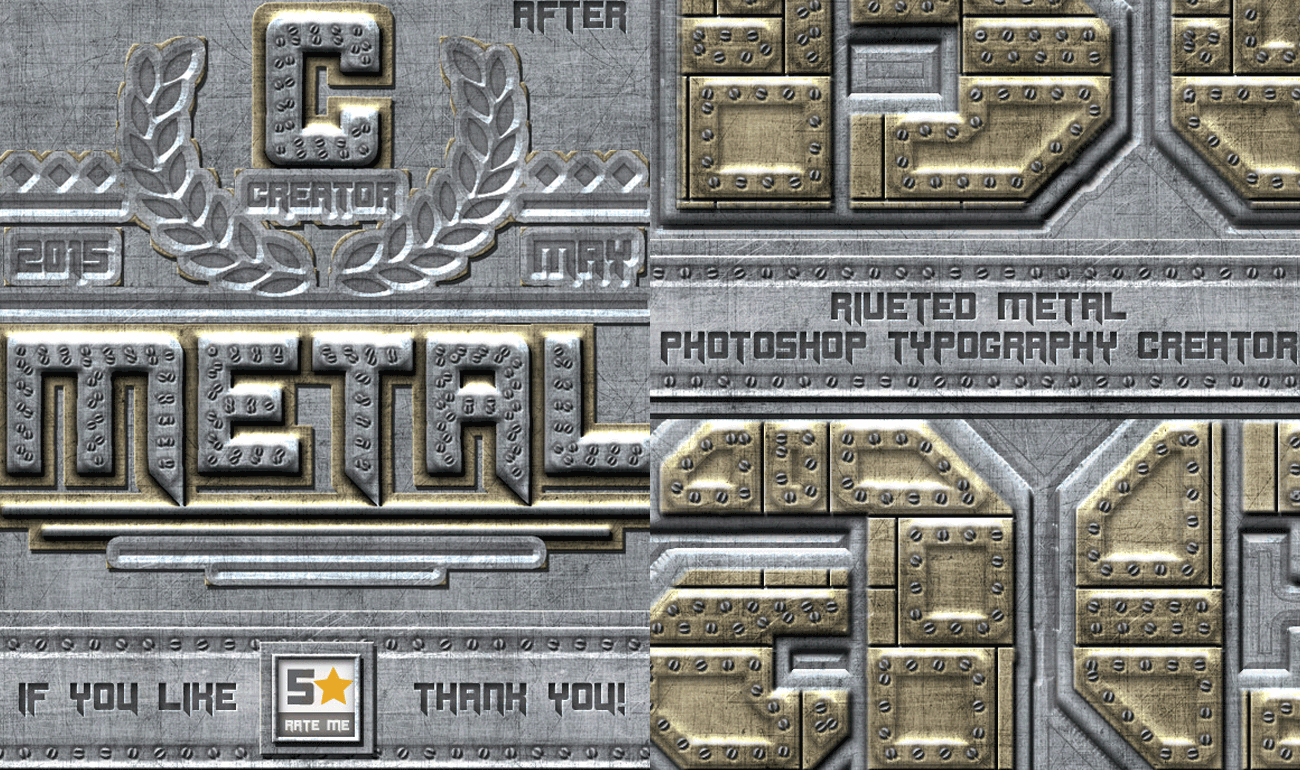
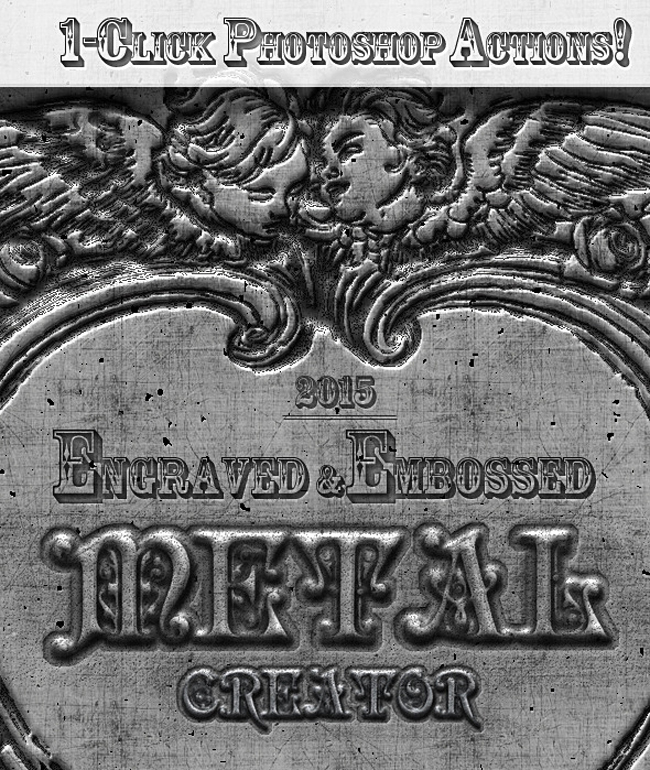
Engraved Metal Photoshop Creator
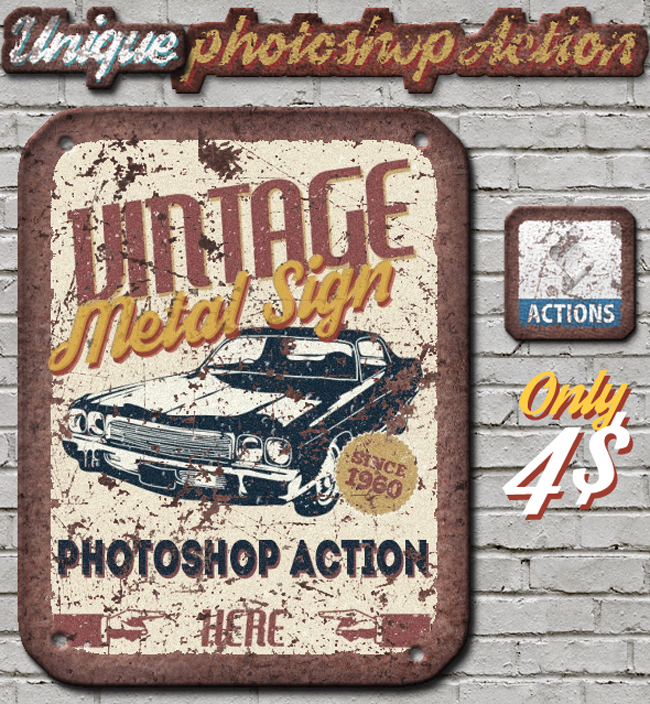
Vintage Metal Sign Photoshop Action




6 comment(s) for "Engraved Metal Text Style Photoshop Tutorial"