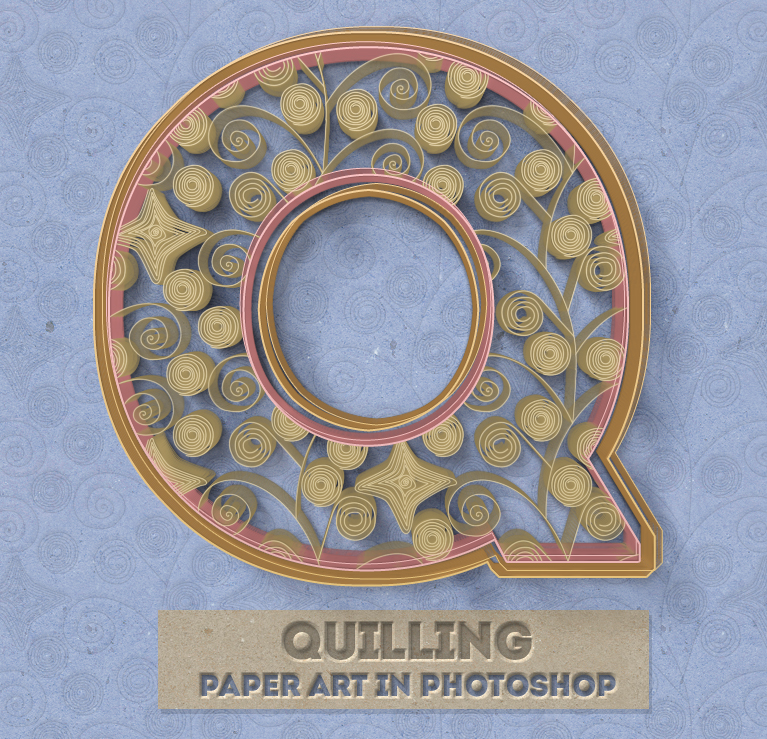
In this tutorial we are going to create a curled paper art letter with my easy to use quilling Photoshop creator. So first you have to download this Quilling Photoshop Action.
Install the ABR, PAT and ATN Photoshop files
Inside the ZIP file: 1 PAT file(Photoshop pattern), 1 ABR(Photoshop brush), 1 ATN file(Photoshop action), 1 PSD(Photoshop file) and a PDF Help File. In order to use the action you have to install the ABR and the PAT files. So install the action prerequisites: the quilling-brushes.abr, quilling-patterns.pat are found in the package and should be installed first. Go to Edit>Preset Manager, choose the Preset Type and click the Load button to load the brushes and the patterns.

Install the action file: file QUILLING-by-PSDDUDE.atn - the main action file of this package. To install an action in Photoshop you have to go to Window menu and choose Actions (or you can click ALT+F9 ). Click on the right to button of the Actions Tab and choose Load Actions.
If everything went smoothly, when you open the actions panel, you will find the QUILLING by PSDDUDE set containing 6 actions that can be used both for text/shape/raster.

Open the PSD File
Inside the ZIP file you will find a PSD file called "quilling-by-psddude.psd"; this is a PSD mockup that will help us create the quilling effect. So you have to open this PSD file first. Inside this file there are a number of layers, groups that we will use in order to create the paper art effect.

Double click on the ADD YOUR TEXT/SHAPE INSIDE smart object thumbnail to open it.

Inside the smart object there is an empty layer called "ADD YOUR ITEM and PLAY AN ACTION". All you have to do is to add a text layer, a vector shape or a raster inside this smart object. Make sure that you have only one layer. I will add a text layer using the Intro Font ; you have to use a big size for the font and/or shape to make the effect more visible.

Play the Quilling Photoshop Action
Now we have to choose one of the 6 quilling actions available in this pack. I will pick the "quilling with border(unicolor)" action. So inside the smart object, select the action and click play. Wait for the result.

After the action has ended, the resulted layers and the quilling effect are:

To see the final result you have to Save and Close the smart object.
Customize the Quilling Paper Art Effect
Now it is time to make some manual customization. There are a njumber of things that you can do in order to customize the paper art effect by changing layer styles, adding color and using the quilling brushes.
Change Pattern Size/Type/Color
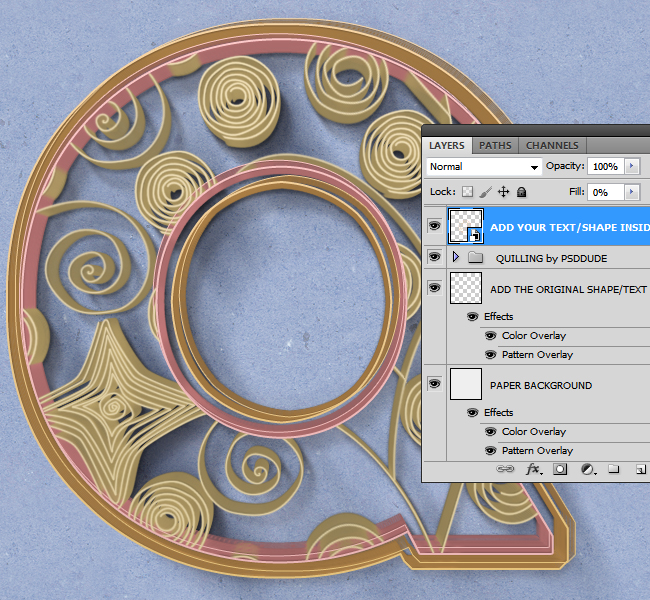
Double click on the "ADD YOUR TEXT/SHAPE INSIDE" smart object to open it. Double click again on the "quilling 1 by psddude" smart object to open it. Here you have a Pattern Overlay layer style that you can edit. The default pattern is "quilling 3 by psddude"; you can pick one of the other 2 patterns: "quilling 1 by psddude" or "quilling 2 by psddude".
The pattern hase the Scale at 100% ; I will reduce the scale to 50% so that more decorative elements to be visible. Save the 2 smart objects and close them to see the results.

The smart object called "quilling 1 by psddude" has a Color Overlay style that you can use to color the pattern using any color tone you want.

Change Border Size/Type/Color
Double click on the "ADD YOUR TEXT/SHAPE INSIDE" smart object to open it. Inside you have 2/4 layers named "border"(depending on the action you choose). All the 4 layers have a Stroke layer style that you can customize. Change the Size(the default is 2px) and/or the Color. Save the smart object and close it to see the results.

Use the Quilling Photoshop Brushes
You see that there is an empty layer called "add details using the quilling brushes"; here you can use the 22 quilling brushes included in the pack to add more decorative elements. Use the Brush Tool, the size and the color that you want. YOu can also rotate them to fit your needs. Save the smart object and close it to see the results.
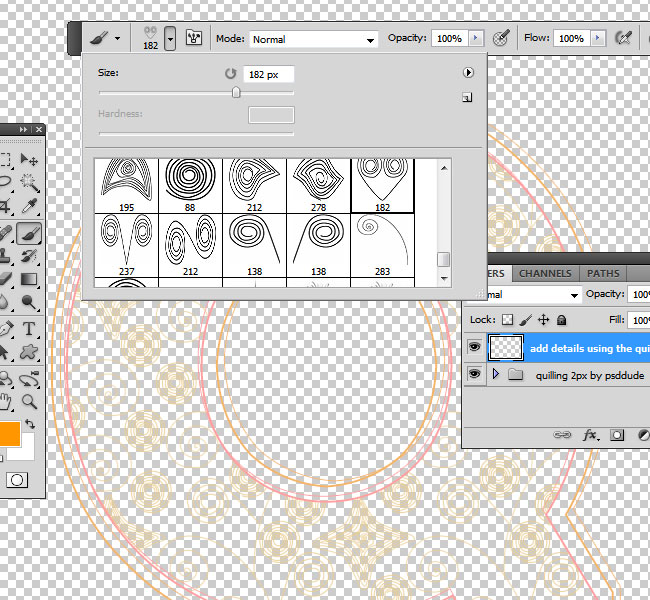
If you choose the "hand made quilling by psddude" action, you can create the quilling pattern from scratch using the quilling brushes.
Add a Quilling Paper Back for the Shape/Text
You have a layer called "ADD THE ORIGINAL SHAPE/TEXT"; here you can add the original shape/text. It must have the about exact size.
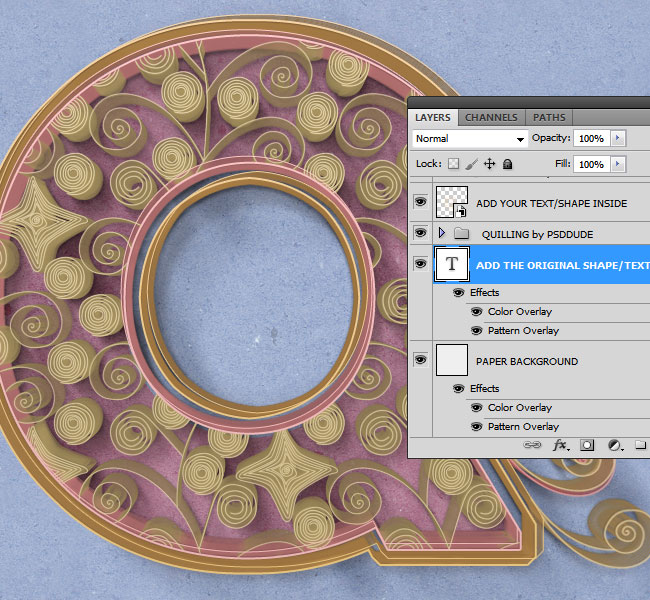
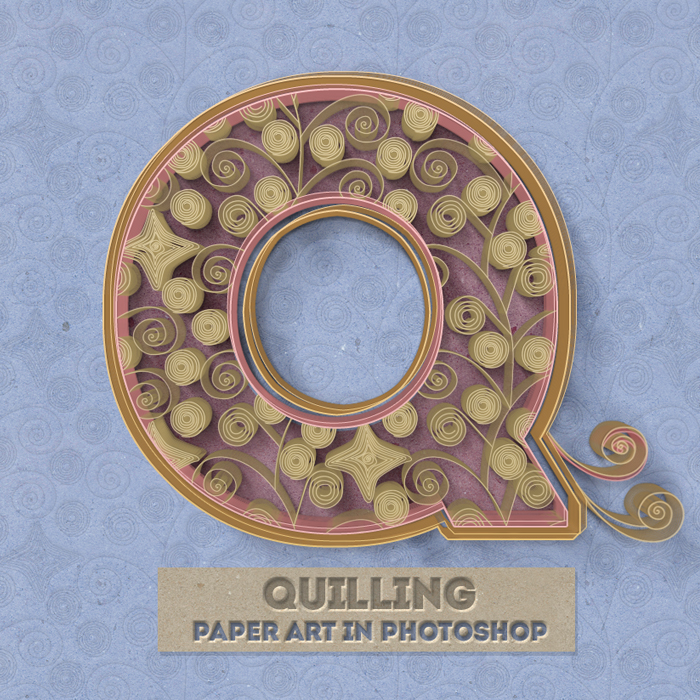
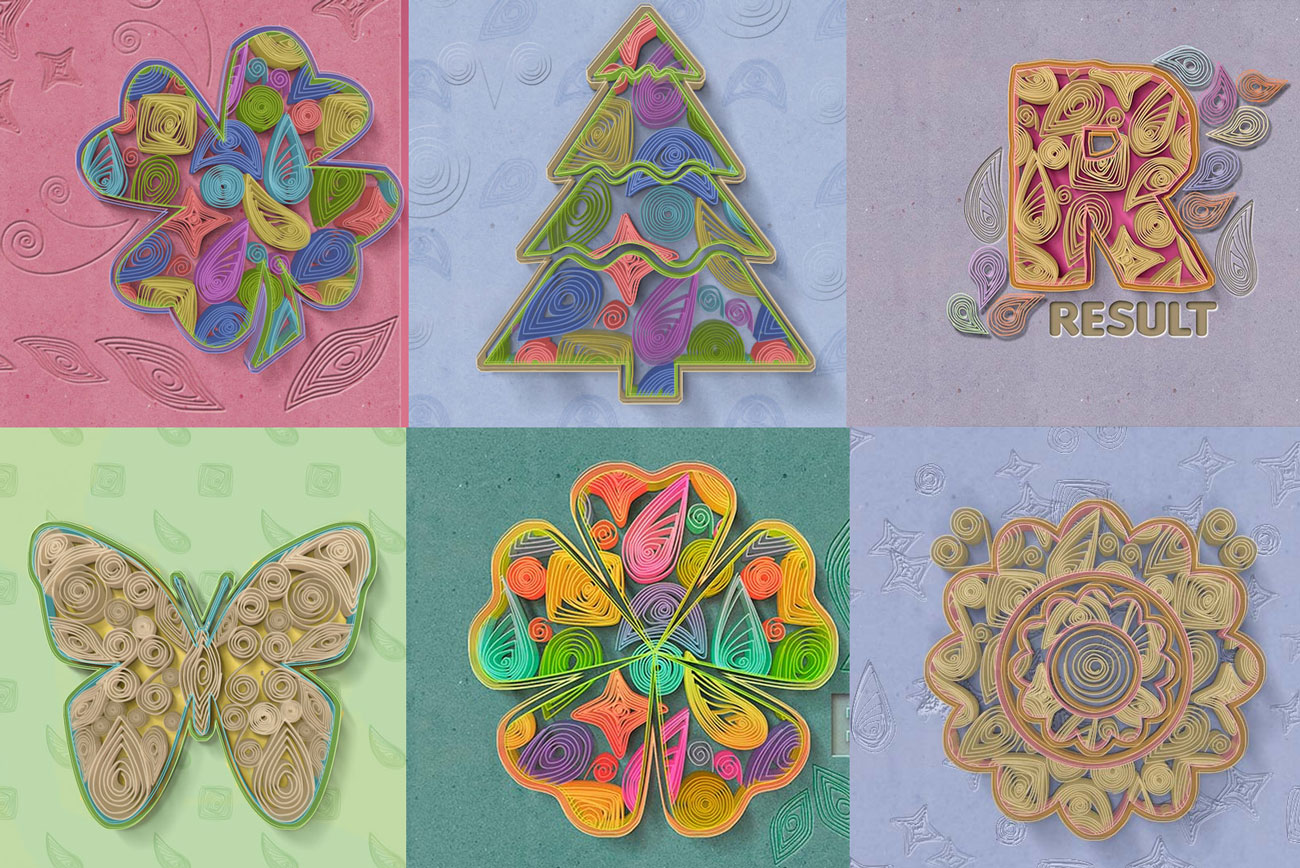
So here is the final result for our quilling paper art letter made in Photoshop using a premium PSD action that you can get from graphicriver. Remember that the actions are fully customizable so you can create different quilling effects. If you have questions don't hesitate to ask us.
Beautiful Fan-Art Images Collage


13 comment(s) for "Curled Paper Art with Quilling Photoshop Creator"
https://graphicriver.net/item/quilling-paper-art-photoshop-creator/8741102 reply
My only problem is that it creates only at 72 DPI, and I can't make print-worthy art with it.
:( reply