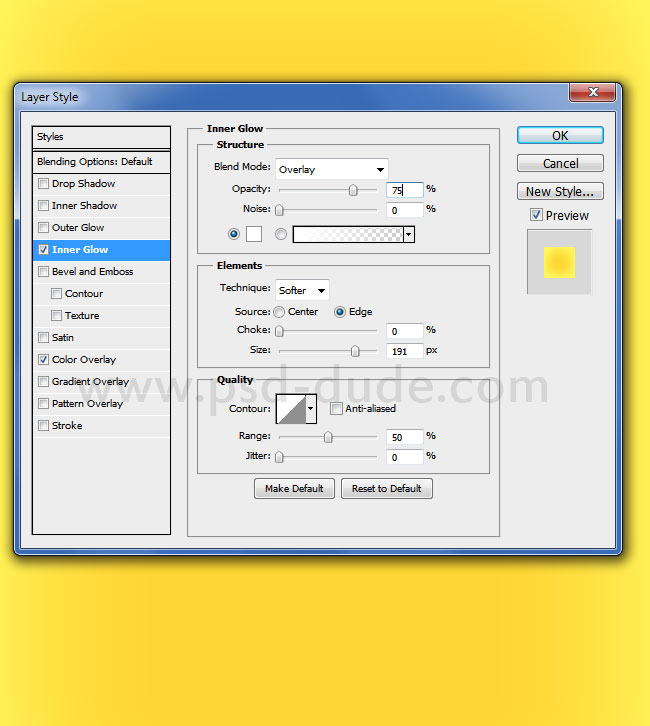
Create a background layer, fill it with this nice yellow tone #ffd634 and add these layer styles.
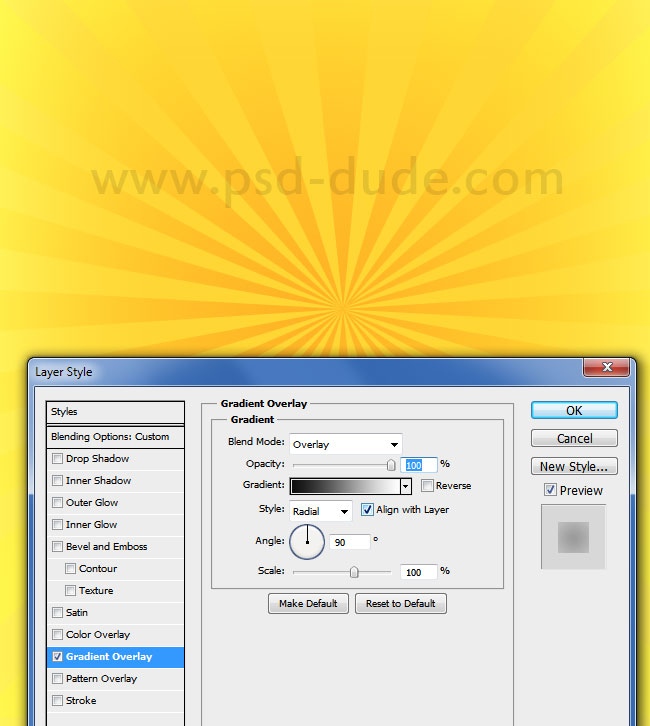
Add a sunburst in a new layer using these sunburst brushes and choose a darker yellow color color #ffab1a . Set the layer opacity to 30% and add a Gradient Overlay layer style.
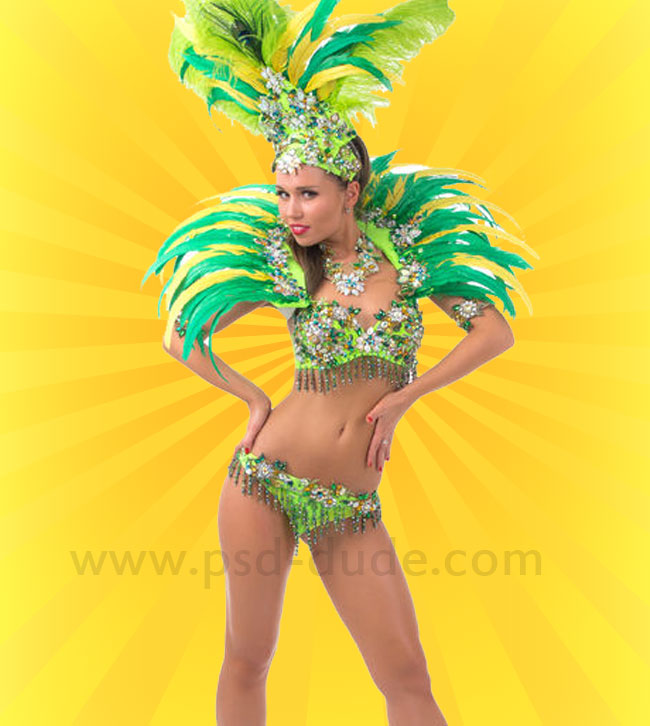
In a new layer I will now add this samba dancer ; you can download it from 123rf stock image website or, you can use any other image you want.
Use one of the many Photoshop Selection Tools to remove the background. Or you can use the powerful Pen Tool for a precise background cutout.
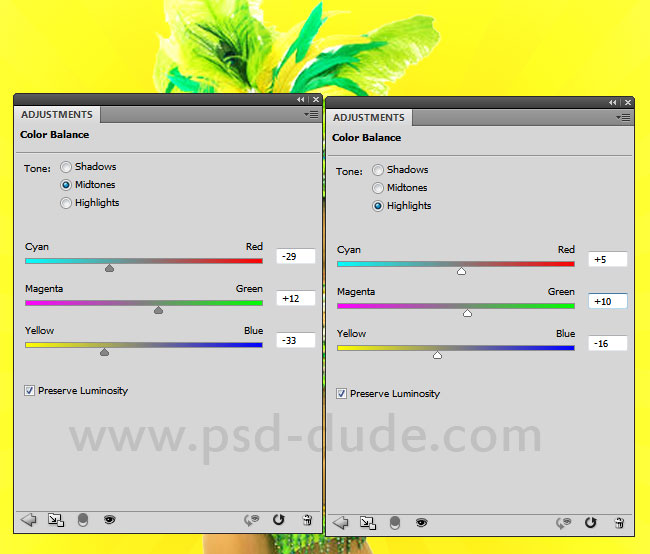
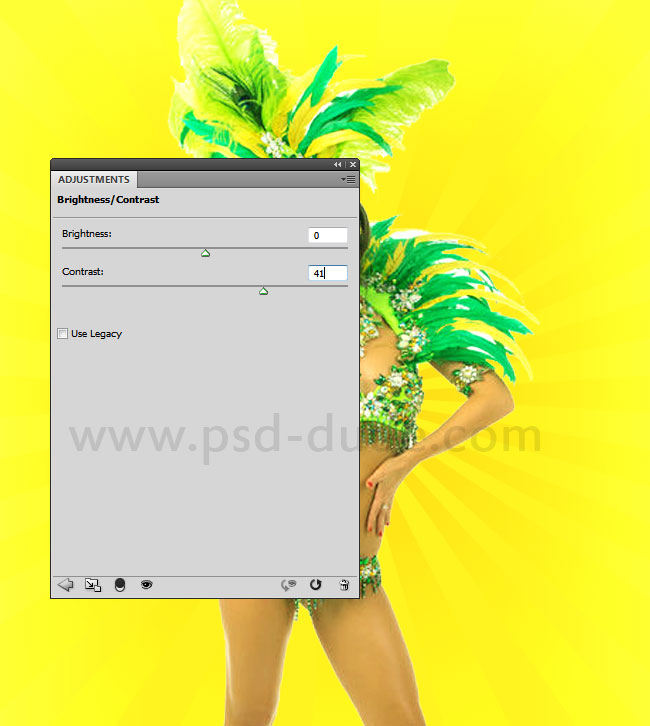
At this stage I will add two adjustments for all the layers: a Color Balance and a Brightness/Contrast.
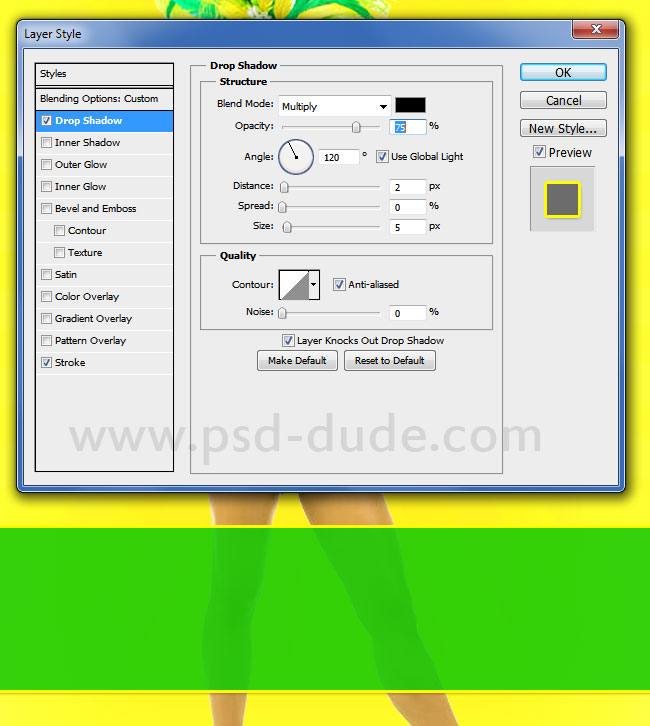
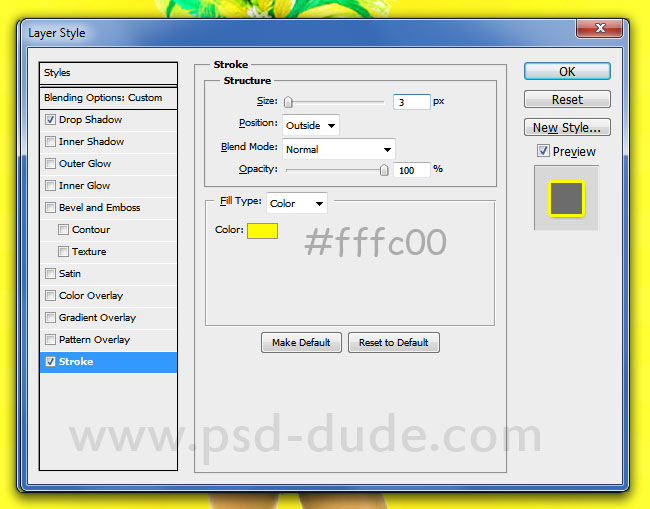
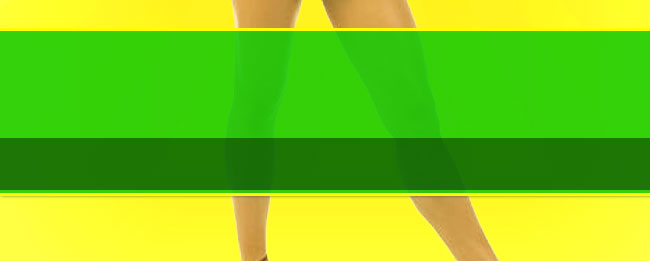
Add a rectangle in a new layer, fill the shape with this light green color #10ca02 and set the layer Fill to 85%. Add a Drop Shadow and a Stroke layer styles with the following settings.
Add another black rectangle like shown in the image. Use black as color and set the opacity to 45%.
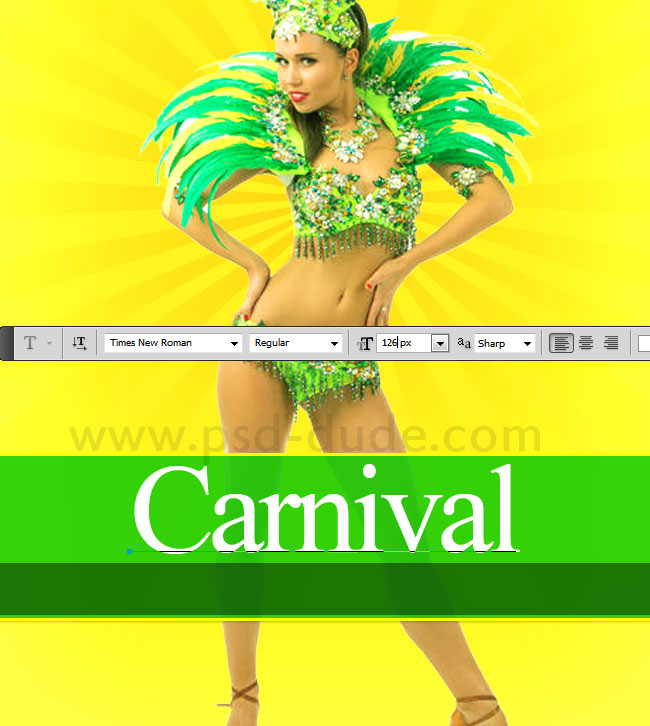
Type a text on the rectangle band; you can use any font type you want.
To make the text more interesting I decided to add a glamorous gold style using these layer styles.
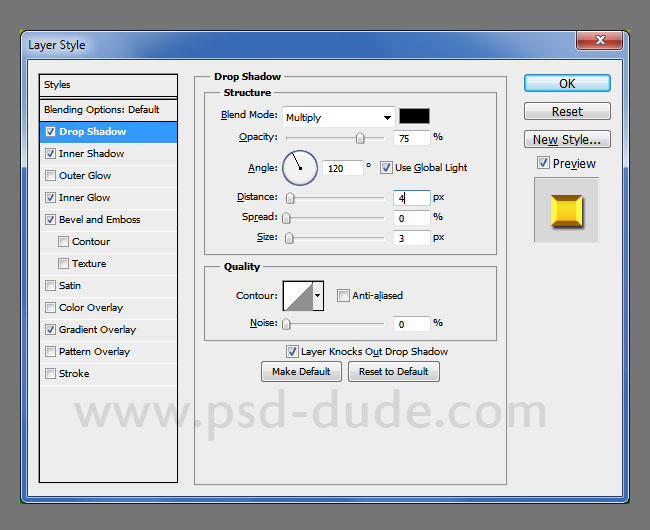
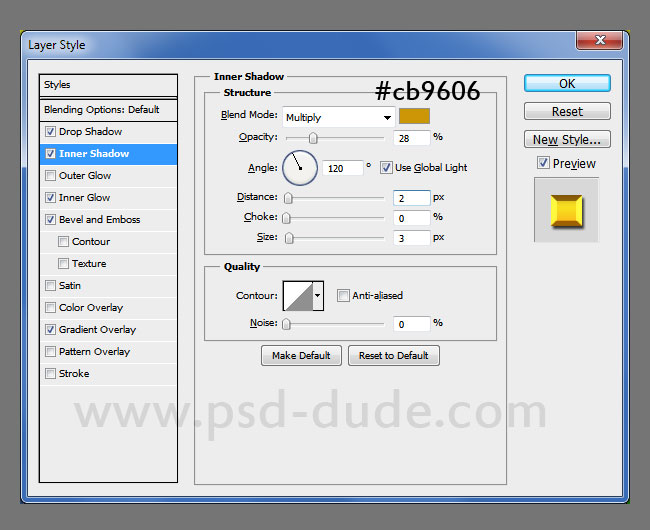
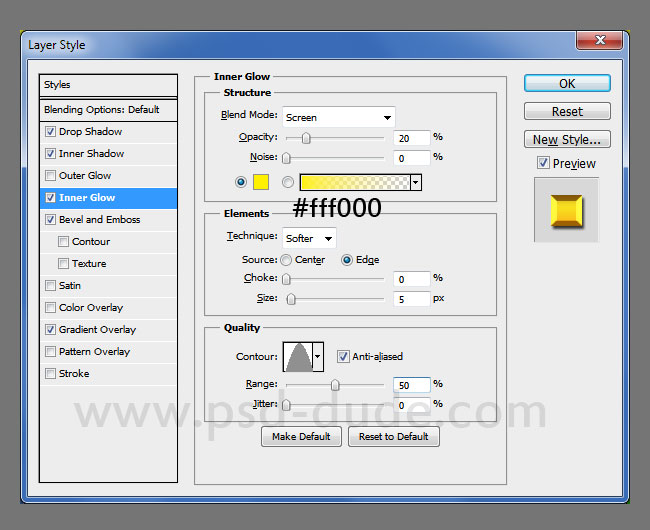
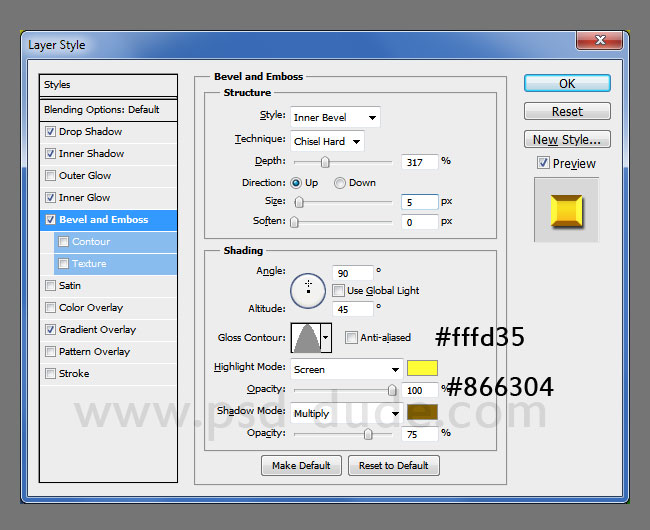
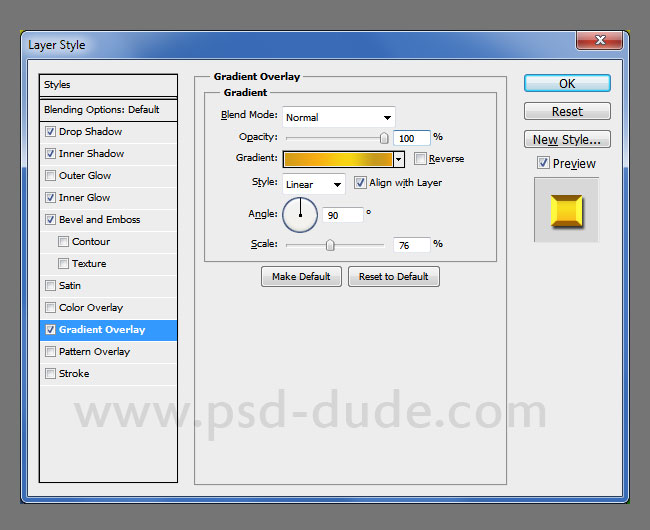
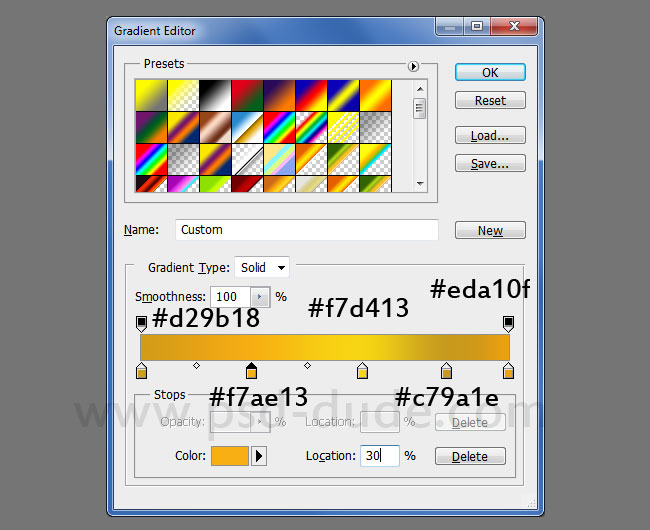
Duplicate the gold text effect and move the original layer a few pixels down and right to create a 3D effect. I also added some other details about the carnival date.
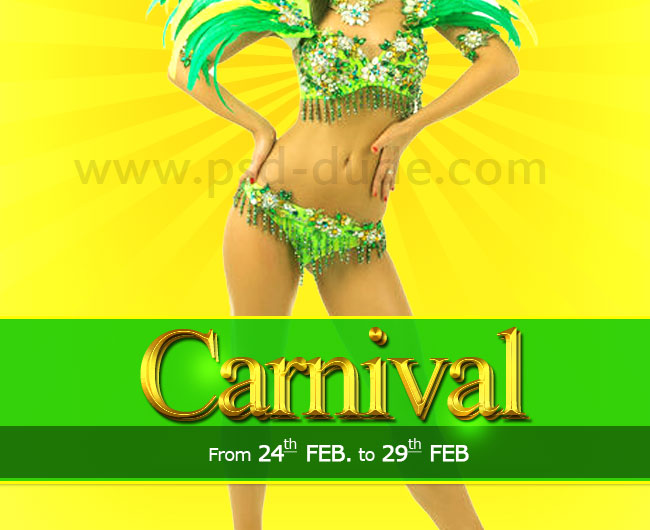
Now lwt's add some abstract light effects to make the party flyer more interesting. Take one of these bokeh textures and copy in a new layer. Set the blend mode to Screen. Go to Filter>Distort and choose Polar Coordinates. That way you obtain an interesting light circle effect.
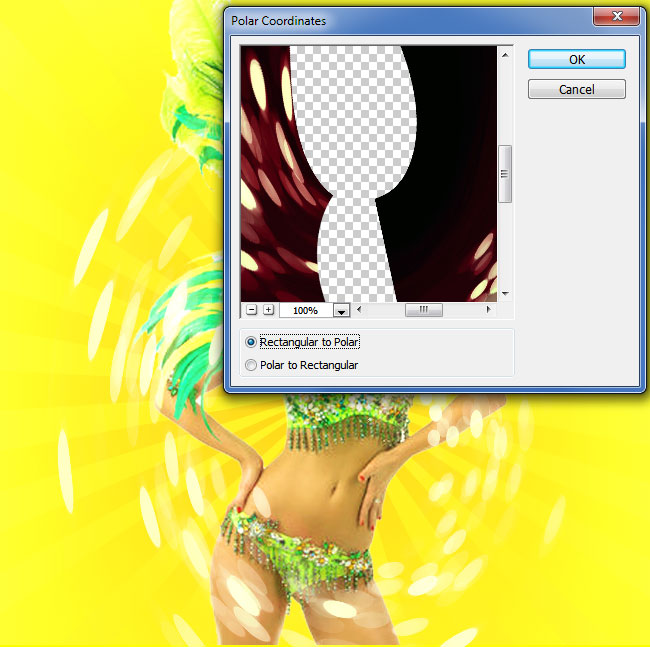
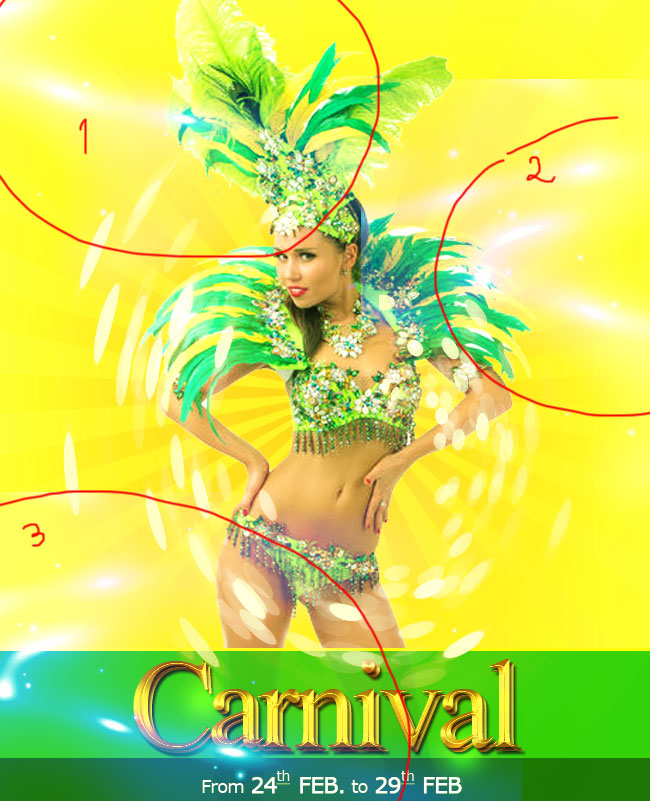
Add more light effects using this light twirl texture in three different layers. Set the blend mode of each layer to Lighten.
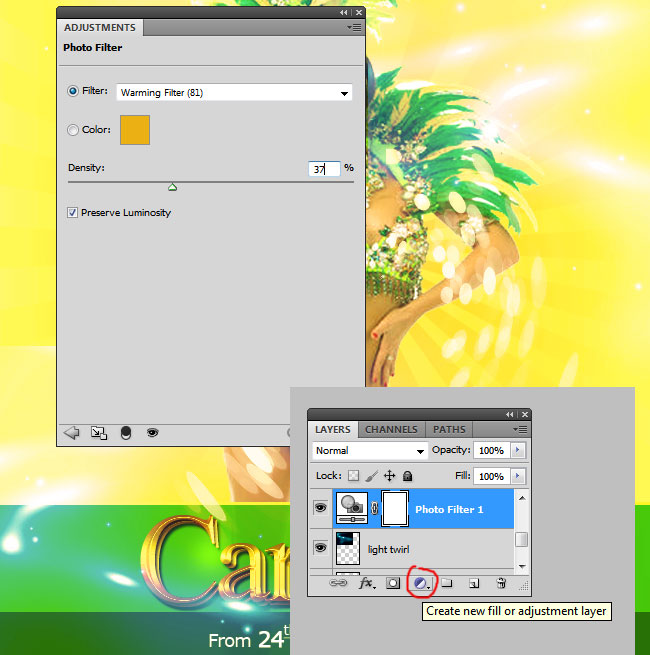
Add a Photo Filter above all the existing layers with these settings.
In a new layer add some lens flare textures like shown in the preview. Set the blend mode to Screen. You can add a Brightness/Contrast and/or Hue/Saturation adjustments just for the lens flare layers if you want to change the contrast, color, etc.
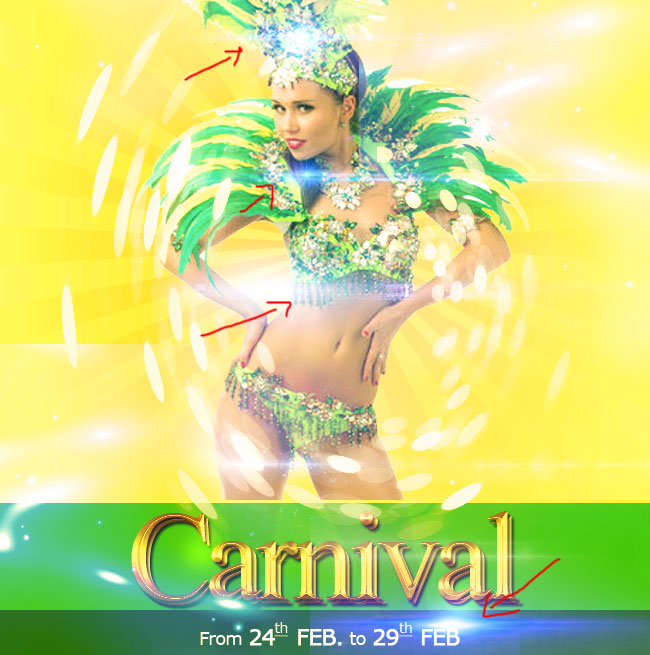
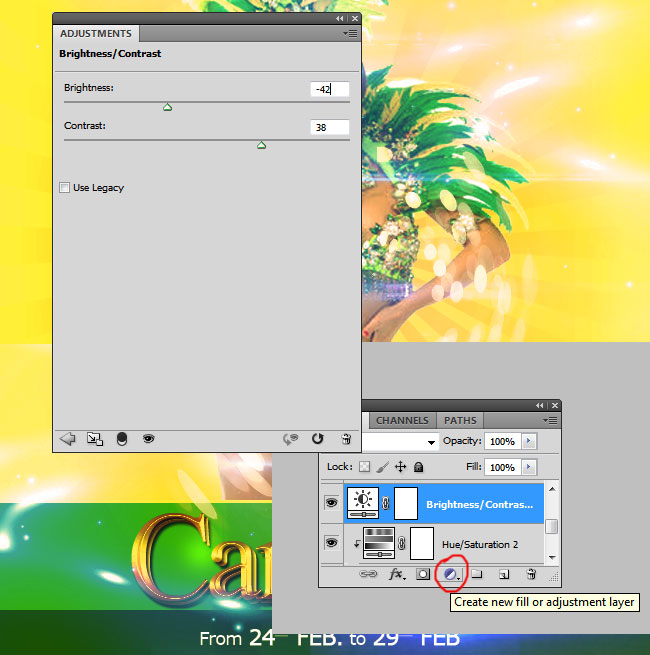
Add a new Brightness/Contrast non-destructive adjustment for all the layers.
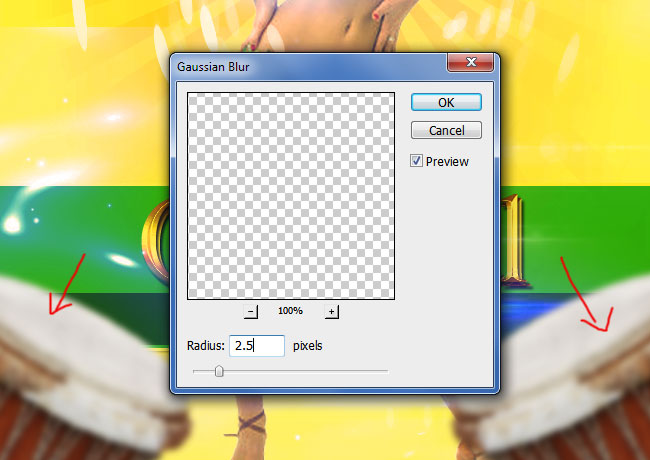
The Rio carnival party flyer wouldn't be complete without some drums , so add the drum stock image in a new layer. Remove the background, duplicate and rotate the drums as shown in the preview. Go to Filter>Blur and choose Gaussian Blur to create the out of focus effect.
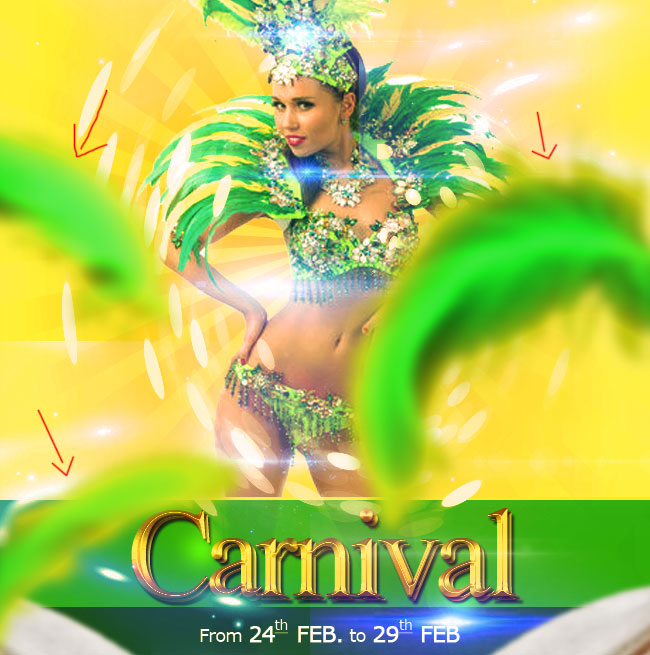
Add some feather brushes in a new layer. Use colorful tones for the feather brushes like #20d71c for example. Use also a Gaussian Blur filter to create the illusion that the feathers are floating in the air.
If you want you can add some splash effects using one of these grunge splashes ; use white as color for the splatter shapes.
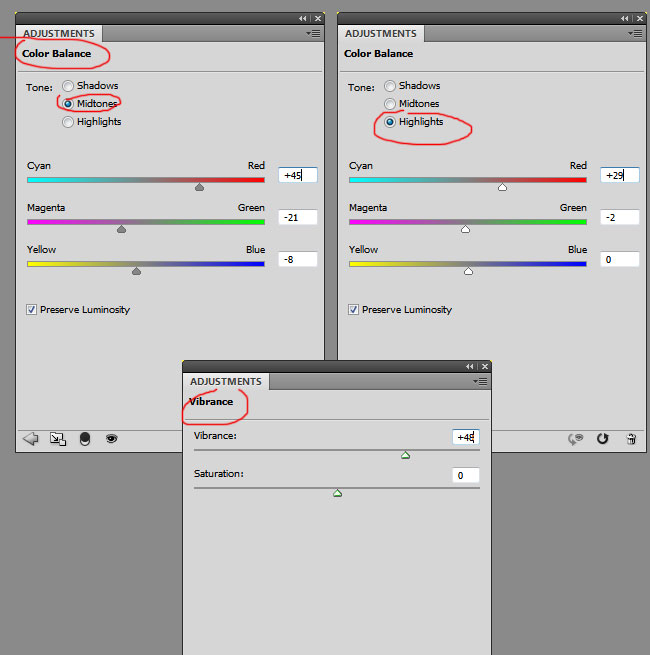
For the final touches add a Color Balance and a Vibrance adjustments.
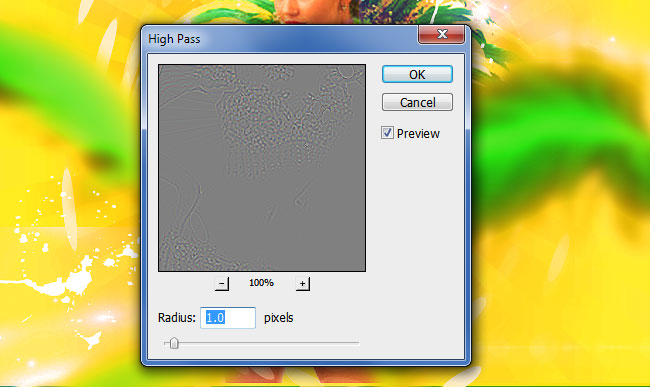
To sharpen the image you can use the High Pass Filter technique.
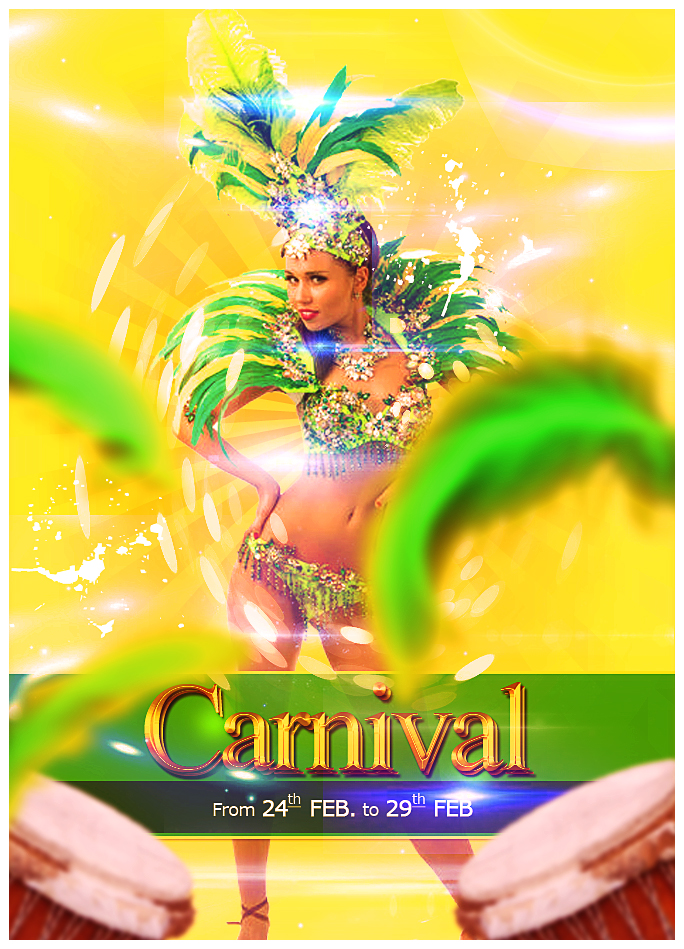
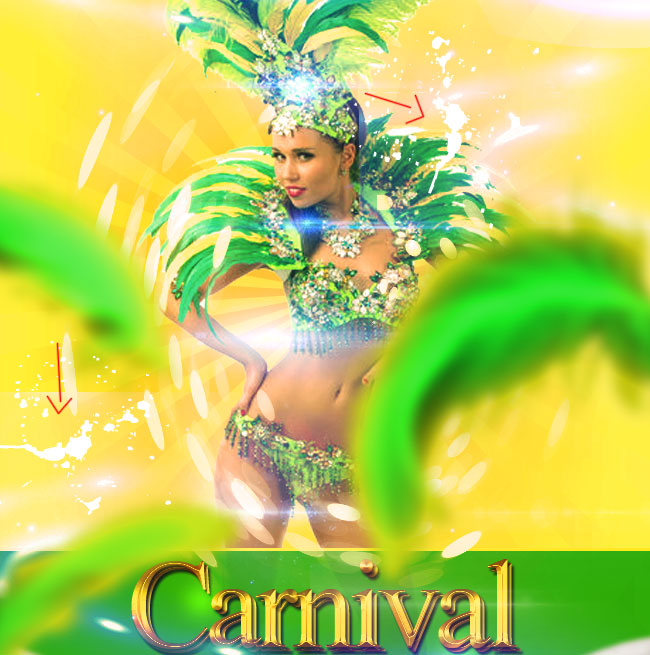
So here is the final result for the Rio Carnival Party Flyer photoshop manipulation. Hope you enjoyed this new tutorial so don't hesitate to add your artworks inspired by this theme, at our comments section..


1 comment(s) for "Create a Carnival Party Flyer in Photoshop"