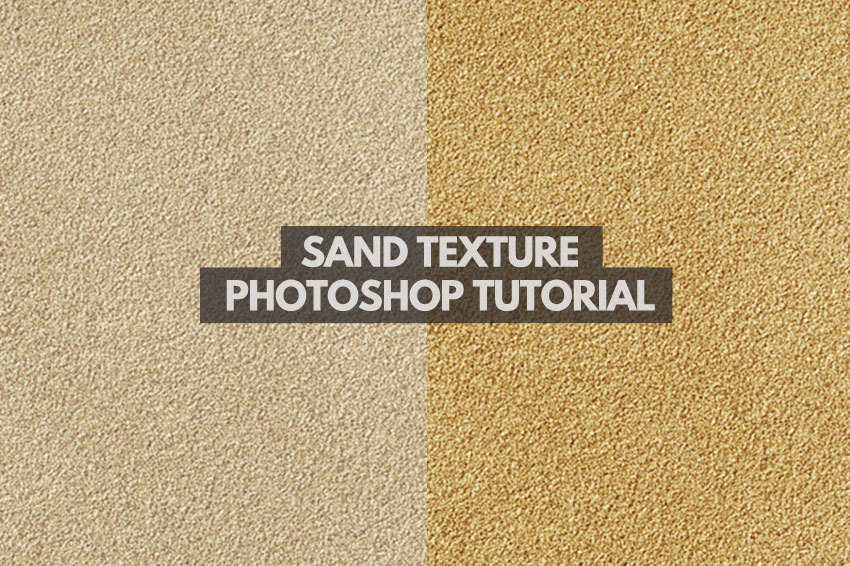
Sand Texture Photoshop Tutorial
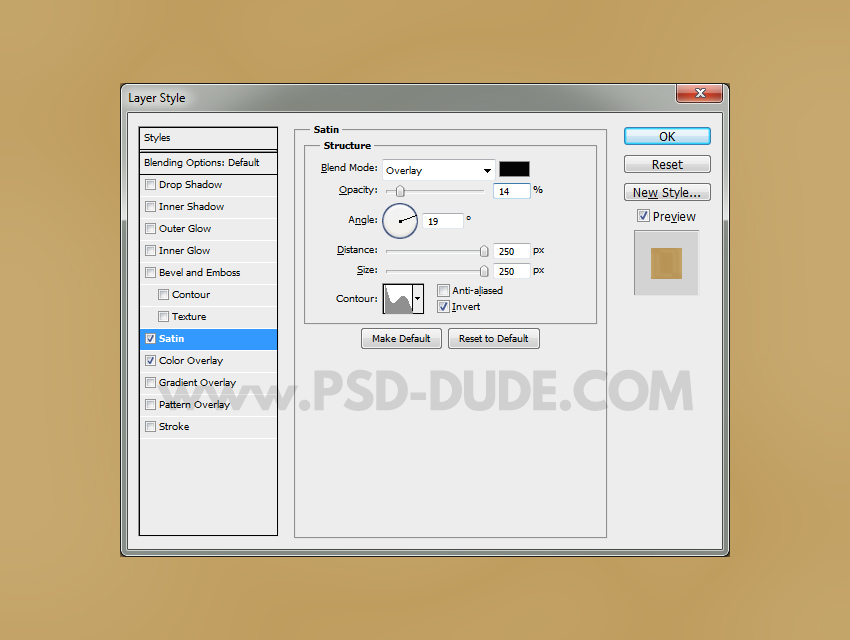
Create a new layer and fill it with color #c7a96f or another sand color tone that you like. Add also a Satin layer style. Call this layer Sand Color.
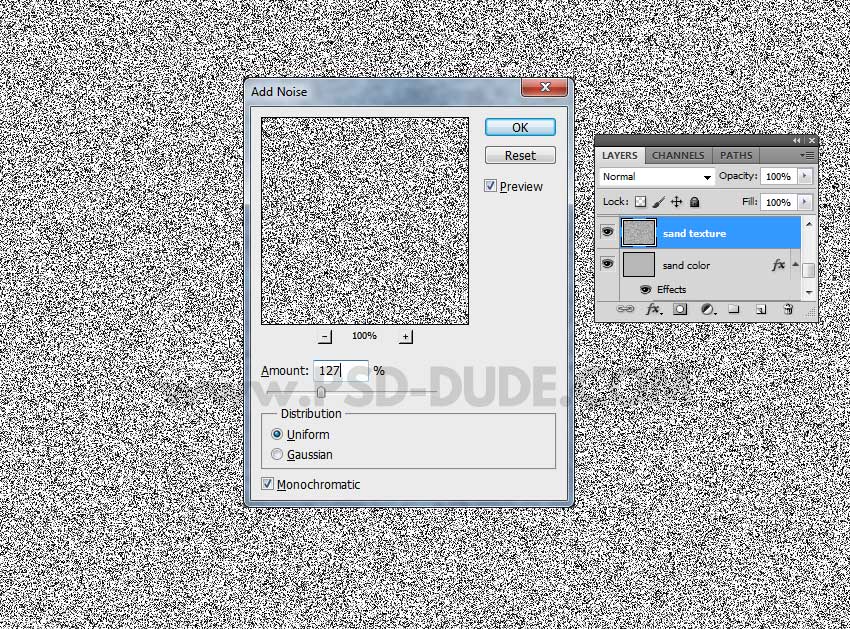
Create a new layer and fill it with color #ffffff. Call this layer Sand Texture. Go to Filter > Noise > Add Noise.
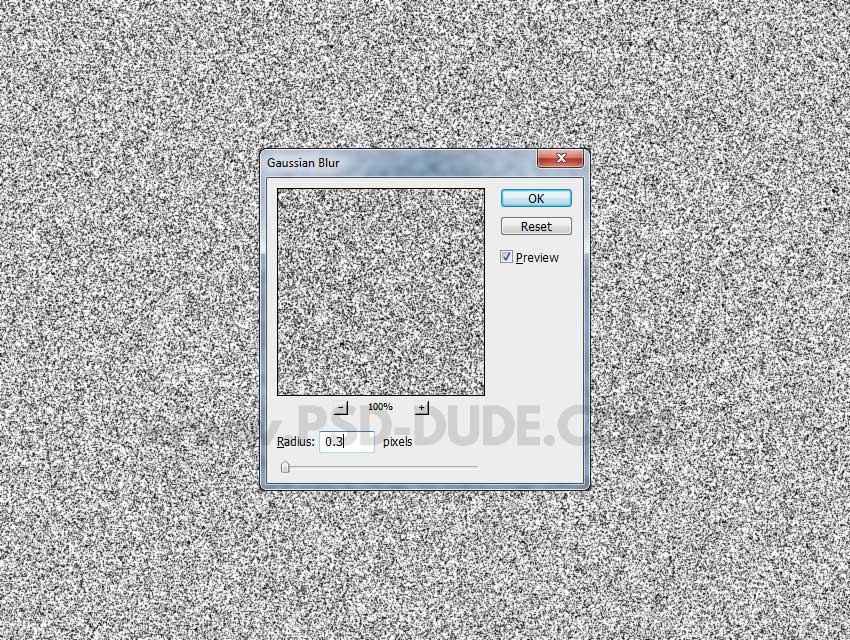
Go to Filter > Blur > Gaussian Blur.
Go to Filter > Sketch > Bas Relief to create the sand texture.
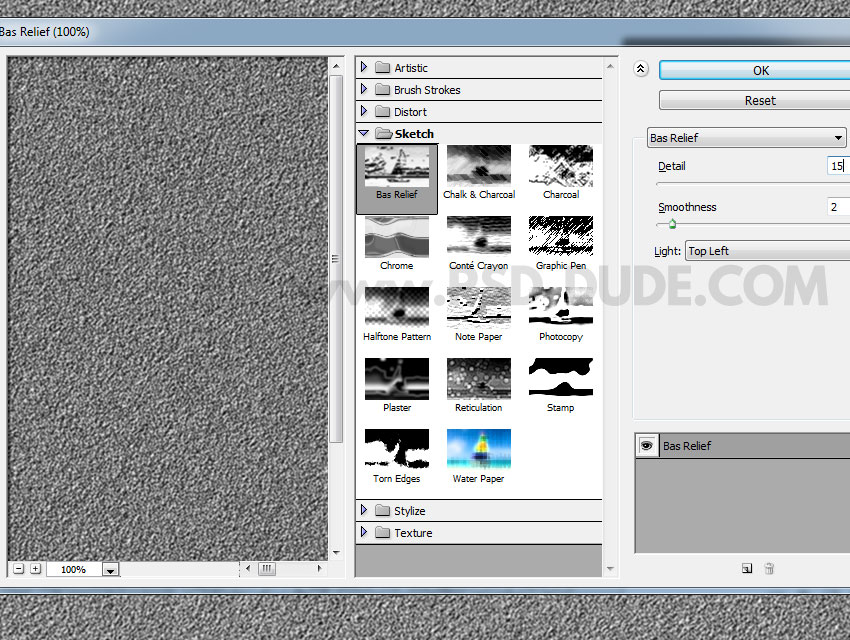
Set the blend mode of the Sand Texture layer to Overlay.
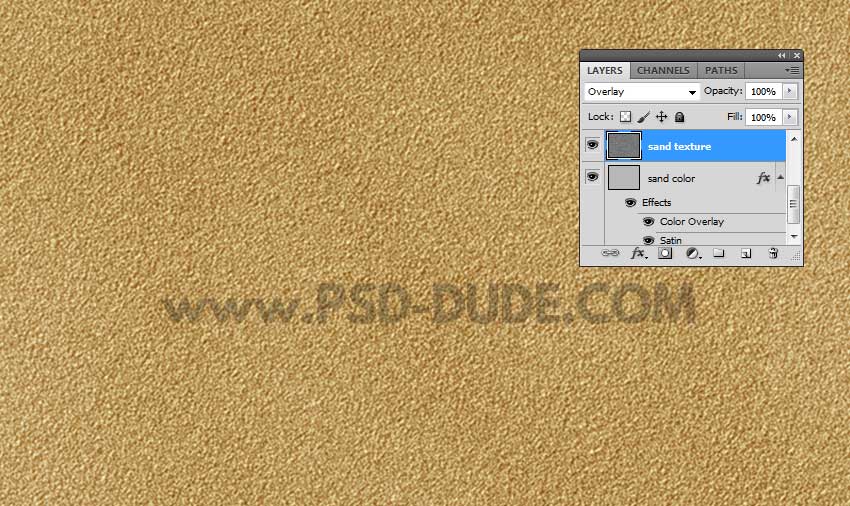
Duplicate the Sand Texture and press Control-T to resize it to -110%.
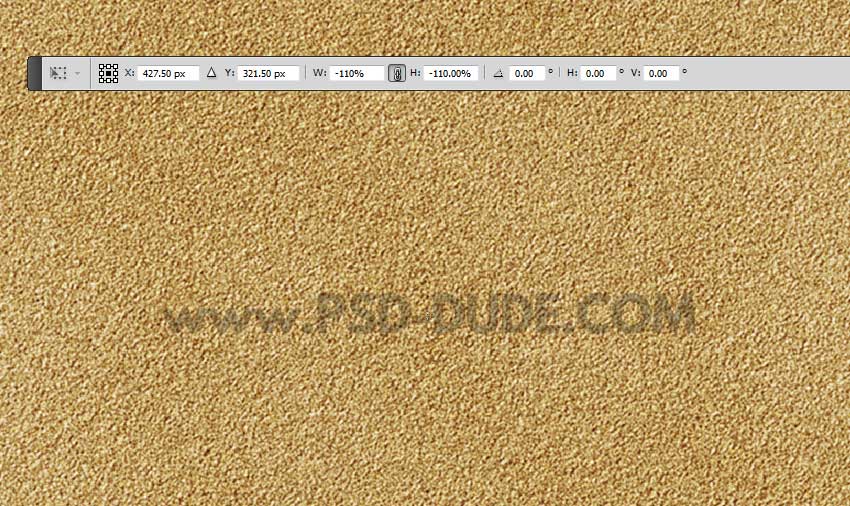
Set the opacity of the Sand Texture copy layer to 70%.
If you want, you can duplicate this layer again, resize, lower opacity and even add a soft noise effect.
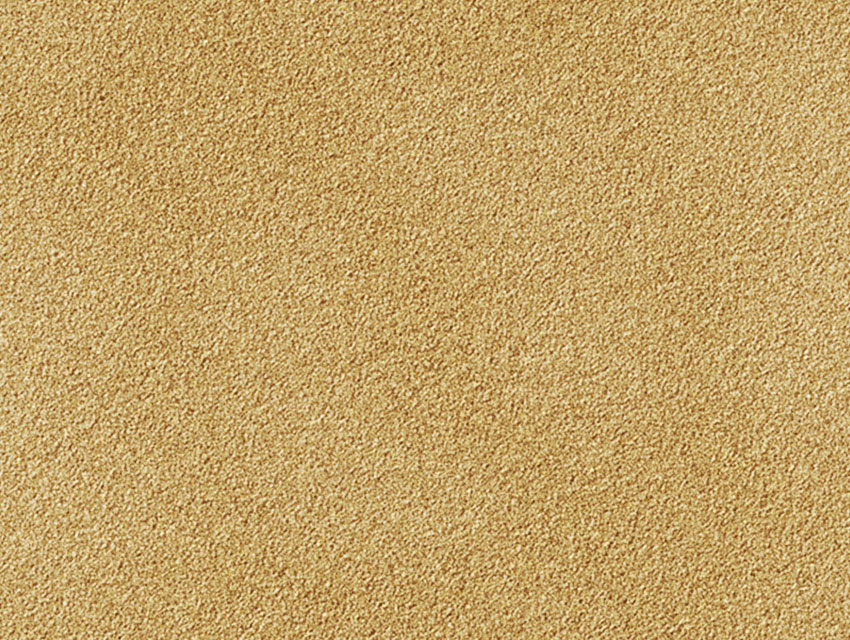
Sand Texture Base
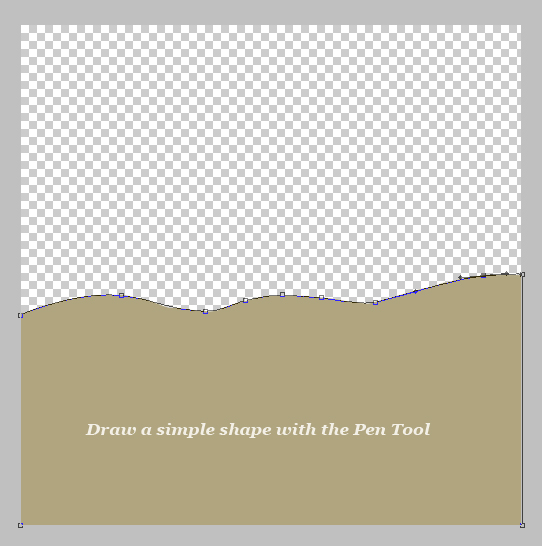
Open a new document, 500x500 px. With The Pen Tool draw a simple shape to look like a sand dune surface. Pick the color #b0a57f. Call this layer Sand Base.
Create the Bump Map using Gradient Tool
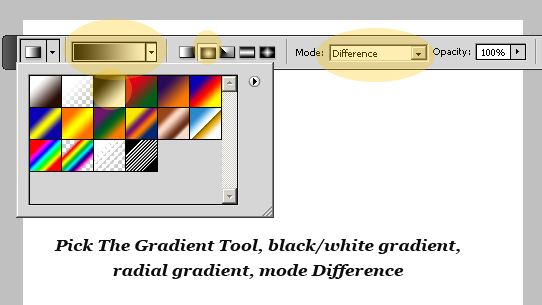
Make a new layer, called Bump Map. Fill this layer with white color. Pick the Gradient Tool with the settings: Black/white gradient, Radial gradient and Mode Difference.
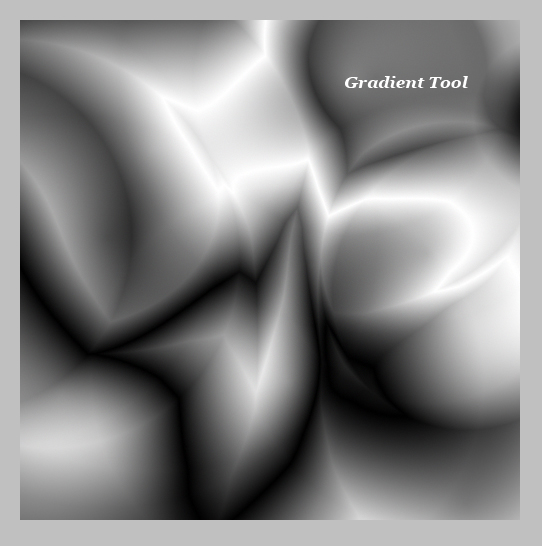
Use the Gradient Tool several time to create random effects. There is no rule, play with different sizes and positions.
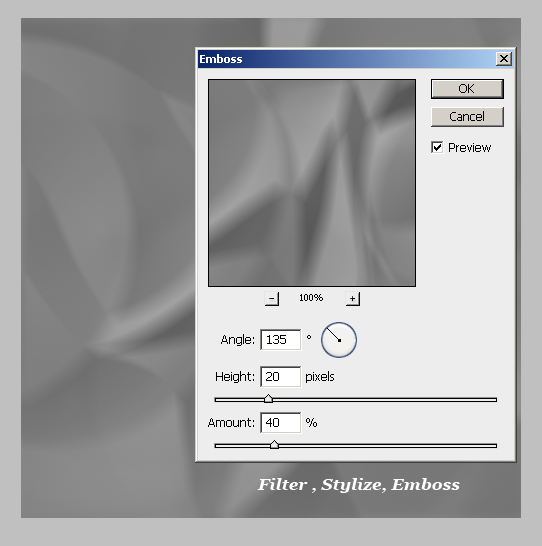
Go to Filter, Stylize, Emboss and make the following settings to obtain:
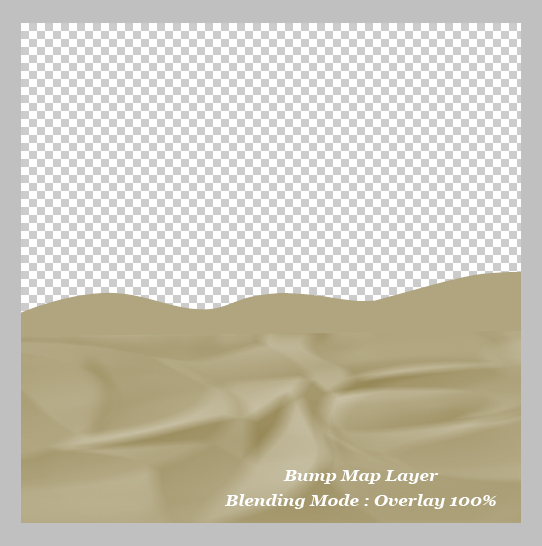
Bump Map
Change the Blending mode of this layer to Overlay 100%. Also use the Distort tool from the Edit, Transform Menu, to add depth and perspective to the map layer. Also make sure that the Bump Layer has the height smaller than the height of the Sand Base Layer. Use also the Burn and Dodge Tool to combine the two layers.
Sand Texture Effect
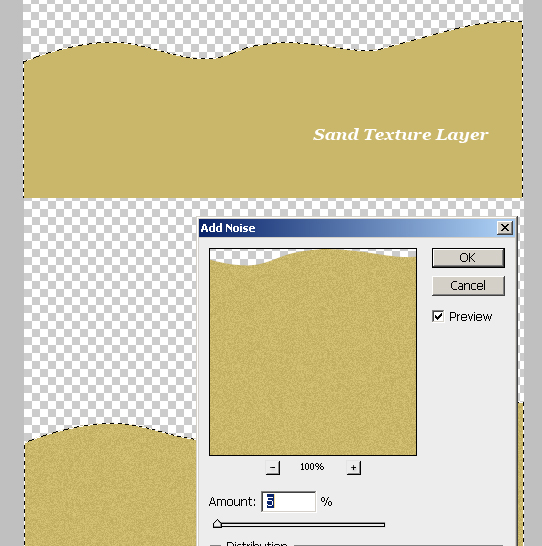
Create a new layer, call it Sand Texture. Make a selection from Sand Base Layer. Fill the selection with color #cab76a in the new layer. Go to Filter , Noise , Add Noise.
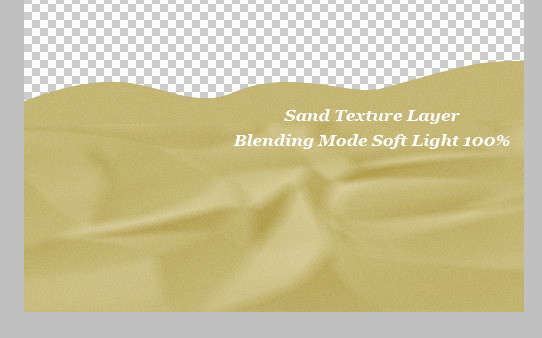
Change the Bleding Mode to Soft Light, 100% opacity.
Light Effect
Create a new layer, call it Light Effect. Set the Foreground Color to #9a7c17 and the Background Color to #3e2709. Apply Clouds Filter found in Filters , Render Menu. Resize the layer to a dimension similar to the Sand Base layer and select / delete the exceeding area.
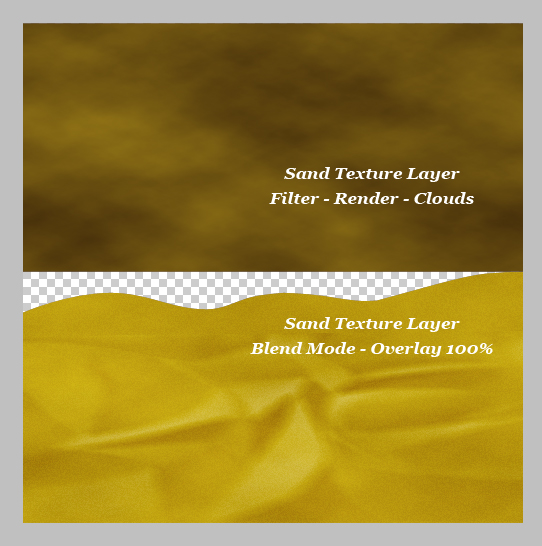
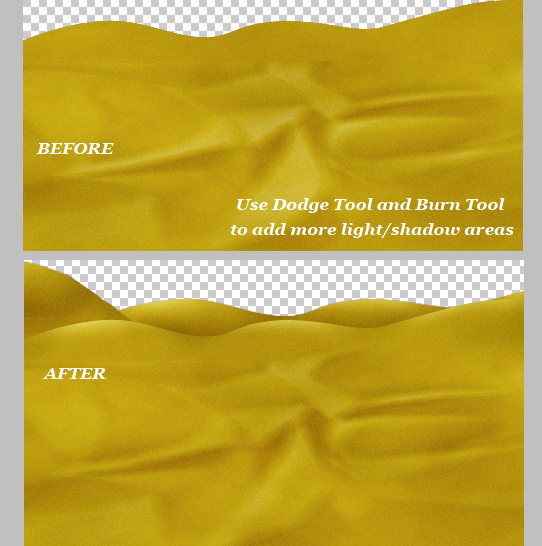
It is always a good idea to use Dodge Tool or Burn Tool to add more light and shadow areas. With the same technique you can add some extra dunes behind to make the landscape more real. As we all know the quality depends on the levels of detail.
Add Clouds Texture
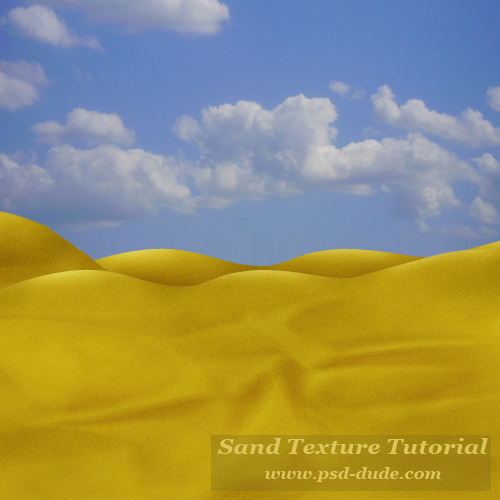
To Complete our landscape we need to add a beautiful blue sky. So you can use one of these Beautiful Clouds Textures , you can draw the clouds yourself using these amazing clouds tutorials or simply you can use what I have used this clouds by spiddles.
Sand Photoshop Tutorial
7 comment(s) for "Sand Texture Photoshop Tutorial"