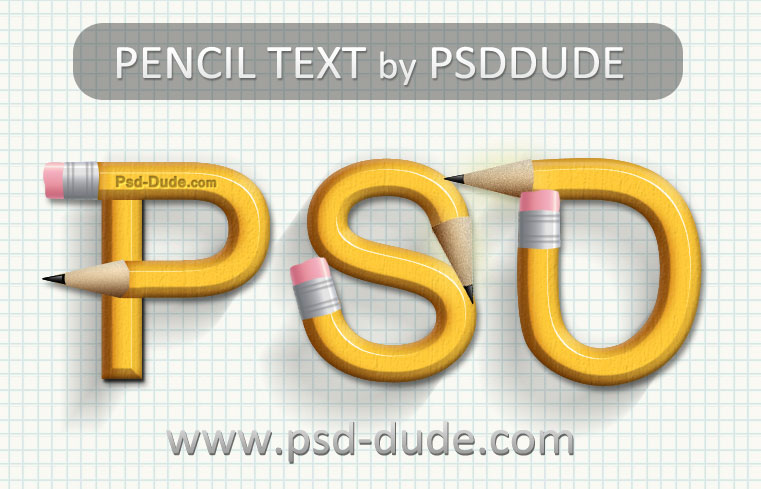
Start with a simple Background Layer and add it a notebook pattern as Pattern Overlay layer style.
Use a font to writte your text. I have decided to use Kartika Font; you can download it from the internet and than install font in Photoshop in order to use it.
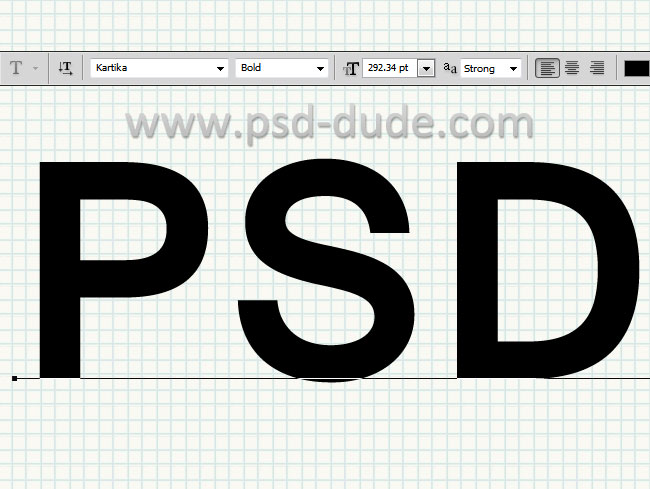
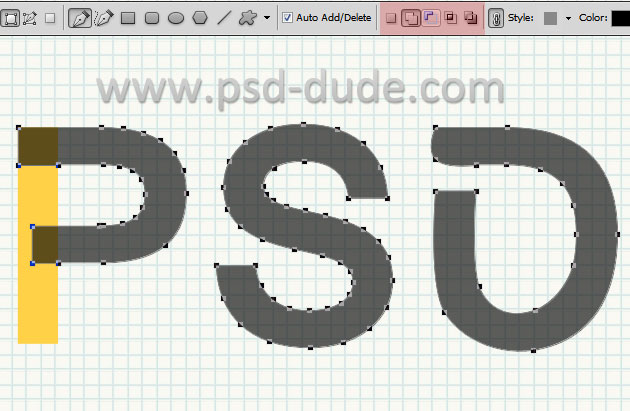
Step 2 you will have to convert text in shape; you will see that the text has now anchor points and that can be edited as vector shape
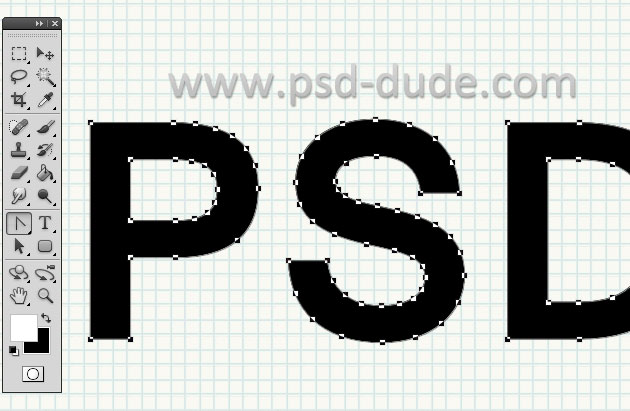
Duplicate the Text Layer and let's turn our attention at the use of Pen Tool in Photoshop to modify the path. Choose the Convert Point Tool, Delete Anchor Point Tool and so on, to create these shapes. I have used black for the top text layer and yellow for the bottom text layer.
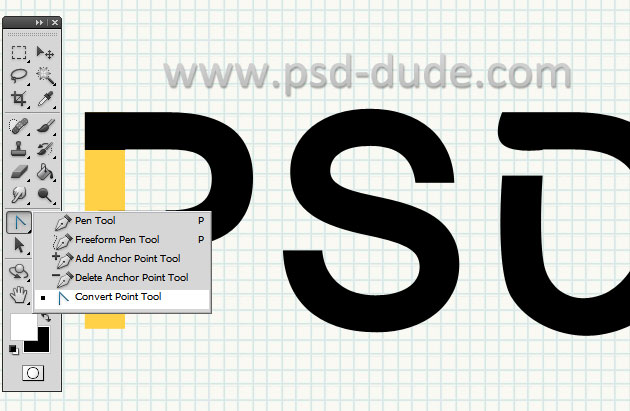
Use also the Add to Shape Area and Subtract from Shape Area options to create these new shapes. If you are not familiar with the Pen Tool here is a set of tutorials that teaches how to use Photoshop Pen Tool
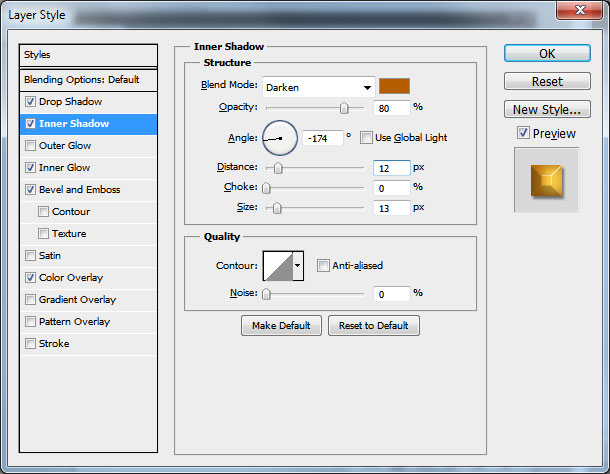
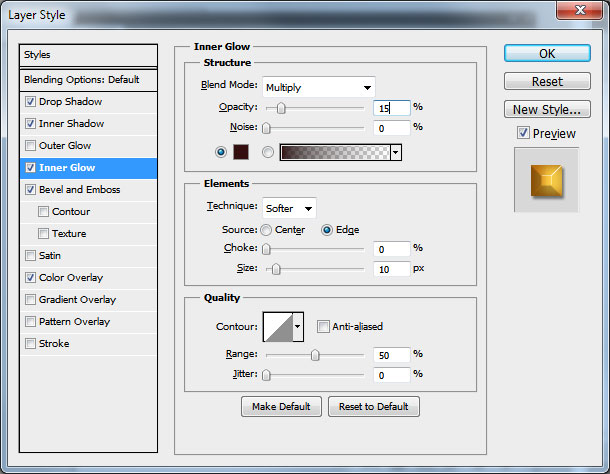
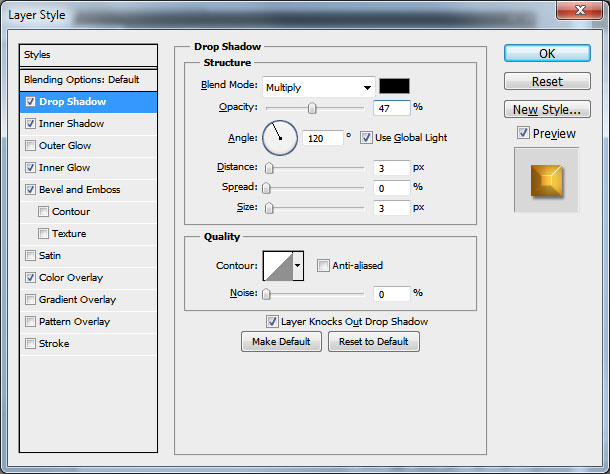
Now comes the fun part where we add to these text layers a pencil effect using layer styles. So open the layer style window and add the following layer styles. Just remember that these styles work for this text size; if your text is bigger/smaller you will have to adjust the layer styles(scale effects)
Color #b45d00
Color #340e0e
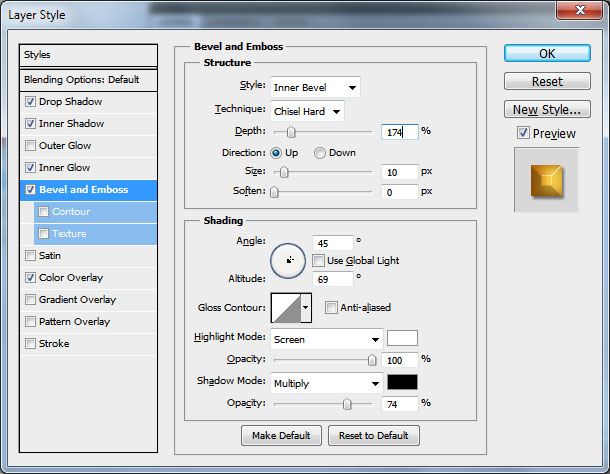
Color #ffd147
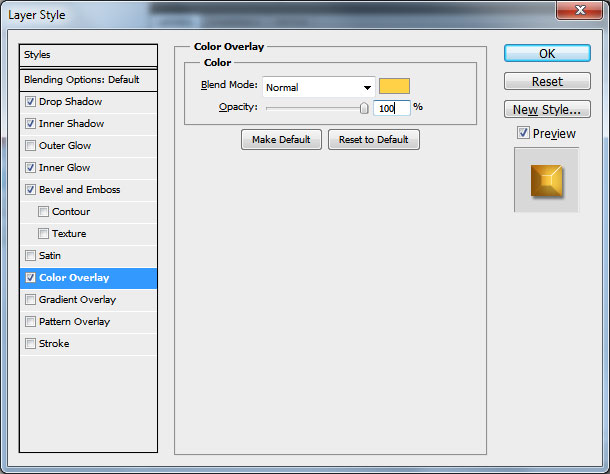
If you want you can create different color effects by adjusting all the color inside the layer styles. The pencil text looks like this so far.
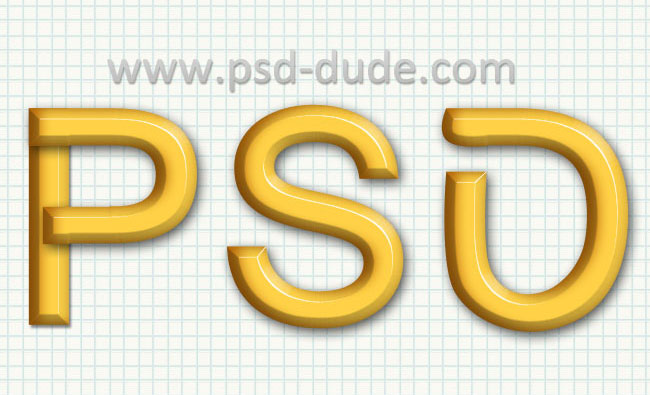
For a more realistic result you can try to apply a wood texture with an Overlay Blend Mode for example.
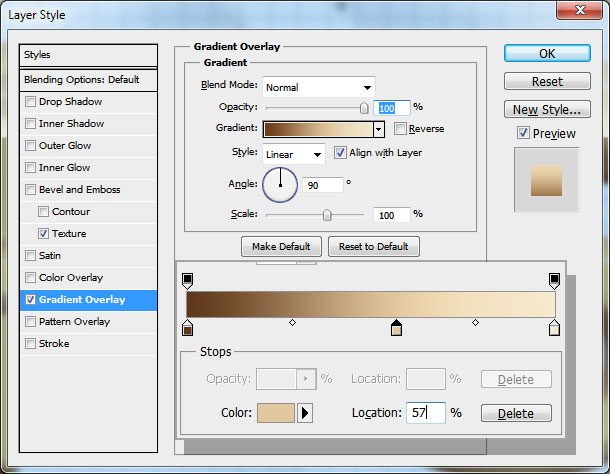
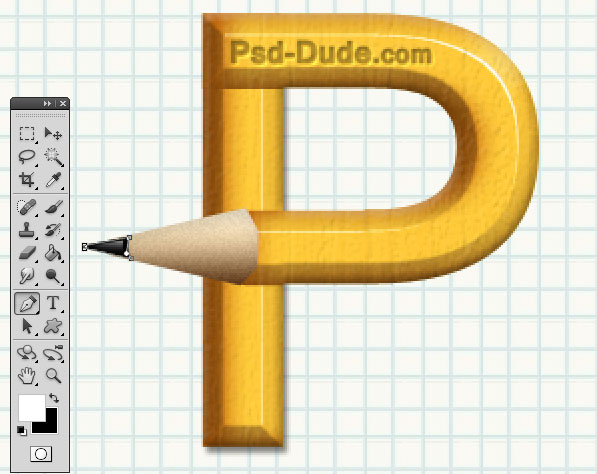
Now Let's create the top part of the pencil. Use the Pen Tool to create this shape and add a Gradient Overlay using the following colors: #5e3718 , #e1c79f and #f6e9ce
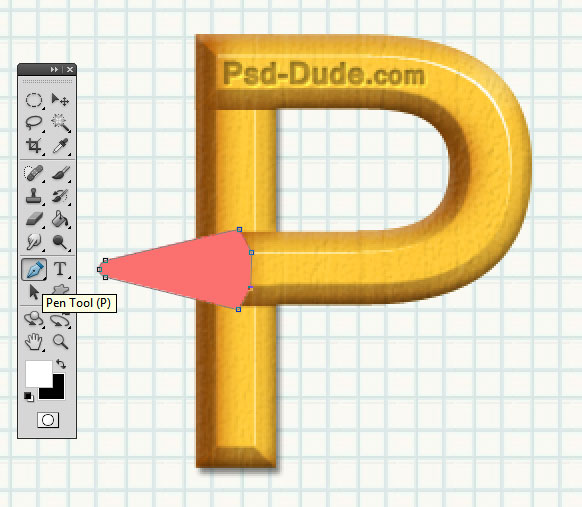
Use the same tool to create the pencil mine; use color black; add another small shape and make it gray to make it more realistic. We have now a nice vector pencil made in Photoshop in shape of a letter.
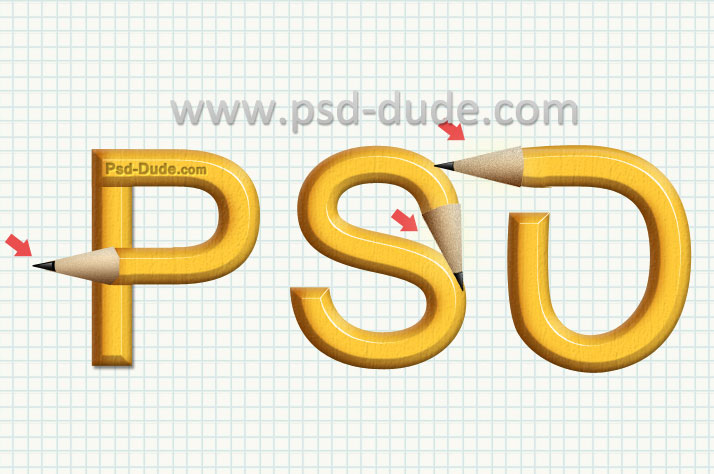
Convert the Pencil Mine Layers into smart object and duplicate and add them on the other letters as shown in the image.
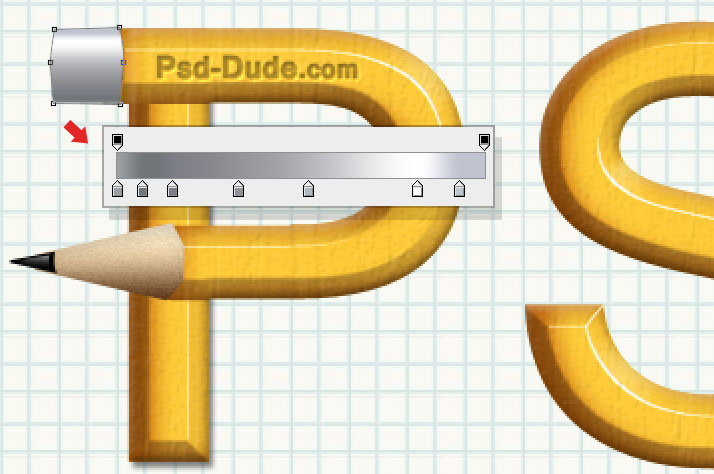
Now we'll make the pencil eraser area with the same Photoshop vector drawing tool that we have used in the previous steps. Create the metal shape and add it a Gradient Overlay with soft gray color tones like in the image.
Add four line shapes like in the image. Also draw the eraser using soft pink color tones.

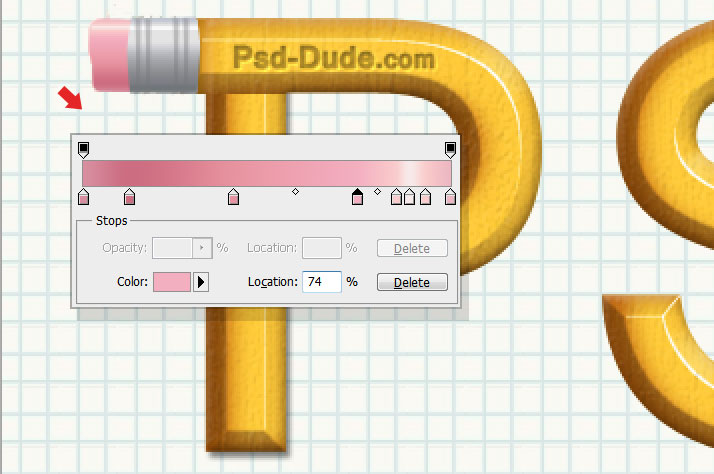
Convert the Pencil Eraser Layers into smart object, duplicate and add them on the other letters as shown in the image.
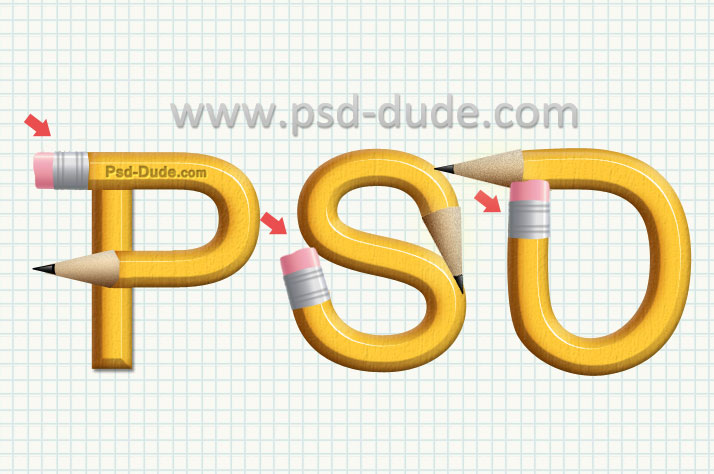
Select all the vector pencil text layers into a new smart object and add a Drop Shadow effect.
If you want to make it more creative you can combine this effect with torn paper shapes, scotch tape shapes, with stickers and so on.

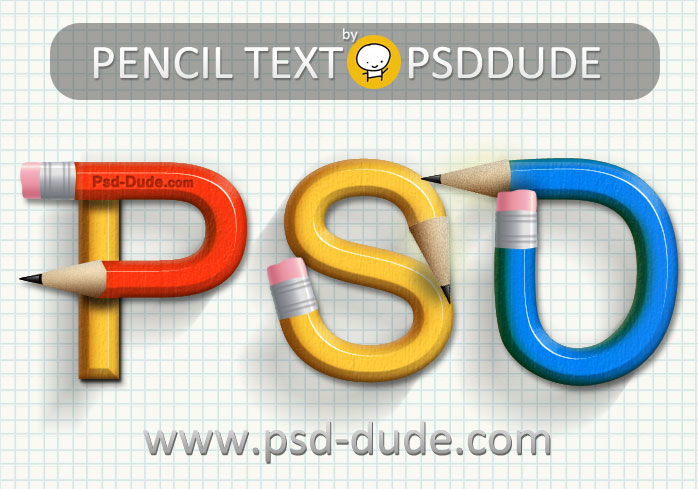
You can get even more creative and make each letter a different color but you will have to adjust the layer styles and to use Gradient Overlay instead of Color Overlay; here is my result for this crayon pencil typography, I hope you like it and decide to try it yourself.



13 comment(s) for "Pencil Text Effect Photoshop Tutorial"
vielen Dank f??rs teilen.
LG
Finja reply
- noise Amount 9%;
- distribution of the noise is Uniform
- and also check the Monochromatic option. reply
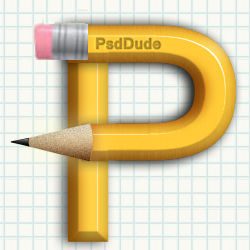
Here is another great text effect inspired by this Photoshop tutorial.