
Step 1 - Finding the inspiration image
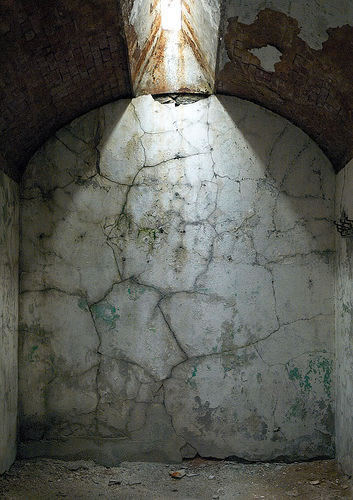
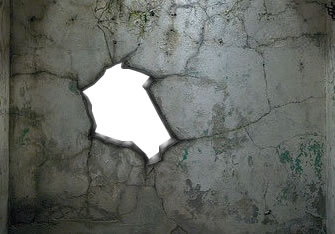
This is my inspiration image. http://www.flickr.com/photos/myelectricsheep/38379024/
The author description is very touching: "Prisoners at Eastern State were held in solitary confinement. The light in each cell came from a small slot in the roof or upper wall. The prisoner would contemplate the light of God streaming in from above, and become reformed. Or the prisoner's mind would crack like this wall."
So copy this image into a new psd file. Duplicate this layer.
Call the initial layer Before Layer.
Call the duplicated layer Base layer.
Step 2 - Crack the wall
As you can see the wall is cracked so I will use Pen Tool to trace the shape of a crack.
Call this layer Crack.
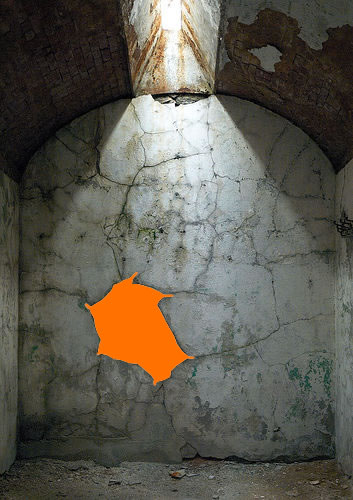
Press CTRL and click Crack layer Thumbnail. Go to Base layer and press Delete.
Hide the layer Crack. Now you should have something like this:

Lets add some depth to the crack. So for Base layer go to Blending Options and
add a contour line(check stroke) and Depth (check Bevel and Emboss)

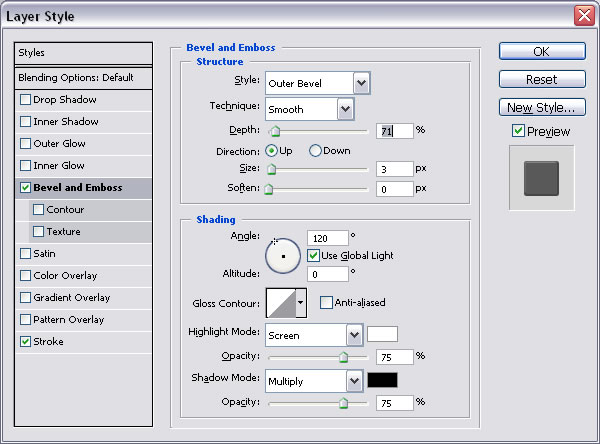
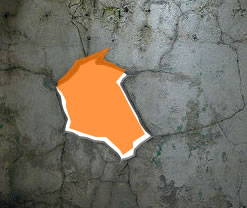
Now the image looks like this:

Step 3 - Add extra depth to the wall
With the same Pen Tool add a new shape. Call it Crack1
Make a new layer (Layer - New - Layer) andd call it Depth.
Move Depth layer behind Base layer.
Press CTRL and click Crack1 layer's Thumbnail;
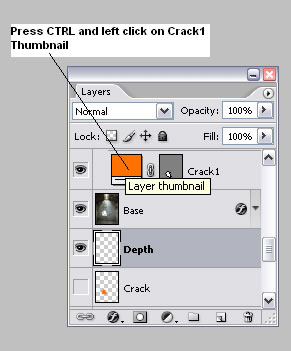
with Magic Wand Tool selected go to
Depth layer and Right click on the selection and choose Select inverse
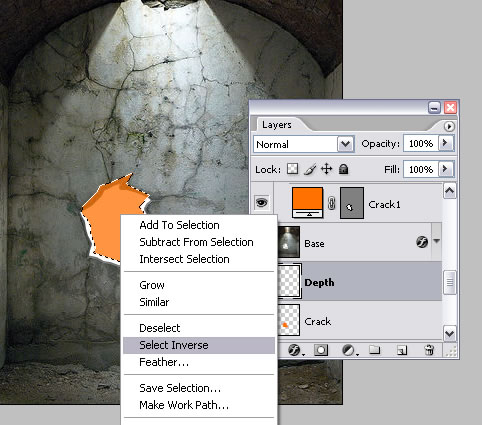
Set the Foreground color #7a7b7a. Now with the Paint Bucket Tool fill in the selection.
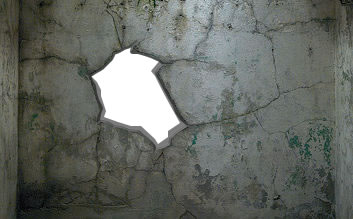
This is what we have so far.
Now select Base layer and Depth layer right click and select Merge Layers.
Call this new layer Base layer.
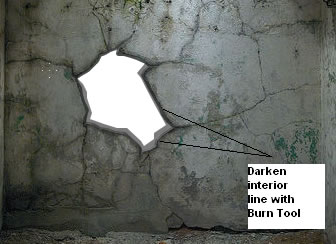
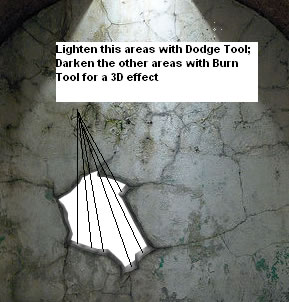
Now I will have to add light and shadow to the crack. Burn Tool and Dodge Tool are
perfect for this job.
Start with Burn Tool size 5 , range Midtones, exposure 20 % and darken the interior of the crack
Use Burn Tool to add a 3D effect to the crack. Alternate sizes and exposure.
I used big size brush(5-7) with small exposure(10-20%) and small size brush (1-2) with
Big exposure(70-90%). The range is always Midtones.
Use Dodge Tool small size 3 exposure 21 %, range midtones to lighten areas where
the surfaces meet the light directly.
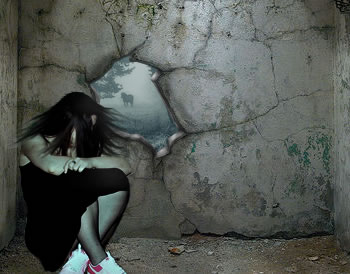
Step 4 - What is behind the wall ?
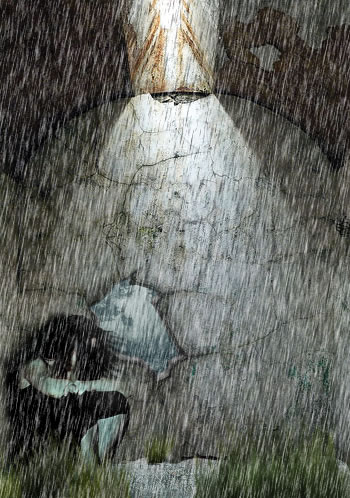
I found this beautiful photo with a cold winter day
http://www.flickr.com/photos/darwin70/2411663850/
Place this image behind Base layer. The color is perfect so don't change a thing.
Place the horse image in front of the crack.

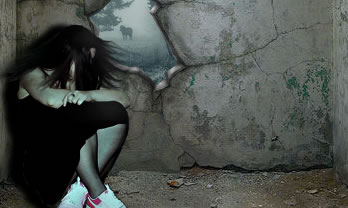
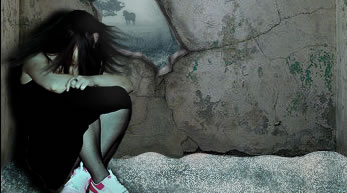
Step 5 - Bringing Eve into the picture
Copy this image http://www.flickr.com/photos/mistressf/507810337/ call the layer Eve.
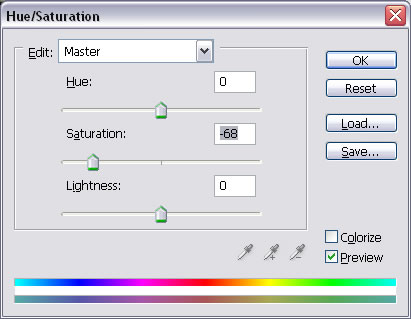
Crop the girl and resize it. Now go to Image - Adjustments - Hue/Saturation.
Being cold and snowing outside I need to give motion to the girl's hair.
To simulate wind effect I used Smudge Tool , size 3, strength 85%.
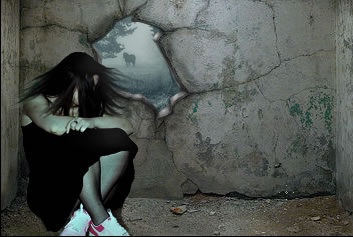
Delete with the Eraser Tool part of the dress and the shadow
Duplicate Eve layer, call it Shadow.
Go to Image - Adjustments - Brightness/Contrast to make it black.
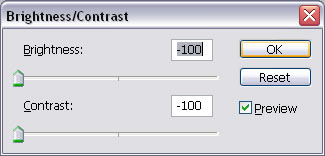
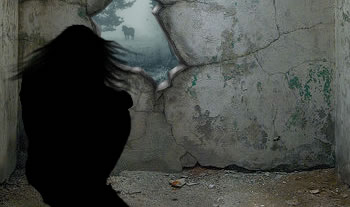
Place Shadow layer behind Eve layer and move it to the left and down.
Go to Filter - Blur - Gaussian Blur
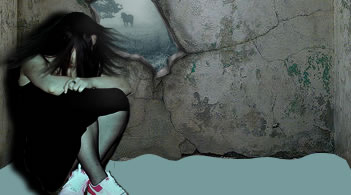
Step 6 - Add snow to the floor
Draw a shape with the Pen Tool, color #769b9c.
Call this layer Snow.
Set the Foreground color white.
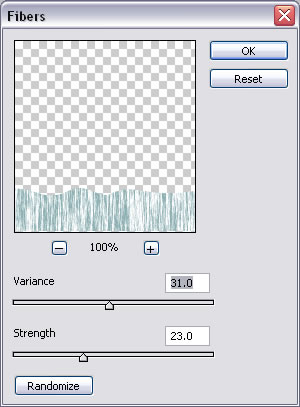
Go to Filter - Render - Fibers
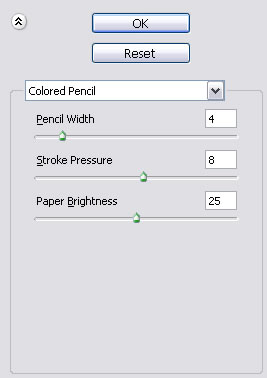
Go to Filter - Artistic - Colored Pencil
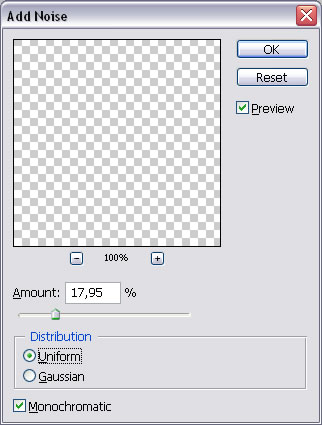
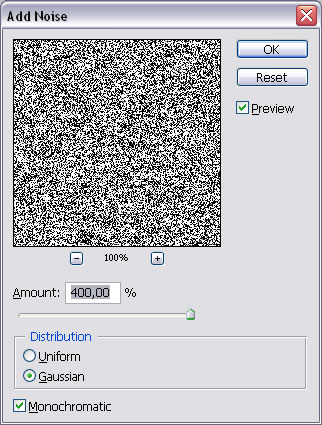
Go to Filter - Noise - Add Noise
Use Burn Tool and Dodge Tool to create shape. Set the layer opacity to 67%.
Step 7 - Add grass
I downloaded grass brushes from this link
http://graphics-illustrations.com/downloads/
Make a new layer named Grass and with Brush Tool, size 55 paint grass.
Play with different green tones.
Step 8 - Add snow
Draw a white rectangle with the Rectangle Tool; it must cover the entire image.
Call this layer Snowing Left.
Go to Filter - Noise - Add Noise
Go to Filter - Blur - Motion blur
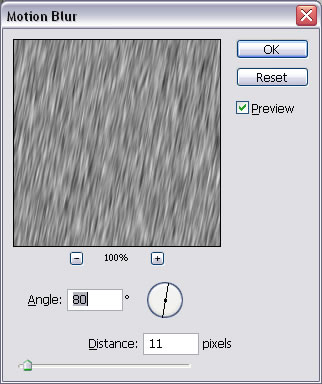
If you set distance low it will look more like snow, if you set distance high
it will look more like rain.
Set Snowing layer opacity to 70 % and the Blending Mode from normal to Hard Light.
Duplicate this layer and Edit - Transform - Flip Horizontal now we have snowing effect
in two directions (right - left). Call this layer Snowing Right.
You will have to delete half from each layer.
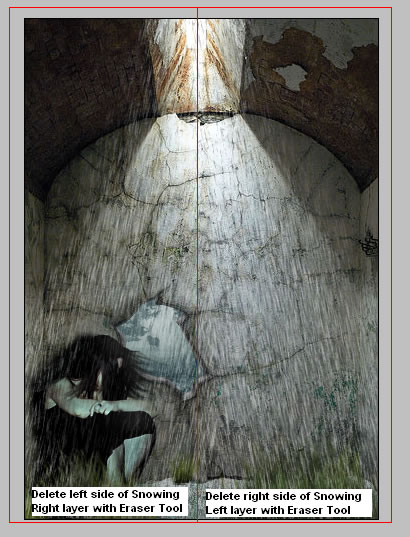
Merge the two layers and make sure that the Blending Mode is still Hard Light.
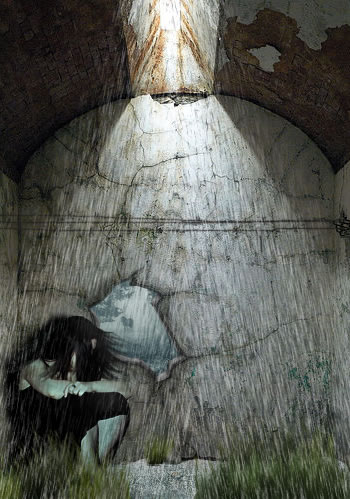
With Eraser Tool opacity 25% and size 40 gently delete parts of the Snowing layer so that
It looks like the snow is coming from the roof.
Step 9 - Add wires
With Brush Tool size 2, color #171713, opacity 80%, draw three lines.
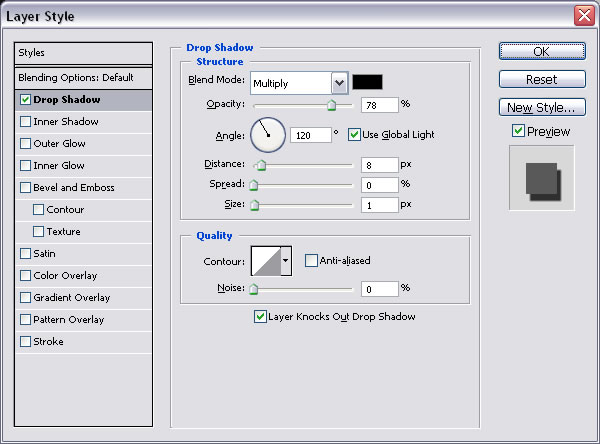
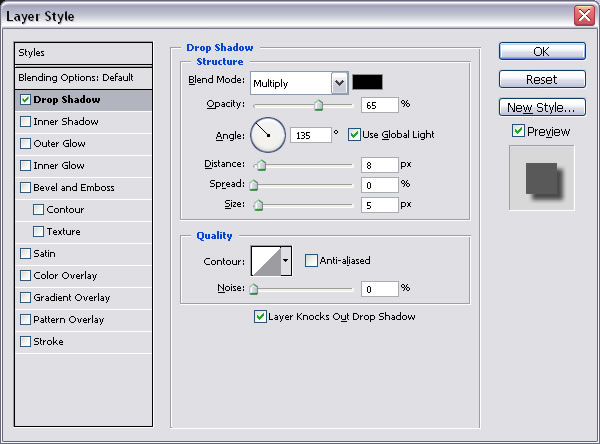
Go to Blending Options and Drop Shadow.
Step 10 - Add apple
Copy this apple, crop it and than resize it(Edit - Transform - Scale) and add it a little tail
With Brush Tool.
Because the color is too bright adjust it : lighten (Brigtness/Contrast) and than desaturate
(Hue/Saturation).
Lets add some shadow to the apple. Go to Blending Options and check Drop Shadow:
Step 11 - Add a bite to the apple
Draw a shape with Pen Tool, color # edc576, go Filter - Noise - Add Noise
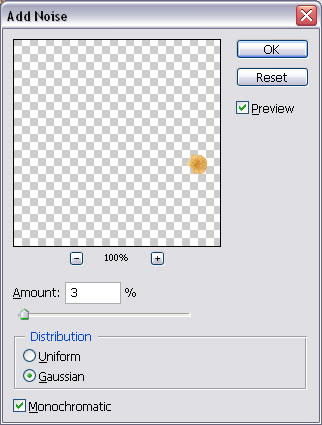
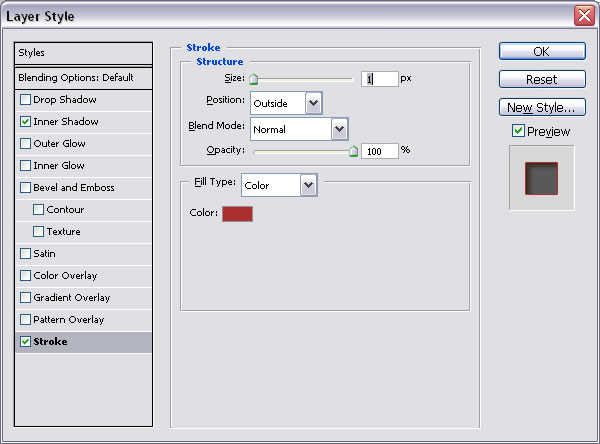
Go to Blending Options of this layer and check Inner Shadow and Stroke as shown below:
Color# 95592e
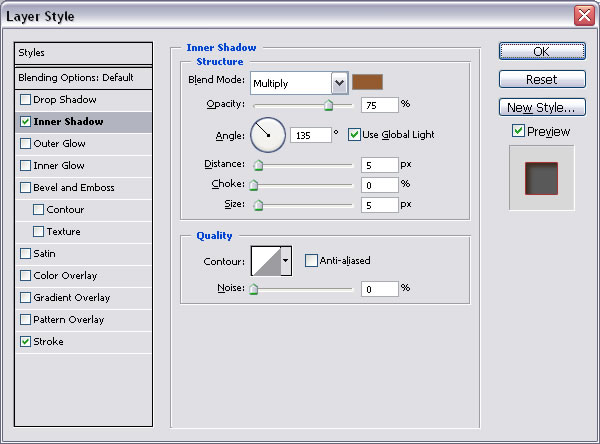
Color # aa2f2e
You can burn the interior of the bite for a deeper effect. Of course you can find an apple
With a bite but I wanted to see if I can simulate a bite with photoshop.

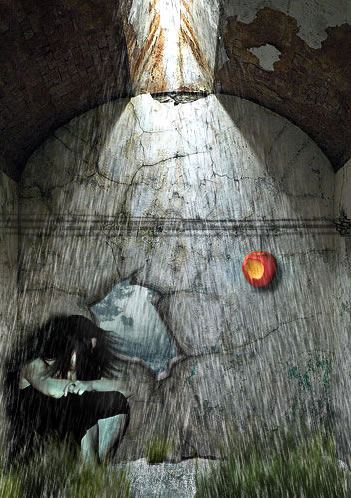
Step 12 - Final touch
Create a new layer Layer - New - Layer .
Go to Image - Apply Image
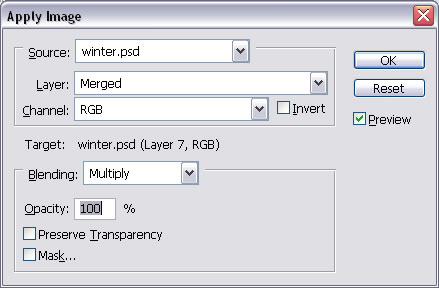
Go to Filter - Sharpen - Smart Sharpen

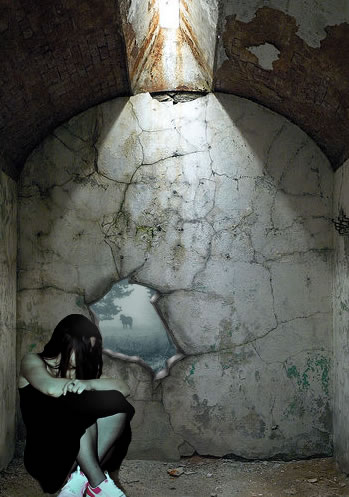
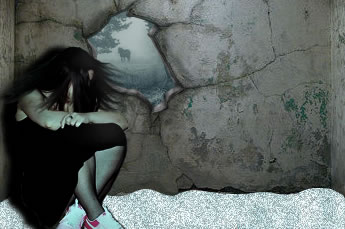
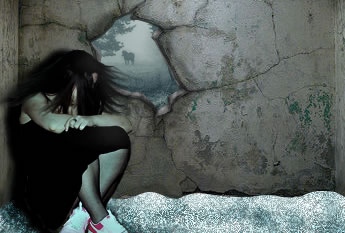
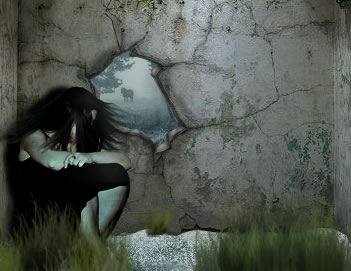
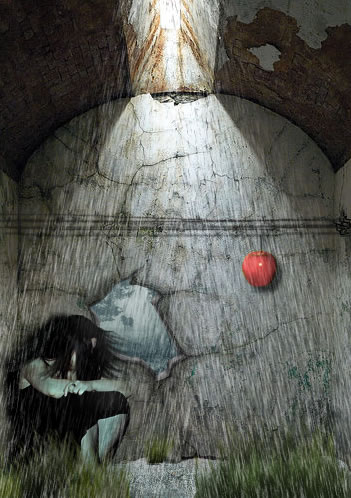
This is the final result!
5 comment(s) for "EVE dreams - the original sin"
Buen trabajo amigo! reply