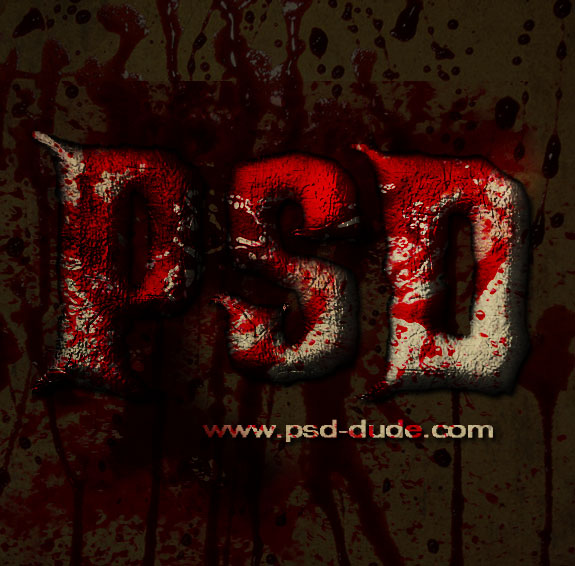
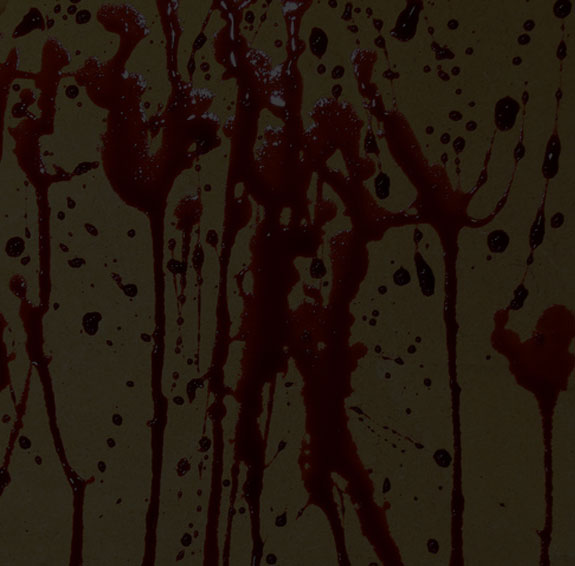
Start with a simple background color dark grey #1d1d1d ; above this background you can use a blood texture with a Overlay blend mode.
You can pick a free dark horror font and intall it in Photoshop. Learn how to install font in Photoshop from this quick tutorial
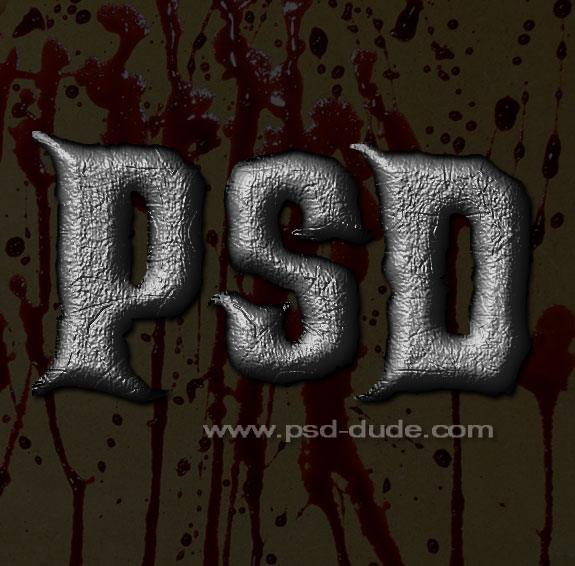
Type a text using the ghoulish font or any other font that you like. Use a light grey color for the text #828282
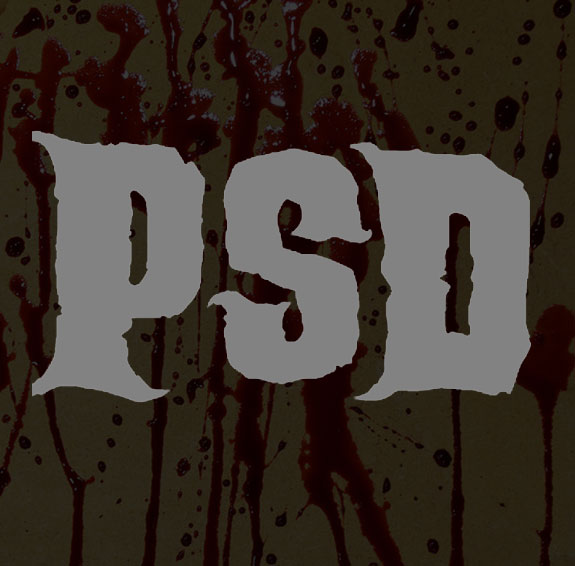
Now we'll add some interesting layer styles to make the text look more creepy.
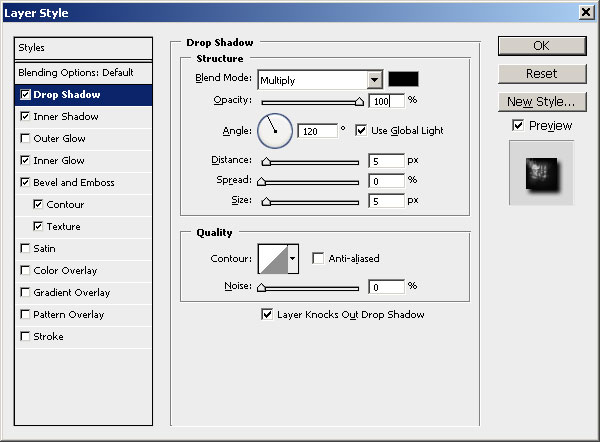
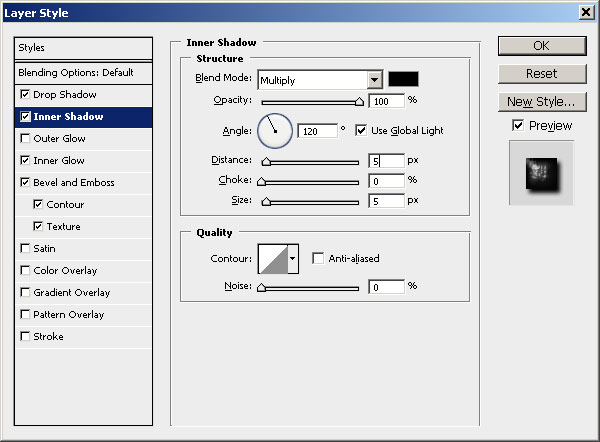
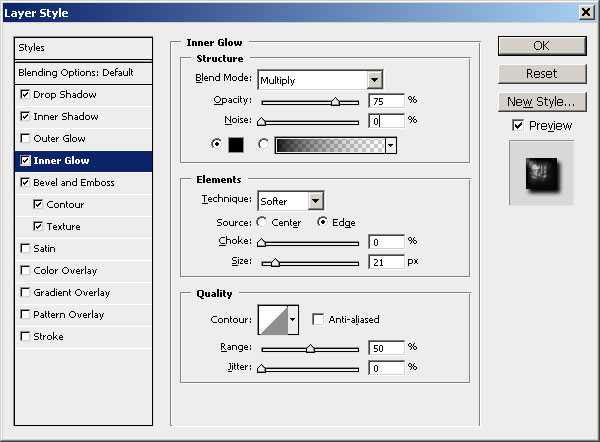
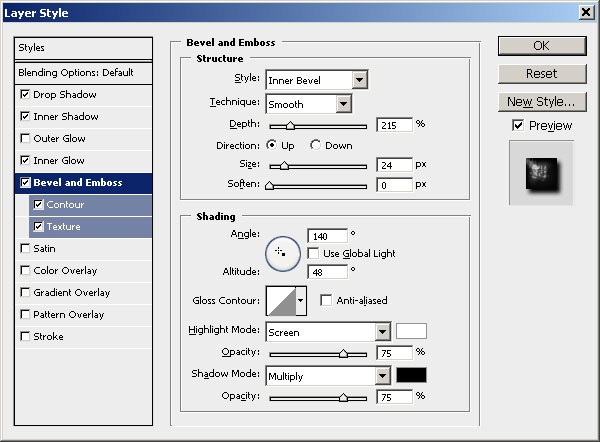
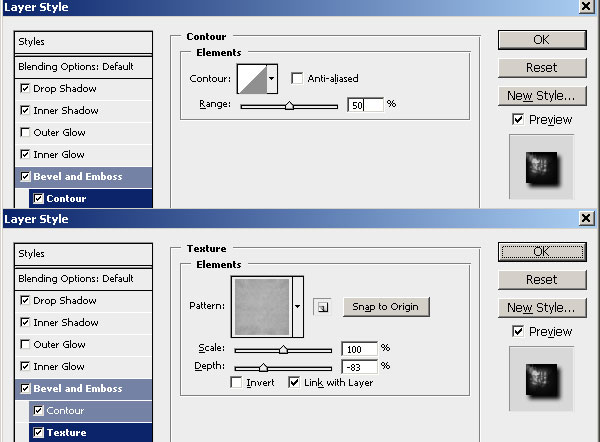
The most important layer style for this text effect is the Bevel and Emboss that has both Contour and Texture so make sure you check them also. For the texture I have used these paper patterns but you can choose any pattern you want.
The dark horror text has now a rough look like a rock or stone. It also looks a little like an animal skin, anyway it is creepy.
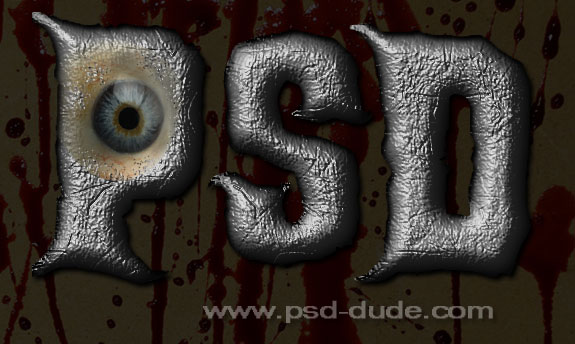
At the last moment I have decided to add another item to make a cool Halloween text effect using this eye stock image; try to blend the eye with the text as much as you can. Use a non destructive layer mask and paint with black inside the mask to hide certain areas. You can also use the Burn/Dodge Tools and/or adjustment layers.
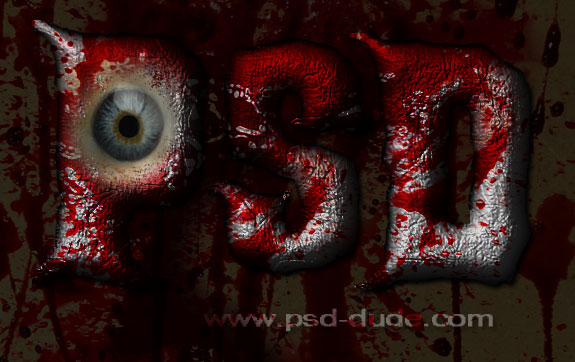
For the final touches all yu have to do is to add another blood splatter texture above all the other layers with Multiply blend mode. If the blood covers the eye surface you can simply add a layer mask and use the Brush Tool to cover the areas that you want to hide.
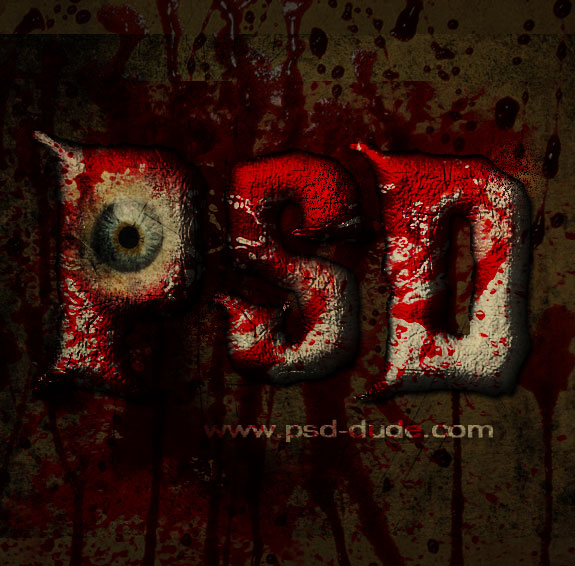
You can also add one or two grunge background textures with Overlay and/or Multiply blend modes. You can also adjust the opacity of the layers to obtain a good result.

3 comment(s) for "Blood Horror Text Photoshop Tutorial"