


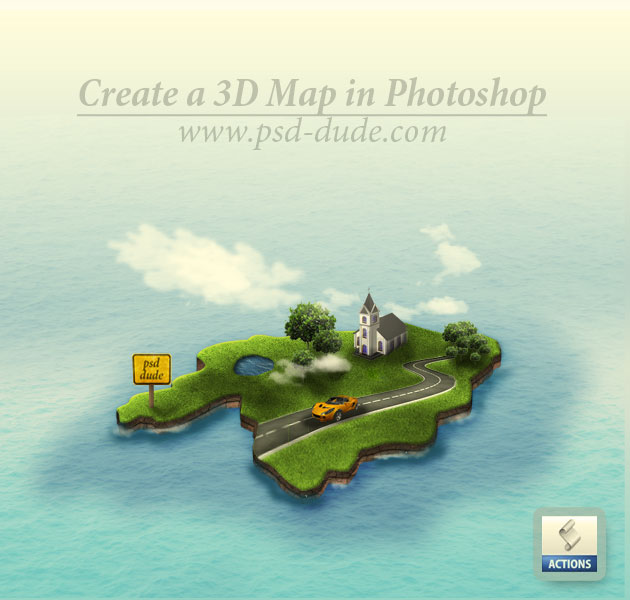
In this tutorial we'll learn how to create a 3D map in Photoshop using one of my 3D action, some textures for the grass & water and a few stock images. All we have to do is to make the 2D surface and play the Photoshop action. After the action is completed we'll make some retouches and add trees, clouds and any other 3D models that you like; you can add 3D buildings, cars, airplanes...it's up to you.
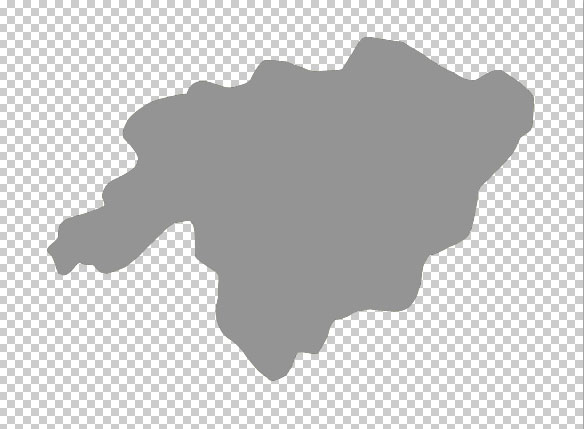
First we have to create a 2D map surface so select the Lasso Tool to make a selection and fill it with gray. Or select the Pen Tool to create a vector shape that you like. Or as a third option you can use a real map vector shape silhouette. Call this Map Layer.
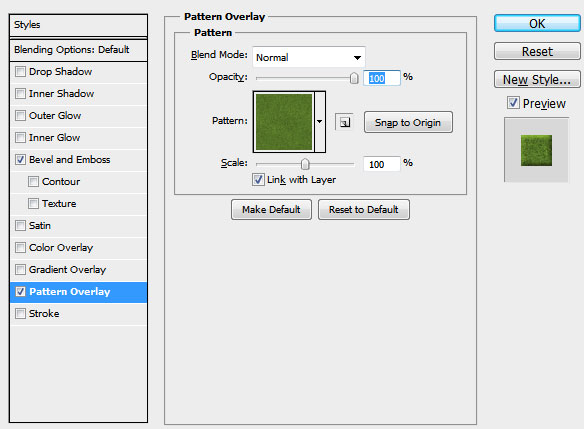
Texturize the map shape using this tileable grass texture; copy the texture in a new PSD file and go to Edit>Define Pattern. Open the layer style window of the Map Layer and add a Bevel and Emboss and a Pattern Overlay using the grass pattern that you defined.

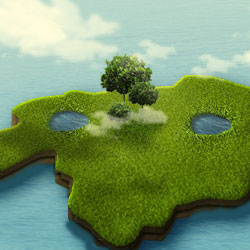
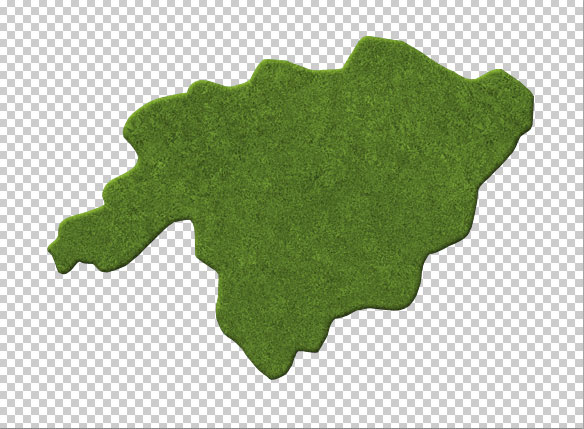
The map should now look like this:
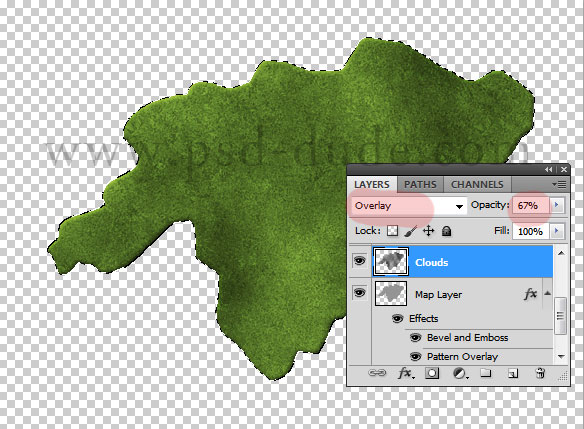
Create a new layer above this one; select the shape of the map(press CTRL+click on the Map Layer thumbnail). Set the foreground color to white and the background color to black. Go to Filter>Render> and apply the Clouds filter to the selection. Change the blend mode of this layer to Overlay 65% opacity level.
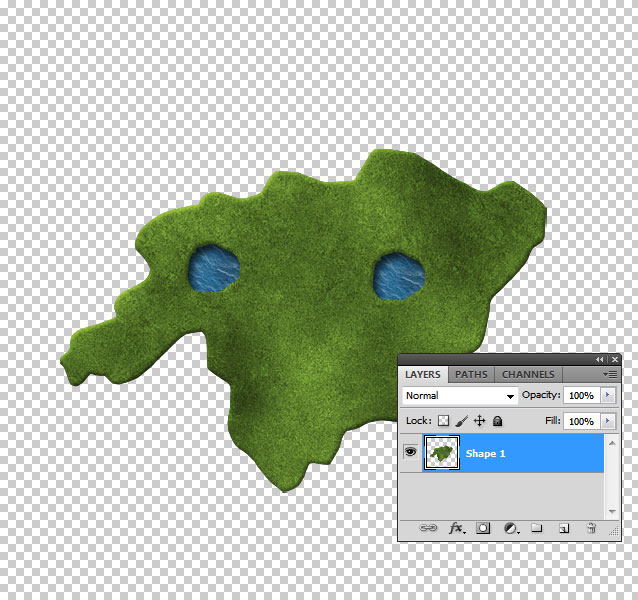
In a new layer called Water Surface make one or two selections to look like lakes; use this water texture to add texture. Resize the texture to obtain a realistic result.
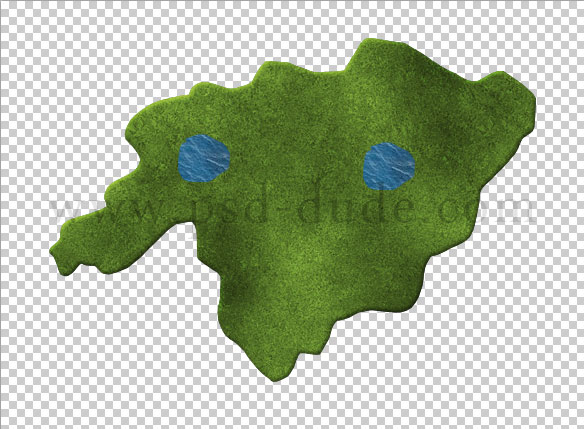
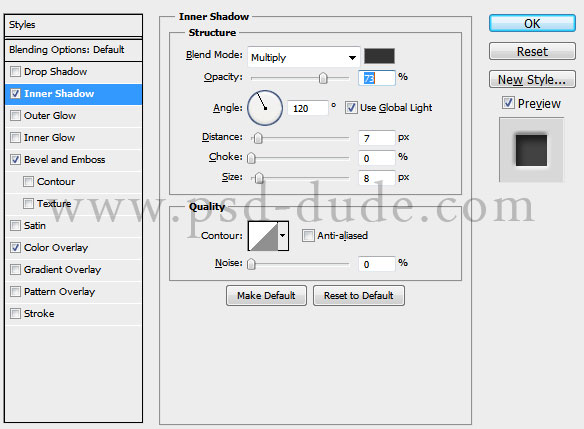
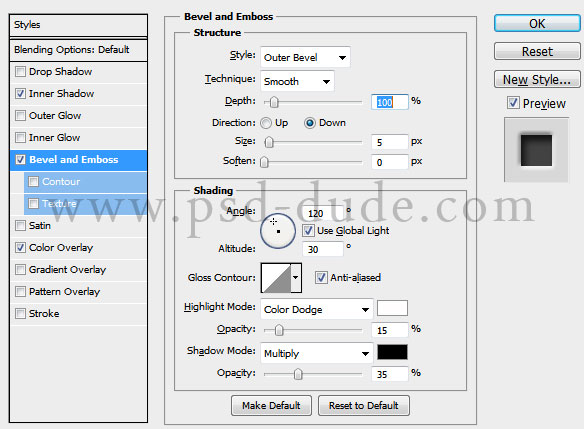
Open the layer style window of the Water Surface and add a Inner Shadow and a Bevel and Emboss.
You can add any other plain surface element to this map like a road for example. You can design this surface as you like. Select all the layers(make sure NOT to have a background layer) and merge the layers. Call this new layer Shape 1.
Now I will use one of my 3D Photoshop actions to create a 3D map. So download this free 3D action, load it in Photoshop and play it for the Shape 1 layer.
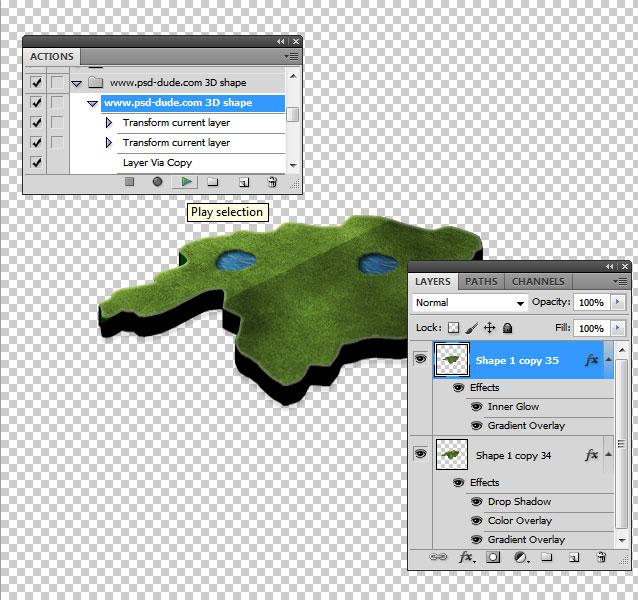
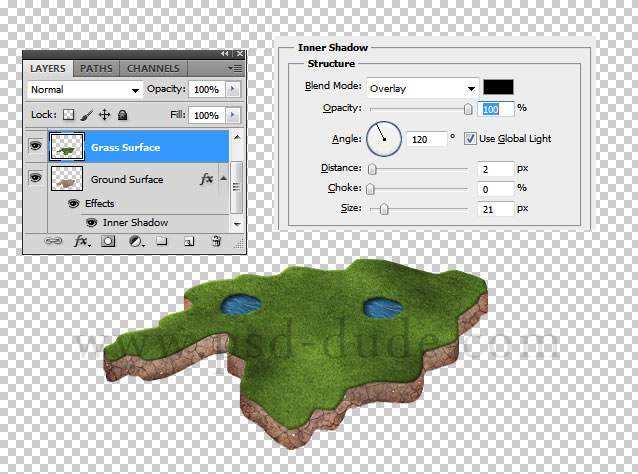
You have to result layers. Clear the layer styles of both layers(select, right click and choose Clear Layer Style. Call the first layer Grass Surface and the second one Ground Surface. For the Ground Surface layer you can use a ground texture like mud, rock, earth, etc. I will use this Dirt Ground Texture; resize it and add an Inner Shadow effect to give it a 3D look.
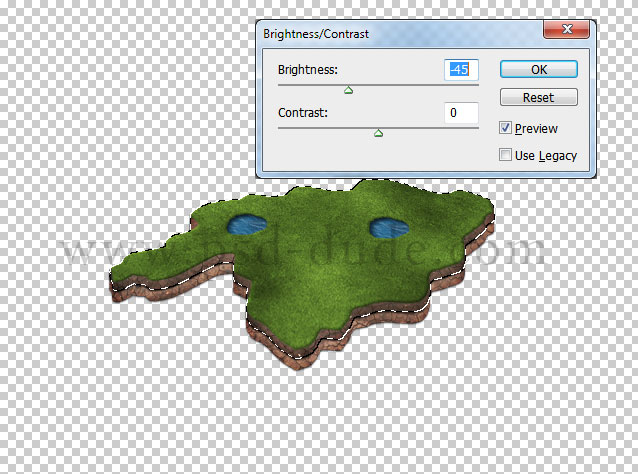
Duplicate the Ground Surface and make a selection out of the surface(press CTRL+click on the Ground Surface copy layer thumbnail). Move the selection up , invert the selection and press delete. That way you obtained two layered surfaces. Add a Brightness/Contrast adjustment layer to the Ground Surface copy layer with these settings:
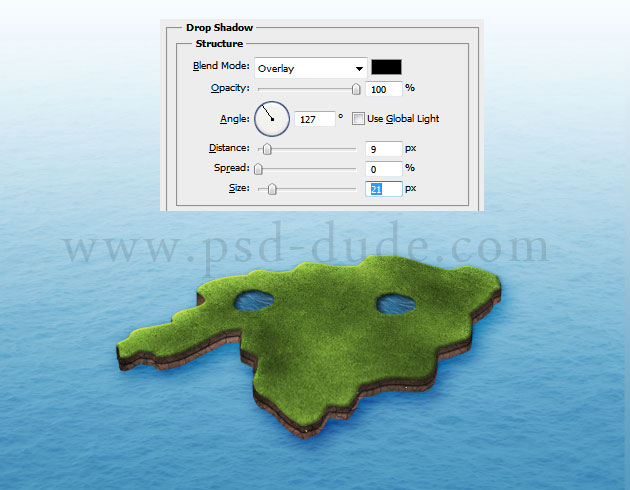
Add also an Drop Shadow effect to both ground surface layers like shown in the image. We will make further adjustments once we add the other elements so that they all blend in.

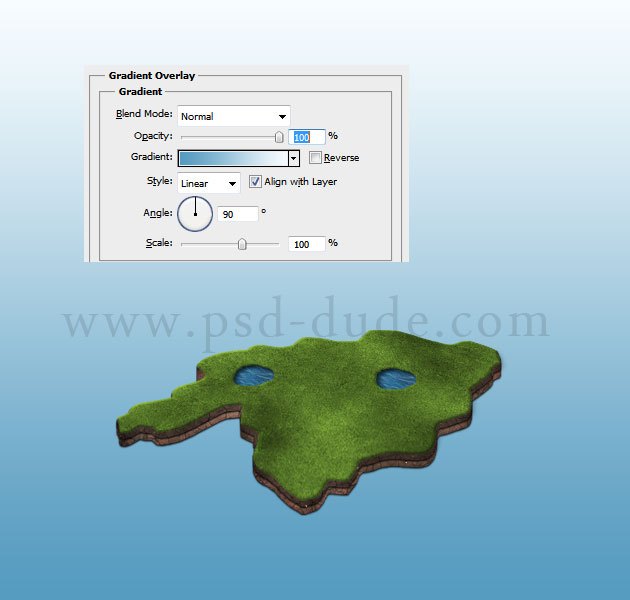
Time to add a backgfround for the 3D map. Create a new layer called Gradient Layer. Add a linear Gradient Overlay using the colors #559abf and white.
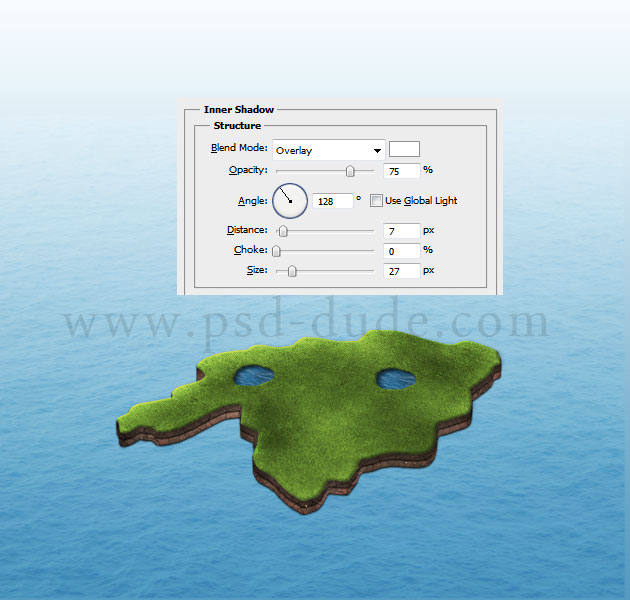
Add a new layer called Water Surface and add a water texture. Try to find a texture that has the right perspective. Resize it to fit and change the blend mode to Overlay 50% opacity level.

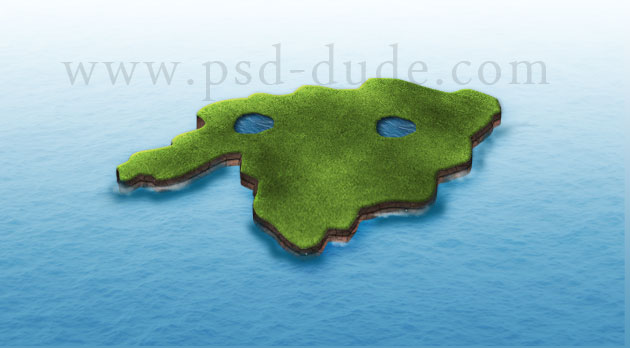
Time to blend the 3D map with the water surface and the rest of the image. For that add a Inner Shadow to the Grass Surface layer.
Modify the Drop Shadow effect of the Ground Surface layer with the following settings:
Use a soft round brush to paint in a new layer some water waves and foam around the edge of the Ground Surface layer.
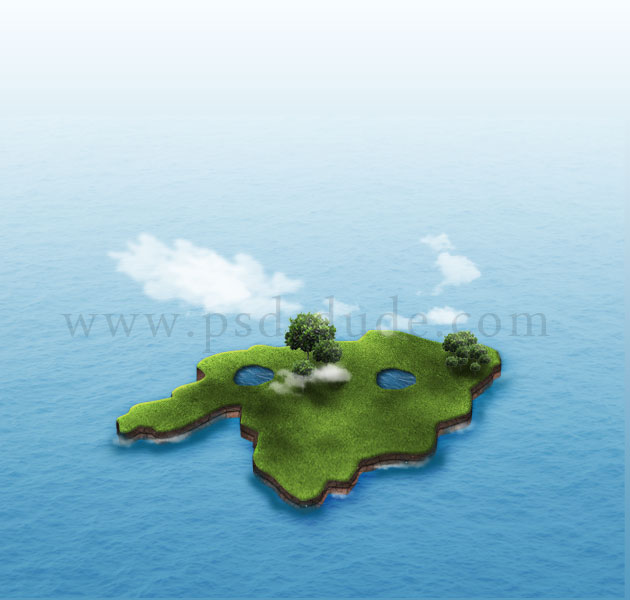
In a new layer add some copies of this cutout tree with different sizes like shown in the image.
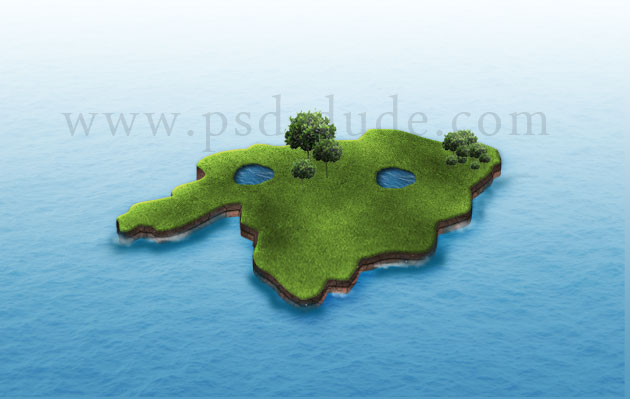
Each tree or group of trees has to cast shadow, so use a soft brush with black color to quickly paint the shadow in a new layer. Change the blend mode to Overlay and play with the opacity level.
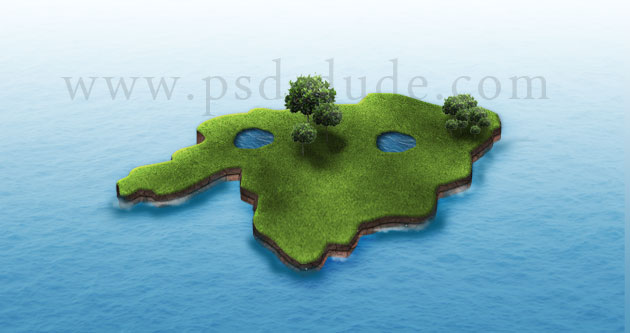
Now I will use some nice clouds brushes to add clouds above the 3D map; you also have to add a shadow for the clouds.
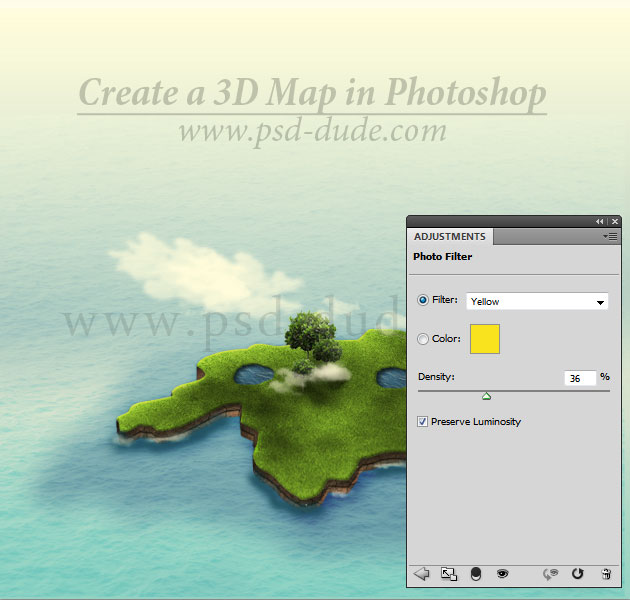
To make all the pieces link together I have added a Photo Filter adjustment layer adding a nice yellow color tone.
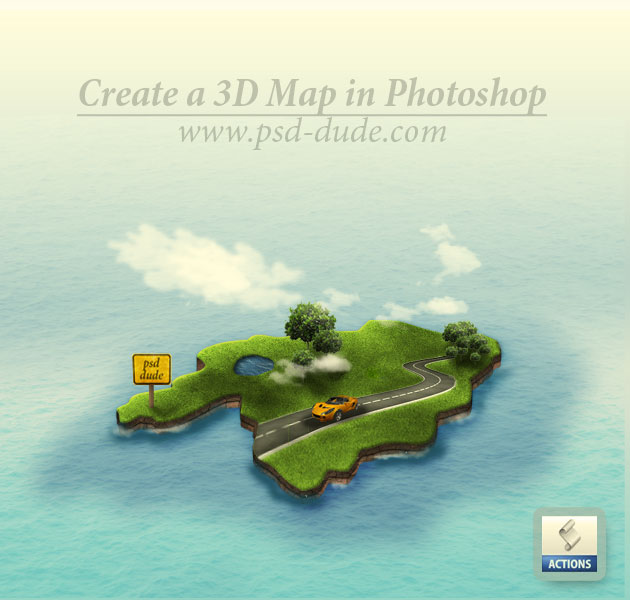
You can add other elements that you want like a car, buildings, ship, airplane, road but be really careful to add images with the right perspective.
Another idea is to use 3D transport and bulding icons like these 3D buildings and GPS map icons that are already in PNG transparent format. The set contains also some cool flag and pin map icons and road signs that you can also add to your map.
You can search for other cool icons on the internet or even 3D models; here is the final result, I really hope you like my 3D map.
I was inspired to write this tutorial after I saw this amazing 3D Map Generator that you can but from graphicriver for only 6$.

34 comment(s) for "Create a 3D Map in Photoshop"
http://blokkstox.deviantart.com/art/Lotus-Elise-Cutout-122037721 reply
do you have typography plugin?
i really need it
if you have please attach it to my email
thanks alot reply
I understand that you have a problem with the 3D action. This is an old action and it might have some working issues; do you have Photoshop in English or Russian?
Make sure you have one single layer before you play the action. And call this layer Shape 1 (it is important otherwise it won't work)
reply
Fantasy 3D Island made by Marusenka http://www.photoshop-master.ru/users.php?id=420072
I am having difficulty figuring out some things. Once I run the action - the size of my island changs size - big time. After I clear the layer, and go to put in my dirt, am i pasting it "into" the shape? Sorry I know these are probably basics but I can't get through them to move on. THanks. reply
i am facing problems to create ground surfae with dirt texture.I am a begginer in photoshop so pls can you tell me how to do it in a detailed way //Thnx reply
I want to create a banner that has a small island on it and a road running through it like yours.
But, I'm not very good at using photoshop, so I can't get the road into the right perspective angle, or make it look realistic like yours :-(
Do you take on any freelance work? I'm prepared to pay for your time, if you have any spare time.
Hope to hear back and best wishes for the New Year, John reply
I am glad you like 3D map my tutorial! Unfortunately I am not available for freelance projects because of the lack of spare time.
The road is actually in the correct perspective. You can try to use the Edit>Transform>Distort Tool to make it look more realistic. And also you will have to make the road a lighter color. Use the Brightness/Contrast for that. Upload the result and maybe I can give you a few extra tips :)
Happy New Year to you too! reply
you're very smart.
I'm really impressed. :) have a nice day~
TK for the tutorial
https://dl.dropboxusercontent.com/u/40971630/Imagens/test12.jpg
Its really nice....Thanks!
Many thanks for the great tutorial :)
i will try to create it
One question I were you get the car image, from the icon set?
Thanks
Joseph
http://www.ezedcal.com reply
WOW! Great Photoshop instructions! I will rebuild soon. reply
But, this link --> tileable grass texture ( http://www.flickr.com/photos/zooboing/4183272286/ ) was not found. Can you fix it? Thank a lot :) reply